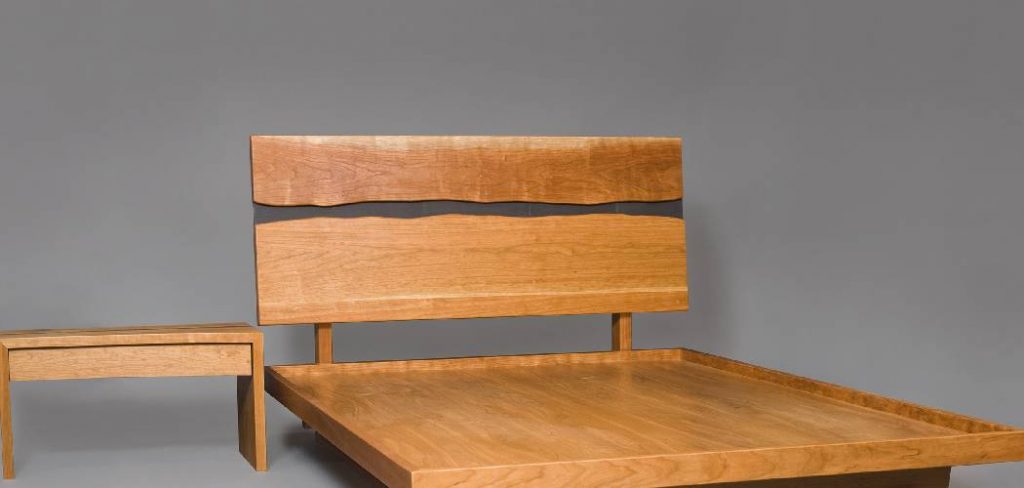
Transforming an old headboard into a functional and stylish bench is a rewarding DIY project and a wonderful way to breathe new life into forgotten furniture. Upcycling furniture reduces waste and promotes sustainability, allowing you to creatively repurpose items that might otherwise end up in a landfill. This project is cost-effective and provides an opportunity to modify a piece to suit your personal style.
In this article, we will guide you through the essential steps on how to build a headboard bench, starting from preparing the headboard to adding the final touches. Following our simple instructions, you’ll create a unique bench that enhances your home decor while showcasing your craftsmanship and commitment to sustainable living.
Materials and Tools Needed
To complete your headboard bench project, gather the following materials: an old headboard, wood for the seat and legs, screws, wood glue, paint or stain, and sealant. You will need a saw, drill, screwdriver, measuring tape, clamps, sander, and paintbrushes for the tools required. Additionally, consider optional materials such as decorative trim to enhance the bench’s appearance and cushions for added comfort. Having these items on hand will streamline the process as you learn how to build a headboard bench.
Preparing the Headboard
Cleaning and Sanding
Before getting started with the transformation, cleaning and sanding the headboard properly is essential. Begin by thoroughly cleaning the headboard with a damp cloth or sponge to remove any dust, grime, or old residue. This will ensure the surface is clean and ready for the next steps. Once clean, move on to sanding the headboard. Use medium-grit sandpaper to smooth out any rough areas, focusing on edges and surfaces that will be visible after the project. Be sure to sand in the direction of the wood grain to achieve the best finish. After sanding, wipe down the headboard again to remove any dust particles that may have accumulated.
Measuring and Cutting
Once the headboard is clean and smooth, it’s time to measure and cut it to the desired height for the bench. Using a measuring tape, determine the appropriate height that fits your design and comfort preferences, then mark the measurements clearly on the wood. If the headboard is too tall or requires adjustments, carefully use a saw to cut it to the marked dimensions. This step is crucial to ensure that the headboard effectively serves its new purpose as a stylish and functional bench.

How to Build a Headboard Bench: Building the Bench Frame
Now that the headboard is prepared, it’s time to construct the bench frame. Start by measuring and cutting wood pieces for the seat supports. These supports should be sturdy and appropriately spaced to provide adequate support for the seating area. Use a saw to cut the pieces to length; this will generally involve cutting two longer pieces for the outer supports and two shorter pieces for the inner supports, ensuring they can adequately hold the weight of those who will sit on the bench.
Attaching the Seat Supports
Once the seat supports are cut, position them against the back of the headboard, ensuring they are level and aligned properly. Use wood glue to create a strong bond between the supports and the headboard, followed by drilling screws through the supports into the headboard for a secure attachment. Check for level as you work, making any necessary adjustments to avoid a wobbly bench. After the seat supports are in place, give the glue some time to set before proceeding to the next step.
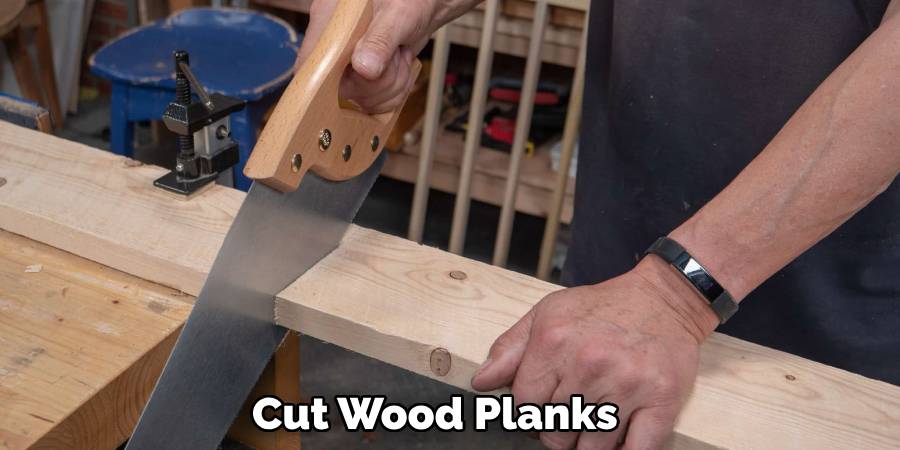
Constructing the Seat
Measure and cut wood planks for the seat to fit the space between the seat supports. The width of the planks should allow them to sit securely without overhanging the edges. Once cut, it’s time to attach the planks to the seat supports. Using screws or nails, secure the planks in place, ensuring to leave a small gap between each plank, which will allow for expansion and contraction of the wood. This gap is essential for outdoor benches, especially with variations in temperature and humidity. Once all planks are secured, your bench frame will be ready for the finishing touches, ensuring both stability and comfort.
How to Build a Headboard Bench: Adding the Legs
Measuring and Cutting the Legs
To ensure your headboard bench is comfortable, it’s vital to determine the desired height for the bench legs. A standard bench height ranges from 18 to 20 inches, but this can vary based on personal preference and intended use. Measure the height from the seat to the floor, and mark the required length on your chosen wood for the legs. Using a saw, cut each leg to the appropriate length. Keep in mind the thickness of the seat planks when calculating the final height, as this will affect the overall dimensions and comfort of the bench.
Attaching the Legs
With the legs cut to size, position one leg at each corner of the bench frame, ensuring they are flush with both the seat supports and the headboard. Ensure that each leg is level before securing it in place, as uneven legs can lead to instability. To attach the legs, apply wood glue at the contact points where the leg meets the seat supports and the headboard, ensuring a strong bond. Next, drill screws through each leg into the seat supports and the headboard for added security.
After securing the legs, check for stability by gently rocking the bench; it should feel firm without any excessive movement. You can further enhance the bench’s stability by adding diagonal braces between the legs and seat supports if desired. These braces can be cut from scrap wood and will help to prevent wobbling or collapsing under weight. Attach the braces using screws and wood glue, ensuring they are positioned at an angle for maximum support. This additional reinforcement will ensure your headboard bench is stylish, sturdy, and safe for everyday use.
Finishing Touches
Sanding the Bench
To achieve a polished and smooth finish for your headboard bench, start by sanding the entire surface, focusing on any rough edges or surfaces that may have become bumpy during the construction process. Use fine-grit sandpaper for this step, which will help refine the finish without damaging the wood. After sanding, thoroughly wipe down the bench with a damp cloth to remove any sanding dust, ensuring the perfectly clean surface is ready for the next steps.
Painting or Staining
With the bench sanded, it’s time to enhance the wood’s natural beauty through painting or staining. Choose a color or stain that complements your decor and the environment where the bench will be placed. Using a paintbrush, apply your chosen product, making sure to follow the grain of the wood for an aesthetically pleasing finish. Allow the first coat to dry completely, which might take several hours depending on the product used. After the first coat has dried, inspect the coverage. If needed, apply additional coats for richer color and better protection, letting each coat dry before applying the next.
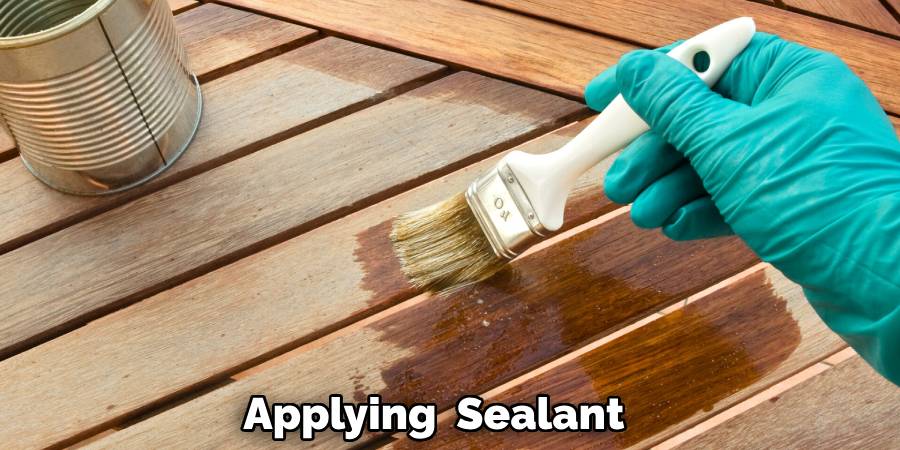
Sealing the Wood
Once the final coat of paint or stain has fully dried, applying a sealant that will protect the wood from scratches, moisture, and other elements is essential. Be sure to choose a sealant that suits the intended use of your bench—indoor sealants typically offer less robust protection compared to outdoor sealants, which are designed to withstand harsher weather conditions. Apply the sealant evenly, ensuring full coverage to maintain the aesthetics and longevity of your furniture piece.
Optional Decorative Elements
Enhancing your headboard bench with decorative elements adds character and offers a personal touch that reflects your style. Consider adding decorative trim along the edges of the bench to create a refined finish. This small detail can transform a simple design into a more sophisticated piece. Additionally, cushions can provide both comfort and visual appeal, inviting relaxation while complementing your home’s decor.
Adding Decorative Trim
Start by measuring the edges of your bench to determine the length of decorative trim needed. Cut the trim to size, ensuring clean edges for a neat application. Apply wood glue to the back of the trim and position it evenly on the edges of the bench. Secure it using finishing nails for a polished look, making sure to sink the nails slightly below the surface for a seamless finish. This decorative touch can add dimension and style to your bench.
Cushions and Upholstery
To further enhance comfort, consider adding cushions or an upholstered seat. Choose a fabric that not only complements the bench’s finish but also aligns with your overall decor style. Depending on the desired look, you can opt for vibrant colors, patterns, or textured fabrics that bring warmth and personality to the bench. Secure the cushions with ties or Velcro strips to keep them in place, ensuring a pleasurable seating experience for anyone using the bench.
Maintenance Tips
To ensure the longevity and stability of your headboard bench, it’s essential to implement regular maintenance. Begin by periodically checking and tightening screws to maintain structural stability, especially if the bench experiences frequent use. If your bench is placed outdoors, reapply sealant as needed to protect the finish from the elements, ensuring it retains its beauty and durability. Additionally, clean the bench with a damp cloth and mild soap to prevent dirt buildup and keep it looking new. Following these maintenance tips will help you enjoy your beautifully crafted bench for years to come.
Conclusion
In summary, learning how to build a headboard bench transforms an old headboard into a stylish yet functional piece of furniture. You create a unique seating solution that reflects your style by following the steps of preparation, assembly, finishing, and adding decorative touches. Don’t hesitate to customize your bench with cushions, trim, and other elements that enhance its visual appeal. This project serves practical use and offers immense satisfaction, showcasing the benefits of upcycling furniture as a means of creative expression while contributing to sustainable living practices.
About the Author
Adrian Green, a lifelong woodworking enthusiast, shares his passion for the craft through The Woodenify Blog. With a foundation built on years of hands-on experience in his father’s woodworking shop, Adrian is dedicated to helping others learn and grow in the world of DIY woodworking. His approach to woodworking combines creativity, practicality, and a deep appreciation for the art of building with your own hands. Through his blog, he inspires individuals of all skill levels to embark on their own woodworking journeys, creating beautiful, functional pieces of furniture and décor.
Professional Focus
- Specializes in DIY woodworking projects, from furniture to home décor.
- Provides step-by-step guides and practical tutorials for woodworkers of all skill levels.
- Dedicated to helping readers build confidence and skill through easy-to-follow instructions and tips.
- Passionate about fostering a community of makers who can share, learn, and grow together.
Education History
- University of Craft and Design – Bachelor of Fine Arts (BFA) in Woodworking and Furniture Design
- Woodworking Apprenticeships – Extensive hands-on training with skilled craftsmen to refine carpentry and furniture making techniques.
- Online Courses & Masterclasses – Continued education in advanced woodworking techniques, design principles, and specialized tools
Expertise:
- DIY woodworking, carpentry, furniture making, and home décor projects.
- Creating accessible tutorials and guides for beginner to advanced woodworkers.
- Sharing the joys and satisfaction of woodworking, from raw materials to finished products.