Trex deck boards are popular for outdoor decks for their durability and low maintenance. However, there may come a time when you need to remove them for various reasons, such as replacing damaged boards or changing the overall design of your deck.
The good news is that Trex deck boards can be removed without causing any damage to the boards or the underlying structure. This guide will go through the step-by-step process of how to remove Trex deck boards without damage. So, let’s get started!
Understanding Trex Deck Boards
Before we dive into the removal process, it’s important to understand the composition of Trex deck boards. These boards are made from a combination of wood fibers and recycled plastic materials, making them resistant to rot, insects, and moisture.
They also come in various colors and textures that mimic the look of real wood. Understanding the construction of these boards will help you understand how to remove them properly without causing any damage.
Tools and Materials You Will Need to Remove Trex Deck Boards Without Damage
- Pry bar or crowbar
- Drill with a screwdriver bit
- Hammer
- Protective gloves and eyewear
- Replacement fasteners (if needed)
Step-by-step Guidelines on How to Remove Trex Deck Boards Without Damage
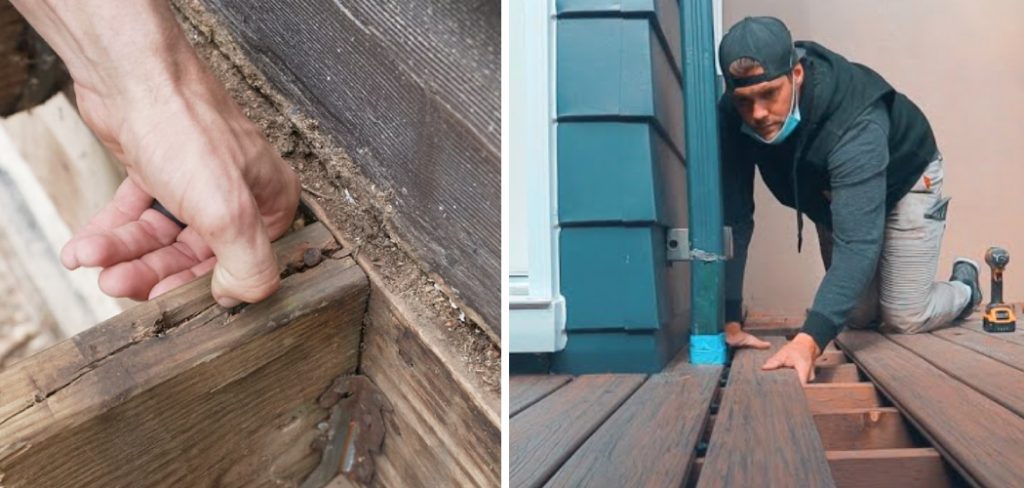
Step 1: Prepare the Deck
Before removing the deck boards, clear the deck of any furniture or plants that may get in the way. It’s also a good idea to clean the surface of any debris. Preparing the deck will give you a clear working space and prevent trip hazards. If your deck has a railing, remove the top rail to make it easier to access the boards. This is also a good time to inspect the boards for any visible damage or signs of wear and tear.
Step 2: Loosen the Deck Boards
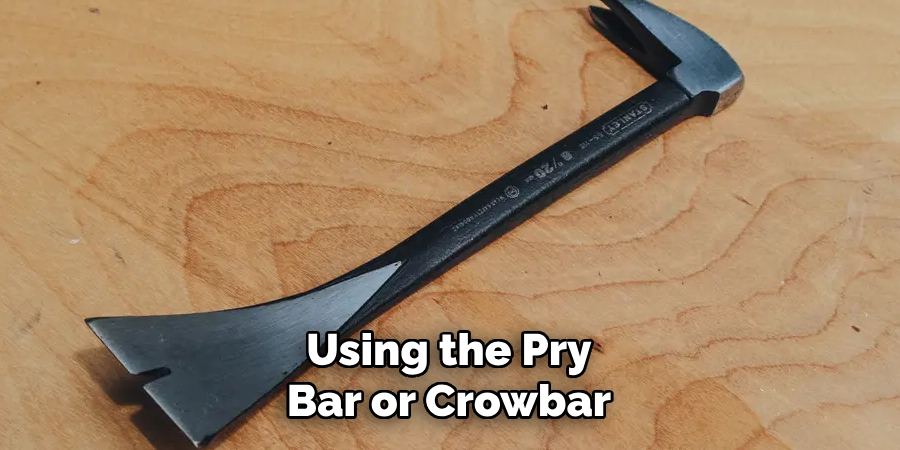
Using the pry bar or crowbar, carefully insert it between the deck board and the joist. Gently push down on the handle to lift the board slightly from the joist. This will loosen the board from its fasteners.
Repeat this process along the entire length of the board, starting from one end to the other. Be careful not to damage the edge or surface of the boards while prying them up. If the boards are attached with screws, use a drill to remove them.
Step 3: Remove the Boards
Once the boards are loosened, you can easily lift the boards off from the joists once they are loosened. Double-check if all the fasteners have been removed if you encounter any resistance.
For stubborn boards, gently tap on them using a hammer to loosen them further. Carefully stack the removed boards in a safe place to avoid any damage. While removing the boards, make sure to note any areas that need replacement or repair.
Step 4: Replace and Repair
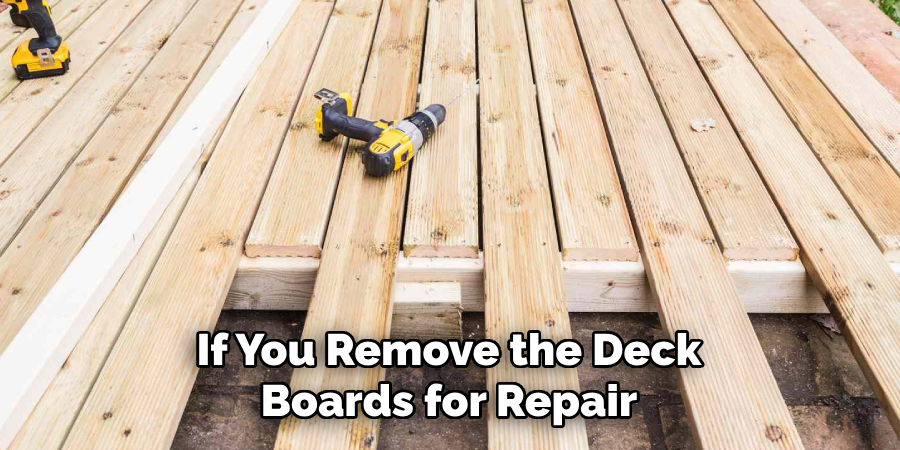
If you remove the deck boards for repair or replacement, now is the time to make any necessary repairs. Use this opportunity to inspect the underlying joists and beams for any damage or rot.
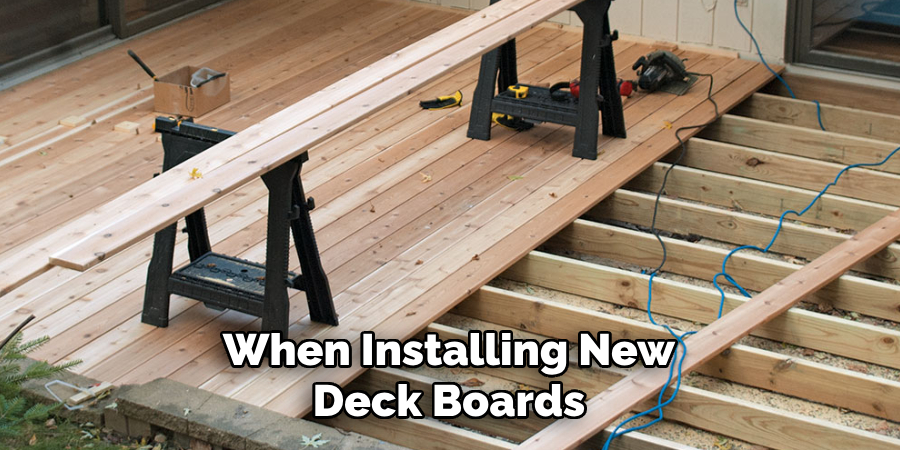
Depending on the extent of the damage, you may need to replace some of these structural elements before installing new deck boards. If you are replacing the boards, make sure to use the same type and color of Trex deck boards for a seamless look.
Following these steps will ensure that you can remove Trex deck boards without causing any damage to them or the underlying structure. Remember to always wear protective gear, and take your time to avoid any accidents. With proper care, your Trex deck boards can last for many years, providing a beautiful, low-maintenance outdoor space for you and your family to enjoy. So don’t be afraid to make changes and updates to your deck when needed!
Additional Tips and Tricks to Remove Trex Deck Boards Without Damage
- When removing multiple Trex deck boards, start from one end and work your way across the deck. This will help keep the remaining boards in place and prevent any unnecessary shifting or damage.
- Use a pry bar or a crowbar to carefully lift up each board, starting at the end closest to the house. Be sure to use steady pressure and avoid applying too much force, as this can result in splintering or breaking the boards.
- If some of the screws are difficult to remove, try using a power drill with a screwdriver bit. This will provide more torque and make it easier to remove stubborn screws.
- For particularly stubborn boards, you may need to use a reciprocating saw or circular saw to cut through any nails or screws holding them in place. Be sure to wear safety goggles and follow all safety precautions when using power tools.
- As you remove each board, use a flat pry bar to carefully lift up any remaining nails or screws from the joists. This will help prevent injuries and make it easier to install new boards later on.
- Try to salvage as many old boards as possible for future projects or repairs. This will save you money and help reduce waste.
- Once all the deck boards have been removed, inspect the joists and framing for any signs of damage or rot. If necessary, make any repairs before installing new boards.
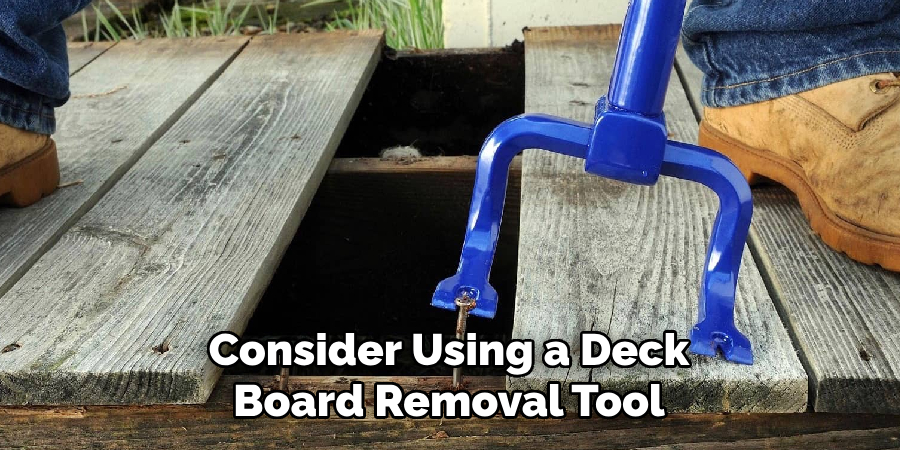
- Consider using a deck board removal tool, such as the Duckbill Deck Wrecker, specifically designed to remove stubborn deck boards without damage.
- When removing deck boards, be sure to wear protective gear, such as gloves and safety glasses, to prevent injuries and minimize potential damage.
Following these tips and tricks will help you successfully remove your Trex deck boards without causing any damage. Remember to always work carefully and patiently, as rushing can result in accidents or broken boards. With the right tools and techniques, you can easily remove old deck boards and prepare for a new, improved outdoor space. Happy renovating!
Things You Should Consider to Remove Trex Deck Boards Without Damage
- First, you should ensure that the weather conditions favor removing Trex deck boards without damaging them. This means not attempting to remove the boards during rain or extreme heat, as these conditions can cause the boards to become more pliable and prone to damage.
- Before removing any deck boards, having all necessary tools and equipment is important. This includes a pry bar, hammer, and saw, if necessary. Having these tools easily accessible will make the process smoother and more efficient.
- Next, you should carefully inspect each deck board to determine the best method for removal. Some boards may be nailed down, while others may be screwed in place. Different methods may be used depending on how the boards are secured.
- If the boards are screwed in place, you can use a drill to remove the screws and then easily lift the boards off of the deck. However, if the boards are nailed down, you must use a pry bar or hammer to carefully remove each nail without damaging the board.
- Working slowly and carefully when removing Trex deck boards is important. Rushing the process can lead to damage or even injury. Take your time and carefully remove each board, being mindful of any obstacles, such as furniture or plants, that may be in the way.
- In some cases, it may be necessary to cut the deck boards in order to remove them without causing damage. Use a saw with a fine-tooth blade to make precise cuts if this is the case. This will help minimize any potential damage to the surrounding boards or structures.
- After removing all of the deck boards, it is important to properly dispose of them. If they are still in good condition, you can recycle or dispose of them responsibly according to local regulations.
- Once all of the deck boards are removed, it is a good idea to inspect the underlying structure of the deck. Look for any signs of damage or rot that may need to be addressed before installing new boards.
- If you plan on reusing the old Trex deck boards, make sure to store them in a dry and cool place so they do not warp or become damaged. This will ensure that they are in good condition for future use.
- Lastly, when installing new deck boards, make sure to follow the manufacturer’s instructions carefully to avoid damage and ensure proper installation. Proper maintenance and care of your deck boards can also help prevent damage and prolong their lifespan.
Following these considerations and taking the time to properly remove Trex deck boards can help preserve their quality and prevent unnecessary damage. With proper care, your deck will continue to be a beautiful and functional outdoor space for years to come.
Maintenance Tips for Trex Deck Boards
1. Keep the Deck Clean:
Regularly cleaning your Trex deck boards is crucial in maintaining their appearance and durability. Dirt, grime, and other debris can build up over time and cause damage to the boards. Use a mild detergent or specialized deck cleaner with a soft-bristle brush to clean your deck at least twice a year. This will help prevent any staining or discoloration and keep your deck looking new.
2. Avoid Harsh Chemicals:
Avoid using harsh chemicals such as bleach or ammonia when cleaning your Trex deck. These can damage the surface of the boards and cause fading or discoloration. Stick to mild cleaners recommended by Trex, or use a mixture of water and vinegar for a natural and safe cleaning solution. This will also help protect the environment.
3. Address Stains Promptly:
If you notice any stains on your Trex deck boards, it’s important to address them promptly. This will prevent them from setting in and becoming more difficult to remove. Use a specialized deck cleaner or a mixture of warm water and soap to gently scrub any stains. For tougher stains, you may need to use a soft-bristle brush or a pressure washer on a low setting.
4. Protect from Scratches:
While Trex deck boards are highly durable, they can still get scratched by sharp objects such as furniture legs or pet claws. To prevent this, consider using protective pads on furniture and keeping pets’ nails trimmed. If scratches occur, gently sand them with fine-grit sandpaper and thoroughly clean the area.
5. Avoid Heat Exposure:
Excessive heat can cause Trex deck boards to warp or fade over time. Avoid placing hot objects such as grills or fire pits directly on the boards to protect your deck from heat damage. Use heat-resistant pads or mats under these items instead. Consider using lighter-colored boards for your deck if you live in a hot climate.
6. Regularly Check for Damage:
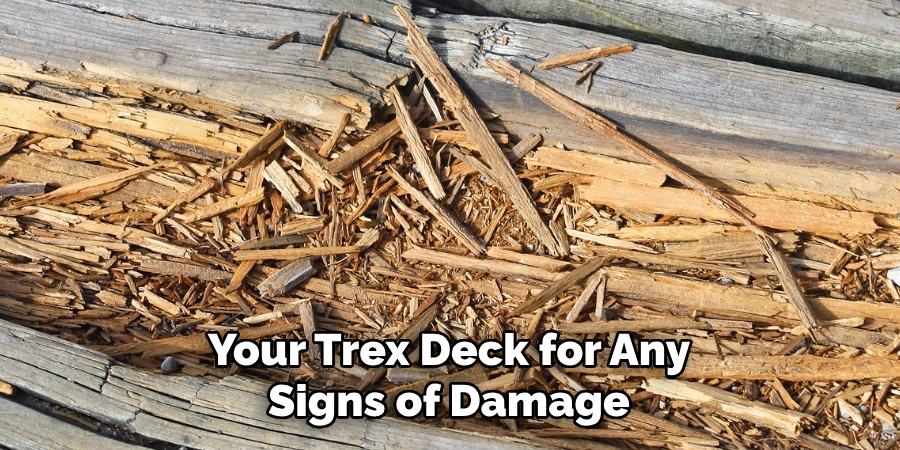
It’s important to regularly inspect your Trex deck for any signs of damage. This includes checking for loose or popped screws, cracked or splintered boards, and any other potential issues. If you notice any damage, address it immediately to prevent it from worsening and potentially causing safety hazards.
7. Properly Store Winter Accessories:
If you live in an area with harsh winters, it’s important to properly store any accessories or decorations on your Trex deck during the colder months. This will protect them from harsh weather conditions and prevent potential damage to your deck boards. Consider using waterproof storage containers for your accessories.
8. Trim Surrounding Vegetation:
Plants and trees can create a beautiful backdrop for your Trex deck but can also cause damage if they are too close. Make sure to trim any vegetation around your deck to prevent it from rubbing against the boards or trapping moisture underneath. This will also help promote air circulation and prevent mold or mildew growth.
9. Apply a Protective Sealant:
While Trex deck boards are designed to be low-maintenance, applying a protective sealant can help further protect them from the elements. Consult with your local hardware store for recommended sealants and follow the manufacturer’s instructions for application. Depending on the climate and level of use, this may need to be done every few years.
10. Regularly Sweep and Clear Debris:
In addition to regular cleaning, it’s important to sweep your Trex deck regularly and remove any debris, such as leaves or twigs. This will help prevent moisture build-up and potential damage to the boards. It can also help prevent slips and falls on a cluttered deck. Consider investing in a leaf blower for easier and more efficient debris removal.
Following these maintenance tips can help ensure that your Trex deck boards remain in top condition for years to come. By taking care of your deck, you can enjoy it for outdoor gatherings and relaxation without worrying about constant upkeep or costly repairs. Remember to always follow the manufacturer’s guidelines and consult with a professional if you have any concerns about the maintenance of your deck. Enjoy your beautiful and durable Trex deck!
Precautions Need to Be Followed for Removing Trex Deck Boards Without Damage

- First and foremost, ensure that you wear safety gear such as gloves, goggles, and a dust mask. This will protect you from any potential splinters or dust particles that may be released during removal.
- Familiarize yourself with the Trex decking material and its installation techniques before attempting to remove boards. This will give you a better understanding of how the boards are attached to the joists and how they can be safely removed.
- It is important to have the right tools for the job. Ensure you have a pry bar, hammer, drill with a screwdriver bit, and a reciprocating saw with metal cutting blades.
- Start by removing any screws or hidden fasteners that are securing the deck boards to the joists. Use the drill with a screwdriver bit to remove screws and a pry bar to remove any hidden fasteners.
- Next, use the reciprocating saw to cut through any nails that may be holding the deck boards in place. Be careful not to damage the joists or other surrounding structures while using the saw.
- As you remove each board, inspect the joists and framing for signs of damage or rot. Repair any damaged areas before installing new deck boards.
- If you plan on reusing the removed deck boards, do not damage them during removal. Use a pry bar and hammer to gently lift each board from the joists.
- Dispose of old deck boards responsibly by recycling or disposing of them at a designated facility.
- Before installing new deck boards, thoroughly clean the area and remove any debris or loose nails from the joists to ensure a smooth and secure installation.
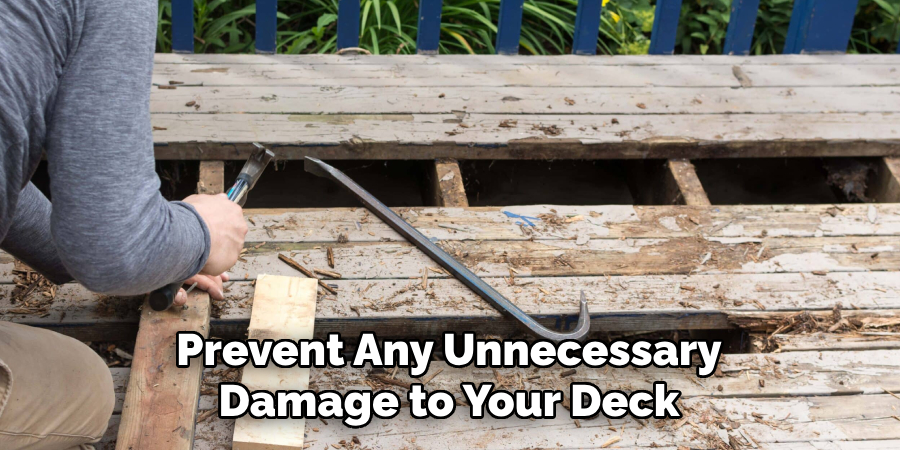
Following these precautions when removing Trex deck boards will help prevent any unnecessary damage to your deck and ensure a safe and successful removal process. It is important to take the time to properly remove old deck boards, as this will not only make the installation of new boards easier but also increase the longevity of your deck. Remember to always prioritize safety and follow the manufacturer’s guidelines for best practices when working with Trex decking material. Happy deck remodeling!
Conclusion
Now you know how to remove trex deck boards without damage and install new ones in their place! Remember to always take necessary precautions when working with power tools and heavy materials. This process may seem daunting initially, but with the right tools and techniques, you can easily remove old deck boards and revitalize your outdoor space.
But don’t stop here! There are many other ways to improve and maintain your deck, such as regularly cleaning and sealing it, adding new features like lighting or furniture, and checking for any potential damage. With proper care and maintenance, your deck can remain a beautiful and functional addition to your home for years to come.
About the Author
Adrian Green, a lifelong woodworking enthusiast, shares his passion for the craft through The Woodenify Blog. With a foundation built on years of hands-on experience in his father’s woodworking shop, Adrian is dedicated to helping others learn and grow in the world of DIY woodworking. His approach to woodworking combines creativity, practicality, and a deep appreciation for the art of building with your own hands. Through his blog, he inspires individuals of all skill levels to embark on their own woodworking journeys, creating beautiful, functional pieces of furniture and décor.
Professional Focus
- Specializes in DIY woodworking projects, from furniture to home décor.
- Provides step-by-step guides and practical tutorials for woodworkers of all skill levels.
- Dedicated to helping readers build confidence and skill through easy-to-follow instructions and tips.
- Passionate about fostering a community of makers who can share, learn, and grow together.
Education History
- University of Craft and Design – Bachelor of Fine Arts (BFA) in Woodworking and Furniture Design
- Woodworking Apprenticeships – Extensive hands-on training with skilled craftsmen to refine carpentry and furniture making techniques.
- Online Courses & Masterclasses – Continued education in advanced woodworking techniques, design principles, and specialized tools
Expertise:
- DIY woodworking, carpentry, furniture making, and home décor projects.
- Creating accessible tutorials and guides for beginner to advanced woodworkers.
- Sharing the joys and satisfaction of woodworking, from raw materials to finished products.