Hey there! Ever heard of Ipe decking? It’s like the superhero of the wood world, known for its incredible toughness and stunning looks. This wood is so tough, it laughs in the face of termites and scoffs at the sun’s attempts to fade its beauty. But even superheroes need a little TLC, which brings us to the nitty-gritty of how to clean Ipe decking.

Now, you might think, “It’s wood; how high-maintenance can it be?” Imagine hosting a barbecue where your guests admire your deck’s rich color and smooth surface. That’s the dream, right? But leaving your deck to fend for itself against nature’s elements is like expecting your car to stay shiny without ever washing it. A little effort goes a long way in keeping your deck the envy of the neighborhood.
Cleaning your Ipe decking isn’t rocket science, but there’s a bit of art to it. Don’t worry; you don’t need to be Da Vinci. We’re talking a few simple steps: a gentle scrub, a rinse, and voila – beauty restored! Stick around as we break down the process of how to clean Ipe decking, ensuring it stays as captivating as the day you laid it down.
Spoiler alert: It’s easier than convincing a toddler to nap and infinitely more rewarding. Get ready to make your deck sparkle without breaking a sweat or the bank!
Understanding IPE Decking
A. Characteristics and Properties of Ipe Wood
Ipe wood, the Clark Kent of the decking world, harbors superhero qualities beneath its ordinary appearance. This wood is almost indestructible, harder than a calculus exam, and more durable than a toddler’s toy.
Its density isn’t just for show; it repels water, resists rot, and laughs off bugs like they’re bad jokes. And color? It ages more gracefully than fine wine, shifting from a rich brown to a distinguished silver-grey if left to its own devices.
B. Benefits of Ipe Decking
Choosing Ipe decking is like opting for luxury without the guilt. It’s naturally slip-resistant, making it the perfect dance floor for your backyard soirees. Plus, its resistance to rot, mold, and fire is akin to having an environmental superhero guarding your outdoor oasis. And because it’s low-maintenance, you can spend more time enjoying your deck and less time worrying about it.

C. Factors Affecting Ipe Decking Maintenance
Now, Ipe might sound like it’s maintenance-free, but even superheroes have their kryptonite. The main villain? Dirt. Unwashed, a deck can become a canvas for mold and mildew. Location plays a role, too; decks under trees or in consistently wet climates might need a bit more TLC.
Sun exposure can also change your deck’s color, though some consider this a patina, adding character. Regular cleaning and occasional finishing will prepare your decking to face whatever the world throws at it.
Preparing for Cleaning
Roll up your sleeves because it’s time to get down to the nitty-gritty! Preparing your deck for its spa day ensures a smoother clean and lets you spot those pesky areas that need extra love. Here’s your battle plan:

A. Clearing the Deck of Furniture and Debris
First things first, declutter your deck. Move those lounge chairs, grills, potted plants, and anything else that’s not nailed down. You might discover lost artifacts from last summer’s barbecues or that missing flip-flop. The goal is to have your deck bare and ready for the spotlight.
B. Sweeping or Blowing Away Loose Dirt and Leaves
Next step: Grab your broom or leaf blower—it’s time to channel your inner cleaning superhero. Sweep or blow away all those leaves, dirt, and unidentified flying objects that have made your deck their home. This isn’t just about cleanliness; it’s about ensuring you have a clear battlefield.
C. Identifying Any Stains or Problem Areas
Now that your deck is clear put on your detective hat and inspect every nook and cranny. Look for oil spots, mysterious stains, or any areas that seem to have been partying harder than the rest of the deck. These spots will need some extra attention during the cleaning process. Marking them with a benign substance can help you remember to tackle them later.
By the end of this prep work, your deck not only starts to resemble its former glory, but you also set the stage for a cleaning process smoother than your uncle’s dance moves at weddings. Keep in mind that a well-prepped deck is half the battle won. Next, we’ll tackle the cleaning solutions and tools that will transform your deck from drab to fab.
Cleaning Solutions and Tools
We’ve rolled up our sleeves and prepared the stage, fellow deck enthusiasts. It’s time to discuss the leading roles in our cleaning extravaganza: the solutions and tools. Ipe Wood, being the VIP guest, demands nothing but the best. And by the best, we mean cleaners and gadgets that do the job without causing a scene (or harming the wood).
A. Choosing Suitable Cleaning Solutions for Ipe Wood
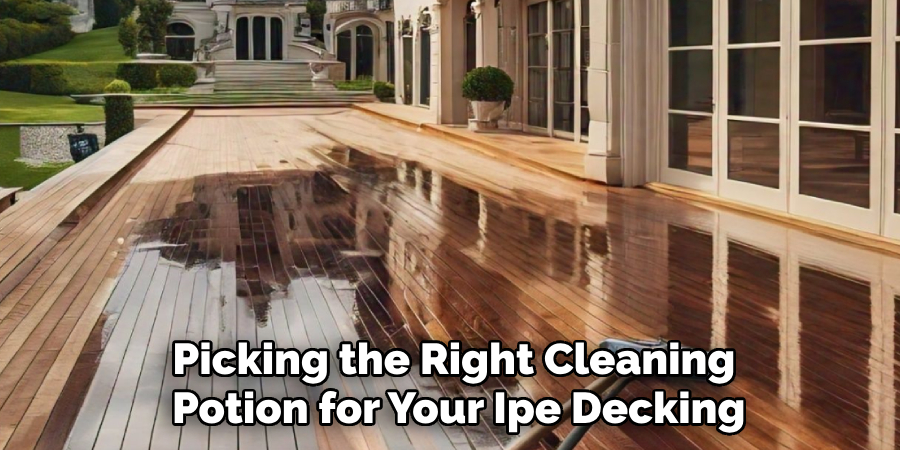
When it comes to picking the right cleaning potion for your Ipe decking, think gentle yet effective. Harsh chemicals are a big no-no; they’re like inviting a bull into a china shop. Instead, opt for a cleaner specifically designed for hardwood. If it’s good enough for fancy wood floors, it’s good enough for your outdoor haven. Look for products that promise to remove dirt and grime without stripping away your deck’s dignity.
B. Exploring Eco-Friendly and Biodegradable Options
Now, for all you eco-warriors out there, cleaning your deck doesn’t mean you must compromise your green principles. The market is awash with eco-friendly, biodegradable cleaners that love the earth as much as you do. These green warriors pack a punch against dirt while being kind to Mother Nature. Bonus points if you make your cleaning solution at home with some vinegar, water, and a splash of eco-friendly soap – your deck and the planet will thank you.

C. Selecting Appropriate Cleaning Tools
Now, onto the tools of the trade. First up, the trusty bristle brush – think of it as your deck’s best friend. It’s tough on dirt yet gentle enough not to leave a mark. For those harder-to-reach spots or if you’re dealing with a rather stubborn deck, a pressure washer set to a gentle setting can be your knight in shining armor.
Just remember, wielding a pressure washer is like handling a lightsaber – it requires finesse and a gentle touch. There is too much pressure, and you might leave your deck looking like it survived a duel.
By arming yourself with the right solutions and tools, you’re setting the stage for a show-stopping performance. Not only will your deck be clean, but it will also be a testament to your dedication to quality, eco-friendly practices, and impeccable taste.
How to Clean Ipe Decking: Washing the Deck
Alright, my fellow clean-deck aficionados, the stage is set, the actors are ready, and it’s SHOWTIME! Our woodwork masterpiece is about to get the pampering it deserves. Here’s how we’ll bring the sparkle back:
A. Wetting the Deck Surface with Water
Firstly, we will give our deck a nice, refreshing shower. This isn’t just to prepare it for its spa treatment; wetting the surface helps ensure the cleaning solution spreads evenly and doesn’t soak into dry wood too quickly. Think of it as pre-gaming before the main event – it sets the mood and makes everything that follows more effective.
B. Applying Cleaning Solution and Allowing it to Soak
Next up, it’s time to bring out our chosen cleaning solution, the guest of honor. Pour it generously over the deck, especially in marked areas with better days. Imagine you’re an artist, and the deck is your canvas – only instead of paint, you’re using soapy goodness.
Allow it to soak in for the recommended time on the product label, allowing it to break down the grime and grease. This soaking period is the perfect opportunity to grab a beverage and admire your handiwork thus far. Patience here is key; it is like marinating a steak to perfection.
C. Scrubbing the Deck Surface with a Brush or Broom
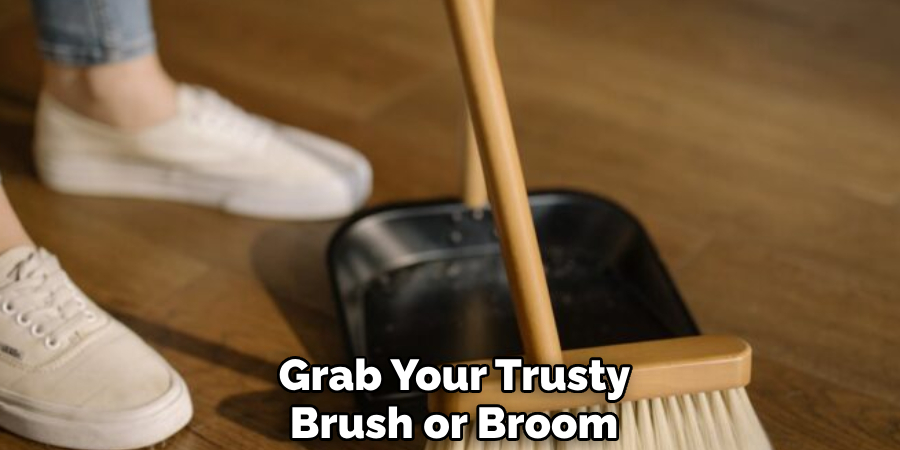
Now, for the pièce de résistance! Grab your trusty brush or broom and channel your inner Cinderella or Cinderfella. You’re about to scrub a dub with all the gusto of someone who’s just found out their mother-in-law is popping around in an hour. Start from one end and work your way to the other, ensuring you cover every inch. Put some elbow grease into it, but remember, we’re cleaning, not sanding – the goal is to remove dirt, not the deck itself.
By the end of this three-step dance, your deck will be clean and a testament to your commitment to curb appeal and unparalleled knack for outdoor maintenance. Rinse off any leftover cleaner with water, and stand back to admire a job well done. Your deck is now not only clean but ready to host whatever life throws at it—from summer BBQs to quiet nights under the stars.
How to Clean Ipe Decking: Rinsing Off the Cleaning Solution
Alright, troops. It’s time to banish every last bit of that cleaning solution to the land of “Not On My Deck Anymore.” We’ve scrubbed and admired, and now it’s the moment of truth—the rinse.
A. Using a Garden Hose or Pressure Washer to Rinse the Deck
Grab your garden hose or pressure washer – whichever you fancy (or whichever one you haven’t lost in your garage). The goal here is not to start a water fight (tempting, I know) but to gently wash away all the soap and grime we’ve lovingly scrubbed off. If you’re using a pressure washer, remember, we’re channeling “gentle summer rain”, not “fireman’s hose on full blast”. We want our deck clean, not blasted into the neighbor’s yard.
B. Ensuring Thorough Removal of Cleaning Residue
Be thorough and meticulous – imagine you’re searching for treasure, and that treasure is a sparkling, clean deck. Leave no board unturned, no corner untouched. You want to ensure no cleaner remains because, trust me, leftover soap residue on a deck is slipperier than a politician’s promise. It’s about achieving that squeaky-clean finish that would make even your nosy neighbor nod in approval.
C. Allowing the Deck to Dry Completely
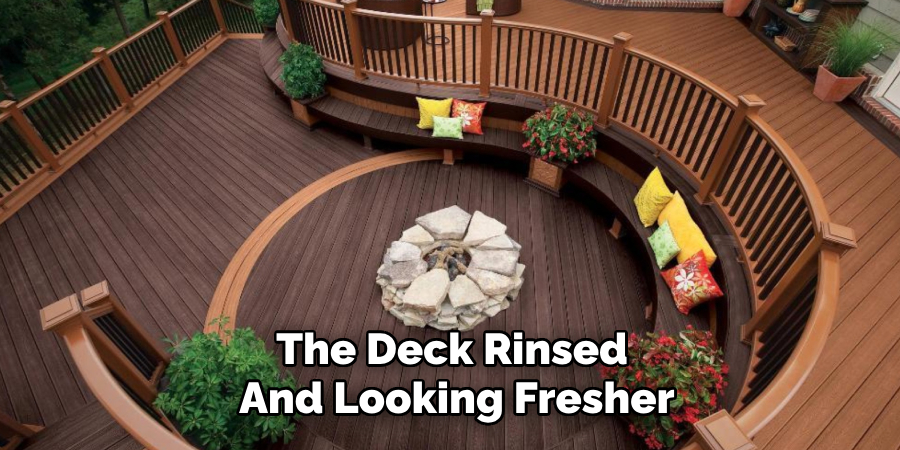
Now, with the deck rinsed and looking fresher than a lemonade stand in July, it’s time for the grand finale – drying. Mother Nature can handle this part, so there is no need to break out the hairdryer. Just give your deck some space, time, and maybe a bit of sweet talking (“Dry quickly, my beauty”).
It needs to be bone dry before you even think about moving furniture back or throwing a deck-warming party. Why? Because wet wood is a sad, sad foundation for any celebration or fancy new deck chair.
And just like that, you’ve officially graduated from Deck Cleaning University with honors. Stand back, admire your work, and take a moment to bask in the glory that is your rejuvenated deck. Your outdoor oasis is ready for whatever comes next: a BBQ bash or serene morning coffees. You’ve done good, my friend.
Removing Stubborn Stains
Alright, folks, just when you thought you were done, you notice those pesky, stubborn stains staring back at you like they own the place. Fear not, because it’s time to tackle them head-on like the deck-cleaning superhero you are. Here’s the game plan for making those stains history:
A. Identifying the Type of Stain (e.g., Oil, Mold)
The first step in our stain-busting mission is playing detective. Not all stains are created equal; like fingerprints, each one needs a special approach. Do you have a slippery situation? That’s probably oil. Green and grimy? Say hello to mold. Identifying what you’re up against is half the battle.
B. Applying Specialty Stain Removers as Needed
Once you’ve got your stain’s number, it’s time to hit it with the right potion. There are a myriad of specialty stain removers out there, tailored for every blight known to deck-kind. Oil, grease, mold—there’s a concoction for each one. Follow the instructions to the letter because these removers are like love potions; too much or too little, and you won’t get the result you’re dreaming of.
C. Using Gentle Scrubbing Techniques to Remove Stains
Now, armed with your stain remover, it’s time for some elbow grease. But remember, we’re going for gentle caresses here, not a wrestling match. You want to coax the stain out, not give your deck a new design. Scrub with care and a soft brush, treating your deck like the delicate treasure it is.
By the end of this meticulous process, those stubborn stains won’t know what hit them. Stand back and marvel at the sight of your pristine deck, free from the clutches of unsightly blemishes. Your deck is ready to shine in the spotlight of your backyard activities, a beacon of cleanliness and diligence.
Sanding and Refinishing (if necessary)
After all that cleaning and scrubbing, your deck might resemble a post-spa glow-up. But sometimes, a closer look reveals that some spa treatments just can’t fix everything. It’s like finding a wrinkle after a face mask—a little sanding and refinishing may be required to restore that youthful deck vibrance.

A. Inspecting the Deck Surface for Signs of Wear or Damage
It’s time to play deck detective again. Grab your magnifying glass (or, you know, just your regular glasses) and take a close look at your deck. Are there areas that look like they’ve seen better days? We’re talking cracks, splinters, or spots that make you wince a little inside. These are the signs that your deck might need a little extra TLC.
B. Sanding Away Surface Imperfections or Rough Spots
If you’ve found some rough patches, it’s time to break out the sander. Think of it as gently exfoliating your deck’s surface. You’re not trying to sand it down to its bones; just smooth out those imperfections and rough spots that could give you a splinter the next time you walk barefoot. Please, for the love of deck, wear a mask. Breathing in sawdust isn’t the secret to a long, happy life.
C. Applying a Fresh Coat of Finish or Sealer for Protection
Once your deck’s as smooth as a jazz musician’s best riff, it’s time to dress it back up. Applying a fresh coat of finish or sealer is like applying sunscreen; it’s protection against the world’s harshness (in this case, weather and time).
Choose your finish like you’d choose a tattoo artist – meticulously. This coat will protect your deck for a long while, so make sure it’s up to the task. Follow the product’s instructions like your deck’s life depends on it (because, in a way, it does).
And there you have it! Your deck is not just clean now; it’s fortified, rejuvenated, and ready to face whatever Mother Nature (or your next backyard BBQ) has in store. Stand back, puff out your chest a little, and take in your masterpiece, your refreshed deck.
Ongoing Maintenance
After all that hard work to get your deck looking like a superstar, you’re not just going to ghost it like last year’s gym membership, right? Nope, it’s all about keeping that relationship healthy with some ongoing maintenance.
A. Regularly Sweeping or Blowing Away Debris
First things first, keep the clutter at bay. Leaves, dirt, and those mysterious bits that magically show up need to be shown the door. Grab a broom or, if you want to feel like a backyard superhero, a leaf blower, and keep that deck clean. It’s like brushing your teeth but for your deck.
B. Periodically Washing the Deck to Prevent Build-Up
You wouldn’t wait until rain to take a shower, so don’t wait for the next storm to clean your deck. Every once in a while, give it a good wash to prevent dirt and grime build-up. It’s like a spa day for your deck – a little pampering to keep it looking its best.
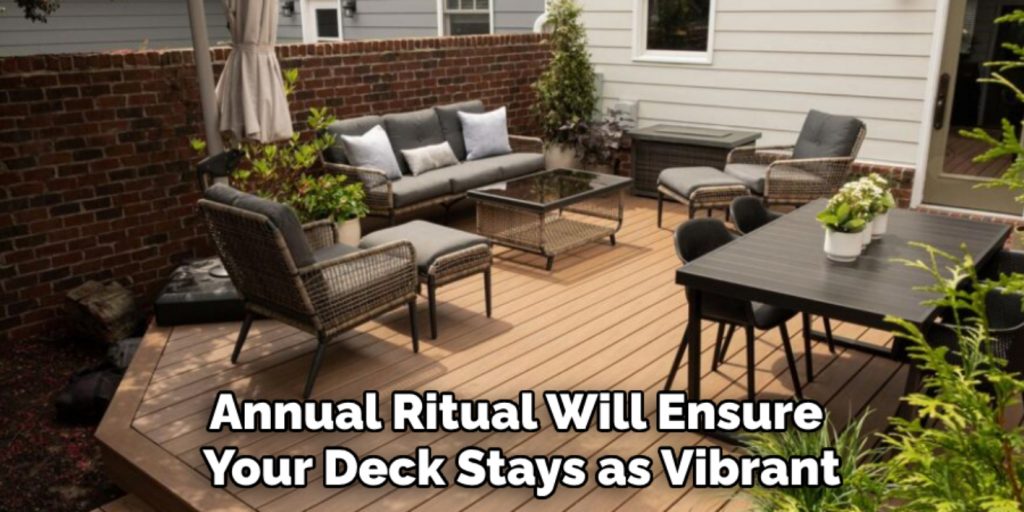
C. Applying a Maintenance Coat of Finish or Sealer Annually
Finally, don’t forget to reapply a coat of finish or sealer every year. Think of it as your deck’s yearly flu shot, keeping it strong and healthy against whatever comes its way. This annual ritual will ensure your deck stays as vibrant and welcoming as the day you first saw it.
Keeping your deck in tip-top shape isn’t just about making it look good for the gram. It’s about preserving that slice of outdoor paradise for as long as possible. Plus, it gives you the perfect excuse to spend more time outside, and who doesn’t love that?
Safety Considerations
Safety isn’t just a pair of old rubber boots you throw on when it looks like rain; it’s the full-on armor for battling through your deck preservation saga. Without proper gear, you’re just a sitting duck for accidents, and trust me, a splinter in the wrong place can turn you into a very sad warrior.
A. Using Protective Gear (e.g., Gloves, Eye Protection)
First up, suit up! Gloves are a must because those chemicals don’t care about your weekend plans, and eye protection isn’t just for mad scientists. Wood chips and cleaning solutions are not part of a balanced breakfast for your eyeballs. And throw on some long pants and a long-sleeve shirt while we’re at it. It might not be the height of fashion, but neither is a chemical burn.
B. Following Manufacturer’s Instructions for Cleaning Products
Now, onto those potions and concoctions we talked about. The back of those bottles isn’t just for decoration or bathroom reading. Those instructions are your recipe for success (and not accidentally creating a backyard toxic swamp). Manufacturers spend a bazillion hours figuring out how to make their products effective without turning you into a superhero origin story, so give those instructions the respect they deserve.
C. Being Mindful of Slippery Surfaces During Cleaning
Lastly, remember that wet decks are slip-n-slides in disguise. While it’s all fun and games until someone’s taken a surprise mud bath, being mindful of slippery spots is crucial. Keep a stable stance, and maybe don’t wear those socks with holes in them for extra grip. Ensuring your surface is dry before taking a victory lap will save you from unintended acrobatics.
By keeping these safety considerations in mind, you’re not just protecting your deck; you’re also making sure that the only tale of woe is the one you tell the stains and grime as you banish them from your outdoor paradise. Now, go forth and maintain responsibly!

Conclusion
Alright, deck warriors. We’ve traipsed through the thickets of deck maintenance together, scratched our heads over sanding strategies, and gotten philosophical about finishes.
Remember, the path to pristine ipe decking involves a gentle wash, respectful sanding (no going overboard), and a ceremonious application of finish or sealer to cloak it in invisible armor against the elements.
Like myths of old reminding us of hubris, neglecting your ipe deck’s call for attention is a tragedy waiting to happen. Regular maintenance isn’t just about keeping up appearances; it’s about commitment to your deck’s longevity.
Ipe is tough, but showing it some love with periodic care helps preserve its rich color and durability, ensuring it remains the legend of your backyard oasis for years to come.
For those itching for the secret finale on how to clean ipe decking, here it is: consistency is key. Treat your deck like your favorite pair of jeans – with care and regular attention. Avoid harsh chemicals and high-pressure washers that can strip its spirit. Instead, opt for mild soap and a soft brush.
Yearly check-ins with finish or sealer will keep it ready for whatever your wild backyard adventures throw at it. And, like any good tale of maintenance and might, share your storied victories and lessons with fellow deck enthusiasts. Deck solidarity is a beautiful thing, my friends.
About the Author
Adrian Green, a lifelong woodworking enthusiast, shares his passion for the craft through The Woodenify Blog. With a foundation built on years of hands-on experience in his father’s woodworking shop, Adrian is dedicated to helping others learn and grow in the world of DIY woodworking. His approach to woodworking combines creativity, practicality, and a deep appreciation for the art of building with your own hands. Through his blog, he inspires individuals of all skill levels to embark on their own woodworking journeys, creating beautiful, functional pieces of furniture and décor.
Professional Focus
- Specializes in DIY woodworking projects, from furniture to home décor.
- Provides step-by-step guides and practical tutorials for woodworkers of all skill levels.
- Dedicated to helping readers build confidence and skill through easy-to-follow instructions and tips.
- Passionate about fostering a community of makers who can share, learn, and grow together.
Education History
- University of Craft and Design – Bachelor of Fine Arts (BFA) in Woodworking and Furniture Design
- Woodworking Apprenticeships – Extensive hands-on training with skilled craftsmen to refine carpentry and furniture making techniques.
- Online Courses & Masterclasses – Continued education in advanced woodworking techniques, design principles, and specialized tools
Expertise:
- DIY woodworking, carpentry, furniture making, and home décor projects.
- Creating accessible tutorials and guides for beginner to advanced woodworkers.
- Sharing the joys and satisfaction of woodworking, from raw materials to finished products.