A hutch is a versatile piece of furniture that often combines both open and closed storage options, making it an attractive addition to dining rooms, kitchens, or living spaces. Typically featuring shelves for display and cabinetry for concealed storage, hutches can serve a variety of functions, from showcasing collectibles to storing dishware.
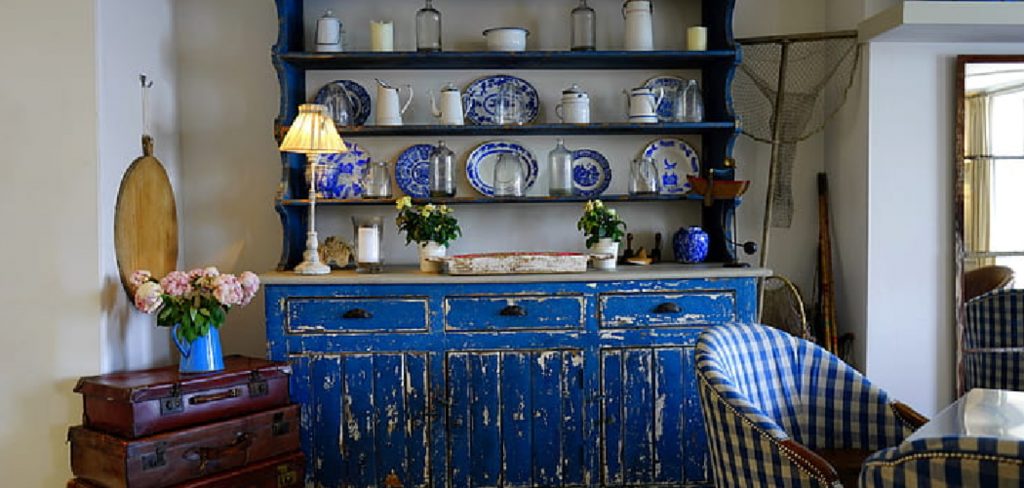
Over time, the original finish of a hutch may dull or become outdated, prompting homeowners to consider a fresh coat of paint. Painting a hutch not only modernizes its appearance but also enhances its durability and resistance to wear and tear. This article aims to provide a detailed, step-by-step guide on how to paint hutch, ensuring that readers feel confident in refreshing their furniture with a beautiful and lasting new look.
Preparing the Hutch
Cleaning the Hutch
The first step in preparing your hutch for a new paint job is to thoroughly clean it. Start by removing any dust and debris using a vacuum or a dry cloth, ensuring that the surfaces are clear of any loose particles that could affect the paint adhesion. Once the dust has been removed, it’s important to proceed with a deep cleaning. Mix a mild detergent with warm water, and do not use overly abrasive cleaners that could damage the finish.
Apply the solution with a soft sponge or cloth, scrubbing gently to eliminate grime and grease that may have accumulated over time. After washing, rinse the hutch with clean water and dry it thoroughly with a clean, dry cloth to ensure no moisture remains, as this can interfere with both primer and paint application.
Removing Hardware and Fixtures
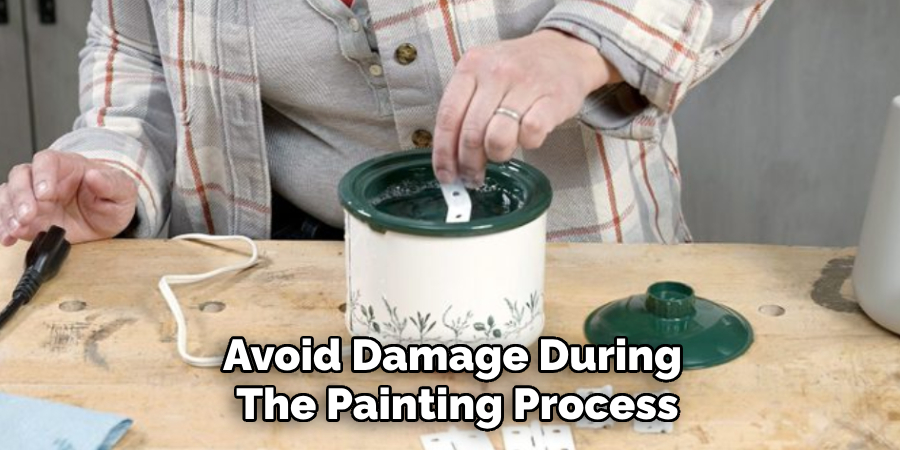
With the hutch clean and dry, the next step is to remove any hardware and fixtures to avoid damage during the painting process. Carefully detach knobs, handles, hinges, and any other removable components. It’s vital to handle these parts gently to prevent stripping screws or causing damage.
To stay organized, label the screws and hardware using small bags or containers that can be easily stored until reassembly. This step not only keeps track of all the parts but also simplifies the process when you’re ready to put everything back together after painting. By taking the time to properly clean and remove hardware, you’re setting a solid foundation for a successful paint job and ensuring that your hutch retains its beauty and functionality for years to come.
Sanding and Preparing the Surface
Sanding the Hutch
Once the hutch is clean and the hardware is removed, it’s time to sand the surface to ensure optimal paint adhesion. Choosing the right sandpaper is crucial; begin with a coarse grit, such as 120-grit, to effectively remove any old finish, imperfections, and rough edges. This initial sanding creates a textured surface that helps the primer and paint adhere more securely.
Use a sanding block or an electric sander for larger areas to maintain even pressure and consistency, while a finer grit, like 220-grit, should be used for finishing touches to smooth out the surface prior to priming. Always sand in the direction of the wood grain to prevent scratching and to achieve the best results.
After sanding, cleaning up the dust produced during the process is essential. Use a tack cloth or a vacuum with a brush attachment to remove all sanding dust thoroughly. This step is critical, as any residue left on the surface can compromise the finish of the primer and paint, resulting in an uneven application. Proper sanding and cleaning are foundational for a flawless transformation of your hutch.
Applying Primer
With the surface prepared, the next step is to apply a suitable primer that acts as a foundation for the paint. Choose a primer specifically designed for wood surfaces or the material of your hutch to ensure compatibility.
An oil-based primer is often recommended for its durability, especially for furniture pieces. Using a brush, roller, or spray can, apply a thin, even coat of primer across all surfaces, ensuring that it reaches into the nooks and crannies. Avoid overly thick layers, as this can lead to runs or drips.
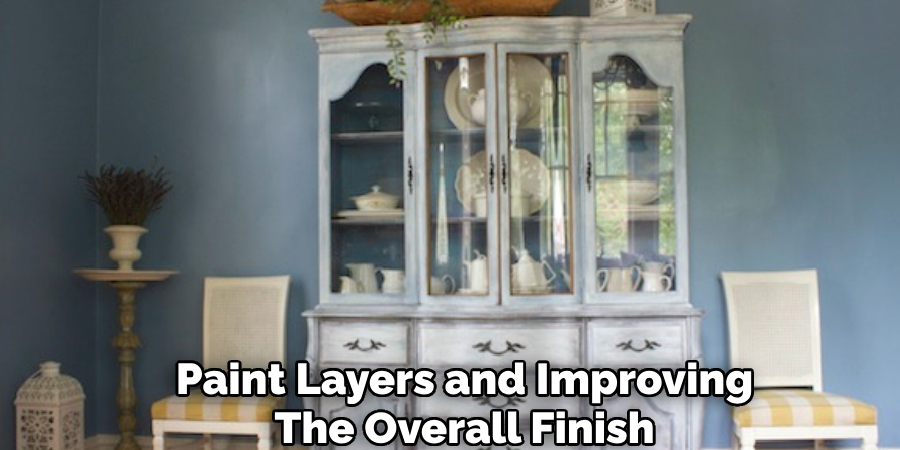
After application, it is crucial to allow the primer to dry completely, following the manufacturer’s recommendations regarding drying time. This allows the primer to cure properly, enhancing adhesion for the subsequent paint layers and improving the overall finish of your refurbished hutch.
How to Paint Hutch: Painting Process
Choosing Paint
When selecting paint for your hutch, it’s essential to consider both the type of paint and the finish that best suits your needs. The two primary options are acrylic latex and oil-based paints. Acrylic latex paints are water-based, making them easy to clean up while providing a durable finish that resists chipping.
They dry quickly and have low levels of volatile organic compounds (VOCs), which makes them a safer choice for indoor projects. On the other hand, oil-based paints offer a more robust and long-lasting finish, ideal for high-use furniture, but require solvent-based clean-up and longer drying times.
Additionally, you should decide on a finish that aligns with your desired aesthetic and functionality. Matte finishes provide a soft look, satin finishes offer a slight sheen with added durability, while gloss finishes reflect light and are easier to wipe clean, making them great for surfaces that may encounter frequent wear.

Applying Paint
Once you’ve chosen the right paint, it’s time to begin the application process. Depending on your comfort level and the hutch’s design, different application techniques can be employed. A brush is ideal for detailed areas and corners where precision is necessary. Use a high-quality brush to avoid brush marks, applying the paint with smooth, even strokes that follow the grain of the wood for the best finish.
For larger flat surfaces, employing a roller is an efficient choice. Rollers cover areas more quickly and can help achieve a uniform coat. Ensure to use a roller with a suitable nap length—short naps work well for smooth surfaces while longer naps are better for textured finishes.
If you’re looking for a professional-quality finish, a spray gun could be employed for an ultra-smooth application. It’s particularly effective for intricate details and can significantly reduce the time spent painting. However, ensure to take necessary precautions, such as wearing a mask and working in a ventilated area when spraying.
Regardless of the technique, applying multiple thin coats is key to achieving a beautiful and even finish. Each coat should be allowed to dry completely before proceeding to the next one, as this will prevent issues such as running or bubbling. Pay attention to the manufacturer’s guidelines for drying times, as they can vary based on the type of paint being used.
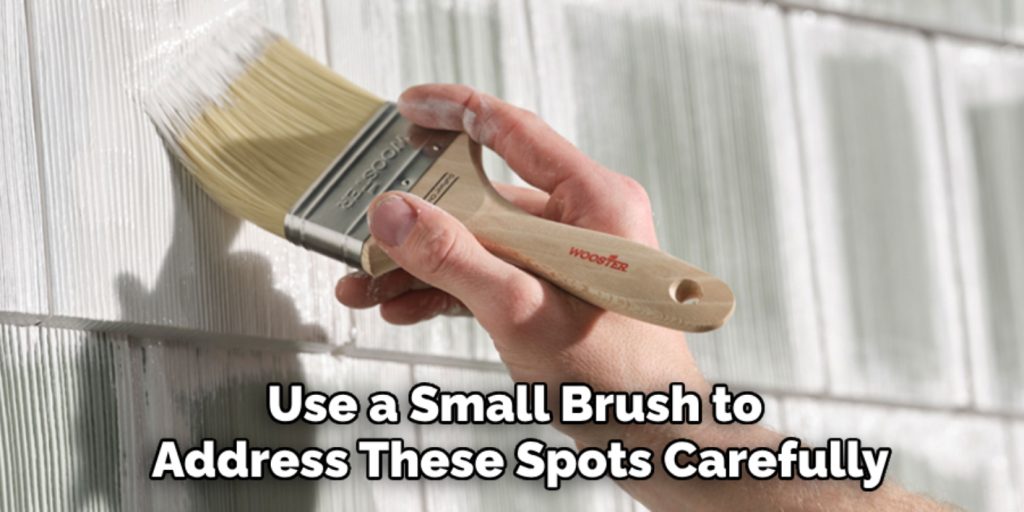
After the final coat has dried, take a moment to inspect your work. It’s common to notice imperfections or areas that require touch-ups. Use a small brush to address these spots carefully, ensuring a flawless finish that enhances the overall appearance of your hutch. With patience and attention to detail, your freshly painted hutch will not only look stunning but will also provide a charming focal point in your home for years to come.
Reassembling and Final Touches
Once the paint has dried completely and you’re satisfied with the finish, it’s time to reassemble your hutch and add those final touches that will enhance its appearance and functionality.
Reattaching Hardware
Begin by carefully reattaching the hardware you removed earlier, such as knobs, handles, and hinges. It’s essential to keep track of each piece, so referring back to any notes or photos taken during disassembly can help. Start with larger components, such as hinges, ensuring that they are securely fastened to align correctly with the doors.
When reinstalling knobs or handles, be sure to place them at a comfortable height and distance from the edges to ensure ease of use. Once all hardware is secured, check for proper alignment by opening and closing the doors to see that they operate smoothly without sticking or rubbing against the frame.
Final Inspection and Touch-Ups
After reattaching all hardware, conduct a thorough final inspection of your hutch’s finish. Look for any imperfections, such as drips, uneven spots, or areas where the paint may have failed to cover adequately. If you notice any issues, use a small brush to apply touch-up paint, ensuring it matches the surrounding area nicely.
Take your time with this step, as it can make a significant difference in the overall appearance of your refurbished hutch. Once touch-ups are complete and have dried, stand back and admire your hard work—the transformation will surely provide a beautiful addition to your space, showcasing your creativity and attention to detail for years to come.
Tips and Best Practices
Preparing the Workspace
Creating an efficient and safe workspace is essential for a successful painting project. Start by clearing the area around your hutch, removing any items that could get damaged or hinder your work. Using drop cloths or old sheets will help protect the floor and surrounding furniture from paint splatters.
Painter’s tape can be applied along edges and surfaces that you want to keep paint-free, such as walls or glass inserts. Finally, ensure that the space has good ventilation, either by opening windows or using fans, to facilitate airflow and reduce the buildup of paint fumes.
Maintenance and Care
Once your hutch is beautifully painted, maintaining its appearance is key to longevity. Clean painted surfaces gently using a mild, non-abrasive cleaner and a soft cloth to avoid damaging the finish. Regular dusting will help keep the hutch looking fresh without the need for harsh cleaning agents.
Additionally, be mindful when handling the hutch; avoid placing heavy items on the surfaces and use coasters under drinks to prevent moisture damage. Taking these simple maintenance steps will help protect the painted surface from chipping or scratching, ensuring that your refurbishment remains pristine for years to come.
Troubleshooting Common Issues
Even with careful preparation and application, issues can arise during the painting process. Here are some common problems you may encounter along with their causes and solutions.
Drips and Runs
Causes: Drips and runs often occur when too much paint is applied in a single coat or when there isn’t enough drying time between applications. This can lead to unsightly globs of paint that detract from an otherwise smooth finish.
Solutions: If you notice drips or runs after the paint has dried, don’t panic. Begin by lightly sanding the affected areas with fine-grit sandpaper to smooth them out and create an even surface. Be sure to dust away any sanding residue before proceeding.
After sanding, you can reapply paint in thin, even layers, ensuring that the grain of the wood is followed for a seamless appearance. Allow adequate drying time between coats to help prevent this issue in the future.
Uneven Color or Coverage
Causes: An uneven colour or patchy coverage typically results from inconsistent application, which might occur if a brush or roller isn’t used uniformly or if not enough coats of paint are applied.
Solutions: To rectify uneven coverage, start by assessing the areas that require additional paint. Apply a fresh coat to those spots, making sure to use a consistent method of application across the entire surface. If necessary, using a roller can help achieve a more uniform appearance, particularly in larger areas.
In cases where the base color still shows through, you may need to apply multiple coats for complete opacity. Always allow each coat to dry thoroughly before assessing coverage and moving on to the next application, ensuring your finished hutch achieves a beautiful, even finish.

Conclusion
In summary, learning how to paint a hutch involves a series of methodical steps: preparing the workspace, carefully disassembling the furniture, applying multiple coats of paint, and reassembling the piece with attention to detail. Each stage plays a crucial role in achieving a flawless finish, with preparation being the key to success.
By investing time in creating an efficient workspace and selecting the right materials, you set the foundation for a beautiful outcome. Remember to embrace the process and take pride in your handiwork—your freshly painted hutch is not only a testament to your creativity but also a cherished addition to your home. Enjoy the journey of transforming your furniture, and let your personal style shine through in every brushstroke!
About the Author
Adrian Green, a lifelong woodworking enthusiast, shares his passion for the craft through The Woodenify Blog. With a foundation built on years of hands-on experience in his father’s woodworking shop, Adrian is dedicated to helping others learn and grow in the world of DIY woodworking. His approach to woodworking combines creativity, practicality, and a deep appreciation for the art of building with your own hands. Through his blog, he inspires individuals of all skill levels to embark on their own woodworking journeys, creating beautiful, functional pieces of furniture and décor.
Professional Focus
- Specializes in DIY woodworking projects, from furniture to home décor.
- Provides step-by-step guides and practical tutorials for woodworkers of all skill levels.
- Dedicated to helping readers build confidence and skill through easy-to-follow instructions and tips.
- Passionate about fostering a community of makers who can share, learn, and grow together.
Education History
- University of Craft and Design – Bachelor of Fine Arts (BFA) in Woodworking and Furniture Design
- Woodworking Apprenticeships – Extensive hands-on training with skilled craftsmen to refine carpentry and furniture making techniques.
- Online Courses & Masterclasses – Continued education in advanced woodworking techniques, design principles, and specialized tools
Expertise:
- DIY woodworking, carpentry, furniture making, and home décor projects.
- Creating accessible tutorials and guides for beginner to advanced woodworkers.
- Sharing the joys and satisfaction of woodworking, from raw materials to finished products.