Creating carpenter aesthetic wood involves a combination of craftsmanship, design, and proper finishing techniques to highlight
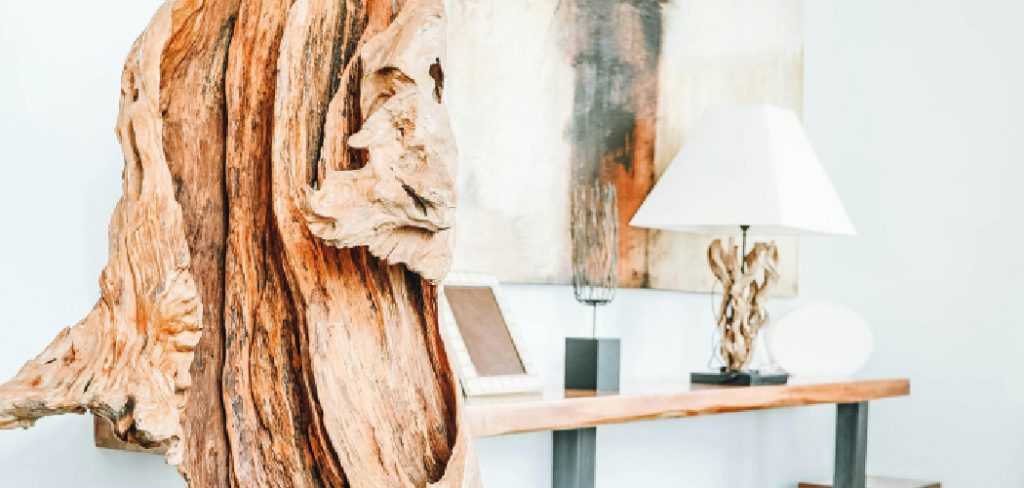
the natural beauty of the material. Whether you’re crafting furniture, decorative items, or architectural elements, understanding the properties of wood and how to enhance its unique grain patterns and textures is essential. This guide will walk you through the steps how to make aesthetic wood that are both functional and artful.
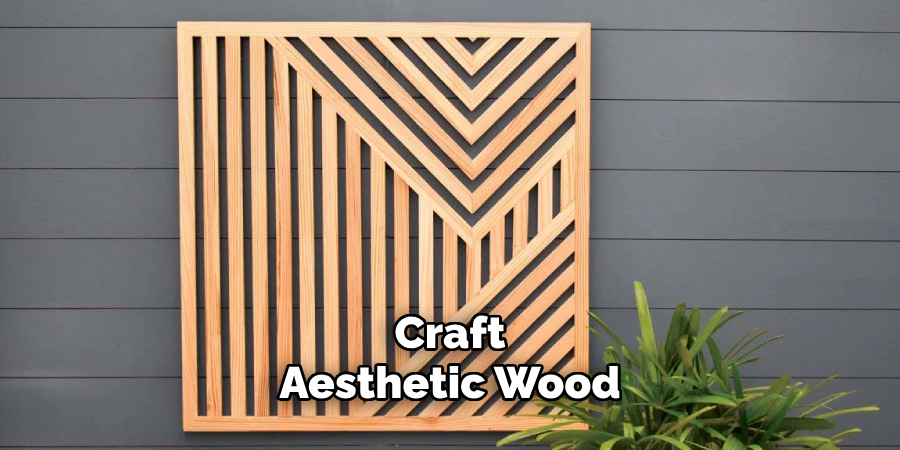
Importance of Creating Visually Appealing Wood
The appeal of beautifully crafted wood extends far beyond its functional purposes. Visually appealing wood can elevate the overall ambiance of a space, adding warmth, character, and sophistication to interiors and exteriors alike. High-quality, aesthetically enhanced wood attracts attention and admiration, making it a centerpiece in furniture, flooring, or decorative designs. Additionally, well-designed wooden pieces can significantly increase the value of a home or product, as they convey craftsmanship and attention to detail.
Aesthetic wood also connects people to nature through its organic textures and patterns, fostering a sense of harmony and tranquility in any environment. By prioritizing the creation of visually appealing wood, you not only enhance the material’s natural charm but also underscore the artistry and care in its craftsmanship.
Tools and Materials Needed
To craft aesthetic wood, you’ll need a comprehensive set of tools and materials that ensure precision and quality in your work. Below is a list of essentials:
Tools
- Saw – A high-quality hand saw or electric saw for cutting wood to the desired dimensions.
- Planer – For smoothing the surface and achieving uniform thickness.
- Chisels – Versatile tools for carving and adding intricate details.
- Sandpaper or Sander – To refine surfaces and edges, ensuring a smooth, polished finish.
- Measuring Tape and Square – For precise measurements and ensuring accurate angles and cuts.
- Clamps – To secure the wood in place while working on it.
- Wood Router – For shaping and adding decorative edges.
- Paintbrushes and Rags – For applying finishes, stains, or protective coatings.
Materials
- Wood – Choose high-quality, natural wood with appealing grain patterns, such as oak, maple, or walnut.
- Wood Stains and Dyes – To highlight the natural beauty of the wood and enhance its colors.
- Finish Coatings – Such as varnish, polyurethane, or oil, to protect the wood and add a glossy or matte look.
- Wood Glue – For strong, durable bonding.
- Filler – To address any imperfections, such as small cracks or holes, ensuring a flawless finish.
By assembling these essential tools and materials, you’ll be well-equipped to transform raw wood into striking, artful pieces that embody both function and aesthetics.
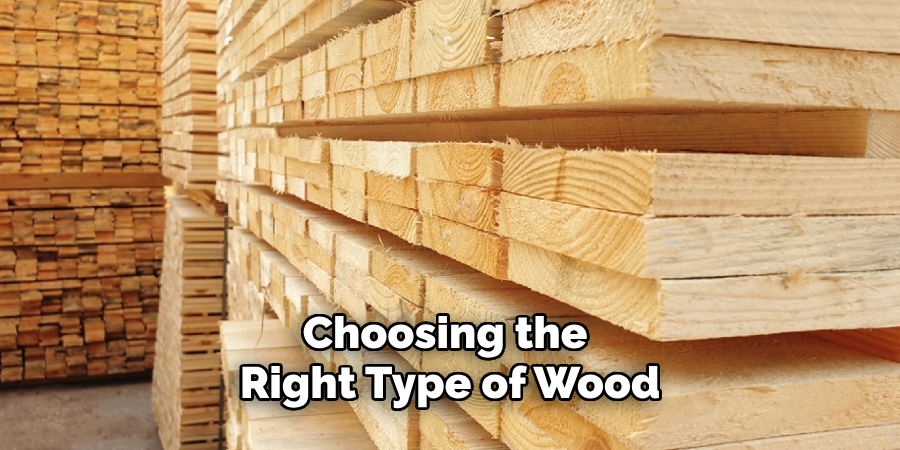
Selecting the Right Wood
Choosing the right type of wood is one of the most critical steps in creating aesthetic wood pieces. Different types of wood possess unique characteristics, such as grain patterns, density, and color, which can greatly influence the final appearance of your project. Here are some considerations to keep in mind when selecting wood:
- Grain and Texture – Look for wood with a grain pattern that complements your intended design. For instance, oak offers a prominent grain pattern, while maple is more subtle and uniform.
- Hardwood vs. Softwood – Opt for hardwoods like walnut, cherry, or mahogany if durability and a refined finish are priorities. Softwoods, such as pine or cedar, are more budget-friendly and easier to work with, making them great for projects requiring frequent shaping or carving.
- Color – Natural wood tones range from light blond to deep reddish-brown. Consider how the wood’s hue will align with your project’s overall aesthetic and whether additional staining is necessary to enhance its appearance.
- Sustainability – Where possible, choose wood sourced from sustainable or reclaimed materials to reduce environmental impact while adding character to your work.
- Workability – Some woods are easier to cut, shape, and finish than others. For instance, poplar is ideal for beginners due to its softness and ease of use, while exotic woods like ebony or teak may require advanced tools and expertise.
- Purpose – Match the wood type to the function of your project. For example, a dense hardwood like oak is excellent for furniture that needs to withstand daily use, while cedar’s natural resistance to moisture is perfect for outdoor pieces.
10 Methods How to Make Aesthetic Wood
1. Sanding for a Smooth Finish
Sanding is the foundation of any aesthetic wood project. Start with coarse-grit sandpaper to remove rough surfaces and imperfections, then gradually progress to finer grits for a silky-smooth finish. Use a sanding block or an orbital sander to maintain even pressure. Proper sanding enhances the wood’s texture, allowing it to showcase its natural beauty when finished.
2. Applying Stain to Enhance Grain
Staining brings out the wood’s natural grain patterns, adding depth and richness. Choose a stain color that complements the wood’s natural tones. Apply the stain evenly with a brush or cloth, wiping off excess to prevent blotching. Experiment with layering stains to achieve unique hues. Staining highlights the wood’s character, making it visually appealing.
3. Using Wood Burning Techniques
Wood burning, or pyrography, involves using a heated tool to create intricate designs on the wood’s surface. This technique adds a
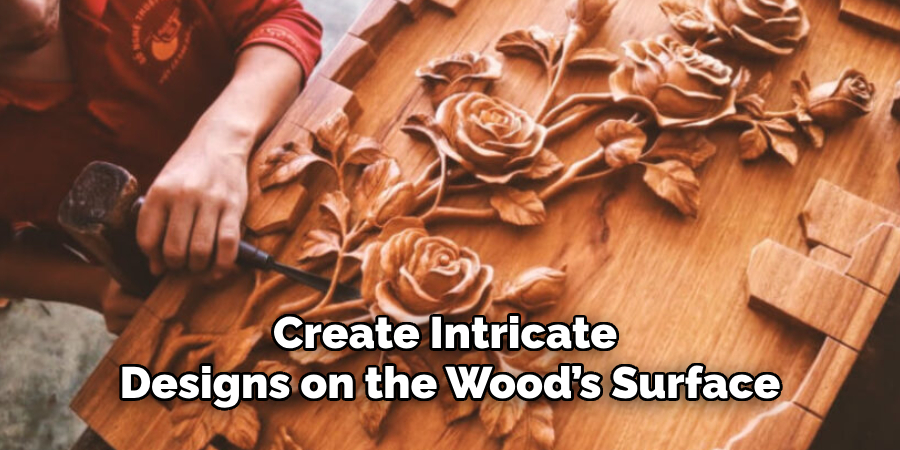
rustic and artistic touch. Practice on scrap wood before working on your project, and experiment with different tips for varied effects. Wood burning is ideal for personalized designs, adding aesthetic value to the piece.
4. Carving Decorative Patterns
Wood carving allows you to create detailed patterns and textures. Use chisels, gouges, and knives to carve designs that enhance the wood’s aesthetic appeal. Start with simple patterns and progress to more intricate designs as your skills improve. Carving adds a unique, handcrafted element that elevates the wood’s beauty.
5. Incorporating Epoxy Resin
Epoxy resin can transform wood into a modern and artistic piece. Fill cracks, knots, or voids with colored or clear resin for a striking contrast. Mix pigments or metallic powders into the resin for added flair. Once cured, sand the surface smooth and polish it to a glossy finish. Resin accents add a contemporary touch to aesthetic wood projects.
6. Applying a Distressed Finish
A distressed finish gives wood a weathered, vintage look. Use tools like hammers, chains, or wire brushes to create artificial wear and tear. Sand the edges and apply a light stain or paint wash to enhance the aged effect. Distressing adds character and charm, making the wood appear timeless and well-loved.
7. Using Natural Oils for a Lustrous Glow
Natural oils, such as linseed, tung, or Danish oil, penetrate the wood’s surface, enhancing its natural color and grain. Apply the oil with a cloth or brush, allowing it to soak in before wiping off excess. Multiple coats build a rich, lustrous finish. Oils provide a warm and organic aesthetic, perfect for showcasing the wood’s natural beauty.
8. Creating Contrasting Inlays
Inlays involve embedding contrasting materials, such as metal, stone, or different types of wood, into the surface. Carve out shallow grooves or patterns, then fit the inlay material securely. Sand the surface flush for a seamless look. Inlays add sophistication and visual interest, elevating the wood’s aesthetic appeal.
9. Using Paint for Bold Statements
Paint can transform wood into a vibrant and eye-catching piece. Choose colors that complement the wood’s natural tones or
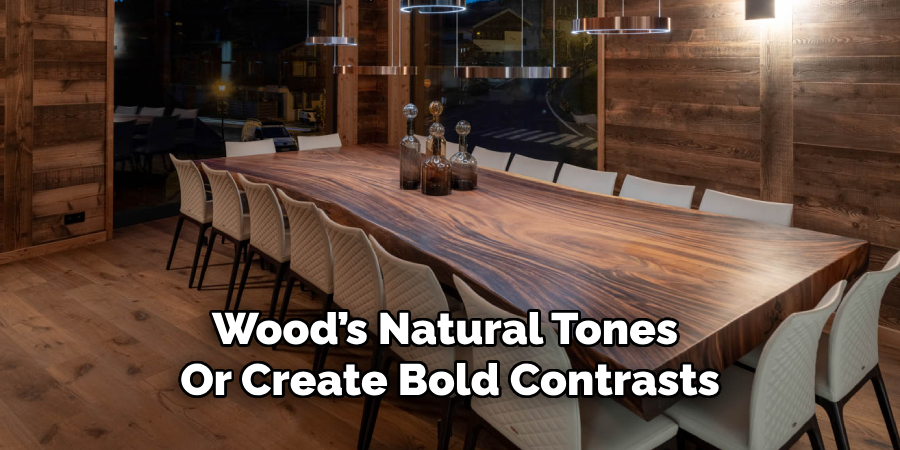
create bold contrasts. Use stencils for precise designs or freehand for a more artistic approach. Apply a primer before painting to ensure even coverage. Painted wood projects offer endless possibilities for creativity.
10. Finishing with a Protective Coat
A protective coat, such as polyurethane, shellac, or lacquer, seals the wood and enhances its appearance. Choose a finish that suits your project—glossy for a modern look, satin for a subtle sheen, or matte for a natural aesthetic. Apply multiple thin coats, sanding lightly between applications for a smooth, durable finish. A protective coat ensures the wood’s longevity while enhancing its visual appeal.
Common Mistakes to Avoid
Even with the best intentions, certain mistakes can hinder the outcome of your wood projects. Here are some common pitfalls to watch for and how to avoid them:
- Skipping Proper Planning – Diving into a project without careful planning can lead to wasted materials and unsatisfactory results. Take time to measure, sketch, and visualize the final outcome to avoid costly errors.
- Neglecting Wood Preparation – Attempting to stain or finish wood without proper preparation, such as sanding or cleaning, often results in uneven or blotchy surfaces. Always ensure the wood is smooth and dust-free before applying any finish.
- Choosing the Wrong Wood Type – Selecting a wood type that doesn’t align with your project’s purpose can compromise both appearance and functionality. Consider factors such as durability, workability, and aesthetic properties to ensure the wood meets your needs.
- Overlooking Safety Precautions – Working with wood involves tools and materials that can be hazardous if not handled properly. Always use protective gear, such as safety glasses and gloves, and follow tool safety guidelines to prevent accidents.
Conclusion
Creating stunning and functional wood projects requires a combination of skill, creativity, and attention to detail. By mastering techniques such as sanding, staining, carving, and incorporating modern elements like epoxy resin or inlays, you can transform raw wood into extraordinary pieces. Thanks for reading our blog post on how to make aesthetic wood! We hope you found it helpful and informative.
About the Author
Adrian Green, a lifelong woodworking enthusiast, shares his passion for the craft through The Woodenify Blog. With a foundation built on years of hands-on experience in his father’s woodworking shop, Adrian is dedicated to helping others learn and grow in the world of DIY woodworking. His approach to woodworking combines creativity, practicality, and a deep appreciation for the art of building with your own hands. Through his blog, he inspires individuals of all skill levels to embark on their own woodworking journeys, creating beautiful, functional pieces of furniture and décor.
Professional Focus
- Specializes in DIY woodworking projects, from furniture to home décor.
- Provides step-by-step guides and practical tutorials for woodworkers of all skill levels.
- Dedicated to helping readers build confidence and skill through easy-to-follow instructions and tips.
- Passionate about fostering a community of makers who can share, learn, and grow together.
Education History
- University of Craft and Design – Bachelor of Fine Arts (BFA) in Woodworking and Furniture Design
- Woodworking Apprenticeships – Extensive hands-on training with skilled craftsmen to refine carpentry and furniture making techniques.
- Online Courses & Masterclasses – Continued education in advanced woodworking techniques, design principles, and specialized tools
Expertise:
- DIY woodworking, carpentry, furniture making, and home décor projects.
- Creating accessible tutorials and guides for beginner to advanced woodworkers.
- Sharing the joys and satisfaction of woodworking, from raw materials to finished products.