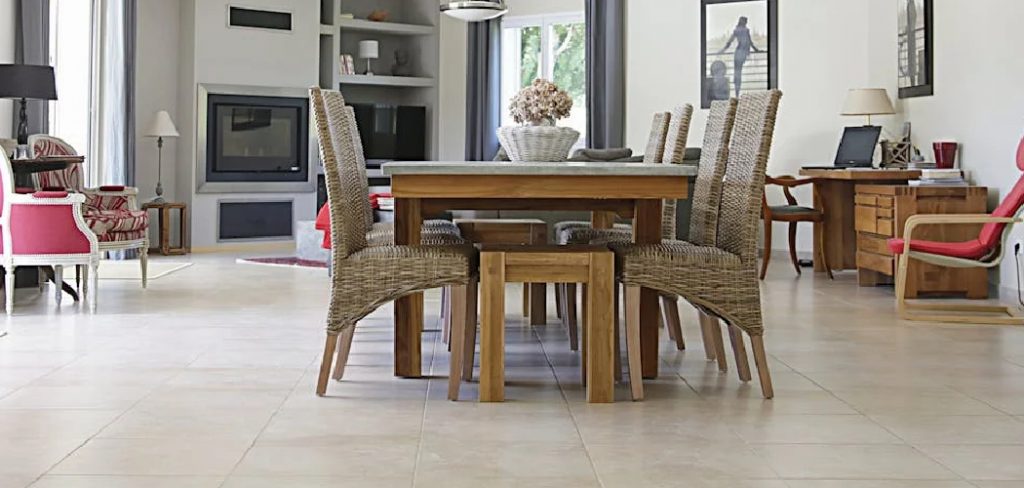
Acrylic chairs are known for their sleek, modern appearance and versatility, making them a popular choice for various home and office spaces. Decorating an acrylic chair can enhance its aesthetic appeal while allowing it to blend seamlessly with your existing decor. Whether you prefer a minimalist look or a more personalized touch, there are countless ways to transform a simple acrylic chair into a stylish statement piece.
In this article on how to decorate acrylic chair, we will discuss some creative and budget-friendly ideas to spruce up your acrylic chairs.
What is Acrylic?
Before we dive into the decoration tips, it’s essential to understand what acrylic is and why it has become a popular material for furniture. Acrylic, also known as plexiglass or lucite, is a type of plastic that resembles glass but is lighter and more durable. It comes in various colors and thicknesses, making it a versatile option for furniture design.
You can find acrylic chairs in different styles, including transparent, colored, and even with patterns or textures. Its sleek and glossy finish gives it a modern and elegant look that adds a touch of sophistication to any space.
Why Decorate Acrylic Chairs?
Acrylic chairs are undeniably stylish on their own, but adding a personal touch through decoration can make them stand out even more. It allows you to customize your furniture to fit your unique style and personality while creating a cohesive look in your space.
Additionally, decorating acrylic chairs is an affordable way to update and refresh your interior decor without breaking the bank. You can easily switch up the decorations whenever you want, making it a versatile and cost-effective option.
Needed Materials
Acrylic Chair:
The first step to decorating an acrylic chair is, of course, having an acrylic chair! If you don’t already own one, there are many options available online and in furniture stores. You can also opt for a DIY approach and make your own acrylic chair using clear acrylic sheets and metal or wooden frames.
Decorative Materials:
There are endless possibilities when it comes to decorating materials for your acrylic chairs. Some popular options include:
Cushions and Throws:
Adding cushions or throws in different colors and patterns can add comfort and personality to your chair. You can mix and match different textures and designs to create a unique look.
Paint:
Acrylic chairs can be painted with acrylic paint, allowing you to add custom designs or patterns. This is an excellent option for those who want to make their chair truly one-of-a-kind.
Stickers or Decals:
Stickers or decals are a fun and easy way to decorate your acrylic chair. They come in various designs and styles, making it easy to find one that suits your taste.
Fabric:
Wrapping fabric around the backrest of your acrylic chair is another simple yet effective way to add a pop of color. You can also use different fabrics, such as velvet or faux fur, for a more luxurious touch.
Plants:
For a natural and organic touch, you can add small potted plants or succulents to your acrylic chair. This is an excellent option for those who want to bring some greenery into their space.
8 Step-by-step Guidelines on How to Decorate Acrylic Chair
Step 1: Choose a Theme or Color Scheme
The first step in decorating your acrylic chair is deciding on a theme or color scheme that fits the overall style of your space. Consider the existing decor in your room and think about how the chair can complement or enhance it. For example, you might opt for a minimalist theme with neutral colors like white, gray, or beige, or you could go bold with vibrant hues and eclectic patterns.
If your space has a specific design style, such as bohemian, industrial, or coastal, use that as inspiration for your chair’s decoration. Determining a clear theme or color palette will guide your choices for materials and decorations, ensuring a cohesive and visually appealing result.
Step 2: Prepare the Chair for Decoration
Before starting the decoration process, it is essential to properly prepare your acrylic chair. Begin by cleaning the chair thoroughly to remove any dust, dirt, or fingerprints that may interfere with the decorations. Use a soft cloth or sponge and a gentle cleaning solution, such as a mixture of water and mild dish soap, to avoid scratching the acrylic surface. Avoid harsh chemicals or abrasive materials that can damage the chair’s finish.
Once the chair is clean and dry, inspect it for any scratches or imperfections. If needed, you can use an acrylic polish to buff out minor scratches and restore its shine. This step ensures that you have a clean, smooth surface to work with, allowing your decorations to adhere better and look more polished. Preparing the chair properly sets a solid foundation for the decorating process and helps achieve a professional-looking result.
Step 3: Add Cushions, Throws or Fabric
If you want to add comfort and coziness to your acrylic chair, start by placing cushions, throws, or fabric on the seat. You can choose colors and patterns that match your theme or opt for contrasting shades for a more eclectic look.
To add a cushion or throw, simply place it on the seat and adjust it until it looks aesthetically pleasing. For fabric, cut a piece that is slightly larger than the backrest of the chair. Wrap the fabric around the backrest and secure it in place with pins or tape on the underside of the chair.
Step 4: Use Paint or Stickers for Custom Designs
If you want to add a personal touch to your acrylic chair, consider using paint or stickers to create custom designs. You can use stencils for intricate patterns or freehand paint for a more artistic look. To apply stickers, carefully peel off the backing and place them on the desired area of the chair. Press down firmly to ensure they adhere properly.
Before painting or applying stickers, it’s best to test them out on a small, inconspicuous area of the chair first to make sure they are easy to remove and do not damage the surface.
Step 5: Add Plants
For a natural touch, add small potted plants or succulents to your acrylic chair. You can place them on the seat, hang them from the backrest, or even attach them to the arms of the chair using hooks or clips. Not only do plants add a pop of color and texture, but they also bring life and freshness to your space. Make sure to choose low-maintenance plants that require minimal watering and care.
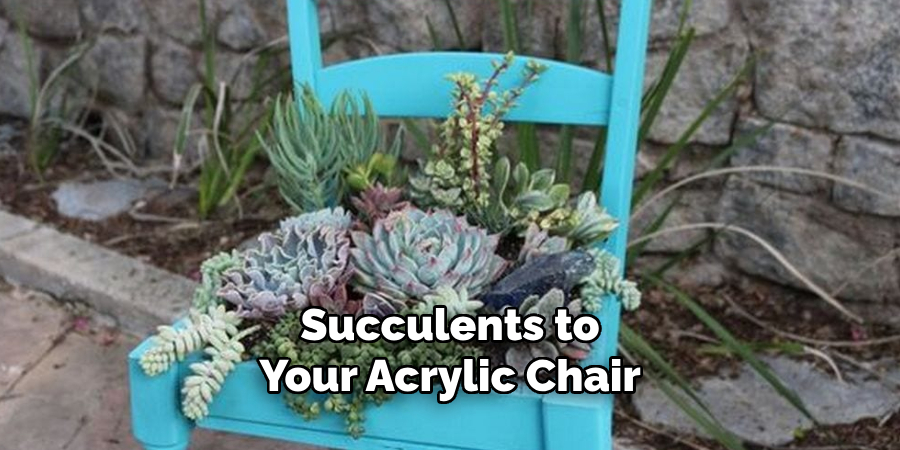
It’s best to avoid placing plants directly on the acrylic surface as they can create moisture and potentially damage the chair. Instead, use a saucer or tray underneath to catch any excess water.
Step 6: Incorporate Other Decorations
To make your acrylic chair truly stand out, consider adding additional decorative elements that suit your theme. These could include fairy lights for a whimsical touch or ribbons to add a playful or elegant accent. You might also use decorative ornaments, such as small hanging charms, to bring extra character to the chair. For those looking to incorporate metallic tones, adhesive vinyl with a gold or silver finish can add a sophisticated and modern flair.
When choosing these decorations, ensure they complement the overall design of the chair without overwhelming it. Secure any added elements firmly but gently to avoid scratching or damaging the acrylic surface. By incorporating unique decorations, you can create a stunning focal point that enhances the ambiance of your space.
Step 7: Personalize with Photos
For a personalized touch, you can add photos to your acrylic chair. You can either attach them directly to the chair using adhesive or place them in frames and lean them against the backrest. This option allows you to showcase cherished memories and add a personal touch to your space.
Ensure that the photos are secured properly and do not obstruct any important parts of the chair, such as armrests or seat areas. It’s also essential to use lightweight frames or small prints to avoid adding too much weight or pressure to the acrylic material.
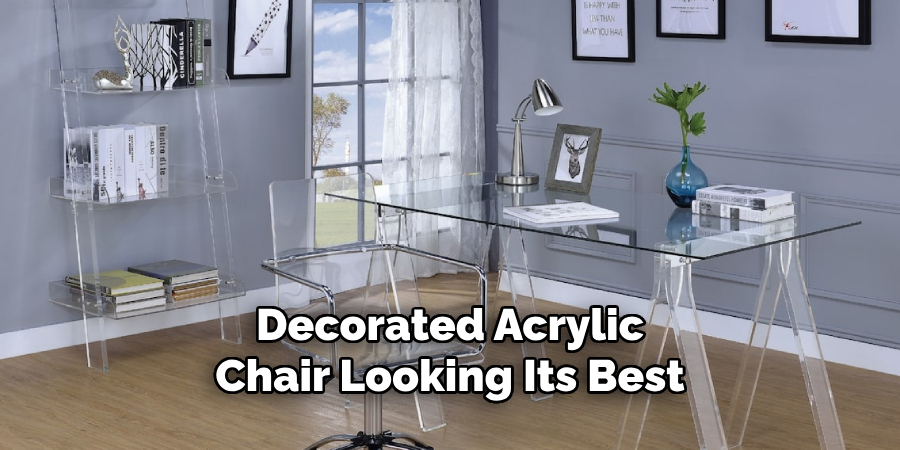
Step 8: Regularly Clean and Maintain Your Decorated Chair
To keep your decorated acrylic chair looking its best, it’s crucial to regularly clean and maintain it. Dust or wipe down the chair with a soft cloth at least once a week and address any spills or stains promptly using a mild cleaning solution. Avoid using abrasive materials, as they can scratch or damage the chair’s surface.
Also, periodically check for any signs of wear and tear on your decorations and make necessary touch-ups or replacements. By maintaining your decorated acrylic chair, you can prolong its lifespan and continue enjoying its beauty in your space.
Following these steps on how to decorate acrylic chair can help you transform your plain acrylic chair into a stylish and personalized piece of furniture. With the right preparation and decorations, you can create a unique statement piece that adds character and charm to any room in your home or office. Let your creativity flow and have fun decorating your acrylic chair! So go ahead, let your imagination run wild, and see what beautiful designs you can come up with. Happy decorating!
Frequently Asked Questions
Q1: Can I Use Any Type of Paint on an Acrylic Chair?
A: It’s best to use acrylic or enamel-based paint specifically designed for non-porous surfaces like acrylic. These types of paint adhere better and have a smoother finish, reducing the risk of chipping or peeling.
Q2: How Can I Remove Stickers or Paint From My Acrylic Chair?
A: For stickers, you can use a hairdryer on low heat to gently warm up the adhesive and peel it off. For paint, rubbing alcohol or nail polish remover can help dissolve the paint without damaging the surface. Ensure to test these solutions on a small area first before using them on the entire chair.
Q3: Can I Use Hot Glue on an Acrylic Chair?
A: It’s not recommended to use hot glue directly on acrylic as it can melt and damage the material. Instead, use a clear adhesive specifically made for acrylic or opt for other methods of attachment such as hooks or clips. But avoid using any sharp objects that can scratch the surface of the chair.
Conclusion
In conclusion, incorporating acrylic chair decor into your space can effortlessly elevate the style and sophistication of any room while offering a modern, sleek aesthetic. Decorating an acrylic chair is a fun and creative way to add personality and style to your space. With these steps on how to decorate acrylic chair, you can choose a theme, prepare the chair, add cushions or fabric, and incorporate various decorations to make your chair truly stand out.
Remember to regularly clean and maintain your decorated chair to keep it looking its best. So why settle for a plain acrylic chair when you can turn it into a unique piece of furniture that reflects your personal style? Get started on decorating your acrylic chair today! Happy decorating!
About the Author
Adrian Green, a lifelong woodworking enthusiast, shares his passion for the craft through The Woodenify Blog. With a foundation built on years of hands-on experience in his father’s woodworking shop, Adrian is dedicated to helping others learn and grow in the world of DIY woodworking. His approach to woodworking combines creativity, practicality, and a deep appreciation for the art of building with your own hands. Through his blog, he inspires individuals of all skill levels to embark on their own woodworking journeys, creating beautiful, functional pieces of furniture and décor.
Professional Focus
- Specializes in DIY woodworking projects, from furniture to home décor.
- Provides step-by-step guides and practical tutorials for woodworkers of all skill levels.
- Dedicated to helping readers build confidence and skill through easy-to-follow instructions and tips.
- Passionate about fostering a community of makers who can share, learn, and grow together.
Education History
- University of Craft and Design – Bachelor of Fine Arts (BFA) in Woodworking and Furniture Design
- Woodworking Apprenticeships – Extensive hands-on training with skilled craftsmen to refine carpentry and furniture making techniques.
- Online Courses & Masterclasses – Continued education in advanced woodworking techniques, design principles, and specialized tools
Expertise:
- DIY woodworking, carpentry, furniture making, and home décor projects.
- Creating accessible tutorials and guides for beginner to advanced woodworkers.
- Sharing the joys and satisfaction of woodworking, from raw materials to finished products.