Are you tired of using a flimsy ironing board? Do you want to upgrade to a sturdier, more durable option? Look no further than making your own wooden ironing board!
How to make a wooden ironing board is a rewarding DIY project that combines functionality with a touch of craftsmanship. Unlike mass-produced ironing boards, a handmade wooden version offers durability, customization, and a rustic aesthetic that can seamlessly blend into your home decor.
Whether you’re a seasoned woodworker or a beginner looking to take on a new project, this guide will walk you through the necessary materials, tools, and step-by-step instructions to craft a sturdy and stylish ironing board that will last years. Let’s get started with the basics.
What Are the Benefits of Making a Wooden Ironing Board?
Aside from the satisfaction and sense of accomplishment of creating something by hand, there are many practical benefits to making your wooden ironing board.
- Durability: A wooden ironing board is incredibly sturdy and can withstand heavy use. It won’t wobble or break easily unlike flimsy plastic or metal options.
- Customization: With a homemade wooden ironing board, you have complete control over the size, shape, and design. You can tailor it to your specific needs and preferences.
- Eco-friendly: By using reclaimed or sustainably sourced wood for your project, you’re not only reducing waste but also contributing to a more sustainable environment.
- Cost-effective: While purchasing a high-quality ironing board can cost you a significant amount of money, making your own can save you a considerable amount in the long run.
- Versatility: A wooden ironing board is not just limited to ironing clothes. It can also be a flat surface for crafting and DIY projects.
What Will You Need?
Before you get started, gather the necessary materials and tools. Most of these items can be found at your local hardware store or online.
Materials:
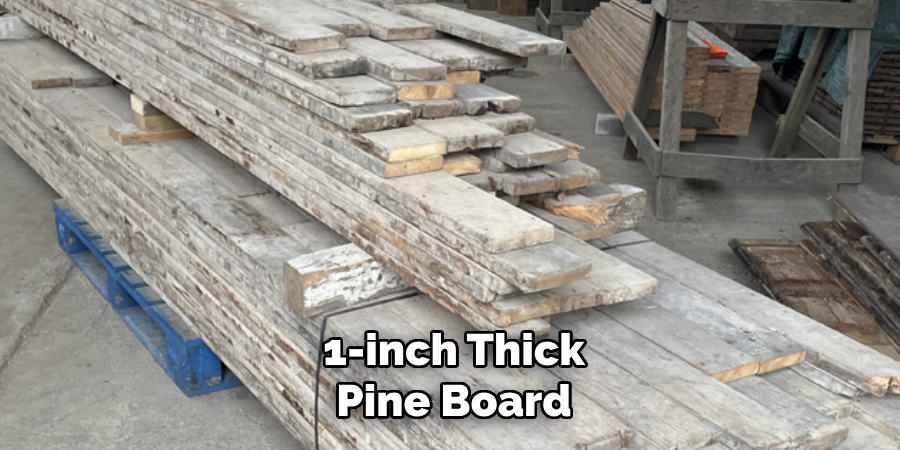
- 1-inch thick pine board (6ft x 2ft)
- 4 wooden legs (adjustable or fixed height)
- Screws
- Drill
- Sandpaper
- Wood glue
Tools:
- Saw
- Tape measure
- Pencil
Once you have all the materials and tools, it’s time to start building!
8 Easy Steps on How to Make a Wooden Ironing Board
Step 1: Measure and Cut the Pine Board
Start by using your tape measure to measure the dimensions of the ironing board you want to create. A standard size is approximately 54 inches long and 15 inches wide, but you can adjust these dimensions based on your specific needs or available space. Use the pencil to mark the measurements clearly on the pine board. Once marked, carefully cut the board to size using the saw.
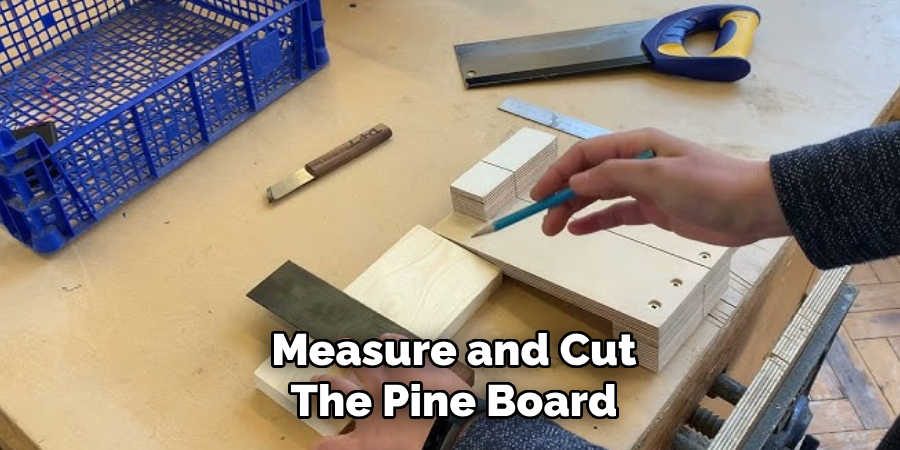
Cut slowly and steadily for clean edges, following the pencil lines precisely. After cutting, use sandpaper to smooth the edges and surfaces to ensure no splinters, making the board safe to handle. This step lays the foundation for your ironing board, so take your time to ensure accuracy and precision.
Step 2: Prepare the Wooden Legs
You’ll need to prepare the wooden legs to provide strong support for your ironing board. Start by selecting sturdy pieces of wood that will function as the legs. For a standard ironing board, you’ll typically need four legs cut to an appropriate length to provide a comfortable working height. A typical height for an ironing board is around 36 inches, but you can adjust this based on your preference.
Using your tape measure, mark the desired length for each leg. Double-check your measurements to ensure all the legs will be equal in length, as uneven legs can result in an unstable ironing board. Once marked, use the saw to cut the pieces to size, ensuring clean and precise cuts. Afterward, sand down any rough edges or corners to prevent splinters and to give the legs a smooth finish.
Step 3: Attach the Legs to the Board
Once the wooden legs are prepared, the next step is to attach them to the board securely. Begin by flipping the board upside down so the underside is facing up. Position each leg at the corners of the board, ensuring they are evenly spaced and aligned for proper support. Use a pencil to mark where each leg will be attached.
Drill pilot holes at the marked points to prevent the wood from splitting when attaching the legs. Next, use screws or bolts to fasten the legs to the board firmly. If you are using screws, ensure they are long enough to hold the legs securely in place, but not so long that they protrude through the board’s surface. For additional stability, consider using wood glue along with the screws or bolts. Allow the glue to dry completely before moving on to the next step.
Step 4: Sand and Finish the Table
After attaching the legs, it’s time to sand and finish the entire table to ensure a polished look and durability. Begin by sanding the surface of the board and the legs using fine-grit sandpaper, smoothing out any rough areas or imperfections. Pay special attention to the edges and corners to avoid any sharp spots. Wipe the table clean with a dry cloth to remove dust or debris.
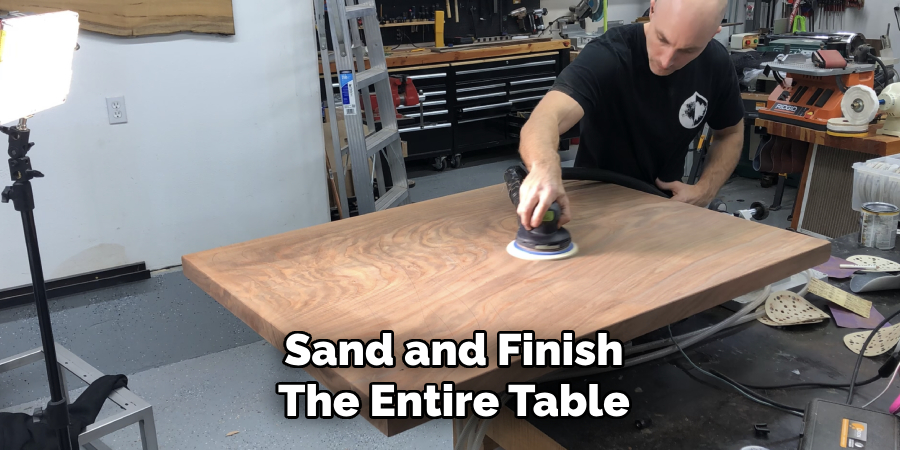
Once the surface is clean, apply your chosen finish, such as wood stain, paint, or a protective sealant, depending on your desired aesthetic and level of protection. If staining, use a brush or cloth to apply the stain evenly, following the grain of the wood for a natural look. Allow the stain to dry completely before applying a clear sealant for protection. If painting, apply a primer first, followed by even coats of paint, letting each coat dry as recommended. Ensure the finish is thoroughly dried and cured before using your table.
Step 5. Add a Foam Pad
For added comfort and to prevent delicate fabrics from snagging, consider adding a foam pad to the top of your ironing board. These can be purchased from most craft or fabric stores and come in various thicknesses. Cut the pad to size and place it on the board before covering it with a heat-resistant ironing board cover.
Step 6: Create an Iron Rest
An iron rest is a practical addition to your ironing board, providing a safe and convenient spot to place the hot iron while adjusting garments or fabrics. You’ll first need a durable, heat-resistant material such as metal or silicone to create an iron rest. For a simple DIY solution, consider using a small metal rack or a pre-made silicone mat for high temperatures.
Start by measuring and marking an optimal area at one end of the ironing board where the iron rest will be installed. Ensure it is positioned to allow easy access without obstructing your workspace. If using a metal rack, securely attach the rack to the board with screws or clips, ensuring it is stable and can support the weight of a hot iron.
Alternatively, if you choose a silicone mat, you can adhere it directly to the board using heat-resistant glue or non-slip pads to keep it securely in place. Once installed, test the iron rest with a heated iron to confirm it can withstand the heat and is safely positioned. This small addition can significantly enhance your ironing experience by improving safety and efficiency.
Step 7: Maintaining Your Iron Rest
To ensure the longevity of your iron rest, it is essential to perform regular maintenance. Clean the area periodically to remove any buildup of residue from the iron or fabrics. For silicone mats, simply wipe them with a damp cloth and mild soap, then allow them to dry completely before use.
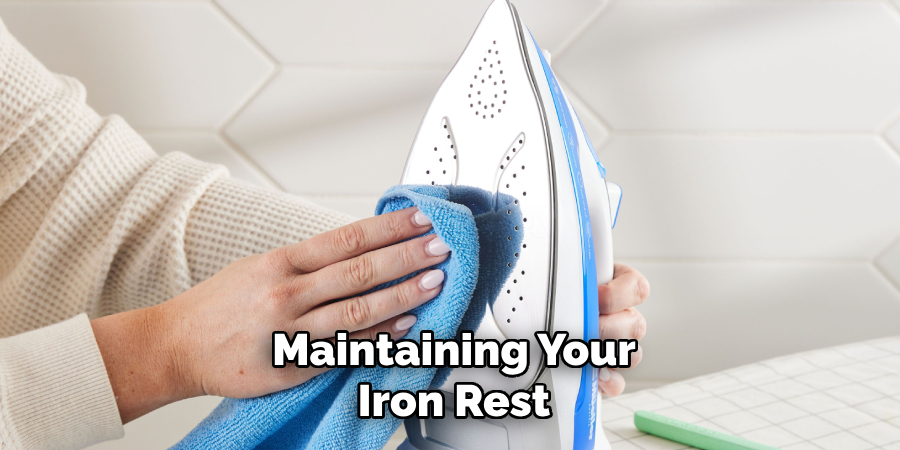
If you’ve installed a metal rack, check regularly for any signs of wear or looseness in the screws or clips, tightening them as needed. By keeping your iron rest clean and secure, you can maintain a safe and reliable workspace for all your ironing tasks.
Step 8: Enhancing Your Ironing Setup
Consider complementing your iron rest by upgrading other aspects of your ironing setup. For instance, invest in a high-quality ironing board cover with heat-resistant and non-stick properties to make ironing smoother and faster. Additionally, you could add a cord holder to manage your iron’s cord, preventing it from tangling or snagging during use. These minor upgrades can work with your iron rest to create a more efficient, comfortable, and enjoyable ironing experience.
By following these steps, you can easily create a custom ironing board that meets your specific needs and preferences.
Conclusion
Creating your wooden ironing board is a rewarding project that combines functionality with personalization.
By carefully selecting durable materials, following thoughtful design steps, and incorporating practical features such as a sturdy iron rest and high-quality ironing board cover, you can craft a reliable and efficient workspace tailored to your ironing needs. With regular maintenance and a few enhancements, your custom wooden ironing board will remain a valuable tool in your home for years.
Hopefully, the article on how to make a wooden ironing board has inspired you to create your own and make ironing a more enjoyable task. So go ahead, gather your materials, and get started on this fun DIY project today! Happy crafting!
About the Author
Adrian Green, a lifelong woodworking enthusiast, shares his passion for the craft through The Woodenify Blog. With a foundation built on years of hands-on experience in his father’s woodworking shop, Adrian is dedicated to helping others learn and grow in the world of DIY woodworking. His approach to woodworking combines creativity, practicality, and a deep appreciation for the art of building with your own hands. Through his blog, he inspires individuals of all skill levels to embark on their own woodworking journeys, creating beautiful, functional pieces of furniture and décor.
Professional Focus
- Specializes in DIY woodworking projects, from furniture to home décor.
- Provides step-by-step guides and practical tutorials for woodworkers of all skill levels.
- Dedicated to helping readers build confidence and skill through easy-to-follow instructions and tips.
- Passionate about fostering a community of makers who can share, learn, and grow together.
Education History
- University of Craft and Design – Bachelor of Fine Arts (BFA) in Woodworking and Furniture Design
- Woodworking Apprenticeships – Extensive hands-on training with skilled craftsmen to refine carpentry and furniture making techniques.
- Online Courses & Masterclasses – Continued education in advanced woodworking techniques, design principles, and specialized tools
Expertise:
- DIY woodworking, carpentry, furniture making, and home décor projects.
- Creating accessible tutorials and guides for beginner to advanced woodworkers.
- Sharing the joys and satisfaction of woodworking, from raw materials to finished products.