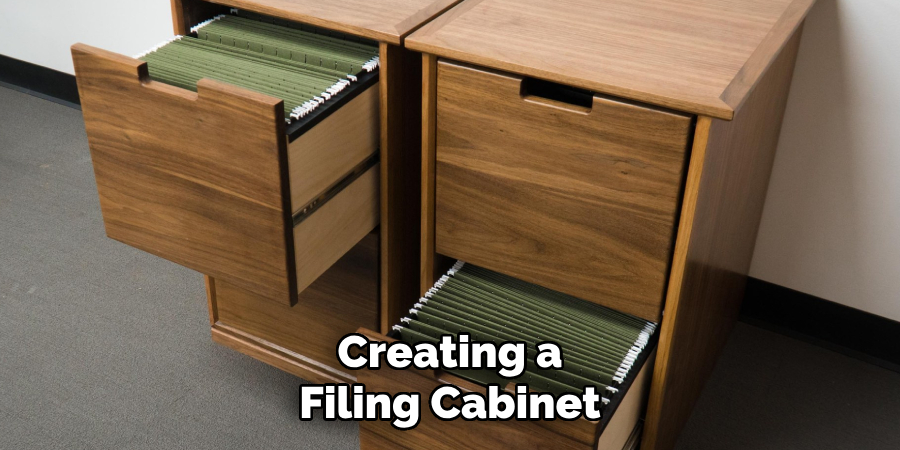
A filing cabinet is an essential piece of furniture for organizing important documents at home or in the office. It helps keep paperwork neat, secure, and easily accessible, reducing clutter and improving productivity. However, finding a filing cabinet that perfectly matches your space and style can be challenging.
That’s where learning how to make a filing cabinet becomes an excellent option. Building your own filing cabinet offers several advantages, including the ability to customize it to fit your exact needs, saving money compared to purchasing a pre-made one, and ensuring a durable, high-quality piece.
This article is a step-by-step guide on designing, constructing, and finishing your custom filing cabinet. Whether you’re a seasoned DIY enthusiast or new to woodworking, the instructions will help you create a functional and stylish storage solution tailored to your specific requirements.
Planning and Choosing Materials
Determining the Size and Design
Before beginning your project, it’s important to determine the size and layout of your filing cabinet. Standard filing cabinet dimensions often range between 15-20 inches in width, 25-30 inches in depth, and 28-52 inches in height, depending on the number of drawers.
Each drawer should ideally accommodate hanging file folders, with a typical internal depth of about 18 inches. Consider your specific storage needs — whether you’ll store letter-size or legal-size documents — and decide on the number of drawers accordingly. For instance, a two-drawer cabinet might suit personal use, while a four- or five-drawer design may be better for an office setup.
Selecting the Right Materials
Choosing the right materials is essential for building a sturdy and long-lasting filing cabinet. Plywood and MDF are excellent choices for their affordability and ease of use, while solid wood provides a more premium and durable option. If you prefer a modern look, metal sheets or panels can be incorporated.
Alternatively, consider upcycling old furniture to create your cabinet, lending a sustainable touch to your project. Each material offers unique aesthetic and functional qualities, so pick one that aligns with your needs and style.
Gathering Tools and Hardware
To construct your diy filing cabinet, you’ll need basic woodworking tools such as a saw, drill, measuring tape, clamps, and sandpaper. For assembly, stock up on essential hardware like drawer slides to ensure smooth operation, handles for ease of access, and screws to secure everything together.
If security is a concern, consider adding a locking mechanism to safeguard sensitive documents. Ensure all tools and materials are ready before beginning to streamline the building process.
How to Make a Filing Cabinet: Cutting and Assembling the Cabinet Frame
Measuring and Cutting Wood Panels
Begin by carefully measuring and marking the dimensions of the filing cabinet’s frame on your chosen material. The panels will typically include two side pieces, a top, a bottom, and a back panel. Double-check your measurements to ensure precision, as accurate cuts are essential for a well-fitting and professional result.
Using a circular saw or table saw, cut each panel along the marked lines. A straight edge or guide can help maintain clean and consistent cuts. Sand down the edges of each panel to remove splinters and ensure a smooth finish, which will make assembly easier.
Assembling the Main Structure
With your panels prepared, start assembling the main body of the frame. Use screws, nails, or pocket hole joinery to securely attach the top and bottom pieces to the side panels. Position the back panel in place and fasten it to the structure, ensuring everything aligns properly.
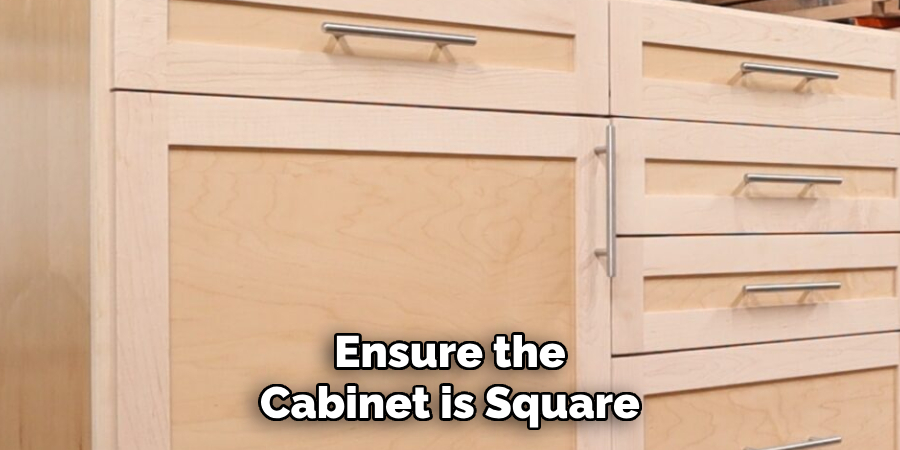
To ensure the cabinet is square and stable, utilize corner clamps during assembly to hold the panels at right angles while securing them. Regularly check for alignment with a measuring tape and a carpenter’s square to avoid any misalignment issues later.
Reinforcing for Durability
To enhance the cabinet’s strength and longevity, consider adding braces or support pieces to the interior of the frame. For instance, diagonal braces along the back panel or additional wood strips beneath the top and bottom panels can provide extra support. This reinforcement step ensures your filing cabinet can withstand regular use without compromising its structural integrity.
Building and Installing Drawers
Building and installing drawers is a critical step to complete your filing cabinet and make it functional. Follow these steps to ensure a professional and durable result.
Measuring and Cutting Drawer Pieces
Begin by measuring the interior dimensions of the cabinet to determine the appropriate size for your drawers. Account for the space required by the drawer slides on either side. Using a circular saw or table saw, cut your drawer sides, front, back, and bottom pieces from plywood or solid wood. Accuracy in these cuts is essential to ensure proper alignment and a smooth fit.
Assembling the Drawers
Once the pieces are cut, use wood glue and nails to join the drawer sides to the front and back panels, forming a sturdy box. Attach the bottom panel with wood glue and additional nails or screws to provide extra durability. Ensure that the edges are flush and square during assembly to prevent alignment issues later. Allow the glue to dry completely and test the drawer boxes for stability.
Installing Drawer Slides
Choose the type of drawer slides that best suits your needs, such as ball-bearing slides for smooth, heavy-duty use or roller slides for lighter loads. Secure the slides to the interior sides of the cabinet, ensuring they are level and aligned. Attach the corresponding portion of the slides to the drawer boxes. Test each drawer’s movement to ensure it opens and closes smoothly, adjusting the alignment if needed.
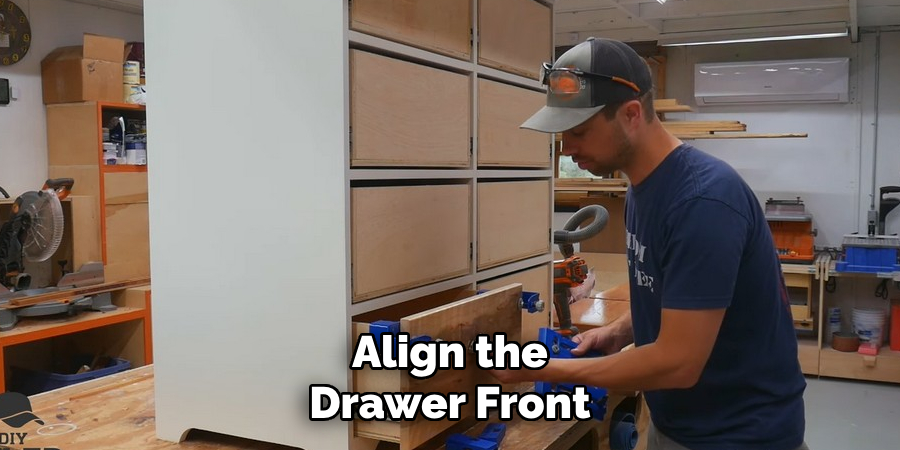
Attaching Drawer Fronts
Finally, align the drawer fronts evenly with the cabinet’s face for a polished, professional appearance. Temporarily hold each drawer front in place using clamps to position it accurately. Once aligned, secure the fronts to the drawer boxes with screws from the inside. Make any necessary adjustments to ensure consistent spacing and smooth operation.
Final Assembly and Adjustments
Checking Drawer Alignment
Before completing the project, check each drawer’s alignment to ensure they slide in and out smoothly. Look for uneven gaps or resistance during movement, as these may indicate misaligned slides.
If necessary, loosen the screws slightly on the drawer slides and make adjustments to achieve even spacing and proper alignment. Tighten the screws once everything is positioned correctly to maintain a polished appearance and optimal functionality.
Adding Feet or Casters
Decide whether to install stationary legs or rolling casters based on how you plan to use the piece of furniture. Stationary feet provide a stable, fixed position, while casters allow greater mobility, especially for heavy cabinets. Whether you choose feet or casters, attach them securely to the cabinet’s base using screws or bolts. Ensure the furniture remains stable by checking that all feet or casters are level, making adjustments if necessary.
Testing Functionality
Finally, test the functionality of the cabinet thoroughly by opening and closing each drawer multiple times. Check for smooth, consistent movement and ensure all components are secure. Make any final adjustments to address minor issues and add finishing touches, such as paint touch-ups or applying additional coats of protective finish, to complete the project professionally.
Common Mistakes to Avoid
Misaligned Drawer Slides
One of the most frequent mistakes is improperly aligning drawer slides, which can cause binding or uneven movement. To prevent this, carefully measure and mark the positions for the slides before installation. Use a level to ensure everything is perfectly straight and aligned. Taking your time during this step will save you from frustrations later.

Using the Wrong Materials
Choosing cheap or thin wood may lead to long-term durability issues. Thin materials are prone to warping and may not provide adequate support for heavy objects. Opt for high-quality, sturdy wood or materials suited to the cabinet’s intended use. Investing in better materials ensures your project remains functional and lasts longer.
Skipping Sanding or Finishing
Skipping the sanding or finishing process can leave rough edges that are both unsightly and impractical. Proper sanding smooths surfaces, improving both the appearance and usability of the final piece. Adding a protective finish enhances durability and gives the cabinet a polished, professional look.
Tips for Customization and Upgrades
Adding Dividers for Organization
Creating sections within drawers can significantly improve storage efficiency. Dividers help separate items, ensuring better organization and quicker access. They are especially useful for storing utensils, office supplies, or smaller accessories. Customizing dividers to fit specific needs ensures the drawers remain neat and functional.
Using Soft-Close Drawer Slides
Soft-close drawer slides are an excellent upgrade that enhances both functionality and durability. These mechanisms ensure drawers close smoothly and quietly, preventing slamming and reducing wear over time. They also add a touch of luxury and are especially useful for preventing injuries, making them ideal for households with children.
Personalizing the Cabinet Design
Adding a personal touch to your cabinet design can elevate its aesthetic appeal. Consider painting the cabinet in colors that complement your space, applying chic labels for organization, or installing unique hardware such as decorative knobs or handles. These small changes make the cabinet uniquely yours while blending seamlessly with your decor style.
Conclusion
Creating a filing cabinet is a rewarding DIY project that combines practicality with creativity. By following key steps—planning the design, cutting materials precisely, assembling the structure carefully, and applying a polished finish—you can build a durable and attractive cabinet.
Remember, taking your time at each stage ensures the best results. Enjoy the process and don’t hesitate to personalize the cabinet to match your space and style. Whether for home or office use, learning “how to make a filing cabinet” tailored to your needs allows you to craft a functional piece that reflects your unique personality and organization goals.
About the Author
Adrian Green, a lifelong woodworking enthusiast, shares his passion for the craft through The Woodenify Blog. With a foundation built on years of hands-on experience in his father’s woodworking shop, Adrian is dedicated to helping others learn and grow in the world of DIY woodworking. His approach to woodworking combines creativity, practicality, and a deep appreciation for the art of building with your own hands. Through his blog, he inspires individuals of all skill levels to embark on their own woodworking journeys, creating beautiful, functional pieces of furniture and décor.
Professional Focus
- Specializes in DIY woodworking projects, from furniture to home décor.
- Provides step-by-step guides and practical tutorials for woodworkers of all skill levels.
- Dedicated to helping readers build confidence and skill through easy-to-follow instructions and tips.
- Passionate about fostering a community of makers who can share, learn, and grow together.
Education History
- University of Craft and Design – Bachelor of Fine Arts (BFA) in Woodworking and Furniture Design
- Woodworking Apprenticeships – Extensive hands-on training with skilled craftsmen to refine carpentry and furniture making techniques.
- Online Courses & Masterclasses – Continued education in advanced woodworking techniques, design principles, and specialized tools
Expertise:
- DIY woodworking, carpentry, furniture making, and home décor projects.
- Creating accessible tutorials and guides for beginner to advanced woodworkers.
- Sharing the joys and satisfaction of woodworking, from raw materials to finished products.