Properly finishing cabinet ends is essential in achieving a polished and durable look for your furniture or cabinetry. The cabinet ends are often visible and can significantly impact the overall aesthetics of the space if left untreated or poorly finished.
Ensuring they are correctly finished improves their appearance and enhances their durability by protecting the wood or material from wear and environmental factors. Various methods exist for finishing cabinet ends, including painting, staining, or applying edge banding.
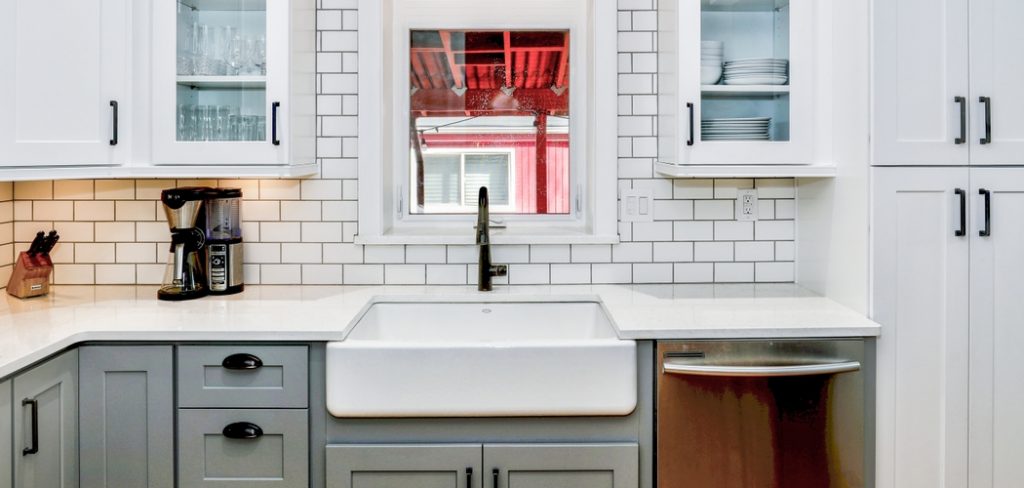
The choice of material and technique can depend on the type of cabinet, its location, and the desired finish. This article will serve as a comprehensive guide on how to finish cabinet ends effectively, helping you achieve a professional-grade result that complements your space while extending the life of your cabinets.
Choosing the Right Finish for Cabinet Ends
Types of Cabinet End Finishes
Selecting the right material is essential when finishing cabinet ends to ensure durability and aesthetic balance. Paint is a versatile option that can provide a clean, modern look, ideal for MDF or plywood surfaces. It’s easy to apply and allows for unlimited color customization, but it may show wear over time in high-traffic areas. Stain, on the other hand, works wonderfully with natural wood, enhancing the grain’s beauty and creating a warm, classic appearance.
While stains offer longevity, they’re less effective on engineered materials like MDF. Veneer is another choice, perfect for achieving a premium wood look without the cost. However, it requires careful application and is prone to damage if exposed to moisture. Lastly, laminate is a budget-friendly, durable alternative that can mimic various colors and patterns but may lack the upscale feel of other options.
Factors to Consider
To achieve a cohesive aesthetic, it’s essential to match the cabinet finish with the surrounding design elements in the room. Whether in a kitchen or bathroom, durability against daily wear and tear and moisture resistance should guide your decision. Rooms with high humidity may benefit from finishes like laminate or paint with sealants.
Aesthetic Considerations
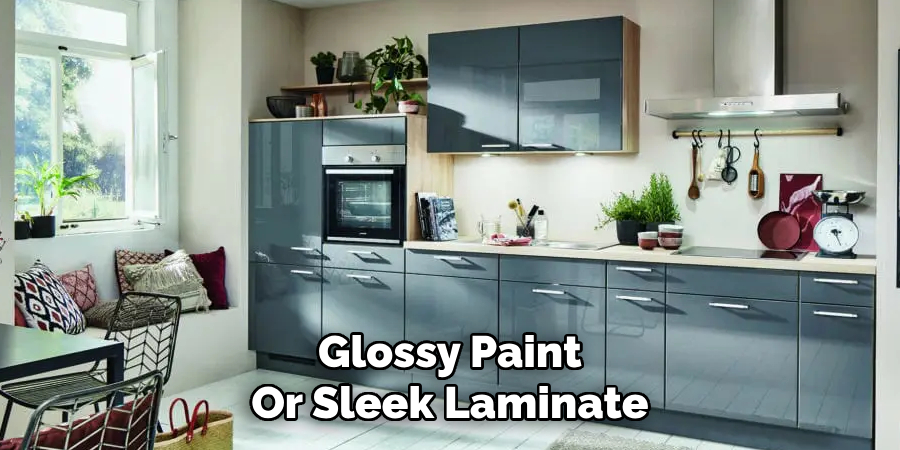
The chosen finish should complement the overall design theme. Glossy paint or sleek laminate works best for a modern-style kitchen, while stains or veneers enhance traditional or rustic decors. Considering how the finish integrates with countertops, flooring, and hardware will ensure a seamless and visually appealing result.
Preparing the Cabinet End Surface
Preparing the cabinet end surface is crucial to ensuring a high-quality and long-lasting finish. Proper preparation creates a strong foundation for the finish to adhere effectively and look flawless.
Cleaning the Surface
Before starting, removing all dust, dirt, and oils from the diy wall cabinet end is essential. Even small particles can interfere with the finish, leading to uneven application or peeling over time. Use a soft cloth and a mild soap and water cleaning solution to wipe the surface thoroughly. A degreaser can be highly effective for more stubborn grease or residues. Be sure to allow the surface to dry completely before proceeding.
Sanding the Cabinet End
Sanding helps create a smooth surface, ensuring the finish applies evenly. Select the appropriate sandpaper grit for your cabinet material—medium grit (80-120) is generally a good starting point, followed by finer grit (150-220) for the final pass. Always sand with the grain of the wood to prevent visible scratches or damage. After sanding, wipe away all dust with a tack cloth to prepare for the next stage.
Filling Imperfections
Use a high-quality wood filler or putty to address any holes, scratches, or dents in the cabinet end. Apply the filler carefully to the damaged areas, covering it evenly. Once fully dries the filler, sand it down with fine-grit sandpaper until the surface is smooth and uniform. Properly filled and smoothed imperfections will enhance the durability and aesthetics of the final finish.
How to Finish Cabinet Ends: Applying the First Coat
Choosing the Right Application Tool
Selecting the appropriate tool for applying the first coat is crucial for achieving an even and professional-looking finish. Brushes and rollers are the most common options, and each serves specific purposes. Foam brushes are an excellent choice for smooth finishes, as they glide easily over the surface and help minimize visible brush strokes.
On the other hand, natural bristle brushes are ideal when working with oil-based paints, as they hold paint well and ensure a consistent application. Rollers, particularly those with a smaller nap, are better suited for more extensive, flat surfaces and can significantly reduce application time while preventing streaks. Select a tool that meets your needs best depending on your chosen finish and the size of the cabinet end.
Painting or Staining the End
Applying even coats of paint or stain is essential for achieving a uniform and polished look. Start using long, steady strokes to cover the surface, working toward the wood grain for stains. This technique not only enhances adhesion but also helps maintain the natural texture of the wood.
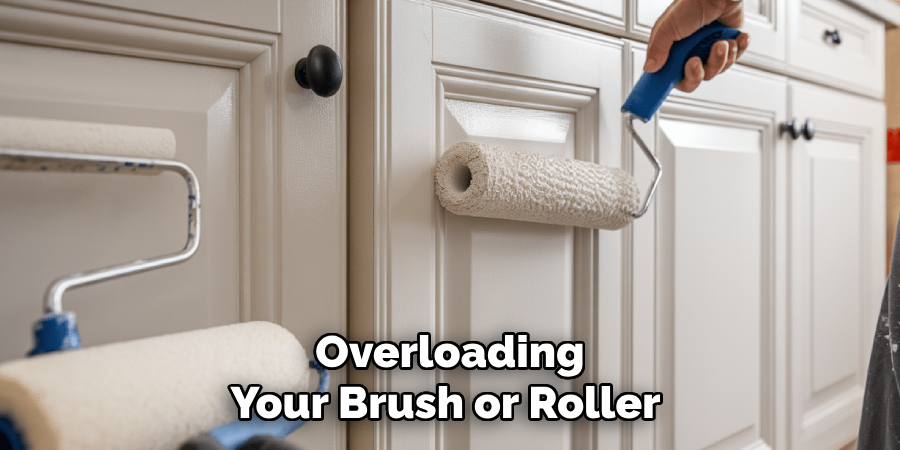
Avoid overloading your brush or roller to prevent drips and uneven coverage. If you are staining the cabinet end, consider using a pre-stain conditioner to mitigate blotchiness and ensure a consistent finish. Always take your time and focus on precision over speed to create a beautiful, professional result.
Drying Time
Once the first coat has been applied, it is important to allow sufficient drying time before moving to the next step. The drying period largely depends on the type of finish you are using—water-based finishes typically dry faster, requiring only 2-4 hours, while oil-based finishes may take up to 24 hours.
Allowing the coat to dry completely helps avoid adhesion issues or imperfections in subsequent layers. Take this opportunity to inspect the dried coat for any bumps or irregularities that may need light sanding before applying the next coat for optimal results.
Sanding Between Coats
Sanding between coats is crucial in achieving a professional, flawless finish. This process helps remove imperfections, such as dust particles or small bubbles and creates a smooth surface to which subsequent coats can adhere. Neglecting to sand properly can result in a rough texture, an uneven finish, or excessive buildup that detracts from the quality of the final result.
Proper Sanding Technique
To sand effectively, use fine-grit sandpaper, typically 220-grit or higher. The goal is to lightly scuff the surface without overly sanding or cutting through the finish. Apply gentle, even pressure as you sand, moving with the grain of the wood to avoid scratches. Over-sanding can compromise the existing layer and may create imperfections that are difficult to fix in later stages.
Cleaning After Sanding
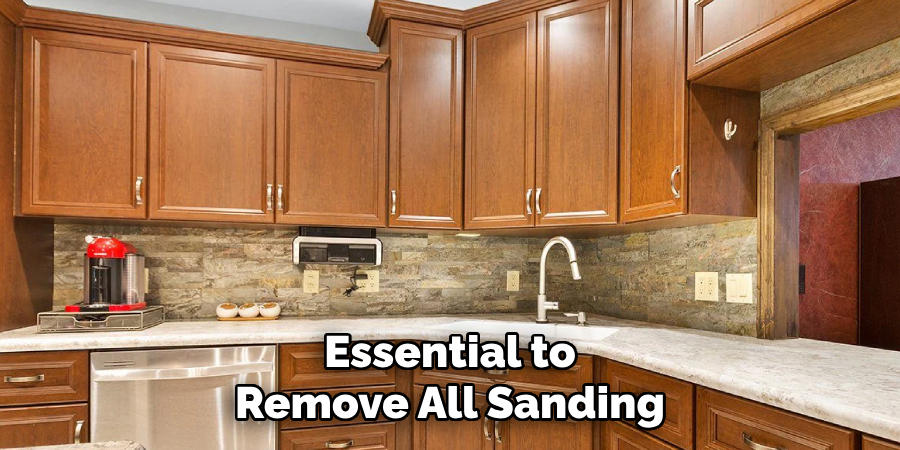
After sanding, it is essential to remove all sanding dust to ensure a clean and debris-free surface. Use a tack cloth to wipe the surface or a damp rag that won’t leave residue behind. Pay attention to corners and edges where dust often collects. With a clean and smooth surface, you are now ready to apply the next coat, ensuring it bonds seamlessly and results in a polished, high-quality finish.
Applying Additional Coats
Number of Coats Needed
The number of coats required often depends on the material type, the product used, and the desired finish. For paints, two to three coats are typically sufficient for achieving full coverage, especially when using a primer. On the other hand, stains may need only one or two coats to achieve a rich, natural look.
Always refer to the manufacturer’s recommendations and consider whether you want a lighter or more saturated effect. Testing on a small, inconspicuous area can help you decide the optimal number of coats for the project.
Techniques for Smooth, Even Coats
To achieve a professional finish, focus on applying thin, even layers rather than heavy applications that can lead to brush marks and uneven texture. Use long, steady strokes and work systematically in sections to maintain consistency. A roller can help with even distribution for larger surfaces, while brushes are ideal for smaller or more detailed areas. Always begin with a small amount of product and add more gradually to maintain control and avoid excess.
Allowing Sufficient Drying Time
Drying time between coats is critical for durability and a flawless finish. Most products require at least 2-4 hours of drying, while some oil-based paints and stains may need longer.
Rushing this step can result in peeling, bubbling, or uneven layering. Ensure that the previous coat has completely dried before applying the next one, and maintain proper ventilation to accelerate drying while reducing fumes. Patience during this stage ensures that your final result is smooth and long-lasting.
Adding a Protective Top Coat
Adding a protective top coat is a crucial step in ensuring the longevity and resilience of your cabinets. A top coat shields against scratches, moisture, and daily wear and tear, preserving the beauty and durability of the finish. Clear options like polyurethane, lacquer, or polycrylic work exceptionally well in sealing and protecting the surface, offering a glossy or matte finish, depending on your preference.
Choosing the Right Top Coat
Selecting the appropriate top coat depends on your needs and the finish used. Oil-based top coats provide a rich, durable finish, perfect for high-traffic areas, but they require longer drying times and can turn yellow over time.
On the other hand, water-based top coats dry quickly, have low odor, and remain crystal clear, making them ideal for lighter-colored finishes, though they may not be as hard-wearing as oil-based alternatives. Consider the project’s demands and your application environment when making your choice.
Applying the Top Coat
To ensure a flawless finish, use a high-quality synthetic bristle or foam brush for water-based top coats or a natural bristle brush for oil-based options. Apply in thin, even layers, working toward the wood grain.
Avoid over-brushing and ensure proper ventilation during application to minimize bubbles and brush strokes. Lightly sand between coats with fine-grit sandpaper for a smooth finish, and apply at least two coats for optimal protection. With proper application, the top coat will keep your cabinets looking new for years to come.
Finishing Touches
Inspecting the Finish
Once the top coat has dried completely, carefully inspect your cabinets for any missed spots, streaks, or imperfections. Use good lighting to ensure you don’t overlook any areas. If you find any issues, use a small brush to touch them up with the same finish, blending carefully with the surrounding surface for a seamless look. Allow touched-up areas to dry thoroughly.
Polishing the Cabinets
Consider buffing the surface using a soft, lint-free cloth to give your cabinets a shiny, smooth appearance. For an added layer of protection and to enhance the finish, apply furniture wax or polish sparingly in circular motions, then buff lightly for a brilliant sheen.
Final Clean-Up
Properly clean your tools, such as brushes or applicators, according to your finish type. Store any leftover top coat in a sealed container for future touch-ups. This ensures your tools stay ready for other projects and your cabinets maintain their high-quality finish for years ahead.
Conclusion
Learning how to finish cabinet ends involves mastering a few key steps that ensure a flawless result. Preparation is vital, including cleaning and sanding the surfaces for a smooth base. The application process, from priming to applying the top coat, demands precision to achieve an even, professional-looking finish.
Protection through polishing or furniture wax provides durability and preserves the beauty of your work. Patience and attention to detail are essential throughout the process. Take your time, and enjoy transforming your cabinets into stunning focal points that enhance the overall aesthetics of your space.
About the Author
Adrian Green, a lifelong woodworking enthusiast, shares his passion for the craft through The Woodenify Blog. With a foundation built on years of hands-on experience in his father’s woodworking shop, Adrian is dedicated to helping others learn and grow in the world of DIY woodworking. His approach to woodworking combines creativity, practicality, and a deep appreciation for the art of building with your own hands. Through his blog, he inspires individuals of all skill levels to embark on their own woodworking journeys, creating beautiful, functional pieces of furniture and décor.
Professional Focus
- Specializes in DIY woodworking projects, from furniture to home décor.
- Provides step-by-step guides and practical tutorials for woodworkers of all skill levels.
- Dedicated to helping readers build confidence and skill through easy-to-follow instructions and tips.
- Passionate about fostering a community of makers who can share, learn, and grow together.
Education History
- University of Craft and Design – Bachelor of Fine Arts (BFA) in Woodworking and Furniture Design
- Woodworking Apprenticeships – Extensive hands-on training with skilled craftsmen to refine carpentry and furniture making techniques.
- Online Courses & Masterclasses – Continued education in advanced woodworking techniques, design principles, and specialized tools
Expertise:
- DIY woodworking, carpentry, furniture making, and home décor projects.
- Creating accessible tutorials and guides for beginner to advanced woodworkers.
- Sharing the joys and satisfaction of woodworking, from raw materials to finished products.
