Wood floors add warmth and elegance to any space, but over time, they may develop scratches that can detract from their beauty. Whether caused by heavy foot traffic, moving furniture, or accidental mishaps, these scratches are often inevitable. Fortunately, there are simple and effective ways to address them and restore your floor’s flawless appearance.
This guide on how to fix scratches on wood floor will walk you through easy-to-follow steps to fix scratches on your wood floor, ensuring it looks as good as new.
Why is Fixing Scratches on a Wood Floor Important?
Wood floors are a significant investment and can add value to your home. Therefore, taking care of them should be a priority. Addressing scratches on your wood floor is crucial for several reasons:
Prevent Further Damage:
When left unattended, scratches can worsen over time and lead to more severe damage to your wood floor. For instance, if the scratches are deep enough to expose the bare wood, they can easily collect dirt and moisture, causing discoloration or warping. By fixing them promptly, you can prevent further damage and save yourself from expensive repairs in the future.
Improve Aesthetics:
Scratches on your wood floor can be unsightly and diminish the overall appearance of your home. They can disrupt the smooth flow of your interior design and draw attention away from other beautiful features in your living space. By fixing scratches, you can restore the beauty of your flooring and maintain a cohesive look in your home.
Increase Durability:
Proper maintenance is essential for prolonging the lifespan of your wood floors. By addressing scratches and dents, you can prevent them from becoming bigger problems in the future. Small scratches may seem insignificant, but they can collect dirt and moisture over time, causing further damage to your wood floor. By fixing them promptly, you can improve the durability of your flooring and save yourself from costly repairs down the line.
Protect Your Investment:
Wood floors are an investment that adds value to your home. Whether you plan on selling in the future or simply want to maintain the quality of your living space, it’s important to protect this investment. Repairing scratches not only maintains the aesthetic appeal of your flooring but also preserves its value and prevents potential damage that could decrease its value over time. Additionally, if you have pets or young children, scratches are often unavoidable. By taking preventative measures, you can save yourself time and money in the long run.
Needed Materials
- Wood Filler or Wood Putty
- Sandpaper (Different Grits)
- Touch-up Stain or Paint (if Needed)
- Soft Cloth or Sponge
- Protective Gloves
- Drop Cloth or Tarp
- Vacuum Cleaner With Attachments
- Wax or Sealant (Optional)
7 Step-by-step Guides on How to Fix Scratches on Wood Floor
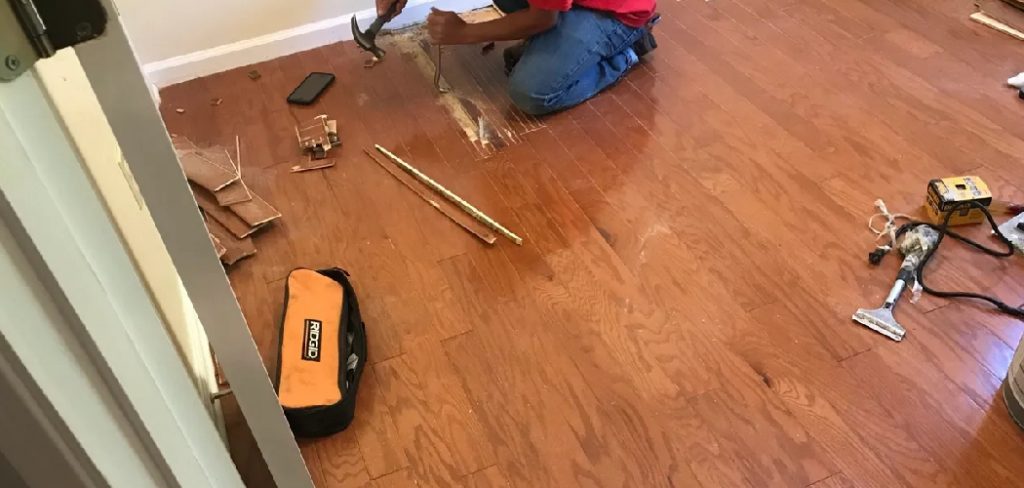
Step 1: Prepare the Area
Begin by clearing the area around the scratch to ensure you have sufficient space to work. Remove any furniture, rugs, or objects that may obstruct your workspace. Next, thoroughly clean the scratched area using a soft cloth, sponge, or vacuum cleaner with attachments to remove dirt, dust, and debris.
A clean surface is essential for achieving seamless results when applying wood filler or other repair materials. Lay down a drop cloth or tarp to protect the surrounding floor and ensure easy cleanup. Finally, wear protective gloves to keep your hands clean during the process.
Step 2: Clean the Area
Once the workspace is prepared, focus on thoroughly cleaning the damaged area. Use a damp, soft cloth or a sponge with a mild cleanser to wipe away any remaining grime or oils that may prevent repair materials from adhering properly. For tougher residue, use a gentle scrubbing motion, being careful not to worsen the scratches or damage the wood further.
After cleaning, ensure the surface is completely dry before proceeding to the next step to avoid trapping moisture under the filler or finish. A clean and dry surface is vital for achieving professional-looking results.
Step 3: Assess the Damage
Examine the scratched or damaged area closely to determine the extent of the issue. Identify whether the scratches are surface-level or if they extend deeper into the wood. Light, superficial scratches can often be repaired with touch-up markers or furniture polish, while deeper gouges may require wood filler or a more intensive repair solution.
Take note of the size, depth, and location of the damage, as these factors will help guide the choice of materials and techniques for the repair. Properly assessing the damage ensures you address the issue effectively and avoid unnecessary work.
Step 4: Fill the Scratch
Once the damage has been assessed, it’s time to fill the scratch or gouge. For shallow scratches, apply a touch-up marker or wax filler stick that matches the color of your wood. Gently rub the product into the scratch, following the grain of the wood, and then buff the area with a soft cloth to blend the repair seamlessly.
For deeper gouges, use a wood filler that is suitable for your specific type of wood. Apply the filler with a putty knife, ensuring it fills the entire damaged area. Smooth out the surface and allow the filler to dry completely, following the manufacturer’s instructions. Sand the area lightly with fine-grit sandpaper to create a smooth, even finish before proceeding to the next step.
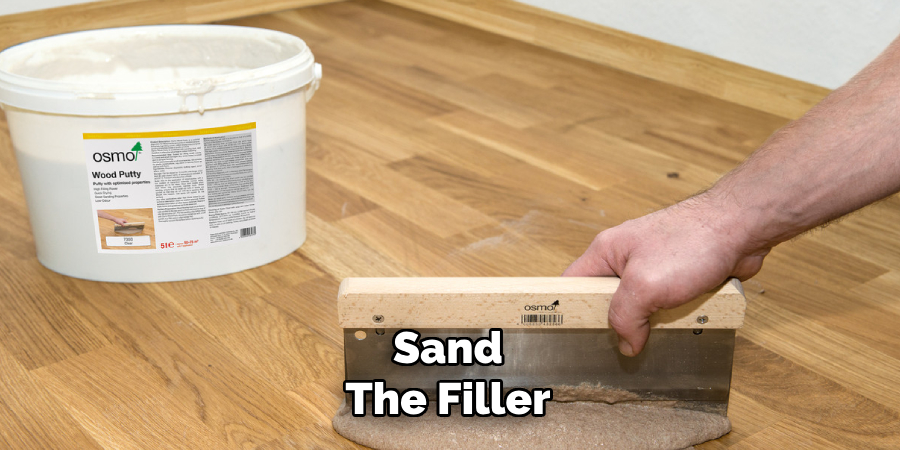
Step 5: Sand the Filler
Once the wood filler has dried completely, use fine-grit sandpaper to smooth the area. Sand gently in the direction of the wood grain, ensuring the repaired spot blends seamlessly with the surrounding surface.
Be careful not to over-sand, as this could damage the adjacent wood. After sanding, wipe the area with a clean, damp cloth to remove any dust or debris, leaving the surface ready for staining or finishing.
Step 6: Stain/Paint the Area
With the surface clean and smooth, it’s time to apply stain or paint to match the rest of the wood. If staining, use a clean cloth or brush to apply the stain in thin, even strokes, following the wood grain. Allow the first coat to dry and apply additional coats as needed for a uniform color.
If painting, use a high-quality paintbrush or roller to apply a thin coat of paint, ensuring even coverage. Allow sufficient drying time between coats if more than one is required. Once the area has dried completely, inspect the finish to ensure the repaired spot blends seamlessly with the surrounding surface.
Step 7: Seal the Area
Finally, to protect your newly repaired floorboards, apply a coat of sealant or polyurethane over the stained/painted area. This will not only add shine but also provide durability and prevent future damage.
Following the manufacturer’s instructions on how to fix scratches on wood floor, use a brush or roller to evenly apply the sealant over the repaired area. Allow it to dry completely before walking on or using the floor.
It is important to note that sealant should also be applied to the entire floor surface periodically to maintain its overall appearance and protect against wear and tear. A carefully chosen wood floor pattern can dramatically enhance the aesthetic and character of any room in your home.
Maintenance Tips
- Regularly sweep or vacuum your hardwood floors to remove dirt and debris that can cause scratches.
- Use a damp mop (not wet) with mild soap to clean spills or stains immediately.
- Place protective pads under furniture legs to avoid scratching the floor when moving them around.
- Use rugs in high traffic areas such as entryways and hallways to minimize wear and tear on the floor.
- Avoid wearing shoes with sharp heels on hardwood floors as they can leave indents and scratches.
- Use a humidifier in the winter to prevent the wood from drying out and cracking.
- Keep pets’ nails trimmed to avoid scratches on the floor.
- Avoid using harsh cleaning products as they can damage the finish of your hardwood floors.
Frequently Asked Questions
Q1: How Often Should Hardwood Floors Be Cleaned?
A: Hardwood floors should be cleaned at least once a week to remove dust, dirt and other debris. It is also recommended that you do a deep cleaning every few months to maintain the shine and appearance of your floors.
Q2: Can I Use a Vacuum Cleaner on Hardwood Floors?
A: Yes, you can use a vacuum cleaner on hardwood floors as long as it has a setting specifically for hard surfaces. Avoid using vacuums with beater bars or rotating brushes that can damage the finish of your floors.
Q3: How Do I Remove Stains from Hardwood Floors?
A: For light stains, simply use a damp cloth to gently wipe away the stain. For tougher stains, mix equal parts water and vinegar and spray onto the affected area. Let it sit for a few minutes before wiping it clean with a damp cloth. Always make sure to dry the area thoroughly afterward to prevent any water damage to the wood. If the stain persists, you can also try using a specialized hardwood floor cleaner or consulting a professional for advice.
Conclusion
Proper care and maintenance of hardwood floors can significantly extend their lifespan and keep them looking beautiful for years to come. By implementing these preventative measures and staying mindful of daily habits, you can protect your investment and enjoy the timeless elegance that hardwood floors bring to your home.
A little effort goes a long way in preserving their natural charm and ensuring they remain a stunning feature of your living space. Thanks for reading this article on how to fix scratches on wood floor.
About the Author
Adrian Green, a lifelong woodworking enthusiast, shares his passion for the craft through The Woodenify Blog. With a foundation built on years of hands-on experience in his father’s woodworking shop, Adrian is dedicated to helping others learn and grow in the world of DIY woodworking. His approach to woodworking combines creativity, practicality, and a deep appreciation for the art of building with your own hands. Through his blog, he inspires individuals of all skill levels to embark on their own woodworking journeys, creating beautiful, functional pieces of furniture and décor.
Professional Focus
- Specializes in DIY woodworking projects, from furniture to home décor.
- Provides step-by-step guides and practical tutorials for woodworkers of all skill levels.
- Dedicated to helping readers build confidence and skill through easy-to-follow instructions and tips.
- Passionate about fostering a community of makers who can share, learn, and grow together.
Education History
- University of Craft and Design – Bachelor of Fine Arts (BFA) in Woodworking and Furniture Design
- Woodworking Apprenticeships – Extensive hands-on training with skilled craftsmen to refine carpentry and furniture making techniques.
- Online Courses & Masterclasses – Continued education in advanced woodworking techniques, design principles, and specialized tools
Expertise:
- DIY woodworking, carpentry, furniture making, and home décor projects.
- Creating accessible tutorials and guides for beginner to advanced woodworkers.
- Sharing the joys and satisfaction of woodworking, from raw materials to finished products.