Are you looking to make a wooden chair seat for your home or office? Look no further! In this guide, we will take you step by step through the process of making a sturdy and comfortable wooden chair seat that you can be proud of.
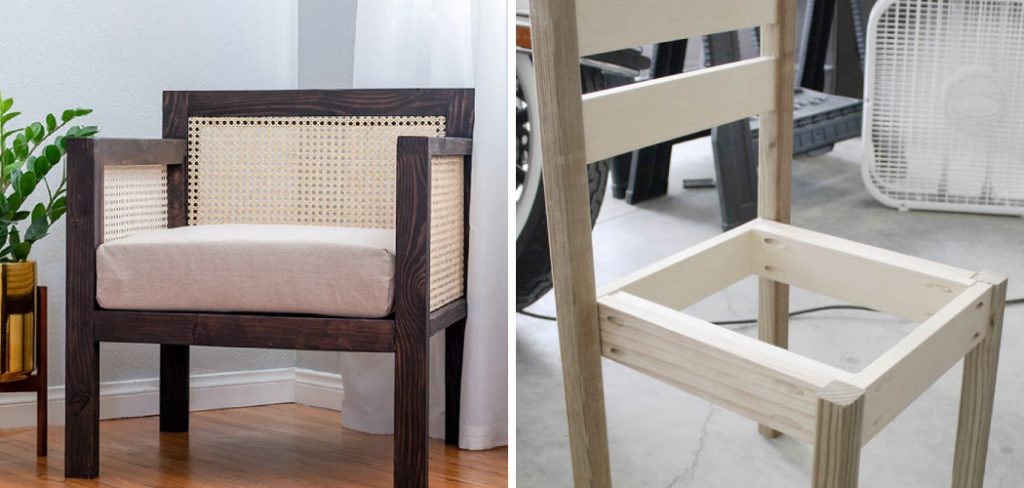
How to make a wooden chair seat is a rewarding woodworking project that combines craftsmanship and functionality. Whether you’re building a chair from scratch or replacing an old one, designing and assembling a sturdy, comfortable wooden seat requires careful planning and the right tools. This guide will walk you through the basic steps, from selecting the appropriate materials to shaping and finishing the seat, ensuring a professional look and a durable final product.
With attention to detail and patience, you can craft a macrame chair seat that is both practical and visually appealing.
What Are the Benefits of a Wooden Chair Seat
There are many benefits to choosing a wooden chair seat over other materials, such as plastic or metal. Here are just a few:
- Durability: Wooden chair seats have long been known for their strength and durability. When properly cared for, they can last for decades without needing replacement.
- Versatility: With different types of wood available, you can choose the one that best fits your needs and aesthetic preferences. From light-colored woods like pine to darker woods like mahogany, there is something for every design and style.
- Comfort: Wood has some flexibility, which provides a slight give when sitting on it, making it more comfortable than harder materials like metal.
- Natural Beauty: Wood has a natural warmth and beauty that adds character to any space. Each piece of wood is unique, with its grain patterns and knots, making it a one-of-a-kind addition to your home.
- Insulation: Wood has natural insulating properties, helping to keep your home warm in the winter and cool in the summer. This can lead to energy savings on heating and cooling costs.
What Will You Need?
- Wood: Of course, the primary material you will need is wood. You can choose from a variety of types depending on your preference and budget.
- Tools: You will also need tools such as a saw, drill, hammer, and nails to work with the wood.
- Sandpaper: Sanding down rough edges and surfaces is a crucial step in achieving a smooth finish for your wooden furniture or décor.
- Finishing Materials: Depending on the look you want to achieve, consider using stains, paints, or varnishes to protect and enhance the appearance of your wood pieces.
9 Easy Steps on How to Make a Wooden Chair Seat
Step 1: Measure and Cut the Wood
Start by measuring the dimensions needed for the chair seat. Using your measuring tape, mark the desired length and width on the wood with a pencil or carpenter’s square for accuracy. Once the measurements are in place, carefully cut the wood along the markings using a saw.
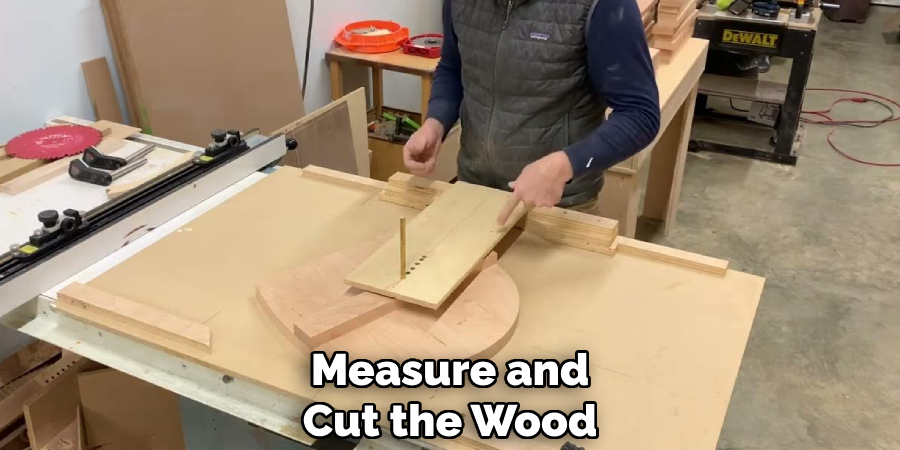
Ensure the edges are even and precise, as this will affect the chair seat’s overall fit and appearance. Double-check your measurements before cutting to avoid mistakes or wasting materials.
Step 2: Cut the Wood
Begin by selecting the appropriate saw type based on the thickness and type of wood you are using. For straight cuts, a circular saw or handsaw will work effectively, while a jigsaw is suitable for curved or intricate designs. Before cutting, secure the wood firmly using clamps to prevent movement and ensure safety.
Follow the pencil markings carefully as you cut, maintaining a steady and consistent motion. After cutting, use sandpaper to smooth any rough edges or splinters, ensuring the wood is safe to handle and ready for assembly. Always wear protective gear, such as safety goggles and gloves, during this step to prevent injury.
Step 3: Sand the Surface
Sanding the wood’s surface is a critical step to achieve a smooth and even finish. Begin by selecting the appropriate sandpaper grit based on the wood’s condition and the desired outcome. For rough surfaces, start with a coarse grit like 60-80 to remove uneven areas and imperfections. Gradually move to finer grits, such as 120 or 220, to smooth the surface and prepare it for painting, staining, or varnishing. Always sand along the grain of the wood to avoid scratches or damage.
If you are working with intricate designs or curved areas, consider using a sanding block or sponge for better control. After sanding, wipe away any dust and debris using a tack cloth to ensure a clean surface for the next steps in your project.
Step 4: Drill Pilot Holes
Drill pilot holes to prevent the wood from splitting and to ensure the screws or nails go in smoothly and precisely. This step is crucial when working with hardwoods or near the edges of any piece of wood. To begin, select a drill bit slightly smaller than the diameter of the screw or nail you plan to use, as this will create a snug fit without compromising the material’s integrity. Mark the spots where the holes will go to achieve accurate positioning.
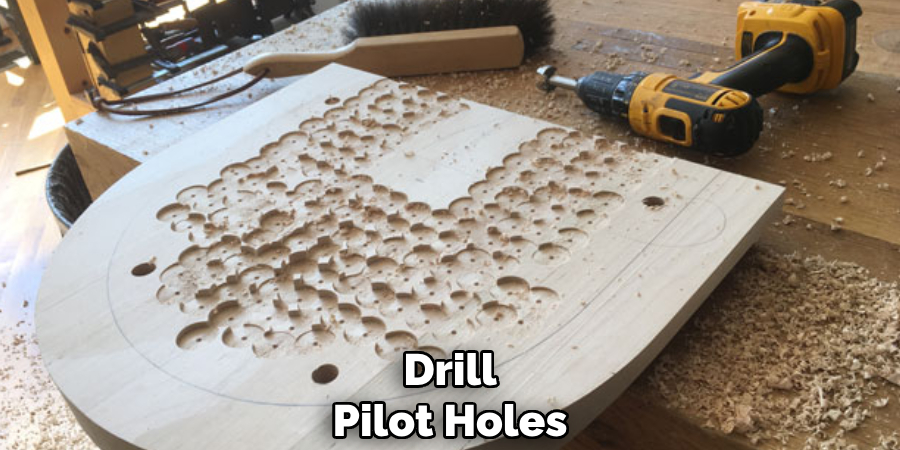
Use a clamp to secure the wood in place, preventing movement while drilling and ensuring safety and precision. Drill at a steady pace and hold the drill perpendicular to the surface to create clean, straight pilot holes. Depending on the depth required, mark the drill bit with tape as a guide.
Step 5: Shape the Edges
Shaping the edges of your wood piece is essential for achieving a clean and professional finish. Start by determining the type of edge profile you want, such as rounded, beveled, or chamfered edges. Using a hand plane, router, or sandpaper, carefully work along the edges to create your desired shape. If using a router, select the appropriate bit for the profile and adjust the cut depth to avoid removing too much material at once.
For precision and control, guide the tool steadily along the edge. With sandpaper, start with a coarser grit to remove sharp corners and gradually transition to finer grits for a smooth finish. Remember to work evenly across all sides to maintain symmetry and ensure no spots are left untouched.
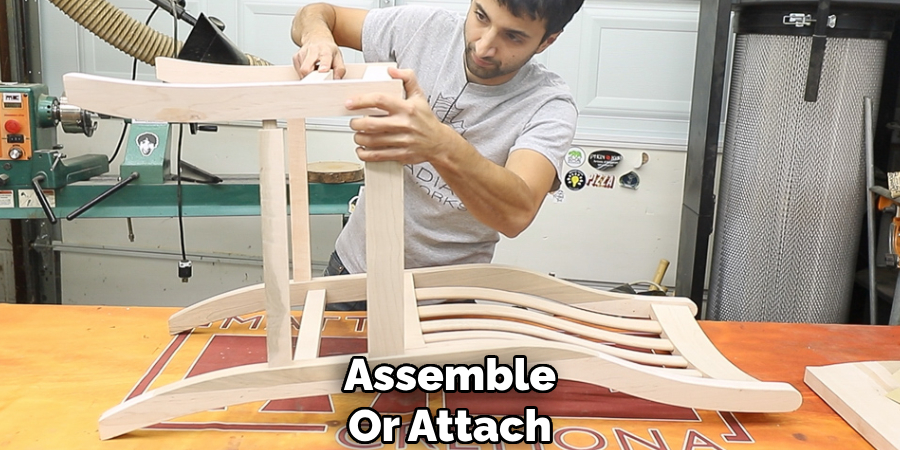
Step 6: Assemble or Attach
Once your components are prepared and shaped to your specifications, it’s time to assemble or attach them. Begin by laying out all the pieces to ensure they align properly and fit together as intended.
If adhesives are required, apply them evenly and in moderate amounts to avoid excess dripping, which can leave stains or interfere with the finish, for projects involving screws, nails, or other fasteners, pre-drill pilot holes to prevent the material from splitting and allow for a more secure attachment. Use clamps to hold pieces in place while fasteners are secured or glue sets, ensuring everything remains aligned during the process.
Step 7: Apply Wood Finish
Applying a wood finish is essential to protect your project and enhance its appearance. Begin by ensuring that the surface is clean and free of dust, as any debris can affect the final result. Use a tack cloth to wipe the surface thoroughly.
Choose a finish that suits your project, such as varnish, polyurethane, or oil-based finishes, depending on the desired look and level of durability. Apply the finish using a clean brush, foam applicator, or lint-free cloth, working with the grain of the wood for a smooth and even coat. Make sure to apply thin, uniform layers, as thick coats can lead to uneven drying or bubbling.
Step 8: Inspect for Quality
After applying the finish, allow it to dry thoroughly according to the manufacturer’s instructions. The drying time will vary depending on the type of finish used and environmental conditions such as temperature and humidity. Once dry, closely inspect the surface for any imperfections, such as dust particles, streaks, or uneven areas.
If necessary, lightly sand the surface with fine-grit sandpaper (e.g., 320-grit) to smooth out any inconsistencies. Wipe away any sanding dust with a tack cloth before applying additional coats to build up the finish and achieve the desired level of gloss and protection.
Step 9: Test Your Chair
Once the finish has fully cured, it’s time to test your chair for functionality and comfort. Carefully place the chair on a flat, stable surface and check for any wobbling or uneven legs. If needed, adjust the leg length with a sander or by adding small felt pads to the bottom of the legs to ensure stability. Sit on the chair to verify that it feels sturdy and that the joints and fastenings are secure.
Pay attention to the comfort level—this includes checking the smoothness of the finish, the curve of the backrest, and the firmness of any cushions or added upholstery. If you notice squeaking or instability during the testing, inspect the hardware and connections to make any necessary adjustments or tighten screws.
By following these tips, you can ensure that your furniture assembly is successful and that you end up with a sturdy, comfortable piece of furniture.

Conclusion
How to make a wooden chair seat requires careful attention to detail and a methodical approach.
From selecting the correct type of wood to ensuring precise measurements and smooth finishes, every step impacts the outcome. By following proper assembly guidelines, double-checking stability, and addressing any imperfections along the way, you can craft a chair seat that is both durable and aesthetically pleasing.
With patience and the right tools, creating a high-quality wooden chair seat becomes a rewarding and enjoyable experience.
About the Author
Adrian Green, a lifelong woodworking enthusiast, shares his passion for the craft through The Woodenify Blog. With a foundation built on years of hands-on experience in his father’s woodworking shop, Adrian is dedicated to helping others learn and grow in the world of DIY woodworking. His approach to woodworking combines creativity, practicality, and a deep appreciation for the art of building with your own hands. Through his blog, he inspires individuals of all skill levels to embark on their own woodworking journeys, creating beautiful, functional pieces of furniture and décor.
Professional Focus
- Specializes in DIY woodworking projects, from furniture to home décor.
- Provides step-by-step guides and practical tutorials for woodworkers of all skill levels.
- Dedicated to helping readers build confidence and skill through easy-to-follow instructions and tips.
- Passionate about fostering a community of makers who can share, learn, and grow together.
Education History
- University of Craft and Design – Bachelor of Fine Arts (BFA) in Woodworking and Furniture Design
- Woodworking Apprenticeships – Extensive hands-on training with skilled craftsmen to refine carpentry and furniture making techniques.
- Online Courses & Masterclasses – Continued education in advanced woodworking techniques, design principles, and specialized tools
Expertise:
- DIY woodworking, carpentry, furniture making, and home décor projects.
- Creating accessible tutorials and guides for beginner to advanced woodworkers.
- Sharing the joys and satisfaction of woodworking, from raw materials to finished products.