Pottery Barn furniture is celebrated for its timeless design, elegant finishes, and durable construction, making it a beloved choice for many homes. However, there are times when giving these pieces a fresh look can breathe new life into your space. Whether you want to refresh an older item, harmonize it with updated decor, or add a personal touch to a well-loved hand-me-down, painting can be a creative and rewarding solution.
It’s essential to approach this process carefully to preserve the furniture’s value and structural integrity. This guide will provide you with the essential steps on how to paint Pottery Barn furniture safely and effectively. With the right preparation, tools, and techniques, you can achieve a professional-looking finish that reflects your style while ensuring the longevity of your cherished piece. Follow along to learn how to transform your Pottery Barn furniture into something uniquely yours.
Understanding Pottery Barn Furniture Materials
Common Materials Used
Pottery Barn furniture is crafted from a variety of materials, each requiring specific preparation for painting. Commonly used materials include solid wood, medium-density fiberboard (MDF), and veneers. Solid wood is durable and can handle extensive sanding, while MDF is more delicate and requires a lighter touch to avoid damage. Veneers, thin layers of wood bonded to a core material, need careful handling to prevent chipping during preparation. Understanding these materials is crucial for selecting the appropriate paint and for determining the most effective preparation methods.
Finish Types
Pottery Barn furniture diy typically features finishes such as factory-applied lacquer or varnish, which provide a glossy, durable surface. However, these finishes can be resistant to new paint, often necessitating sanding or the application of a primer to ensure proper adhesion. Identifying the specific finish will help you determine the best course of action for a lasting and professional-looking result.
Identifying the Existing Finish
To identify the finish type, you can perform a simple water-drop test or lightly sand a small, inconspicuous area of the furniture. If the surface beads water, it likely has a glossy, sealed finish. Matte finishes will absorb the water or show less resistance. This step is essential for tailoring your preparation process, ensuring optimal paint performance and finish quality.
Supplies and Tools You’ll Need
Basic Supplies
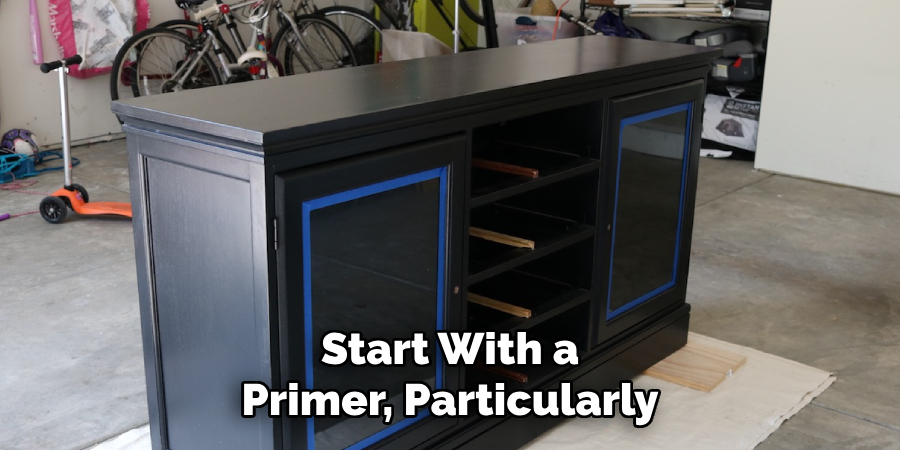
To achieve a professional and lasting finish, you’ll need a few essential supplies. Start with a primer, particularly a stain-blocking primer, for darker finishes or wood that is prone to bleeding through the paint. Select a high-quality furniture paint, such as latex, chalk, or milk paint, depending on your desired finish and ease of use. Lastly, have a clear topcoat or sealant ready to protect your work and ensure durability.
Tools
The right tools can make all the difference in your project’s outcome. Sandpaper in varying grits, ranging from 120 to 220 grit, is necessary to prepare your piece by smoothing rough areas and removing old finishes. A sanding block or electric sander can save time and effort over large surfaces. For paint application, use a high-density foam roller for smooth, even coverage on flat areas and angled paintbrushes for detailed sections and edges.
Optional but Helpful Items
For added convenience and precision, consider gathering optional supplies. A tack cloth effectively removes dust before painting. Painter’s tape ensures clean lines, while a drop cloth protects surrounding areas. Screwdrivers can help remove any hardware for easier access during painting. These items streamline the process and contribute to a polished result.
How to Paint Pottery Barn Furniture: Preparing the Furniture
Proper preparation is crucial to ensure a smooth and durable finish when painting furniture. Follow these steps for the best results:
Step 1: Clean Thoroughly
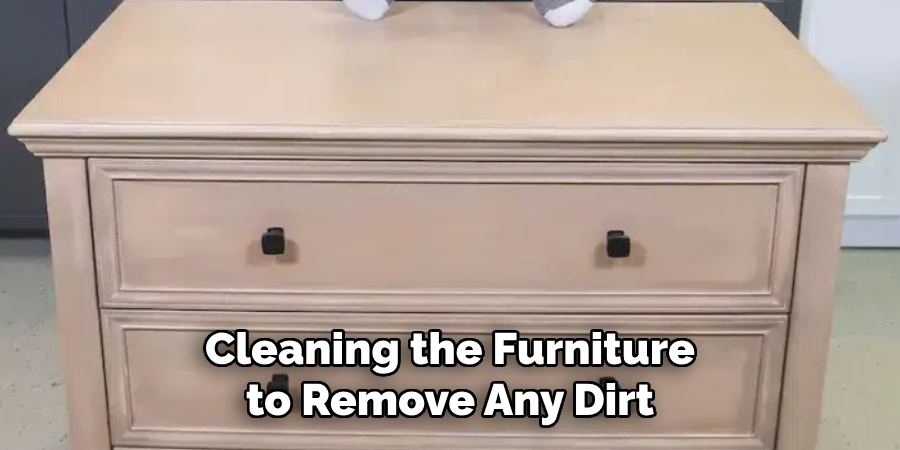
Begin by cleaning the furniture to remove any dirt, grime, or oils that may interfere with the paint’s adhesion. Use a degreaser or a solution of mild soap and water. Thoroughly scrub the surface, paying extra attention to areas prone to buildup, such as corners and edges. Allow the furniture to dry completely before proceeding.
Step 2: Remove Hardware
To achieve clean paint lines and an even coat, remove all hardware from the furniture, including knobs, handles, and hinges. If the piece consists of drawers, take them out to paint them separately. Store the hardware in a labeled container to keep track of all the components.
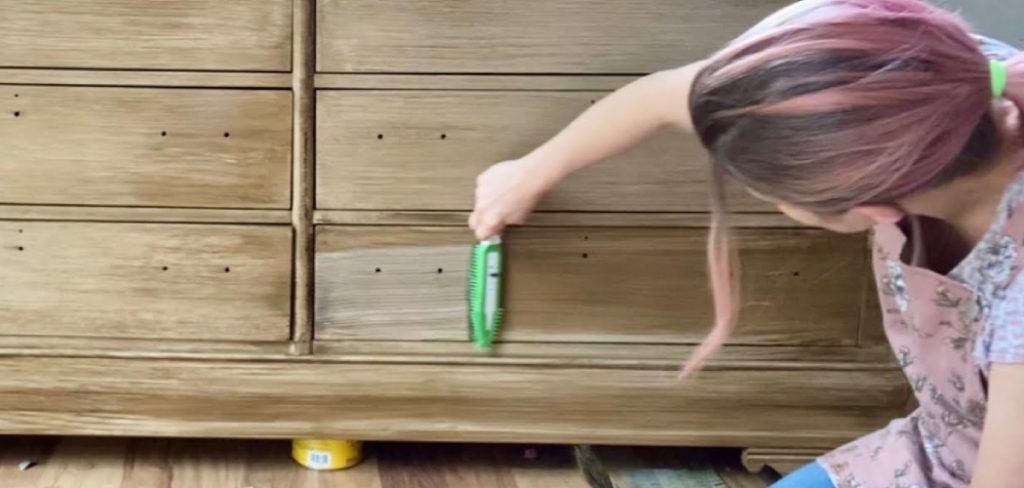
Step 3: Light Sanding
Lightly sand the entire surface of the furniture to rough up the finish, allowing the paint to adhere better. Use medium-grit sandpaper and avoid oversanding, especially if the furniture is made from MDF or veneer, as excessive sanding can cause damage. Focus on creating an even, slightly textured surface rather than completely removing the existing finish.
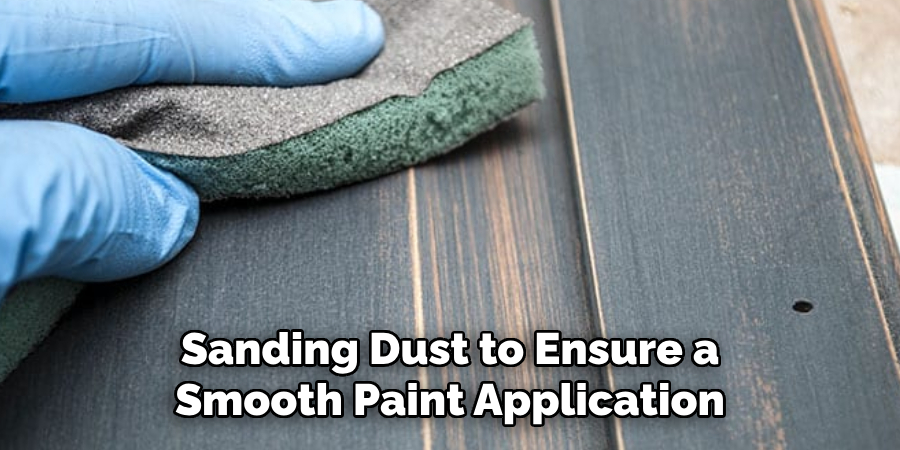
Step 4: Wipe Down
After sanding, it is essential to remove all sanding dust to ensure a smooth paint application. Use a tack cloth or a damp rag to wipe down the entire surface gently. Be thorough, as even small particles of dust can cause imperfections in the final finish. Once clean, the furniture is ready for priming or painting.
Priming for Best Results
Priming is a crucial step in achieving a professional-looking and durable finish. It creates a smooth, adhesive layer between the furniture’s surface and the paint, ensuring better paint adherence, especially on glossy or slick surfaces. Additionally, priming helps prevent issues like wood stains or tannins bleeding through the final coat, which can occur with older or darker finishes.
Choosing the Right Primer
Selecting the appropriate primer is essential for optimal results. For furniture with glossy surfaces or made from materials like laminate, use a high-quality bonding primer designed to grip slick surfaces. If working on older pieces or those with dark finishes, a stain-blocking primer is the best choice for preventing discoloration from seeping through the paint. Always check the product instructions to ensure compatibility with your surface and intended paint type.
Application Tips
When applying primer, work in thin, even coats for a uniform base. Use a foam roller for flat, wide areas to achieve a smooth application, and rely on a brush for edges, corners, and hard-to-reach spots. Allow the primer to dry completely—usually for the time specified by the product—before proceeding with the painting process. Proper priming lays the foundation for a flawless and long-lasting finish.
Painting the Furniture
Choosing Paint Type
Selecting the right type of paint is crucial for achieving the desired finish and durability. Here are three popular options to consider:
- Chalk Paint: Known for its ease of use, chalk paint is ideal for beginners or quick projects. It provides a beautiful matte finish and often does not require a primer. This makes it a time-saving choice, but adding a protective topcoat is recommended for enhanced durability.
- Latex Paint: A durable and versatile option widely available in various finishes. Latex paint typically requires a primer and a topcoat for the best results. It’s a great choice for high-use furniture due to its resilience and broad color selection.
- Milk Paint: This paint is perfect for creating a rustic or vintage look. It has a unique, old-world charm and is often available in powdered form. While it provides a striking finish, it may require a bonding agent to adhere properly if the furniture surface isn’t prepped adequately.
Techniques for a Smooth Finish

Achieving a professional and smooth finish requires attention to detail and the proper application of techniques. Start by applying 2–3 light coats of paint instead of a single thick coat to prevent drips or uneven texture. Use foam rollers for covering large, flat surfaces and brushes for intricate details or edges. Additionally, lightly sanding between coats with fine-grit sandpaper (such as 220-grit) helps enhance adhesion and eliminate minor imperfections. Remember to allow each coat to dry thoroughly before applying the next to maintain a clean and polished result.
Sealing and Protecting the Finish
Sealing your painted surface with a topcoat is a crucial step to ensure longevity and a professional appearance. A topcoat provides an extra layer of protection, enhancing the durability of the finish and shielding against everyday wear and tear, including scratches, moisture, and stains. Without this crucial step, painted surfaces are more vulnerable to damage over time.
Choosing the Right Sealant
The type of sealant you choose depends on the look and functionality you desire. For a clear, durable finish, opt for a water-based polyurethane, which dries quickly and resists yellowing over time. If you’re aiming for a softer, more natural matte appearance, particularly with chalk paint finishes, consider using wax. Wax provides a beautiful sheen while maintaining a smooth, velvety texture.
Application Tips
For optimal results, apply your chosen sealant using a clean, high-quality brush or foam applicator to prevent streaks or bubbles. Use thin, even coats and work in the direction of the grain when possible. Allow ample curing time—typically 24 to 72 hours—before putting your piece to heavy use. This extra patience will ensure the surface is fully set and resistant to potential damage, resulting in a stunning and protected finish.
Reassembly and Final Touches
Reattach Hardware
Once the paint and sealant are fully cured, carefully reinstall all knobs, hinges, or drawer pulls. This step will bring your furniture piece to life, accentuating the makeover with its functional and decorative elements. Ensure all hardware is securely fastened and aligned for a polished appearance.
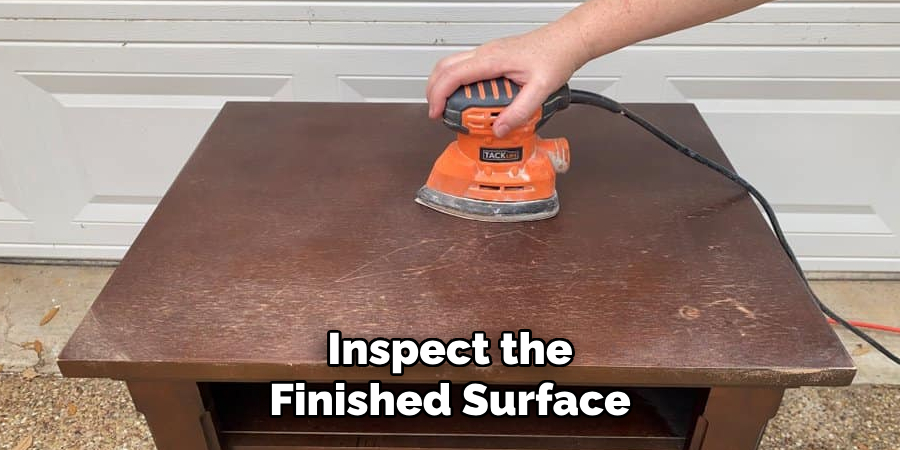
Touch Up and Clean
Inspect the finished surface for any small drips, missed spots, or imperfections. Use a fine brush to touch up as needed, blending seamlessly with the rest of the finish. Once satisfied, wipe the entire piece with a clean, dry cloth to remove any dust or fingerprints, leaving the surface pristine and ready for use.
Placement Tips
Allow the furniture to sit in a well-ventilated area to ensure full curing before placing heavy objects on it. Proper curing time protects the finish and ensures your revamped furniture remains beautiful and durable for years to come.
Conclusion
Painting Pottery Barn furniture is a great way to personalize and refresh your space while breathing new life into your decor. By following the proper steps—such as thorough preparation, using quality materials, and allowing adequate curing time—you can achieve a flawless, professional-looking finish. Remember, even premium furniture can be beautifully transformed with a little effort and creativity. A crucial tip on how to paint Pottery Barn furniture is to always test your chosen paint and primer on a hidden section first to ensure compatibility and avoid surprises. With care and attention to detail, your project will be both rewarding and long-lasting.
About the Author
Adrian Green, a lifelong woodworking enthusiast, shares his passion for the craft through The Woodenify Blog. With a foundation built on years of hands-on experience in his father’s woodworking shop, Adrian is dedicated to helping others learn and grow in the world of DIY woodworking. His approach to woodworking combines creativity, practicality, and a deep appreciation for the art of building with your own hands. Through his blog, he inspires individuals of all skill levels to embark on their own woodworking journeys, creating beautiful, functional pieces of furniture and décor.
Professional Focus
- Specializes in DIY woodworking projects, from furniture to home décor.
- Provides step-by-step guides and practical tutorials for woodworkers of all skill levels.
- Dedicated to helping readers build confidence and skill through easy-to-follow instructions and tips.
- Passionate about fostering a community of makers who can share, learn, and grow together.
Education History
- University of Craft and Design – Bachelor of Fine Arts (BFA) in Woodworking and Furniture Design
- Woodworking Apprenticeships – Extensive hands-on training with skilled craftsmen to refine carpentry and furniture making techniques.
- Online Courses & Masterclasses – Continued education in advanced woodworking techniques, design principles, and specialized tools
Expertise:
- DIY woodworking, carpentry, furniture making, and home décor projects.
- Creating accessible tutorials and guides for beginner to advanced woodworkers.
- Sharing the joys and satisfaction of woodworking, from raw materials to finished products.