Are you thinking about building a gazebo in your backyard? One crucial aspect of building a gazebo is constructing a roof.
Building a roof for a gazebo is an essential step in creating a functional and aesthetically pleasing outdoor structure. A well-designed roof not only protects from the elements but also adds to the overall charm of your gazebo. Whether you’re an experienced DIY enthusiast or a beginner tackling your first project, constructing a gazebo roof requires careful planning, the right tools, and a solid understanding of basic carpentry techniques.

This guide on how to build a roof for a gazebo will walk you through the key steps needed to successfully design and build a roof that is both durable and visually appealing for your gazebo.
What Are the Benefits of a Gazebo Roof?
A well-built gazebo roof ideas provides several benefits, including:
- Protection From the Elements: A roof will shield you and your guests from the sun, rain, and other weather conditions, allowing you to enjoy your outdoor space all year round.
- Enhanced Aesthetics: Adding a roof to your gazebo can instantly elevate its appearance, making it look more sophisticated and inviting.
- Increased Privacy: With a roof over your gazebo, you can create a private retreat in your backyard where you can relax and unwind without being disturbed by neighbors or passersby.
What Will You Need?
To add a roof to your gazebo, you will need the following materials and tools:
- Roofing materials such as shingles, metal panels, or thatch
- Nails or screws
- Hammer or power drill
- Ladder or scaffolding (depending on the height of your gazebo)
- Measuring tape
- Saw (if cutting roofing materials to size)
- Safety gear such as gloves and protective eyewear
10 Easy Steps on How to Build a Roof for a Gazebo
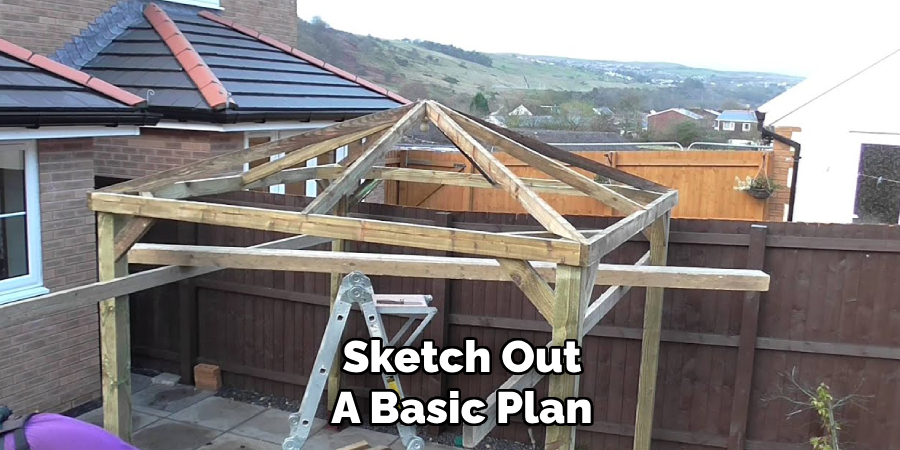
Step 1: Measure and Plan
Start by measuring the dimensions of your gazebo to determine the size and shape of the roof. Decide on the type of roof design you want, such as a pitched roof, hip roof, or flat roof, and sketch out a basic plan. Proper planning ensures that you have the correct amount of materials and helps avoid future issues.
Step 2: Gather your Materials
Collect all the materials listed in your plan based on the roof design and measurements. These materials typically include wooden rafters, beams, plywood sheets, roofing shingles or tiles, nails, screws, and brackets. Ensure you also have tools such as a hammer, drill, saw, measuring tape, and level. Double-check that all materials are in good condition, of the correct size, and in the appropriate quantity.
Having everything you need organized and ready before starting construction will save time and reduce interruptions during the process. Consider purchasing extra materials to account for any mistakes or adjustments that may be needed along the way.
Step 3: Set Up a Working Area
Prepare a clean and organized working area to ensure safety and efficiency during the construction process. Begin by clearing the space of any clutter, debris, or obstacles that could pose a hazard or impede progress. Lay down protective coverings, such as tarps or drop cloths, if necessary, to protect nearby surfaces from damage.
Arrange your tools and materials conveniently within reach, grouping similar items for easy access. Ensure the area is well-lit and ventilated, especially if you will be using power tools or working with chemicals. Additionally, establish a clear perimeter to keep unnecessary personnel or pets away while you work. A well-prepared workspace can significantly enhance productivity and reduce the risk of accidents.
Step 4: Install the Rafters
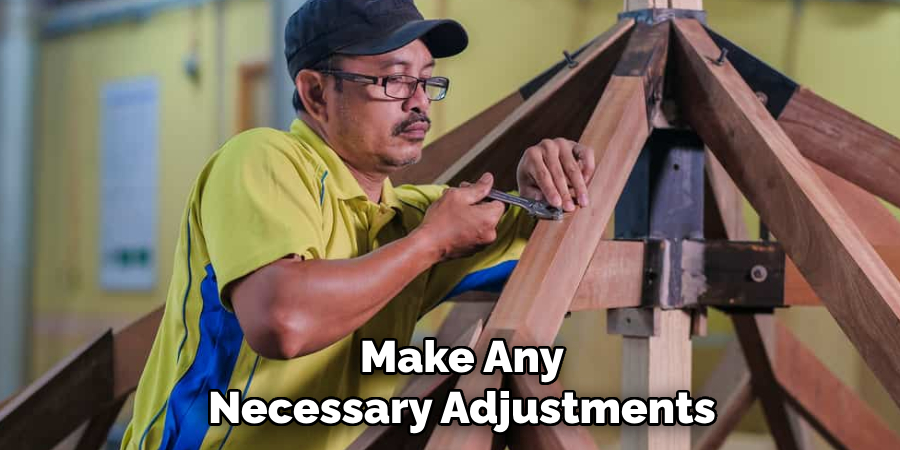
Begin by positioning the first rafter at the designated end of the structure, ensuring it aligns precisely with the layout markings. Secure it temporarily with clamps or by tacking it into place to prevent movement. Continue by installing additional rafters, one at a time, maintaining consistent spacing as specified in your plans or building code requirements.
Use nails, screws, or brackets to firmly attach each rafter to the top plates or ridge beam, ensuring they are level and properly secured. Double-check each connection to confirm stability and alignment before proceeding to the next. Once all rafters are installed, inspect the entire framework for uniformity and make any necessary adjustments.
Step 5: Add Crossbeams
Adding crossbeams is a crucial step in enhancing the structural integrity of the roof. Begin by measuring and cutting the crossbeams to the correct length according to your project specifications. Ensure each beam is cut accurately to provide a snug fit between the rafters. Position the crossbeams horizontally between pairs of rafters, securing them with brackets, screws, or nails at each end. Double-check that the beams are level and evenly spaced to distribute the load effectively.
The crossbeams not only reinforce the framework but also provide additional support for any decking or roofing material to be installed later. Take your time to ensure this step is completed with precision and care, creating a strong and reliable structure.
Step 6: Lay the Roof Sheathing
Start by measuring and cutting the roof sheathing materials to fit your structure. Typically, plywood or oriented strand board (OSB) sheets are used for this step due to their strength and durability. Begin at one corner of the roof, laying the first sheet of sheathing horizontally across the rafters. Ensure the edges align with the center of the rafters for proper support, and leave a small gap (approximately 1/8 inch) between the sheets to allow for expansion.
Secure each sheet with nails or screws, spacing fasteners about 6 inches apart along the edges and 12 inches apart in the middle. Continue this process row by row, making sure the seams are staggered to enhance structural integrity. Once complete, inspect the sheathing to ensure it is evenly laid and securely fastened across the entire roof frame.
Step 7: Apply Roofing Felt
Begin by rolling out the roofing felt horizontally across the roof, starting at the bottom edge and working your way upward. Ensure that the felt overlaps the edges of the roof by at least 1 inch to provide proper coverage and water resistance.
Use a hammer stapler or roofing nails with plastic caps to secure the felt to the sheathing, placing staples or nails approximately every 8 inches. Overlap each successive row of felt by at least 2 inches to create a watertight seal, and ensure the overlaps are aligned with the roof’s slope to guide water downward. Cut the felt as needed with a utility knife to fit around roof vents, chimneys, or any other protrusions, and fasten down any loose edges.

Step 8: Install the Roofing Material
Begin installing the roofing material according to the manufacturer’s instructions, starting at the bottom edge of the roof and working upward. For asphalt shingles, lay the starter strip first, ensuring it extends slightly beyond the edge of the roof to allow for proper water runoff. Place each subsequent row of shingles so that they overlap the row below it, creating a watertight barrier.
Use roofing nails to secure each shingle, positioning the nails just above the tabs and ensuring they penetrate through the roofing felt into the sheathing below. Stagger the shingle seams between rows to avoid creating weak points where water could seep through. For other roofing materials, such as metal panels or tiles, follow the recommended pattern and secure them using approved fasteners. Always be mindful of alignment and spacing to achieve an even and professional finish. Continue until the entire roof surface is covered, trimming and fitting pieces as necessary around vents, chimneys, and edges.
Step 9: Secure the Edges
To properly secure the edges, start by installing drip edge flashing along the eaves and rakes of the roof. This helps to channel water away from the structure and prevents wind from lifting the roofing material. Nail the drip edge in place at regular intervals, ensuring it lays flat and overlaps at joints to provide a continuous barrier. For added protection, apply roof cement along the edges where the flashing meets the shingles or tiles.
Step 10: Inspect and Test
Once the installation is complete, conduct a thorough inspection of the entire roof to ensure all components are securely in place. Check for any loose nails, gaps, or areas where the materials may not have adhered properly. Pay special attention to the flashing, shingles, and edges to confirm they are sealed correctly and aligned.
After the visual inspection, test the roof by spraying water over it with a hose to simulate rainfall. Observe any areas where leaks or water penetration might occur and address these issues promptly. Regular maintenance and inspections will help guarantee the roof remains in excellent condition over time.
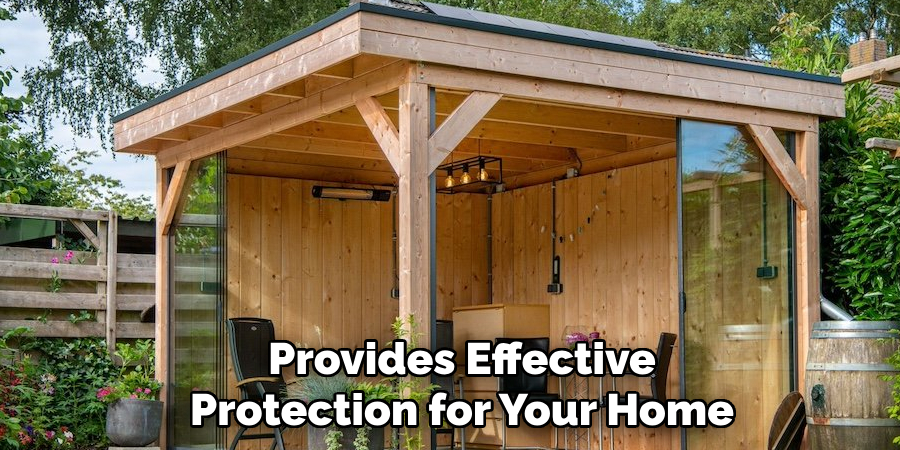
By following these steps, you can ensure that your roof remains in good condition and provides effective protection for your home.
Conclusion
How to build a roof for a gazebo requires careful planning, precision, and attention to detail.
By selecting high-quality materials, creating a sturdy framework, and ensuring proper alignment during assembly, you can construct a roof that provides both durability and aesthetic appeal. Regular inspections and maintenance are crucial to preserving the structure and preventing potential damage caused by weather conditions.
With a well-built roof, your gazebo becomes a functional and attractive space, enhancing the outdoor experience for years to come.
About the Author
Adrian Green, a lifelong woodworking enthusiast, shares his passion for the craft through The Woodenify Blog. With a foundation built on years of hands-on experience in his father’s woodworking shop, Adrian is dedicated to helping others learn and grow in the world of DIY woodworking. His approach to woodworking combines creativity, practicality, and a deep appreciation for the art of building with your own hands. Through his blog, he inspires individuals of all skill levels to embark on their own woodworking journeys, creating beautiful, functional pieces of furniture and décor.
Professional Focus
- Specializes in DIY woodworking projects, from furniture to home décor.
- Provides step-by-step guides and practical tutorials for woodworkers of all skill levels.
- Dedicated to helping readers build confidence and skill through easy-to-follow instructions and tips.
- Passionate about fostering a community of makers who can share, learn, and grow together.
Education History
- University of Craft and Design – Bachelor of Fine Arts (BFA) in Woodworking and Furniture Design
- Woodworking Apprenticeships – Extensive hands-on training with skilled craftsmen to refine carpentry and furniture making techniques.
- Online Courses & Masterclasses – Continued education in advanced woodworking techniques, design principles, and specialized tools
Expertise:
- DIY woodworking, carpentry, furniture making, and home décor projects.
- Creating accessible tutorials and guides for beginner to advanced woodworkers.
- Sharing the joys and satisfaction of woodworking, from raw materials to finished products.