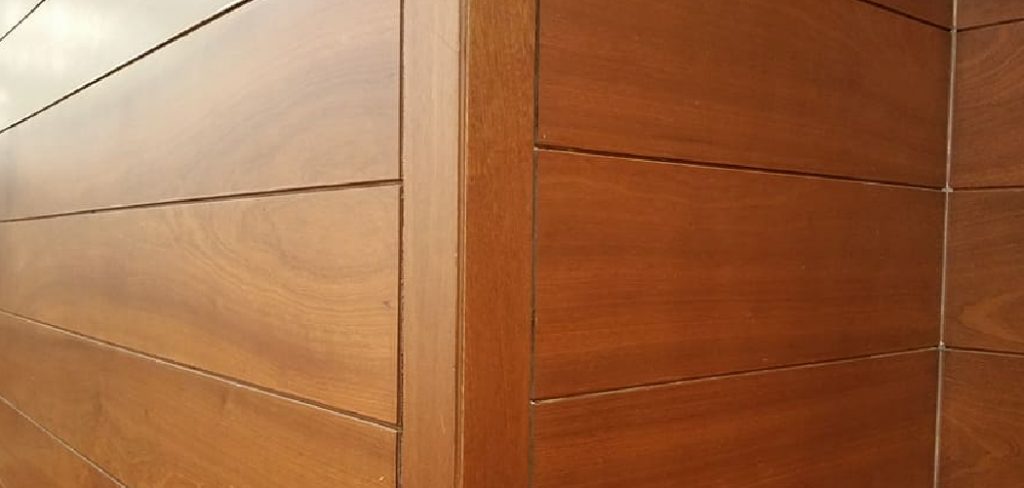
Are you tired of looking at dirty, grimy wood wall paneling in your home? Don’t worry, with a little cleaning and care, you can restore the beauty and shine of your wooden walls.
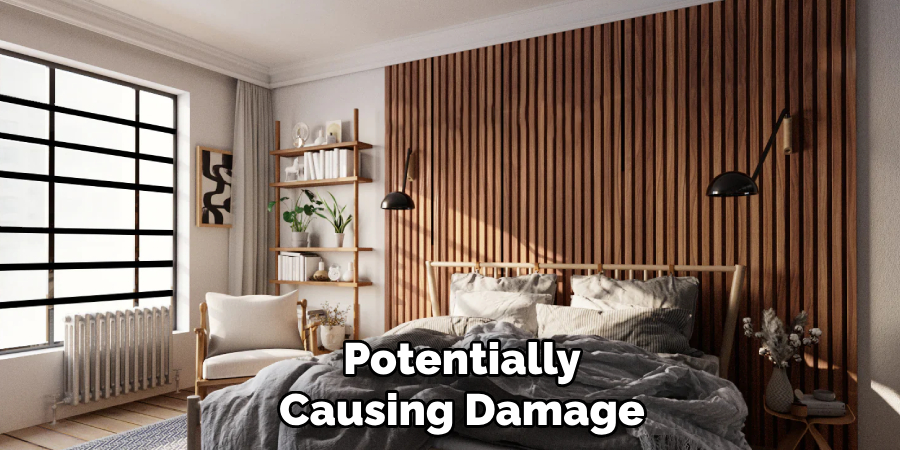
Keeping diy wood wall paneling clean is essential to maintain its natural beauty, extend its lifespan, and preserve the aesthetic of your space. Over time, dust, dirt, and grime can accumulate on the surface, dulling its shine and potentially causing damage if not addressed properly. Cleaning wood wall paneling requires gentle yet effective methods to avoid scratching or harming the wood finish.
In this guide on how to clean wood wall paneling, we will discuss the steps to effectively remove dirt and grime without damaging your wooden walls. Let’s get started!
What Are the Benefits of Cleaning Wood Wall Paneling?
Here are some reasons why regular cleaning and maintenance of wood wall paneling is important:
- Preserves the Aesthetic: As mentioned earlier, regular cleaning can help maintain the aesthetic of your wooden walls. It removes dirt and grime that can dull the shine or discolor the finish, keeping your walls looking beautiful and well-maintained.
- Protects Against Damage: Dirt and grime can cause damage to wooden surfaces if left unchecked. They can scratch or wear down the finish, leaving the wood vulnerable to potential water damage or rot. Regular cleaning helps protect against such damage and prolongs the lifespan of your wood wall paneling.
- Prevents Pest Infestation: Wood is a natural material that can attract pests, such as termites, ants, and beetles. These pests can easily burrow into the wood if it is not correctly cleaned and maintained, leading to potential structural damage. By regularly cleaning your wooden walls, you can prevent pest infestations and avoid costly repairs.
- Improves Indoor Air Quality: Dust and allergens can accumulate on wooden surfaces over time, negatively impacting indoor air quality. This is especially important for those who suffer from allergies or respiratory issues.
What Will You Need?
To properly clean your wooden walls, you will need the following materials:
- Soft cloths or sponges
- Mild wood cleaner or soap solution
- Warm water
- Bucket
- Microfiber cloth for drying
- Furniture polish (optional)
- Broom or vacuum cleaner (for dusting)
10 Easy Steps on How to Clean Wood Wall Paneling
1. Dust the Surface
Use a broom with soft bristles or a vacuum cleaner with a brush attachment to gently remove dust and debris from the wooden wall paneling. Start at the top and work your way down to ensure all dust particles are thoroughly cleaned. Be sure to reach corners, edges, and grooves where dust tends to accumulate. Avoid applying too much pressure to prevent scratching the wood surface. This step is crucial, as it sets the foundation for effective cleaning and ensures that any subsequent steps won’t rub dirt or grit into the wood, potentially causing damage.
2. Prepare the Cleaning Solution
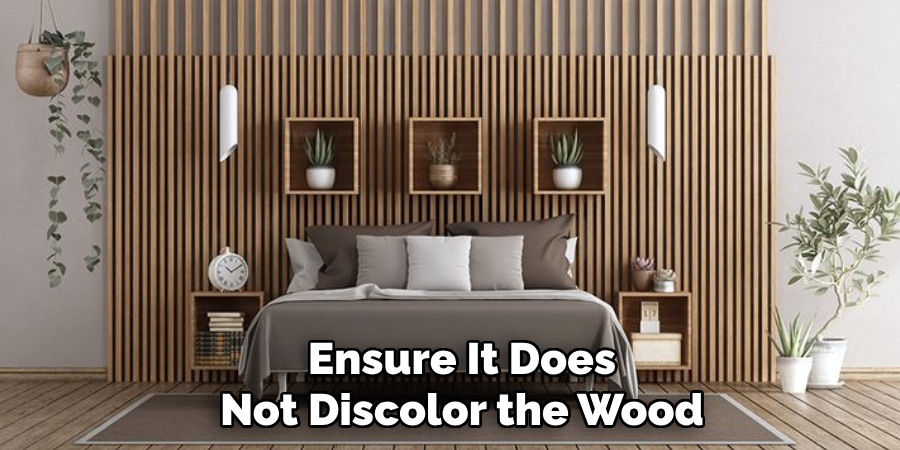
To create an effective cleaning solution, mix a gentle wood cleaner or a few drops of mild dish soap with warm water in a bucket. Ensure the mixture is well-diluted, as overly concentrated solutions can harm the wood’s finish. Avoid using harsh chemicals, ammonia-based cleaners, or abrasive substances that might strip the protective coating or discolor the wood. Once the solution is prepared, have a soft, lint-free cloth or sponge ready for the cleaning process. Always test the solution on a small, inconspicuous area of the wood paneling to ensure it doesn’t cause any damage or discoloration before proceeding to clean the entire surface.
3. Test the Solution
To test the cleaning solution, choose a hidden or less noticeable area of the wood paneling, such as a corner or section behind furniture. Gently apply a small amount of the solution using a soft cloth or sponge, rubbing in a circular motion. Allow the spot to dry fully and observe any changes, such as discoloration, dulling, or damage to the finish. If the test area shows no adverse effects, the solution is safe to use on the remaining paneling. Always prioritize caution, as improper cleaning methods can permanently impact the appearance and integrity of the wood.
4. Wipe the Walls
Once you have tested the cleaning solution, begin wiping the walls using a soft, damp cloth or sponge lightly dampened with the mixture. Start at the top of the wall and work your way down to prevent streaks or uneven cleaning. Use gentle, circular motions to lift dirt and grime without damaging the wood’s surface. Be sure to wring out excess liquid from your cloth or sponge to avoid oversaturating the paneling. After cleaning each section, dry the area with a clean, soft towel to prevent moisture from soaking into the wood. Repeat this process until all walls are thoroughly cleaned.
5. Address Stubborn Stains
For tougher stains that do not come off with regular cleaning, use a mixture of baking soda and water to create a gentle paste. Apply the paste directly to the stained area with a soft cloth, using light pressure to avoid damaging the wood. Allow the paste to sit for a few minutes to help break down the stain, then gently scrub in circular motions. Wipe away the residue with a damp cloth and dry the area thoroughly. If the stain persists, a small amount of white vinegar can be applied, but always test it on an inconspicuous area first to ensure it does not discolor the wood.
6. Rinse With Clean Water
After treating the stained area, it’s essential to rinse the surface to remove any cleaning residue. Use a clean, damp cloth soaked in fresh water and gently wipe over the treated area. Avoid soaking the wood, as excess water can cause damage. Once the area is thoroughly rinsed, wipe it dry with a soft, dry cloth to prevent water marks or further staining. Properly rinsing ensures that no cleaning agents remain, helping to preserve the wood’s natural finish.
7. Dry the Surface
After rinsing, it is crucial to dry the surface thoroughly to protect it from moisture damage. Use a clean, soft, and absorbent cloth to wipe away any remaining water gently. Move the cloth along the grain of the wood for the best results. Ensure every corner and crevice is completely dry to prevent water stains or warping. Allowing the surface to air dry briefly in a well-ventilated area is also a good practice to ensure all hidden moisture evaporates. Proper drying is a key step in maintaining the longevity and appearance of your wooden surfaces.
8. Polish the Wood
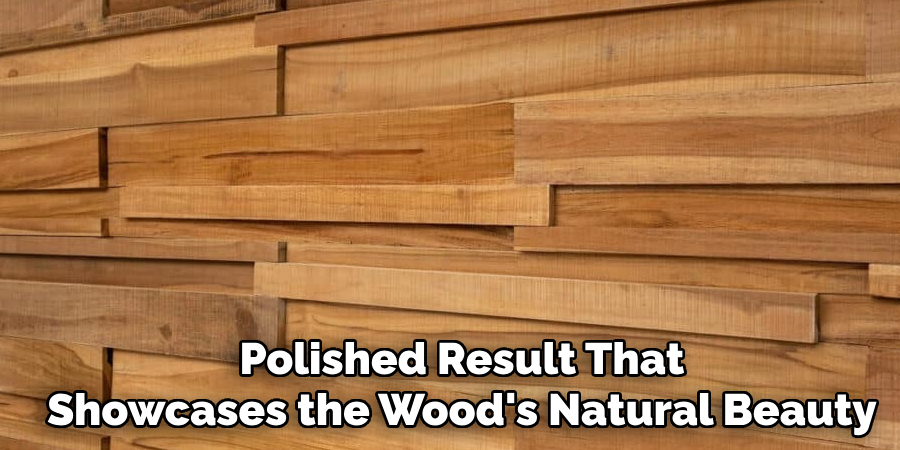
Select a high-quality wood polish that is suitable for the type of wood you are working with. Apply a small amount of polish to a clean, soft cloth and gently rub it into the wood using circular motions. This helps to distribute the polish evenly and enhances the natural grain and luster of the surface. For larger areas, work in sections to ensure thorough coverage. After applying the polish, use a separate, clean cloth to buff the surface, which will bring out a rich, glossy finish. Regular polishing not only enhances the appearance but also adds a protective layer, preserving the wood and extending its lifespan.
9. Inspect Your Work
Once you have finished polishing, take a moment to carefully inspect the surface for any missed spots or uneven areas. Look for streaks, smudges, or excess polish that may need additional attention. Use a soft, clean cloth to address any imperfections and ensure a consistent finish. Assess the overall appearance of the wood, ensuring it looks smooth, shiny, and well-maintained. This step is crucial to achieving a professional and polished result that showcases the wood’s natural beauty.
10. Maintain Regular Cleaning
To keep your wooden surfaces looking their best, it’s essential to maintain a routine cleaning schedule. Dust the surfaces regularly with a soft, lint-free cloth to prevent dirt and grime from accumulating. Avoid using harsh chemicals or abrasive cleaning tools that could damage the wood’s finish. Instead, use a mild wood cleaner or a solution of water and vinegar to clean the surface gently. Be sure to dry the wood immediately after cleaning to prevent moisture damage.
By following these simple cleaning steps, you can extend the life of your wooden surfaces and keep them looking beautiful for years to come.
5 Things You Should Avoid
- Using Excessive Water: Wood is susceptible to moisture, and excessive water can cause warping, swelling, or even lead to mold growth. Always use a damp, not soaking wet, cloth when cleaning.
- Applying Harsh Chemicals: Strong cleaning agents such as bleach or ammonia-based products can strip the protective finish and damage the wood’s surface. Stick to mild, wood-safe cleaners to preserve the integrity of the paneling.
- Scrubbing with Abrasive Tools: Avoid using steel wool or rough scrubbers, as they can leave scratches on the wood’s surface. Opt for soft microfiber cloths or sponges for gentle cleaning.
- Ignoring Immediate Spills: Allowing stains or spills to sit for extended periods can result in discoloration or permanent damage to the wood. Clean up accidents promptly to maintain the paneling’s appearance.
- Skipping Regular Maintenance: Neglecting routine dusting and cleaning can allow dirt and grime to accumulate, making it more difficult to clean over time and potentially damaging the wood finish. Regular upkeep is essential for keeping your wood wall paneling in top condition.
Conclusion
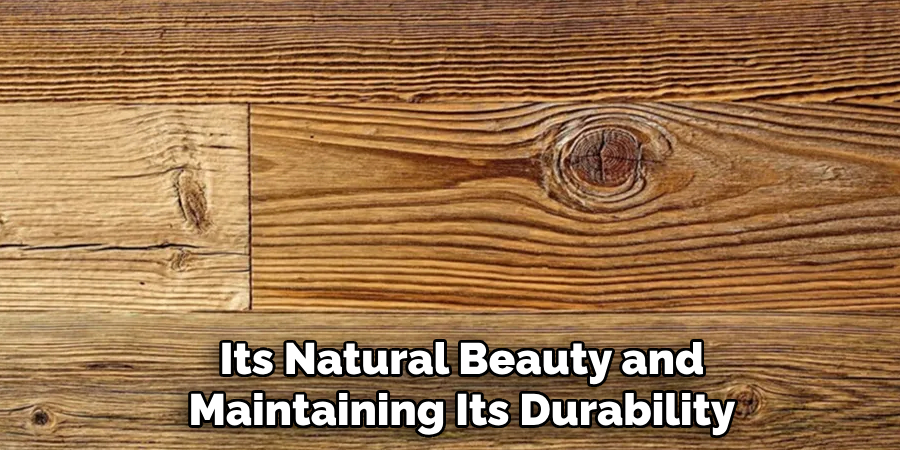
Proper care and cleaning of wood wall paneling are crucial for preserving its natural beauty and maintaining its durability.
By following a consistent cleaning schedule, using suitable cleaning products, and addressing issues such as spills or dirt buildup promptly, you can ensure the longevity of your paneling. Avoid harsh chemicals and abrasive tools, and instead opt for gentle cleaning methods that protect the wood’s finish. Regular maintenance not only keeps your paneling looking its best but also enhances the comfort and aesthetic appeal of your space.
Hopefully, the article on how to clean wood wall paneling has provided you with the necessary information and tips to effectively clean and maintain your paneling.
About the Author
Adrian Green, a lifelong woodworking enthusiast, shares his passion for the craft through The Woodenify Blog. With a foundation built on years of hands-on experience in his father’s woodworking shop, Adrian is dedicated to helping others learn and grow in the world of DIY woodworking. His approach to woodworking combines creativity, practicality, and a deep appreciation for the art of building with your own hands. Through his blog, he inspires individuals of all skill levels to embark on their own woodworking journeys, creating beautiful, functional pieces of furniture and décor.
Professional Focus
- Specializes in DIY woodworking projects, from furniture to home décor.
- Provides step-by-step guides and practical tutorials for woodworkers of all skill levels.
- Dedicated to helping readers build confidence and skill through easy-to-follow instructions and tips.
- Passionate about fostering a community of makers who can share, learn, and grow together.
Education History
- University of Craft and Design – Bachelor of Fine Arts (BFA) in Woodworking and Furniture Design
- Woodworking Apprenticeships – Extensive hands-on training with skilled craftsmen to refine carpentry and furniture making techniques.
- Online Courses & Masterclasses – Continued education in advanced woodworking techniques, design principles, and specialized tools
Expertise:
- DIY woodworking, carpentry, furniture making, and home décor projects.
- Creating accessible tutorials and guides for beginner to advanced woodworkers.
- Sharing the joys and satisfaction of woodworking, from raw materials to finished products.