Cedar woodfobs are a popular choice for their natural beauty, resilience, and light weight, making them an excellent option for many DIY projects or accessories. However, cedar wood is porous and prone to wear from moisture, UV rays, and dirt over time. To ensure it remains durable and retains its charming appearance, learning how to seal cedar woodfob properly is essential. This beginner-friendly guide will walk you through every step of sealing cedar woodfob, ensuring your piece is not only protected but also looks pristine for years to come.
Before starting the sealing process, it is crucial to prepare the cedar woodfob properly. Begin by cleaning the surface to remove any dust, dirt, or grime. A damp cloth or a soft-bristle brush can be used to gently scrub away debris without damaging the wood. If the wood has any existing finish or coating, consider sanding it down using fine-grit sandpaper to create a smooth, even surface for the sealant to adhere to. Proper preparation ensures that the sealant bonds effectively, enhancing the wood’s protection and maintaining its natural beauty.
Why Sealing Cedar Woodfob is Important
Sealing a cedar woodfob is crucial to extend its lifespan and maintain its aesthetic appeal. While cedar is naturally resistant to some elements, it still requires protection to withstand prolonged exposure to environmental factors like moisture, sunlight, and dirt. Here’s why sealing matters:
- Moisture Protection: Cedar woodfobs can absorb water if left unsealed, leading to warping and splitting. A proper sealant acts as a barrier to prevent water damage.
- UV Ray Resistance: Over time, sunlight fades cedar’s vibrant hue, turning it gray. Sealing with a UV-resistant finish preserves its natural color.
- Prevention of Cracking: Unsealed wood is susceptible to drying out, which can cause cracks or a brittle texture. Sealing helps maintain proper moisture balance within the wood.
- Improved Aesthetics: A sealant enhances the natural grain and deep hues of cedar wood, giving your woodfob a polished and refined look.
By sealing your cedar woodfob, you not only protect it but also enhance its beauty and functionality—making it a wise investment for any DIY enthusiast or home gardener.
Step-by-Step Guide on How to Seal Cedar Wood
Sealing cedar woodfob may seem like a daunting task for beginners, but with the right steps, it becomes straightforward and enjoyable. Follow this step-by-step guide to seal your woodfob like a pro.
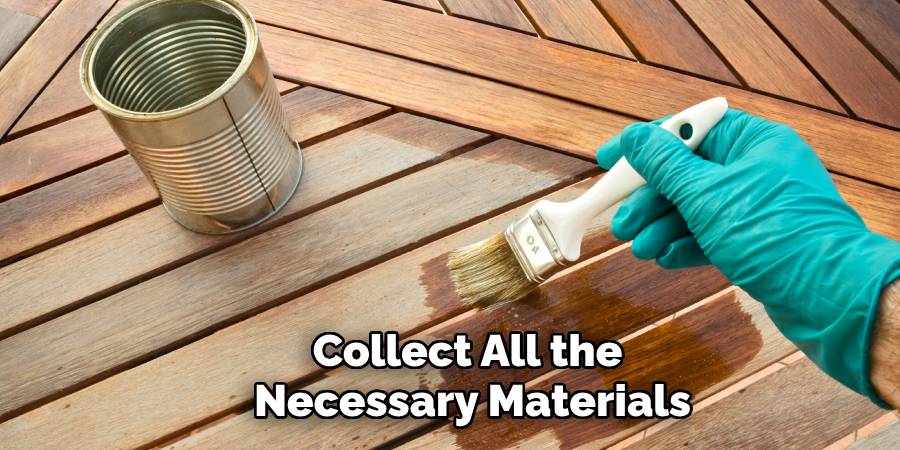
Step 1: Gather Your Materials and Workspace
Before starting, collect all the necessary materials, such as the cedar woodfob, sandpaper, a clean cloth, wood cleaner, a paintbrush, and your preferred sealant. Choose an area with good ventilation, as sealants can release fumes. Ensure you have a stable work surface, like a bench or table, to keep the wood steady.
Step 2: Clean the Cedar Woodfob
Cleaning is an essential first step. Use a wood-specific cleaner to remove dirt, grime, or oils from the surface. Gently apply the cleaner with a damp cloth, scrubbing where necessary, then allow the woodfob to dry completely. Working with a clean surface ensures the sealant adheres properly to the wood’s fibers.
Step 3: Sand the Surface
Next, smooth out your cedar woodfob by sanding it with fine-grit sandpaper, such as 220 grit. Sanding performs two key functions—it removes any uneven spots or splinters and opens the wood’s pores, enabling the sealant to penetrate better. Be sure to wipe away any dust or debris with a clean, dry cloth after sanding.
Step 4: Select the Right Sealant
Choose a sealant tailored to cedar wood projects and your intended use for the woodfob. Options include clear finishes for preserving the natural color or tinted ones for adding a unique hue. For outdoor use, a sealant offering UV and water protection is a must. Selecting the correct product ensures long-lasting results.
Pro Tip: Many sealants specifically mention they are safe and effective for small accessories like woodfobs, making them a great choice.
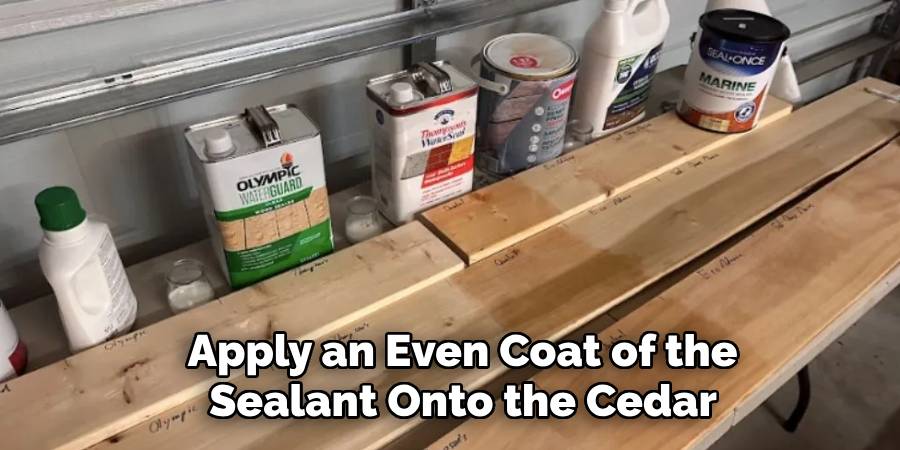
Step 5: Apply the First Coat of Sealant
Using a high-quality paintbrush or foam applicator, apply an even coat of the sealant onto the cedar woodfob’s surface. Move the brush in long, smooth strokes along the wood grain. Avoid overloading the brush, as excessive sealant can lead to uneven coverage or dripping. Allow the first coat to soak into the wood, enhancing its protection.
Step 6: Allow the Woodfob to Dry
Drying times will vary depending on the product you are using, but typically, it takes around 24 hours for the first coat to set properly. During this time, keep the woodfob in a dust-free, well-ventilated space. This ensures a smooth, durable finish.
Step 7: Sand and Repeat
After the first coat has dried, gently sand the cedar woodfob again using fine-grit sandpaper. This step smooths out imperfections and prepares the surface for additional coats. Apply a second coat of sealant using the same technique as before, and allow it to dry completely. Repeat this process for a third coat if your woodfob will be exposed to harsh weather conditions.
Step 8: Inspect for Coverage
Once the final coat has dried, inspect the cedar woodfob for any missed spots or uneven finishes. If needed, touch up these areas with a thin layer of sealant. Complete coverage ensures the woodfob is fully protected against moisture and other elements.
Step 9: Buff for a Polished Finish
For a professional-quality finish, consider buffing the sealed cedar woodfob lightly with a soft, clean cloth. This process removes dust particles and enhances the wood’s natural luster, making your sealed woodfob look polished and refined.
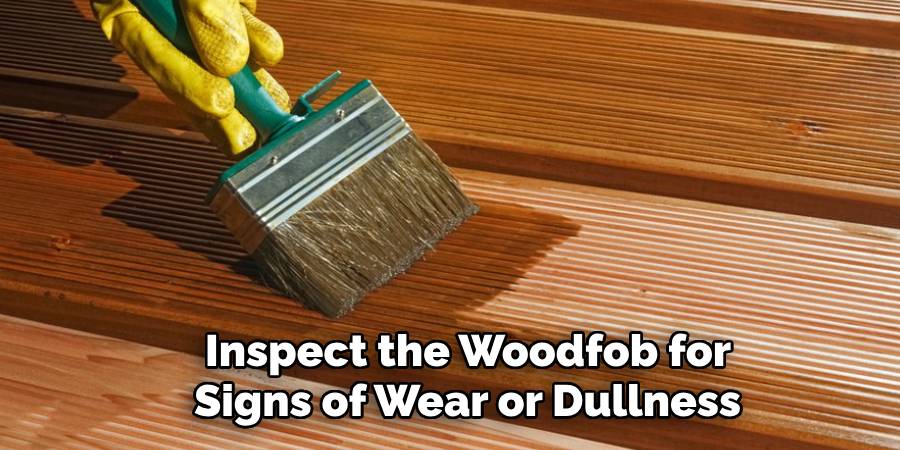
Step 10: Maintenance and Care
Even sealed cedar wood requires routine maintenance. Periodically clean and inspect the woodfob for signs of wear or dullness. Reapplying a fresh coat of sealant every couple of years can help keep your woodfob in perfect condition.
Common Sealing Mistakes
When sealing cedar woodfobs, certain mistakes can compromise the quality and longevity of the finish. One frequent error is failing to properly clean the surface before applying the sealant. Dirt, dust, or grease trapped beneath the sealant can lead to an uneven finish and may diminish the wood’s appearance over time. Another common mistake is applying too much sealant in a single coat. Thick layers can take longer to dry and may result in a tacky, uneven surface.
Conversely, applying too little sealant can leave the wood underprotected, making it vulnerable to moisture and damage. Additionally, skipping the step of lightly sanding between coats can prevent the sealant from adhering effectively. Lastly, using low-quality or incompatible sealant products can cause peeling, discoloration, or reduced water resistance. Taking care to avoid these pitfalls will ensure a durable and professional-looking finish for your cedar woodfob.
Proper storage and maintenance of your cedar woodfob are essential to preserve its appearance and functionality. Always store it in a dry, shaded area to protect it from prolonged exposure to sunlight and moisture, which can cause fading or warping over time. Periodically clean the woodfob with a soft, damp cloth to remove dust and debris, and consider reapplying a protective sealant as needed to maintain its durability. By adhering to these care practices, you can ensure your cedar woodfob remains in excellent condition for years to come.
Frequently Asked Questions Section
1. How long does it take to seal a cedar woodfob?
The entire process, including cleaning, drying, and applying multiple coats, can take anywhere from 2–3 days, depending on drying times and the number of coats applied. Patience is key for achieving the best results.
2. What type of sealant works best for cedar woodfob?
A clear wood sealer such as a polyurethane finish or a water-based wood sealer with UV protection works well. Choose a product labeled as safe for cedar wood and suitable for accessories like woodfobs.
3. Can I seal my cedar woodfob without sanding it?
Sanding is highly recommended before sealing because it smooths the surface and opens the pores, allowing the sealant to adhere better. Skipping this step may result in a less durable finish.
4. Is sealing cedar woodfob necessary for indoor use?
While sealing may not be strictly needed for indoor use, it still offers benefits such as enhancing the wood’s natural beauty, preventing drying or cracking, and making cleaning easier.
5. How often should a cedar woodfob be resealed?
For outdoor cedar woodfobs, resealing should be done every 1–2 years to maintain full protection. For indoor woodfobs, resealing every 2–3 years is usually sufficient.
Conclusion
Sealing cedar woodfob is a simple yet critical step to maintain its durability, beauty, and functionality. By following the steps outlined above, you’ll protect your woodfob against moisture, UV rays, and general wear while enhancing its natural charm. Whether you’re a DIY enthusiast or a beginner, this guide equips you with the knowledge needed to achieve a professional finish.
Proper maintenance and care will ensure your cedar woodfob remains in excellent condition for years to come. Regular cleaning, timely resealing, and addressing minor damages promptly are key practices. These simple efforts can extend the lifespan of the wood and preserve its elegant appearance, making it a lasting feature in your space.
Take the time to properly seal your cedar woodfob today and enjoy the benefits of a long-lasting, gorgeous accessory. Remember, learning how to seal cedar woodfob isn’t just about preservation—it’s about transforming a simple piece of wood into something truly extraordinary!
About the Author
Adrian Green, a lifelong woodworking enthusiast, shares his passion for the craft through The Woodenify Blog. With a foundation built on years of hands-on experience in his father’s woodworking shop, Adrian is dedicated to helping others learn and grow in the world of DIY woodworking. His approach to woodworking combines creativity, practicality, and a deep appreciation for the art of building with your own hands. Through his blog, he inspires individuals of all skill levels to embark on their own woodworking journeys, creating beautiful, functional pieces of furniture and décor.
Professional Focus
- Specializes in DIY woodworking projects, from furniture to home décor.
- Provides step-by-step guides and practical tutorials for woodworkers of all skill levels.
- Dedicated to helping readers build confidence and skill through easy-to-follow instructions and tips.
- Passionate about fostering a community of makers who can share, learn, and grow together.
Education History
- University of Craft and Design – Bachelor of Fine Arts (BFA) in Woodworking and Furniture Design
- Woodworking Apprenticeships – Extensive hands-on training with skilled craftsmen to refine carpentry and furniture making techniques.
- Online Courses & Masterclasses – Continued education in advanced woodworking techniques, design principles, and specialized tools
Expertise:
- DIY woodworking, carpentry, furniture making, and home décor projects.
- Creating accessible tutorials and guides for beginner to advanced woodworkers.
- Sharing the joys and satisfaction of woodworking, from raw materials to finished products.