Installing laminate flooring requires precision and the right tools to ensure a clean, professional finish. A laminate floor cutter is a highly effective tool designed specifically for cutting laminate planks accurately and efficiently. Using this tool not only saves time but also minimizes the mess and noise typically associated with traditional saws. This guide will walk you through the basics of how to use laminate floor cutter, ensuring a smooth and successful flooring project.
Why a Laminate Floor Cutter is Essential
A laminate floor cutter is an essential tool for any flooring project due to its precision, efficiency, and ease of use. Unlike traditional saws, which can create significant dust and noise, a laminate floor cutter operates quietly and produces minimal mess, making it ideal for indoor use. It allows for clean, straight cuts, and many models can even handle angled cuts for tricky corners or edges. This versatility ensures that each plank fits perfectly, resulting in a professional-looking finish. Additionally, laminate floor cutters are user-friendly, making them a smart choice for both DIY enthusiasts and professional installers.
Types of Laminate Floor Cutters
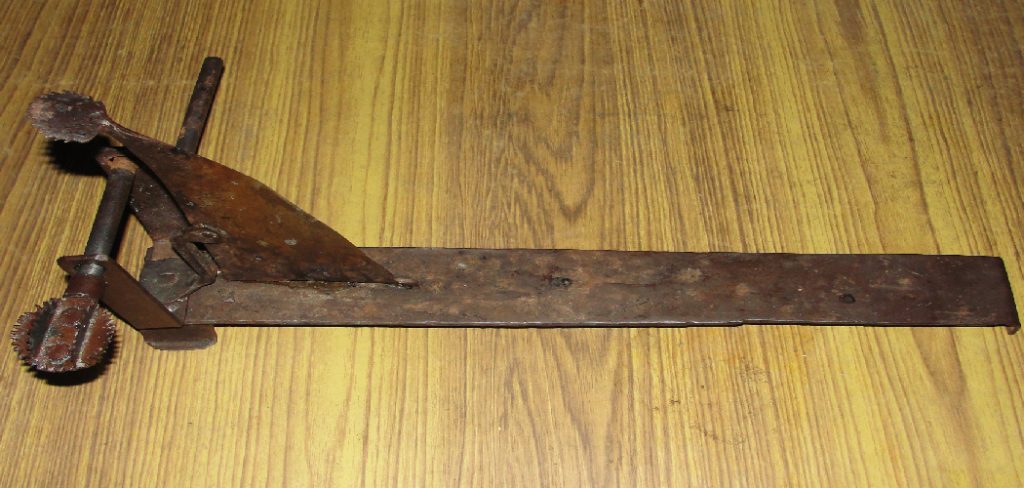
There are several types of laminate floor cutters available, each designed to suit different needs and preferences. The most common types include guillotine-style cutters, which use a sharp blade to slice through planks with manual force, offering precise and clean cuts with minimal effort. Another option is the plank cutter, designed specifically for straight cuts and often preferred for its simplicity and lightweight design. For more complex projects, miter cutters are ideal as they allow for angled cuts, making them perfect for corners and edges. Some models also feature a built-in measuring guide to ensure accuracy.
Tools and Safety Gear Needed
When working with laminate floor cutters, it is important to have the right tools and safety gear to ensure a smooth and secure process. Essential tools include a measuring tape for precise dimensions, a pencil or marker for marking cuts, and a square tool to ensure straight and accurate lines. If using an electric cutter, ensure you have an extension cord suitable for the workspace.
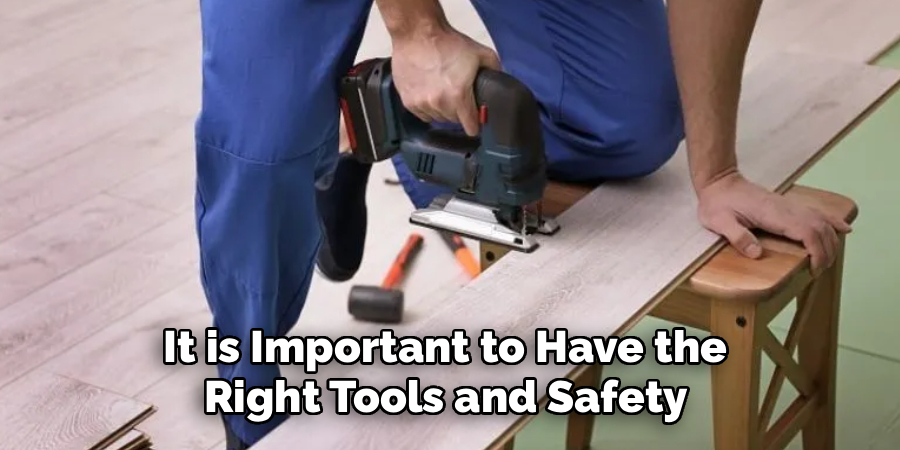
Safety gear is equally important to protect yourself during the project. Always wear safety goggles to shield your eyes from debris and dust. Hearing protection may be needed if you’re using power tools that generate noise. Durable work gloves will help protect your hands from sharp or rough edges, while knee pads can provide comfort during extended periods of floor-level work.
10 Methods How to Use Laminate Floor Cutter
1. Understand the Purpose and Types of Laminate Floor Cutters Before Starting
Before using a laminate floor cutter, it’s crucial to understand what it is and the type best suited for your project. Laminate floor cutters are specialized tools designed to make precise cuts through laminate planks without producing the dust or noise typically associated with saws. They often resemble a paper guillotine, using a sharp blade with a lever arm to shear planks. Some cutters are manual, while others may have a powered blade. There are straight-cut models and more advanced ones capable of angled or rip cuts. Knowing your cutter’s capabilities will help you maximize efficiency and reduce mistakes during your flooring project.
2. Prepare a Clean and Safe Workspace for Cutting
A well-organized and safe working environment is essential when using a laminate floor cutter. Set up your cutter on a flat, stable surface such as a workbench or sturdy floor area. Remove any clutter or debris around your workspace to prevent tripping or improper material alignment. Good lighting is also essential so you can clearly see the measurement lines and the cutting guide. Consider laying a drop cloth or protective mat under the cutter to catch any splinters or offcuts. This preparation not only improves your workflow but also enhances the safety and precision of your cutting process.
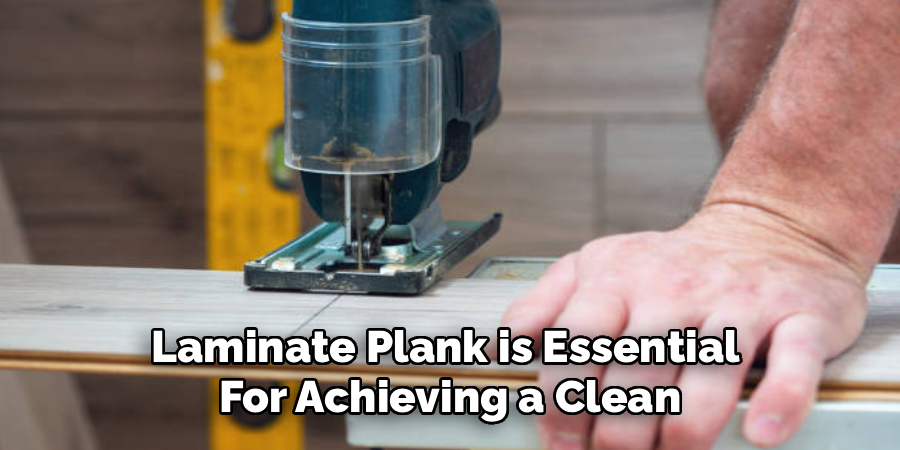
3. Measure and Mark the Plank Accurately Before Each Cut
Before inserting a plank into the cutter, measure the desired length or width using a tape measure or straight edge. Mark the cut line clearly with a pencil or chalk. Accuracy is critical, especially when working in tight spaces or around obstacles like door frames and vents. Double-check your measurements to prevent waste. For better visibility, you might consider using a fine-tip permanent marker on the laminate’s backside. Marking carefully helps ensure each plank fits perfectly into place, reducing gaps or uneven edges that can affect the overall appearance and performance of the finished floor.
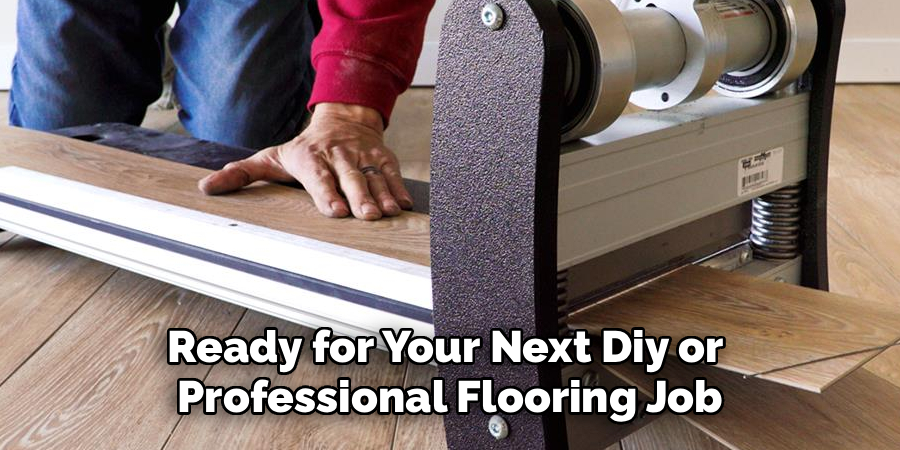
4. Align the Plank Correctly in the Cutter Platform
Proper alignment of the laminate plank is essential for achieving a clean, straight cut. Slide the plank into the cutter so the marked line aligns exactly with the cutting guide or blade edge. Make sure the board is positioned flush against the back fence or guide rail to prevent it from shifting during the cut. If your cutter includes an angle gauge or measuring fence, use it to maintain consistency when making repeated angled cuts. Take a moment to ensure the plank is stable and flat on the cutting base, as any misalignment could result in chipped edges or an inaccurate fit.
5. Use Firm and Steady Pressure on the Cutter Handle
To perform the cut, grip the cutter’s handle firmly and apply smooth, even pressure to bring the blade down through the laminate plank. Avoid sudden or jerky motions, as these can cause the plank to shift or splinter. Most manual cutters are designed to shear cleanly through laminate with minimal effort, but thicker or denser boards may require a bit more force. If your cutter has a ratcheting mechanism, allow it to engage fully before completing the cut. Practicing on a few scrap planks before cutting your actual flooring can help you gain confidence and precision with your technique.
6. Make Angle Cuts Using the Adjustable Guide (If Available)
Many laminate floor cutters include an adjustable guide or miter gauge for making angle cuts, which are especially useful for fitting planks around corners or at transitions. To use this feature, set the gauge to your desired angle, typically 45 or 30 degrees. Align your plank according to the angle guide, ensuring the cut line matches the cutter’s blade. Lock the guide in place and proceed with the cut using firm, even pressure. Angle cuts require particular attention to measurement and positioning, so take your time to get it right. This capability allows for professional-looking results even in complex layouts.
7. Use a Pull Cutter for Longitudinal Rip Cuts
If your laminate floor cutter includes a pull-cut feature or if you have a separate tool for rip cuts (cutting lengthwise), it is useful when you need to trim planks to fit along a wall or edge. Unlike crosscuts, rip cuts require a steady pull or push along the length of the board. Begin by clamping or holding the plank securely in place. Align the blade along the marked rip line and draw the cutting arm across the length. While this method is more time-consuming than crosscutting, it allows for custom-fit planks without the need for a circular saw or jigsaw, keeping your workspace clean and quiet.
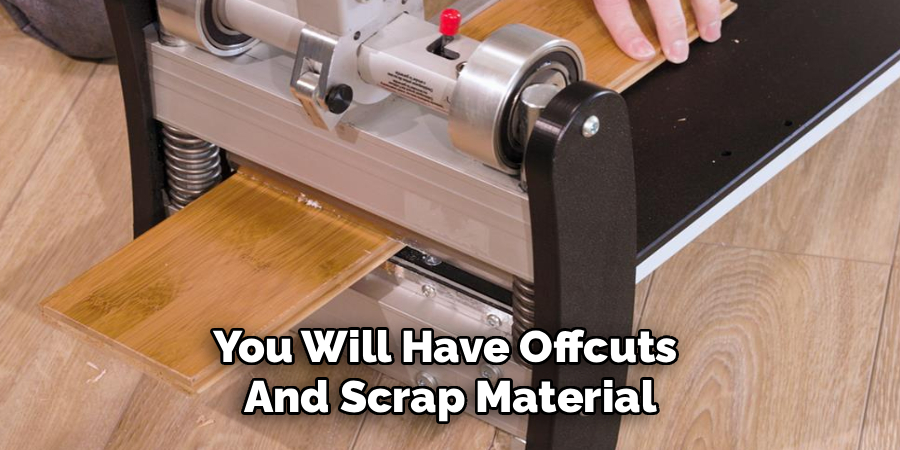
8. Handle and Dispose of Offcuts and Scrap Responsibly
After each cut, you will have offcuts and scrap material. These should be handled with care as they may have sharp edges. Use a shop vacuum or broom to keep the area tidy and free of debris. Dispose of unusable scraps in accordance with your local waste regulations. Larger offcuts that are still usable should be set aside in a labeled pile for use in smaller areas or pattern matching later in the installation. Maintaining an organized system for dealing with scraps can save time, prevent accidents, and help reduce material waste during the project.
9. Maintain Your Cutter Blade for Clean and Accurate Cuts
A dull or chipped blade can tear rather than slice through laminate, resulting in jagged edges or damage to the plank surface. To prevent this, inspect the cutter blade periodically during use. Clean off any buildup from adhesives or dust with a damp cloth. Depending on the model, blades may be replaceable or require sharpening after extended use. Follow the manufacturer’s instructions for blade maintenance and replacement. Keeping your cutter in optimal condition not only ensures cleaner cuts but also extends the life of the tool, making it a worthwhile investment for future flooring projects.
10. Practice Safe Use and Store the Cutter Properly After Use
Safety should always be a priority when working with any cutting tool. Keep hands and fingers clear of the blade during operation. Use gloves and safety glasses if you’re handling rough or splintered laminate. When the project is complete, clean the cutter of any debris and store it in a dry location to prevent rust or damage. If your cutter is foldable or has detachable parts, store them together to prevent loss. Proper storage not only protects your tool but also keeps your workspace organized and ready for your next DIY or professional flooring job.
Conclusion
Using a laminate flooring cutter is an essential step in achieving precise and professional results for your flooring projects. By following the proper operation techniques and safety guidelines outlined above, you can ensure both the quality of your work and your personal safety. Thanks for reading our blog post on how to use laminate floor cutter! We hope you found it helpful and informative.
About the Author
Adrian Green, a lifelong woodworking enthusiast, shares his passion for the craft through The Woodenify Blog. With a foundation built on years of hands-on experience in his father’s woodworking shop, Adrian is dedicated to helping others learn and grow in the world of DIY woodworking. His approach to woodworking combines creativity, practicality, and a deep appreciation for the art of building with your own hands. Through his blog, he inspires individuals of all skill levels to embark on their own woodworking journeys, creating beautiful, functional pieces of furniture and décor.
Professional Focus
- Specializes in DIY woodworking projects, from furniture to home décor.
- Provides step-by-step guides and practical tutorials for woodworkers of all skill levels.
- Dedicated to helping readers build confidence and skill through easy-to-follow instructions and tips.
- Passionate about fostering a community of makers who can share, learn, and grow together.
Education History
- University of Craft and Design – Bachelor of Fine Arts (BFA) in Woodworking and Furniture Design
- Woodworking Apprenticeships – Extensive hands-on training with skilled craftsmen to refine carpentry and furniture making techniques.
- Online Courses & Masterclasses – Continued education in advanced woodworking techniques, design principles, and specialized tools
Expertise:
- DIY woodworking, carpentry, furniture making, and home décor projects.
- Creating accessible tutorials and guides for beginner to advanced woodworkers.
- Sharing the joys and satisfaction of woodworking, from raw materials to finished products.