Are you tired of the outdated look of your wood paneling walls? Do you want to give them a fresh new look without spending a fortune? Look no further, as we have some easy and budget-friendly ways to fix them.
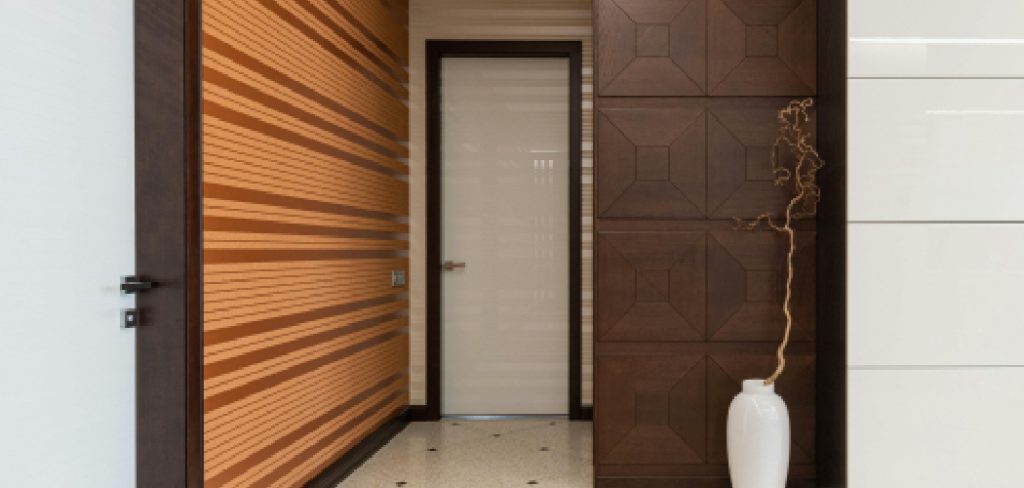
Wood paneling can add warmth and charm to any room, but over time, it may become damaged or outdated. Whether you are dealing with scratches, dents, fading, or simply a style that no longer fits your aesthetic, there are several ways to revive and repair wood paneling walls.
This guide will walk you through the essential steps on how to fix wood paneling walls, from minor cosmetic repairs to more significant restorations. With the right tools and techniques, you can breathe new life into your wood-paneled walls, transforming them into a beautiful feature of your home once again.
What are the Causes of Damaged Wood Paneling Walls?
Before we dive into the solutions, it’s essential to understand the reasons behind your damaged wood paneling walls. The most common causes are given below:
- Age and Wear: With time, wood paneling can experience natural wear and tear, leading to dents, scratches, and fading.
- Moisture Damage: Excessive moisture in the air or water leaks from pipes behind the walls can cause warping, rotting, or discoloration of the wood panels.
- Pest Infestation: Wood-boring insects such as termites can cause significant damage to wood paneling, making it weak and unsightly.
- Improper Installation: If the wood panels are not installed correctly, they may start to buckle or come loose over time.
- Neglect: Lack of proper maintenance and care can result in a dull and unappealing appearance of wood paneling walls.
These common causes of damaged wood paneling walls can be easily addressed with specific repair techniques and materials. Let’s explore some of the ways to fix your wood paneling walls.
What Will You Need?
To successfully fix your wood paneling walls, you will need the following tools and materials:
- Sandpaper or sanding block
- Wood filler or putty
- Wood stain or paint (depending on your desired outcome)
- Paintbrushes or foam rollers
- Paint tray
- Screwdriver (if necessary for removing any loose panels)
- Nail gun or hammer and nails (if necessary for securing any loose panels)
- Protective gear such as gloves, goggles, and dust mask
Gathering all the necessary items before starting the repairs is always a good idea so you don’t have to make multiple trips to the hardware store.
10 Easy Steps on How to Fix Wood Paneling Walls
Step 1. Inspect and Prepare:
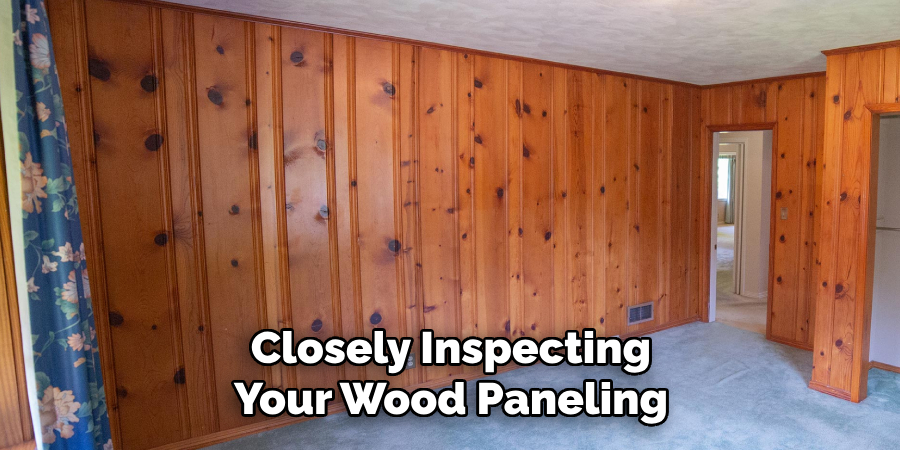
Begin by closely inspecting your wood paneling for any signs of damage, such as dents, scratches, or warped panels. Clean the walls thoroughly with a mild cleaning solution and a soft cloth to remove any dirt, dust, or grime. Allow the walls to dry completely before proceeding with any repairs.
Step 2. Sand the Surface:
Once your wood paneling is dry, start sanding the surface to smooth out any imperfections like scratches or dents. Use a medium-grit sandpaper or sanding block for this purpose. For deeper scratches or dents, more vigorously or use a coarser grit before moving to a finer grit to finish.
Always sand in the direction of the wood grain to avoid additional scratches. After sanding, wipe down the walls with a damp cloth to remove all the dust generated during the process, ensuring a clean surface for further repair and refinishing steps.
Step 3. Fill in Gaps and Dents:
Next, address any gaps, holes, or dents in the wood paneling using wood filler or putty. Choose a product that matches the color of your wood paneling for a seamless fix. Apply the filler with a putty knife, pressing it firmly into the holes or dents until they are completely filled.
Allow the filler to dry according to the manufacturer’s instructions. Once dry, use fine-grit sandpaper to smooth the filled areas, blending them into the surrounding wood. This step ensures a uniform surface across your paneling, eliminating visual imperfections.
Step 4. Apply a Fresh Coat of Paint or Stain:
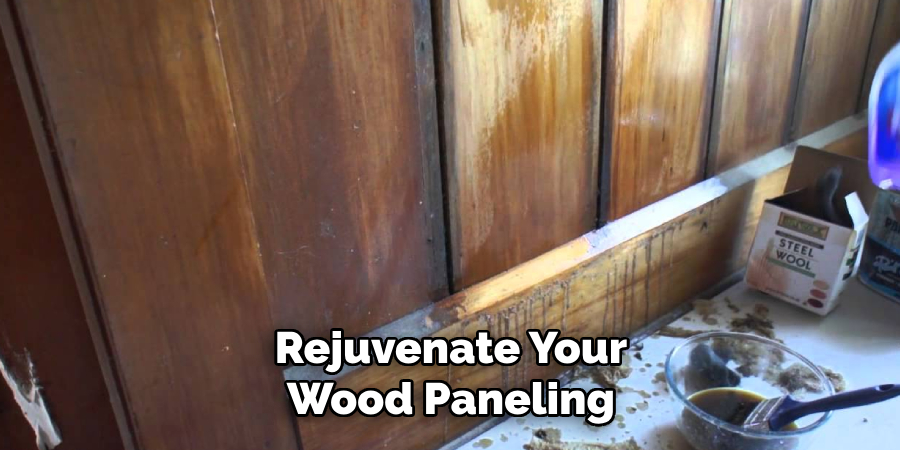
After the filler has dried and the surface is smooth, it’s time to rejuvenate your wood paneling with a fresh coat of paint or stain. If you’re painting, apply a primer designed for wood surfaces, allowing it to dry completely. This will help the paint adhere better and provide a more uniform finish. Choose high-quality paint in the color of your choice and apply it evenly with a brush or roller, working in sections to avoid streaks.
If you prefer to stain your paneling, select a wood stain that complements your home’s interior and apply it with a clean cloth or brush. Whether painting or staining, you may need to apply multiple coats to achieve your desired look, ensuring each coat is dry before applying the next. This step can dramatically transform the appearance of your wood paneling, breathing new life into the space.
Step 5. Seal the Surface:
After the paint or stain has fully dried, it’s crucial to protect your newly refinished wood paneling by applying a sealant. Choose a sealant appropriate for the type of finish you have applied, whether it’s paint or stain. A clear polyurethane sealant works well for most projects, protecting against moisture, dust, and wear.
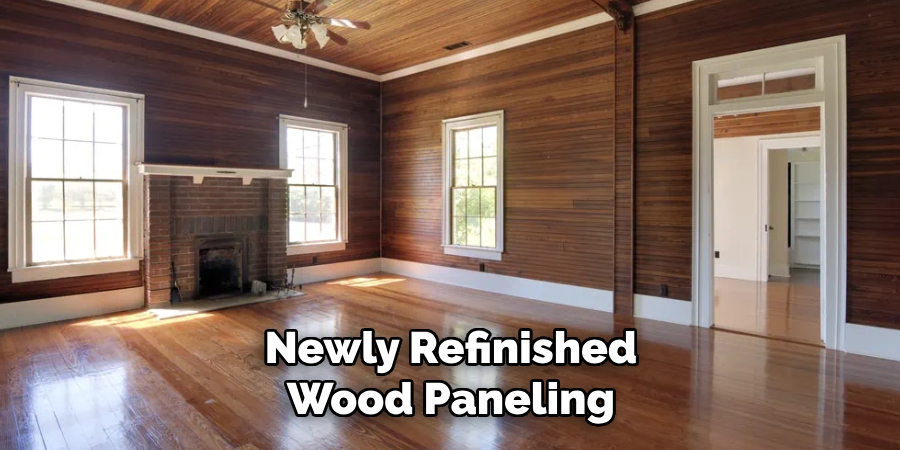
Apply the sealant with a clean brush or roller, following the product’s instructions for the best results. This step not only enhances the durability of your wood paneling but also gives it a professional, polished look. Allow the sealant to dry thoroughly before moving furniture back into the room or hanging items on the walls.
Step 6. Reattach or Replace Loose Panels:
If, during your inspection and preparation, you found any loose or buckling panels, now is the time to secure them back into place. Use a screwdriver to tighten any loose screws or replace them if necessary. For panels that require nailing, use a nail gun or hammer and nails to reattach the panels securely to the wall.
Ensure that the panels are firmly in place to prevent future movement or damage. This step is crucial for maintaining the structural integrity of your wood paneling walls and should be done carefully to avoid further damage to the panels.
Step 7. Addressing Pest Infestations:
Before completing your wood paneling project, it’s crucial to address any signs of pest infestation, particularly from wood-boring insects like termites. Inspect the backside of panels and any hidden areas for signs of infestation.
If pests are present, consult with a professional exterminator to treat the area effectively. Preventative measures, such as applying a borate solution to the wood, can deter future infestations. Taking this step ensures the longevity of your wood paneling and maintains the structural integrity of your walls.
Step 8. Add Finishing Touches:
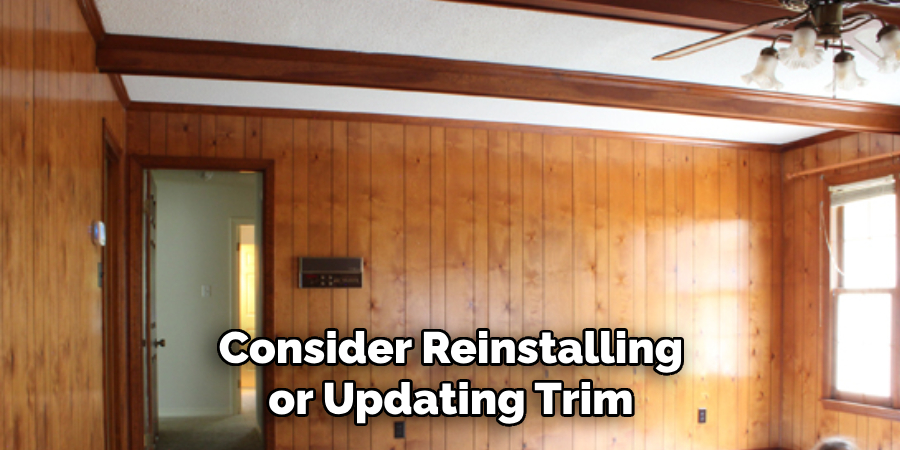
With your wood paneling restored and protected, the final step is adding finishing touches that enhance the room’s overall aesthetic. Consider reinstalling or updating trim and molding around the paneling for a fresh, polished look. Additionally, updating outlet covers and switch plates to match or complement your new wall finish can make a subtle but significant difference in the room’s appearance.
Lastly, accessorize the space with art, photos, or decor that reflects your personal style and creates a welcoming atmosphere. These finishing touches not only complete the look of your refurbished wood paneling but also personalize the space, making it uniquely yours.
Step 9. Maintenance and Care:
Regular maintenance and care are essential to keep your newly refinished wood paneling looking its best. Dust and clean the paneling gently with a soft, dry cloth or a duster to prevent the buildup of dirt and grime. For deeper cleaning, use a mild wood-safe cleaner and a damp cloth, wiping in the direction of the wood grain to avoid scratches.
Avoid using harsh chemicals or abrasive materials that could damage the finish. Inspect the paneling periodically for any signs of wear or damage and address issues promptly to prevent further deterioration. With proper care, your wood paneling will continue to enhance the beauty and warmth of your home for many years to come.
Step 10. Celebrate Your Achievement:
After completing the detailed process of refinishing your wood paneling, take a moment to appreciate your hard work and the transformed space. Refinishing wood paneling is not just about home improvement; it’s a labor of love that revitalizes a part of your home, bringing new energy and aesthetics to your living environment.
Invite friends and family to see the makeover or simply enjoy the refreshed space with a quiet moment of satisfaction. Your effort and dedication have enhanced the visual appeal of your home and added value and character. Celebrate this achievement, for you have skillfully preserved the charm of wood paneling while infusing it with a modern touch.
By following these ten steps, you can successfully refinish your wood paneling and transform the look and feel of any room in your home.
5 Additional Tips and Tricks
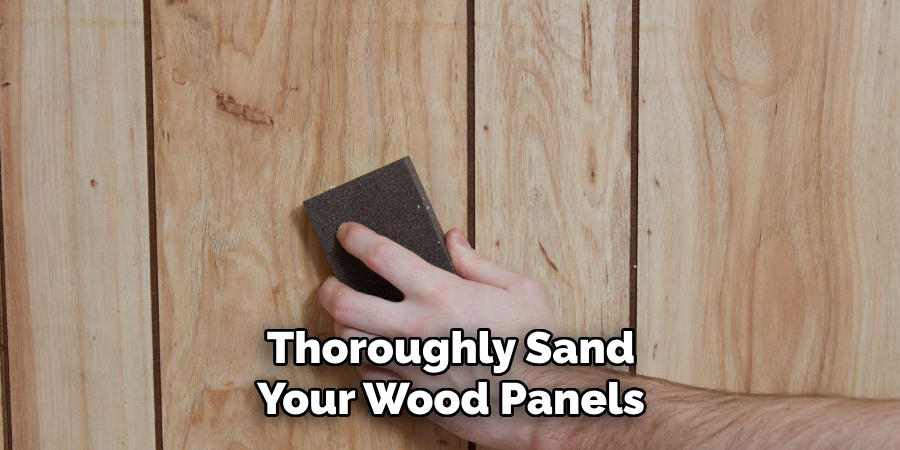
- Sand Before You Start: Thoroughly sand your wood panels before applying paint or stain. This removes the glossy finish, allows new paint to adhere better, and smooths out any imperfections.
- Use a Primer: Priming the wood paneling is crucial, especially if you plan to paint it. A primer will help cover any stains and ensure a uniform color throughout.
- Consider Caulking: If gaps or cracks exist between the panels or edges, fill them with caulk to give a seamless look. This step can significantly enhance the overall appearance of your walls.
- Experiment with Whitewashing: Consider whitewashing your wood paneling for a rustic or beachy vibe. This technique allows you to lighten the wood while still showcasing its natural grain.
- Update with Trim: Adding or replacing the trim around your wood paneling can breathe new life into the room. Consider crown molding at the top or a chair rail along the middle to add elegance and structure to your space.
With these additional tips and tricks, you can transform your outdated wood paneling walls into a modern and stylish feature in your home.
5 Things You Should Avoid When Fixing Wood Paneling Walls
- Ignoring the Moisture Level: Neglecting the moisture content in your wood paneling can lead to warping, rotting, or mold growth over time. Ensure proper ventilation and consider a dehumidifier if necessary.
- Skipping Surface Preparation: Do not overlook the importance of cleaning and preparing the surface before starting your project. Failure to remove dust, grime, or old finishes can hinder the adhesion of new paints or stains.
- Using the Wrong Paint or Stain: Avoid choosing paint or stain based solely on color. Consider the type of wood and the paneling’s location (e.g., direct sunlight, high moisture). Using the wrong products can result in poor coverage, peeling, or discoloration.
- Over-Sanding: While sanding is crucial for a smooth finish, overdoing it can damage the wood paneling, creating uneven surfaces or exposing lower layers. Always sand with a gentle hand and use the appropriate grit sandpaper.
- Neglecting Safety Precautions: Working on DIY projects involves certain risks. Not wearing protective gear like masks, goggles, or gloves when sanding, painting, or handling chemicals can pose serious health risks. Always prioritize safety to ensure a successful and harm-free project.
By avoiding these common mistakes, you can ensure a successful and long-lasting outcome for your wood paneling walls.
Which Glue is Best for Wood to Wall?
When it comes to attaching wood paneling to a wall, the type of glue you choose is crucial. The most suitable glue for this task will depend on various factors, such as the type of wood, the wall’s condition, and the panels’ weight. Here are three common types of adhesive used for wood-to-wall applications:
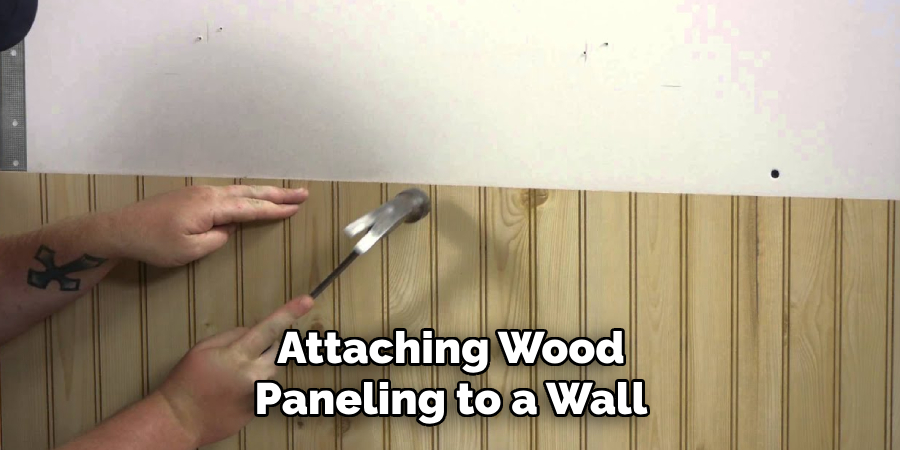
- Construction Adhesive: This strong and versatile adhesive is suitable for bonding different types of wood to various surfaces, including drywall, concrete, and masonry. It can also withstand high temperatures and is ideal for heavy or large wood panels.
- Liquid Nails: Similar to construction adhesive, Liquid Nails is a water-resistant glue that can bond thick or thin wood panels to various surfaces. It is also temperature-resistant and can hold up well in high-humidity areas.
- Contact Cement: This fast-drying adhesive is ideal for bonding lightweight wood panels to walls. It is commonly used in furniture making and creates a strong, permanent bond. However, it may not be suitable for thick or heavy panels.
Ultimately, the best glue for your project depends on the materials and surfaces involved. It is always best to read and follow the manufacturer’s instructions for the most effective results. So, make sure to choose a high-quality adhesive that suits your needs and follows safety precautions while handling it.
Can You Paint Wood Paneling?
Yes, you can paint wood paneling to give it a new look and feel. However, certain types of wood paneling may require more preparation and specific techniques for the best results. Here are some tips to keep in mind when painting wood paneling:
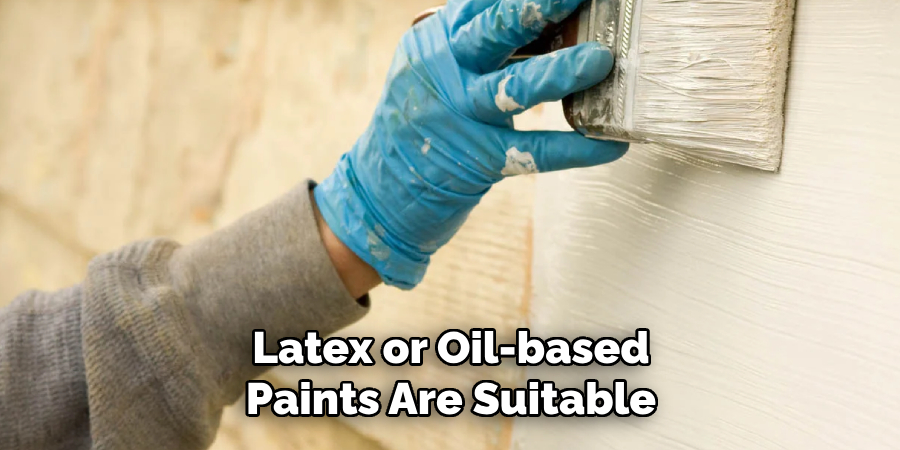
- Choose the Right Type of Paint: Latex or oil-based paints are suitable for most types of wood paneling. However, consider using a bonding primer before applying your chosen paint if you’re painting over glossy or laminated panels.
- Fill in Any Gaps and Holes: Before painting, fill in any gaps or holes with putty or caulk to create a smooth surface. This will also help the paint adhere better and give your walls a more cohesive look.
- Prime the Paneling: For a professional-looking finish, it is essential to prime the wood paneling before painting. This will help cover any stains, prevent the old color from bleeding through, and ensure an even coverage of your chosen paint.
- Pick Your Colors Wisely: When choosing a color for your wood paneling, consider the size and lighting of the room. Dark colors can make a small room feel even smaller, while light colors can help create the illusion of space.
- Use the Correct Technique: Using a brush or roller to paint wood paneling for an even and smooth finish is best. Apply multiple thin coats rather than one thick coat, allowing each layer to dry completely before adding another.
This will help prevent drips and ensure a professional-looking result.
Conclusion
Fixing wood paneling walls can greatly enhance your home’s aesthetic appeal and value. You can effectively update and revitalize your space by following the comprehensive strategies outlined—from cleaning, repairing, and painting to choosing the right adhesives for attaching panels.
Remember, the success of your project hinges not just on the specific methods and materials used but also on the careful avoidance of common pitfalls such as neglecting moisture levels or surface preparation.
Whether your goal is to achieve a modern look or to restore the paneling’s classic charm, the effort you invest in fixing and updating your wood paneling walls will pay off in the beauty and warmth it adds to your home. With patience, proper planning, and attention to detail, you can transform outdated wood paneling into a stylish and welcoming feature of your living space.
Hopefully, the article on how to fix wood paneling walls has provided you with valuable insights and tips to guide your project. Happy renovating!
About the Author
Adrian Green, a lifelong woodworking enthusiast, shares his passion for the craft through The Woodenify Blog. With a foundation built on years of hands-on experience in his father’s woodworking shop, Adrian is dedicated to helping others learn and grow in the world of DIY woodworking. His approach to woodworking combines creativity, practicality, and a deep appreciation for the art of building with your own hands. Through his blog, he inspires individuals of all skill levels to embark on their own woodworking journeys, creating beautiful, functional pieces of furniture and décor.
Professional Focus
- Specializes in DIY woodworking projects, from furniture to home décor.
- Provides step-by-step guides and practical tutorials for woodworkers of all skill levels.
- Dedicated to helping readers build confidence and skill through easy-to-follow instructions and tips.
- Passionate about fostering a community of makers who can share, learn, and grow together.
Education History
- University of Craft and Design – Bachelor of Fine Arts (BFA) in Woodworking and Furniture Design
- Woodworking Apprenticeships – Extensive hands-on training with skilled craftsmen to refine carpentry and furniture making techniques.
- Online Courses & Masterclasses – Continued education in advanced woodworking techniques, design principles, and specialized tools
Expertise:
- DIY woodworking, carpentry, furniture making, and home décor projects.
- Creating accessible tutorials and guides for beginner to advanced woodworkers.
- Sharing the joys and satisfaction of woodworking, from raw materials to finished products.
