Are you tired of constantly watching your dog or puppy around the house? Are you looking for a way to keep them contained in one area without using traditional crates or kennels?
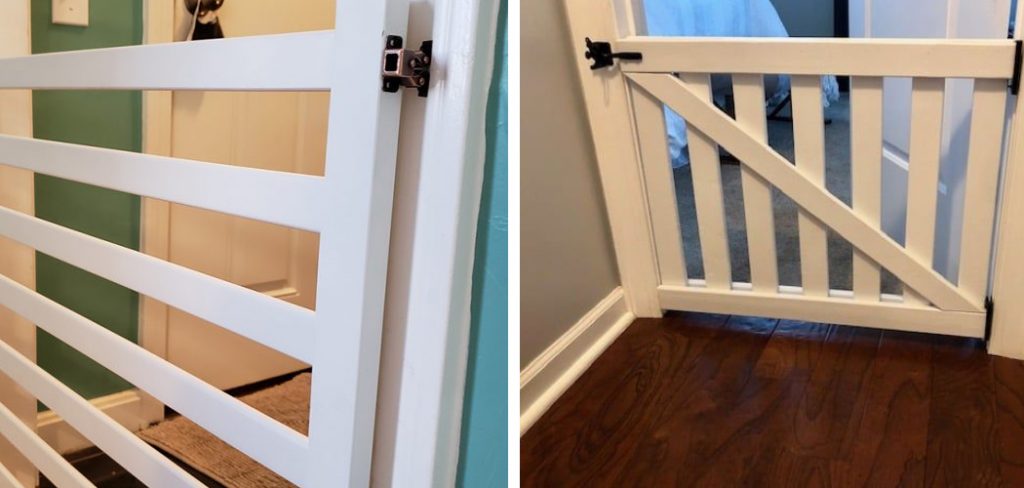
Creating a dog gate for your home is a practical and satisfying DIY project that keeps your furry friend safe and adds personalization to your living space. Whether you need to secure a staircase or doorway or create a designated area for your pet, making a custom dog gate allows you the flexibility to match your home’s décor and fit specific dimensions.
In this guide, we’ll take you through the steps on how to make a dog gate. No matter your skill level, you’ll find that with a little time and creativity, you can construct a gate that meets your needs perfectly while ensuring your pet’s safety and happiness.
What are the Benefits of a Dog Gate?
There are several advantages to using a dog gate, including:
- Controlling Your Pet’s Access to Certain Areas in the Home: Dog gates can be used to limit your pet’s access to specific rooms or furniture that you want them to stay away from. This is especially useful if you have a new puppy that is still being trained.
- Safety for Your Pet: A dog gate can prevent your pet from entering potentially dangerous areas such as kitchens or staircases. It also keeps your pet away from household items that could harm it, like cleaning supplies or small objects.
- Added Convenience: Rather than constantly having to keep an eye on your pet, a dog gate allows you to leave them in a designated area while you attend to other tasks or go about your day.
- Customization: By making your own dog gate, you can choose the materials, design, and size that best suit your home and pet’s needs.
These benefits make a dog gate a worthwhile investment for pet owners, and making one yourself can save you money while giving you the satisfaction of creating something useful for your furry friend.
What Materials Do You Need?
Before beginning your DIY project, gather all the necessary materials. These may vary depending on your design preferences and the size of the gate, but here are some basic materials to consider:
- Wood or Pvc Piping These are common materials used for making a dog gate. Wood provides a sturdy and traditional look, while PVC is lightweight and easy to work with.
- Hardware Cloth or Wire Mesh: This will be used as the barrier between the spaces in your gate. Hardware cloth is durable and prevents small pets from slipping through.
- Screws, Hinges, and Latches: These are essential for attaching and securing the gate to its designated area.
- Paint or Stain (Optional): If you want to add some color or finish to your gate, you can choose a paint or stain that matches your home’s décor.
Once you have all your materials, it’s time to start constructing your dog gate.
10 Easy Steps on How to Make a Dog Gate
Step 1: Measure and Cut Your Materials
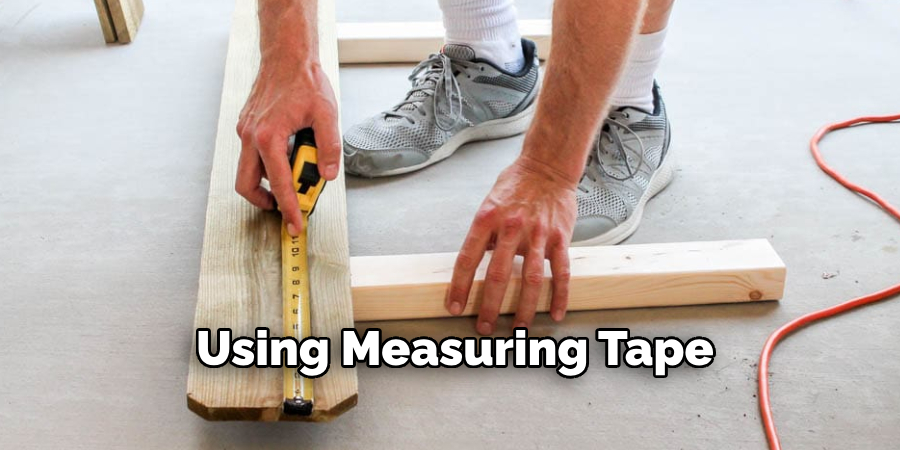
Using measuring tape, determine the dimensions of the area where you want your gate to be placed. This includes the width and height of the opening, as well as any additional space for hinges and latches. Once you have your measurements, use a saw to cut the wood or PVC piping to the appropriate lengths.
Step 2: Assemble the Frame
Once all the pieces are cut to the correct dimensions, it’s time to assemble the frame of your dog gate. If you’re using wood, use wood screws and a power drill to securely join the pieces together, forming a rectangular or square shape based on the measurements of your desired gate area.
PVC cement can be used to bond the corners together for those opting for PVC piping. Ensure that the frame is sturdy and square by checking the diagonals; they should be equal in length. This step is crucial as it forms the backbone of your gate, providing structure and stability.
Step 3: Attach the Barrier
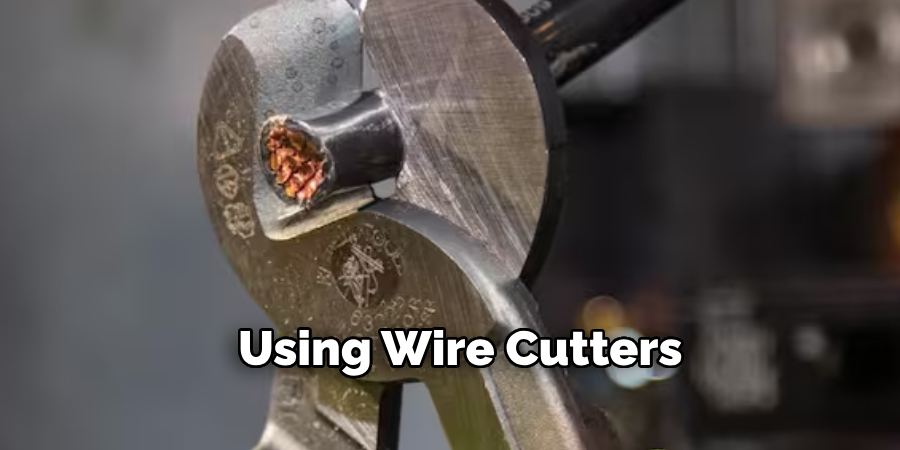
With the frame securely assembled, the next step involves adding the barrier preventing your dog from passing through the gate. Lay the frame flat on a stable surface and roll out your hardware cloth or wire mesh over it. Cut the cloth or mesh to fit the frame using wire cutters, ensuring it covers the entire frame area with a little overlap on each side for secure attachment.
Using staples or screws, attach the hardware cloth or mesh to the frame, making sure it’s tight and evenly placed to prevent any sagging. This barrier keeps your pet safely on one side of the gate, so it’s important to ensure it’s well-secured and free of any sharp edges that could harm your dog.
Step 4: Install the Hinges
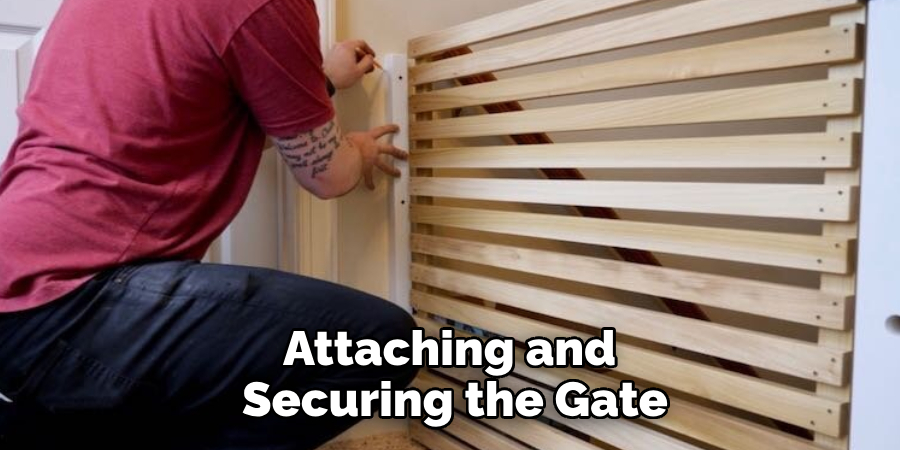
Now that your frame and barrier are assembled, it’s time to attach the hinges allowing your gate to swing open and close. Position your gate next to the opening where it will be installed, and mark the spots on both the gate and the wall or doorway where the hinges will go.
Ensure that the height and alignment are correct so that the gate can open smoothly without dragging on the floor or being too high to latch properly. Attach the hinges to the gate using screws, then secure the other side of each hinge to the wall or door frame. Depending on the material of your walls, you may need to use wall anchors to ensure a secure fit.
Step 5: Attaching the Latch
After securing the hinges, the next important step is to install a latch to keep the gate closed when needed. Choose a latch that is strong enough to resist pushing from your pet but easy enough for you to open when necessary. Mark the position of the latch on the gate and the corresponding spot on the wall or door frame where it will catch.
Ensure that the latch is positioned at a convenient height for you to access and that it lines up properly when the gate is closed. Screw the latch into place on both the gate and the wall or door frame, checking to make sure it operates smoothly and secures the gate effectively. This step is essential for the functionality of your dog gate, allowing you to control when your pet can and cannot pass through.
Step 6: Sand and Finish the Gate
With the structure of your dog gate now complete, the next step is to ensure that it is safe and visually appealing. Begin by sanding down any rough edges, particularly around the areas where you’ve cut and attached the hardware cloth or mesh. This will not only prevent splinters but also ensure that your pet doesn’t get hurt by any sharp edges.
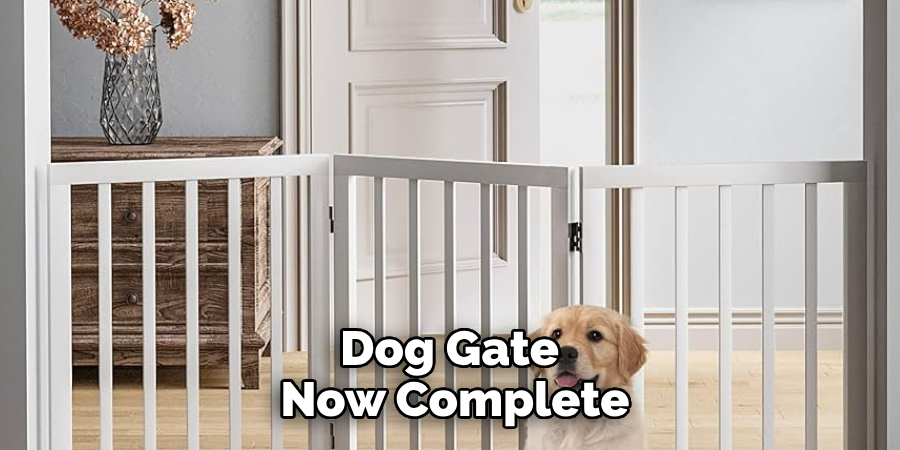
After sanding, wipe down the gate to remove any dust. If you’ve chosen to paint or stain your gate, now is the time to apply it. Select a non-toxic paint or stain to ensure it’s safe for your pet, applying it evenly across the gate. Allow ample time for the gate to dry thoroughly before using it. This step not only enhances the look of your gate but also provides a protective layer to the material, potentially extending the life of your DIY project.
Step 7: Final Inspection and Adjustments
With your dog gate fully assembled, painted, and dried, performing a final inspection and making any necessary adjustments is crucial. Examine the gate to ensure that all screws are tight, the barrier is securely attached, and there are no loose parts. Open and close the gate several times to check for smooth operation, ensuring it doesn’t drag on the ground or stick at any point.
Additionally, confirm that the latch locks and unlocks effortlessly and that the gate securely closes each time. If you notice any issues during this step, take the time to correct them immediately to guarantee the safety and efficiency of your DIY dog gate. This final step is vital for ensuring that your project meets your expectations and functions properly to keep your pet safe and contained.
Step 8: Install Gate Stoppers (Optional)
Consider installing gate stoppers to add security and prevent potential damage to your walls or gate. Gate stoppers can help control the range of motion of your gate, ensuring it only opens to a certain angle. This can be particularly useful in preventing the gate from swinging too widely or slamming shut.
To install, measure the desired opening distance of your gate and attach stoppers at the top and bottom of the frame on the swing side. You can use rubber or padded stoppers attached to the wall or floor, which will also help to reduce noise when the gate is in use. This optional step can extend the longevity of your DIY dog gate and protect your home’s surfaces.
Step 9: Maintenance and Upkeep
Regular maintenance and periodic checks of your DIY dog gate are crucial to ensure its longevity and continued effectiveness. Over time, screws may become loose, the barrier may show signs of wear, and the gate’s hinges might require oiling to maintain smooth operation.
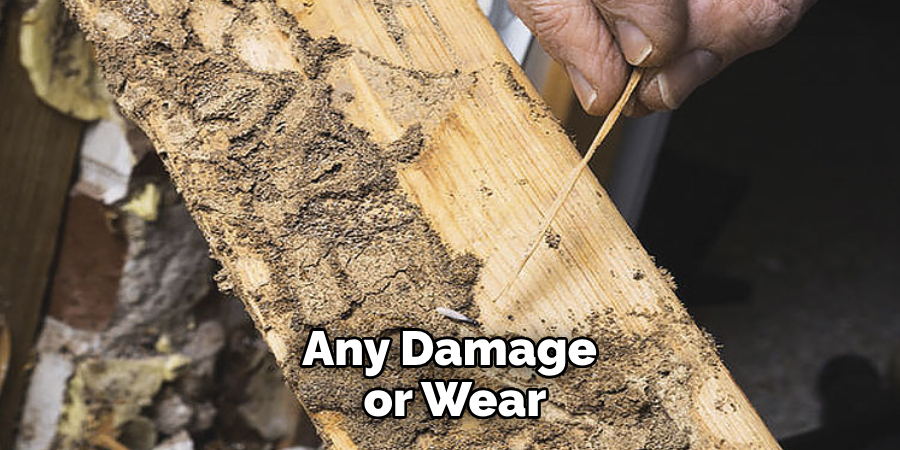
Set a schedule to tighten screws, inspect for any damage or wear, and lightly sand and apply finish or paint as needed. Additionally, check the latch mechanism for signs of rust or wear and replace it if necessary. This step will not only keep your dog gate functioning properly but also help to prevent any injuries to your pet or damage to your home. Maintaining your DIY dog gate is the key to ensuring that it remains a safe and reliable barrier for your pet for years to come.
Step 10: Celebrate Your Achievement
After completing the maintenance and any final adjustments, take a moment to appreciate your hard work and the craftsmanship that went into creating a practical and stylish dog gate. This DIY project provided a safe containment solution for your pet and added a personal touch to your home decor.
Enjoy the satisfaction of building something with your hands that meets your specific needs and preferences. Remember, the greatest reward for a job well done is the peace of mind of knowing your pet is safe and secure, thanks to your efforts.
By following these ten steps, you can successfully build a sturdy, functional, and attractive dog gate that will provide safety and containment for your pet.
5 Additional Tips and Tricks
- Measure Twice, Cut Once: Before cutting any materials, double-check your measurements. A common mistake in DIY projects is inaccurate cutting due to rushed measurements. This can lead to wasted materials and the need for adjustments later on, so take your time to measure accurately.
- Choose the Right Materials: The choice of materials can greatly affect the durability and appearance of your dog’s gate. When selecting wood, opt for hardwoods like oak or cedar for their strength and resistance to wear. For the barrier, choose a sturdy mesh or durable fabric if you want a softer look.
- Personalize with Decor: Adding personal touches to your dog gate can make it blend seamlessly with your home decor. Consider painting the gate in a color that complements your interior or attaching decorations that match your style. This enhances the appearance and makes the gate feel like a part of your home.
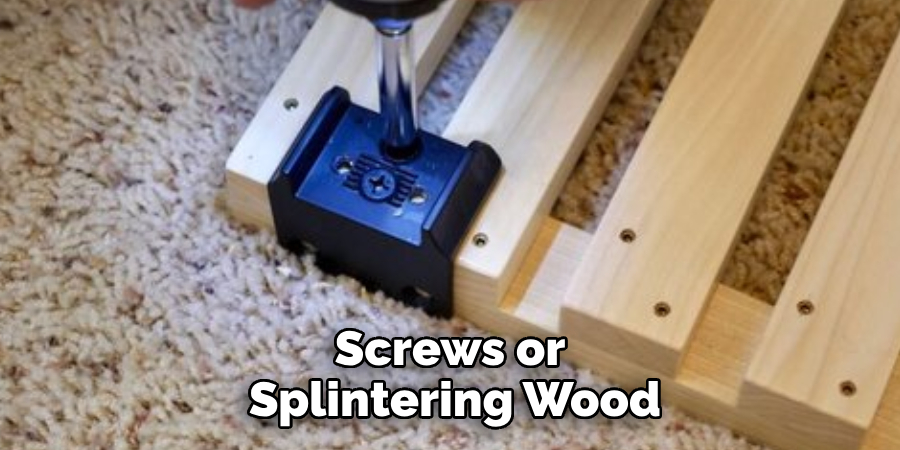
- Safety First: When creating your dog gate, keep safety at the forefront of your mind. Sand down all edges and corners to prevent injuries to you and your pet. If using paint or stain, ensure it’s non-toxic and safe for pets. Regularly inspect the gate for any potential hazards, such as loose screws or splintering wood.
- Consider a Removable Design: If you foresee the need to move or remove the gate frequently, design it with easy removal in mind. Installing hinges that allow the gate to be lifted off easily or adding a locking mechanism that can be disengaged will make the gate more versatile and convenient for various situations.
Implementing these tips and tricks will help enhance your DIY dog gate project, ensuring it is functional, safe, aesthetically pleasing, and perfectly suited to your home and lifestyle.
5 Things You Should Avoid When Making a Dog Gate
- Avoid Using Fragile Materials: While choosing materials based solely on look or cost might be tempting, fragile or low-durability materials can lead to a gate that breaks or wears out quickly. Always select materials that can withstand the daily rigors of use, ensuring your gate remains functional and secure over time.
- Don’t Overlook the Importance of Proper Sizing: A common mistake is failing to accurately measure the space where the gate will be installed. This can result in a gate that’s either too small or too large, compromising its effectiveness and aesthetic appeal. Make sure to measure the space multiple times for accuracy.
- Avoid Making the Gate Too Low: A gate that is too low is easy for a determined dog to jump over, rendering it ineffective. Ensure that the height of your gate is appropriate for your dog’s size, with a buffer to account for growth or unforeseen agility.
- Don’t Neglect Weather Considerations: If your gate will be used outdoors, neglecting to account for weather conditions can lead to premature deterioration. To extend the life of your gate, use weather-resistant materials and treatments to protect against elements like rain, humidity, and extreme temperatures.
- Avoid Complicated Mechanisms for Opening/Closing: Implementing a complex mechanism for opening or closing the gate might seem like a good idea for security, but it can become a nuisance in daily use. Opt for a simple, reliable mechanism that allows easy access but remains secure against canine escapologists.
By avoiding these common mistakes, you can ensure that your DIY dog gate is effective, durable, and safe for your pet.
5 Different Design Ideas for Your Dog Gate
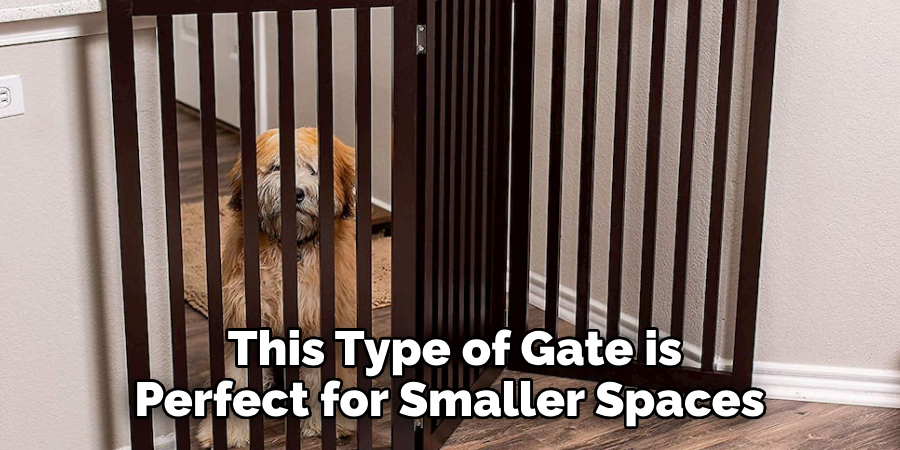
- Folding Accordion Style Gate: This type of gate is perfect for smaller spaces or areas that need to be easily accessible. The panels fold in accordion style, allowing you to adjust the width and fold it away when not in use.
- Sliding Barn Door Gate: For a more rustic or farmhouse feel, consider using a sliding barn door style for your gate. This design is functional and adds a unique and stylish element to your home decor.
- Picket Fence Gate: A picket fence gate design can add charm and character to your home while still providing a sturdy barrier for your pet. It’s also customizable, with options such as different colors or adding decorative elements.
- Mesh Panel Gate: If you prefer a more modern and minimalistic look, consider using mesh panels for your gate. This design is simple yet effective and can blend seamlessly with various home styles.
- Pet Gate Integrated into Furniture: For a clever and space-saving option, integrate your pet gate into furniture pieces such as bookshelves or cabinets. This provides a functional gate, maximizes space, and adds storage options.
These are just a few examples of unique and creative designs for your dog gate. With some imagination and careful planning, you can create a gate that serves its purpose and adds aesthetic value to your home.
Conclusion
How to make a dog gate combines functionality with aesthetic appeal, ensuring your pet’s safety while complementing your home’s decor.
By adhering to essential tips for construction and avoiding common pitfalls, you can create a durable, safe, and stylish barrier that meets your needs and those of your furry friend.
Whether opting for a folding accordion style for space efficiency, a rustic sliding barn door, a charming picket fence design, a sleek mesh panel gate, or integrating the gate into existing furniture for a seamless look, the possibilities are endless. Remember that the ultimate goal is to ensure a safe, secure environment for your pet that also aligns with your lifestyle and home aesthetics.
With careful planning, the right materials, and a dash of creativity, your DIY dog gate can be both a practical solution for pet management and a lovely addition to your home’s ambiance.
About the Author
Adrian Green, a lifelong woodworking enthusiast, shares his passion for the craft through The Woodenify Blog. With a foundation built on years of hands-on experience in his father’s woodworking shop, Adrian is dedicated to helping others learn and grow in the world of DIY woodworking. His approach to woodworking combines creativity, practicality, and a deep appreciation for the art of building with your own hands. Through his blog, he inspires individuals of all skill levels to embark on their own woodworking journeys, creating beautiful, functional pieces of furniture and décor.
Professional Focus
- Specializes in DIY woodworking projects, from furniture to home décor.
- Provides step-by-step guides and practical tutorials for woodworkers of all skill levels.
- Dedicated to helping readers build confidence and skill through easy-to-follow instructions and tips.
- Passionate about fostering a community of makers who can share, learn, and grow together.
Education History
- University of Craft and Design – Bachelor of Fine Arts (BFA) in Woodworking and Furniture Design
- Woodworking Apprenticeships – Extensive hands-on training with skilled craftsmen to refine carpentry and furniture making techniques.
- Online Courses & Masterclasses – Continued education in advanced woodworking techniques, design principles, and specialized tools
Expertise:
- DIY woodworking, carpentry, furniture making, and home décor projects.
- Creating accessible tutorials and guides for beginner to advanced woodworkers.
- Sharing the joys and satisfaction of woodworking, from raw materials to finished products.
