Are you wondering how to build a playhouse roof? Building a playhouse is a fun and rewarding project that can provide hours of entertainment for children.
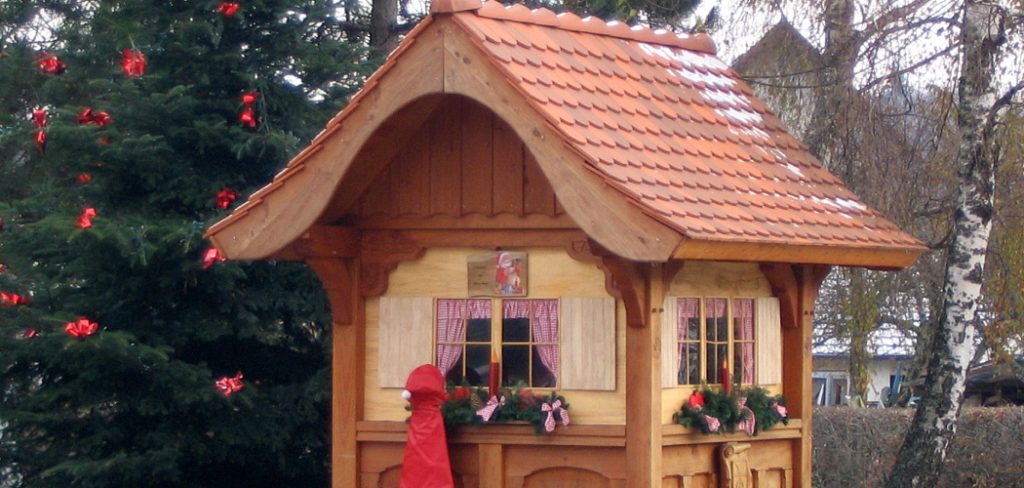
Constructing a roof for a playhouse is a pivotal step that not only secures the structure but also adds an aesthetic touch that can ignite a child’s imagination. This guide aims to provide parents and DIY enthusiasts with practical steps and tips for building a durable and safe roof for a playhouse.
Whether you’re looking to create a pitched, gable, or flat roof, understanding the basics of roof construction and the materials needed will ensure your playhouse stands the test of time and weather.
By the end of this guide, you’ll be equipped with the knowledge to construct a roof that not only protects but also adds character to your child’s playhouse.
What are the Benefits of a Playhouse Roof?
Before diving into the construction process, it’s essential to understand why building a playhouse roof is important. Some key benefits include:
- Protection From Weather Elements: A roof provides shelter from rain, wind, and sun exposure, allowing children to play safely in their playhouse regardless of the weather.
- Added Structural Stability: A properly built roof increases the overall stability of the playhouse and prevents it from collapsing or shifting.
- Enhanced Aesthetics: A well-designed roof can transform a simple playhouse into a charming and attractive structure that children will love to spend time in.
- Encourages Creativity: Having a roof over their heads can spark imaginative play for children, turning the playhouse into a fort, castle, or any other exciting setting.
Types of Playhouse Roofs
There are various types of roofs you can choose from when building a playhouse. The most common ones include:
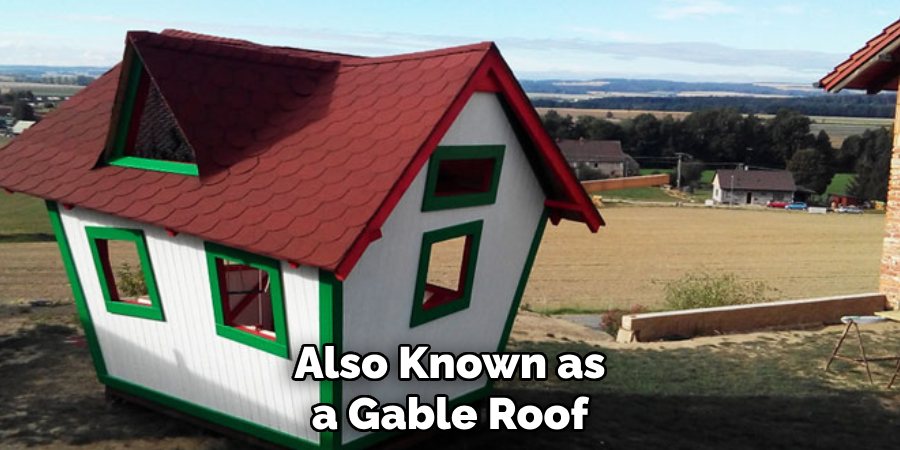
- Pitched Roof: Also known as a gable roof, this type has two sloping sides that meet at the top in the middle, forming a triangular shape. This style is ideal for areas with heavy rain or snowfall, as the steep slope allows for efficient drainage.
- Flat Roof: As the name suggests, this type of roof has a flat surface and is easy to build. However, it may not be suitable in areas with heavy precipitation, as water can pool on the surface and cause damage over time.
- Hip Roof: Similar to a pitched roof, but with four sloping sides instead of two. This type is more complex to build but provides excellent stability.
Materials Needed for Building a Playhouse Roof
The materials you will need may vary depending on the type of roof you choose and the size of your playhouse. However, some essential items include:
- Roofing Material: Shingles, metal sheets, or roofing tiles are commonly used for playhouse roofs. Choose a durable and weather-resistant material that complements the overall design of your playhouse.
- Plywood: This will form the base layer of the roof and provide structural support.
- Roofing Felt: A waterproof membrane that is placed over the plywood to prevent moisture from seeping in.
- Roofing Nails and Screws: These will be used to secure the roofing material, plywood, and fell into place.
- Ladder or Scaffolding: Depending on the height of your playhouse, you will need a safe way to access the roof during construction.
Once you have gathered all the necessary materials, it’s time to begin building your playhouse roof.
10 Easy Steps on How to Build a Playhouse Roof
Step 1. Measure the Roof Area:
Begin by accurately measuring the area of the playhouse where the roof will attach. This is a crucial step to ensure you cut your materials to the correct size. You’ll need to measure the length and width of the playhouse to determine the size of plywood and roofing material required.
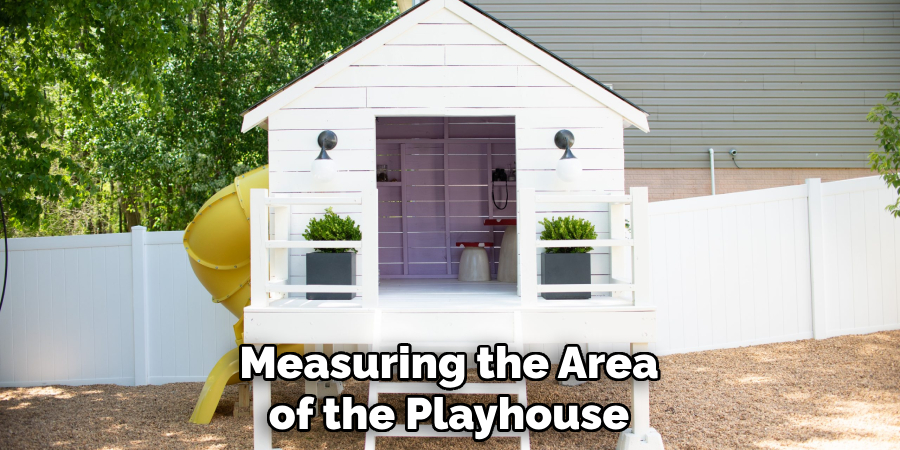
If you’re constructing a pitched roof, remember to account for the height of the roof’s peak. Use a tape measure for precision and jot down all measurements for future reference. This initial step lays the groundwork for your entire roofing project, so take your time to ensure accuracy.
Step 2. Cut the Plywood to Size:
Armed with your precise measurements, it’s time to cut the plywood that will serve as the base of your playhouse roof. Using a circular saw, carefully cut the plywood to match the dimensions of your roof. Ensure the cuts are straight and accurate to avoid gaps or mismatches when assembling the roof.
If you’re working on a pitched or hip roof, you may need to cut the plywood into triangles or trapezoids to fit the angled structure. Always prioritize safety by wearing protective eyewear and gloves during this process. Once the plywood is cut to size, it’s ready to be mounted to the frame of the playhouse.
Step 3. Mount the Plywood to the Playhouse Frame:
With the plywood cut to the correct dimensions, the next step is to secure it to the playhouse frame, forming the foundation of your roof. Start by positioning the plywood pieces on top of the playhouse, ensuring a snug fit along the edges and corners.
Use roofing nails or screws to attach the plywood to the frame, spacing them approximately 6-8 inches apart for optimal stability. It’s critical to ensure the plywood is mounted firmly to prevent any movement that could lead to instability or leaks in the future. For added security, consider reinforcing the connection with additional framing or bracing, especially if constructing a roof with a steep pitch or complex shape.
Step 4. Install Roofing Felt:
Once the plywood is securely attached to the playhouse frame, the next step is to lay the roofing felt. This material acts as a waterproof barrier, protecting your playhouse from moisture and potential water damage.
Begin at the bottom edge of the roof and roll out the roofing felt across the plywood surface. It’s important to overlap each layer by a few inches to ensure no water can seep through the seams. Secure the felt in place using a staple gun, making sure it lies flat and smooth against the plywood.
Step 5. Install the Roofing Material:
Now that the roofing felt is in place, you’re ready to install the roofing material of your choice. Whether you’ve chosen shingles, metal sheets, or tiles, start from the bottom edge of the roof and work your way upwards.
If using shingles, place the first row with the edge overhanging slightly at the eaves to ensure proper water runoff. Secure each piece of roofing material with roofing nails or screws, following the manufacturer’s instructions. For metal roofs or tiles, ensure each panel or tile overlaps the one below it to prevent water infiltration.
Step 6. Trim and Secure the Edges:
After installing the main roofing material, the next step involves trimming any excess and securing the edges to protect against wind uplift and water ingress. Use a utility knife for shingles or tin snips for metal sheeting to trim the material to the right size. Ensure all edges are neatly aligned with the sides of the playhouse roof.
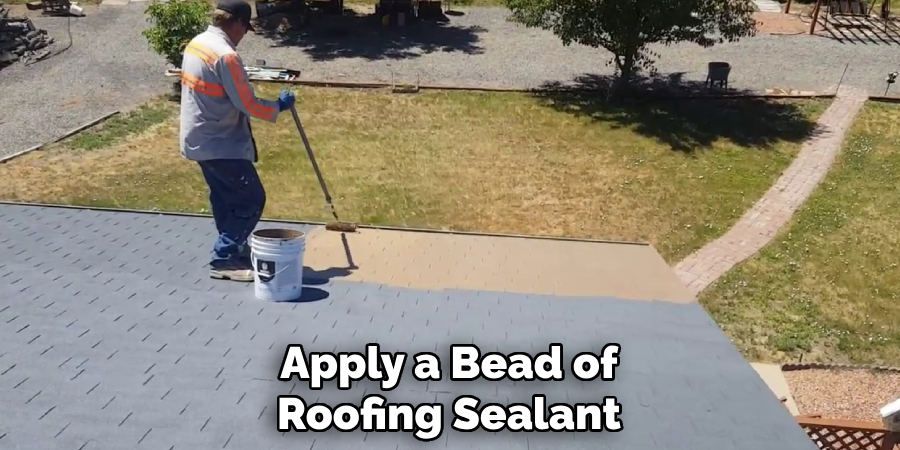
To further secure the roofing, apply a bead of roofing sealant along the edges and at any seams or overlaps. This will help to seal any potential entry points for water and ensure the roofing material remains firmly in place even during high winds. Carefully following this step will enhance your playhouse roof’s durability and weather resistance, ensuring it remains safe and dry for years to come.
Step 7. Install Ridge Cap:
The installation of the ridge cap is an essential step for pitched roofs, as it covers the peak where the two slopes meet, preventing water from entering the playhouse. Start by measuring the length of the roof’s ridge to determine how much ridge cap material you will need.
If you are using shingles, cut them to the appropriate size and shape for the ridge cap. Begin at one end of the ridge and overlay the ridge cap pieces, nailing them into place as you go, ensuring that each piece securely overlaps the previous one to create a watertight seal. For metal roofs, place the ridge cap over the peak and secure it with screws that penetrate both the cap and the roofing material beneath, spacing them evenly along the ridge.
Step 8. Final Inspection and Cleanup:
The final step in constructing your playhouse roof involves a thorough inspection and cleanup. Carefully review every part of the roof to ensure that all materials are properly installed, sealed, and secured. Check the nails and screws to make sure they are tightly fastened, with no sharp points protruding that could cause injury or damage.
Inspect the roofing felt and shingles or other roofing materials for any signs of puckering or lifting, which could indicate a need for adjustment or additional securing. Additionally, ensure the ridge cap is securely fastened and provides a complete seal along the roof’s ridge. After the inspection, clear away any leftover materials, sawdust, and debris from the roof and surrounding area to ensure a clean and safe environment.
Step 9. Celebrate Your Achievement:
After completing the final inspection and cleanup, take a moment to step back and admire your handiwork. Building a playhouse is not only about creating a play area for children but also about fostering creativity, imagination, and a sense of accomplishment.
Invite family and friends to see the playhouse and watch as the children explore and enjoy their new space. Remember, the joy and memories created in this playhouse will last a lifetime, making every step of this project well worth the effort. Celebrate this achievement with your loved ones and start planning the next adventure in DIY projects together.
Step 10. Maintenance and Care:
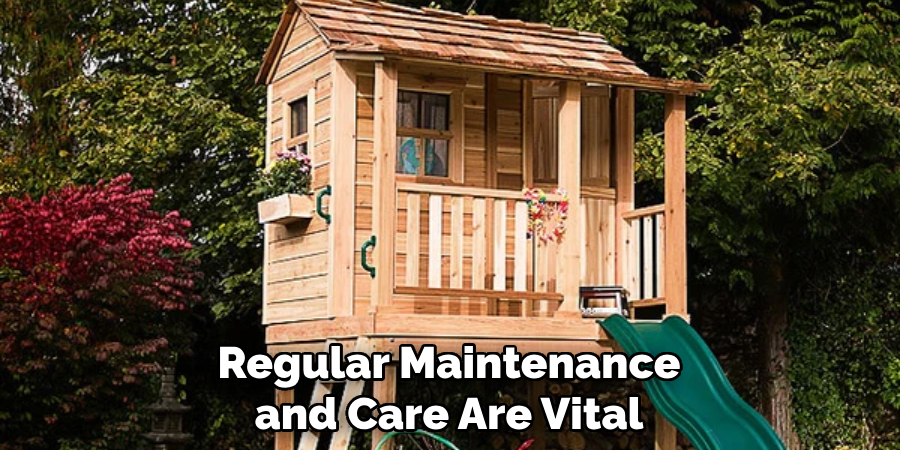
Regular maintenance and care are vital to ensure your playhouse remains a safe and inviting place for years to come. Begin by conducting annual inspections of the roof and overall structure, looking for any signs of wear and tear, such as loose nails, damaged roofing material, or water leaks.
Clean the roof of any debris, leaves, or branches that may have accumulated, as these can retain moisture and lead to rot or mold. Touch up paint or sealant as needed to protect the wood and keep the playhouse looking its best. Additionally, check the stability of the playhouse, tightening any loose screws and repairing any structural damage promptly.
By following these maintenance steps, you can ensure your playhouse remains a safe and enjoyable space for children to let their imaginations run wild.
5 Additional Tips and Tricks
- Choose the Right Materials: Selecting durable and weather-resistant materials is crucial for the longevity of a playhouse roof. Consider using asphalt shingles or metal roofing for their durability and ease of maintenance. Ensure that the materials complement the overall design for aesthetic harmony.
- Ensure Proper Drainage: A well-designed roof should have a slight pitch to ensure water runs off efficiently, preventing any water accumulation that could lead to leaks or wood rot. Install gutters and downspouts to direct rainwater away from the playhouse.
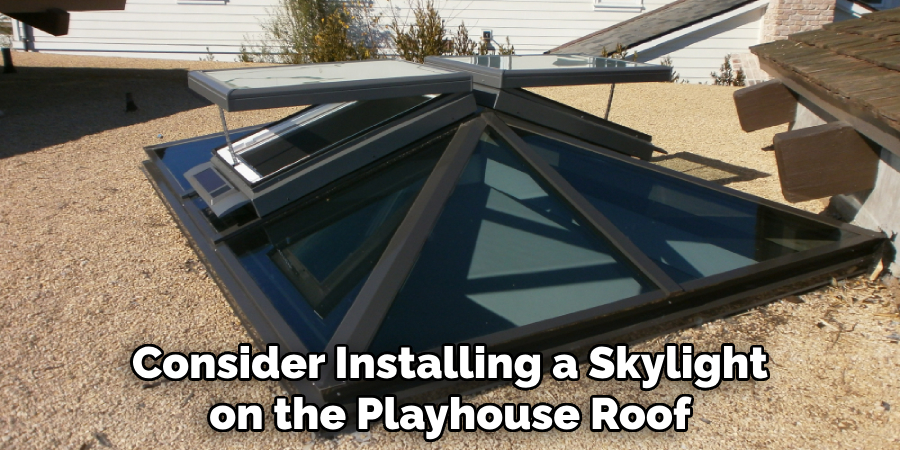
- Add a Skylight: Consider installing a skylight on the playhouse roof for an added touch of whimsy and natural light. This can also help ventilate the space during hot summer days. Be sure to choose a quality skylight that is sturdy, weather-resistant, and has proper insulation to prevent heat loss in colder months.
- Incorporate Storage Space: Make the most out of your playhouse roof by adding built-in storage space. Consider installing shelves or cabinets along the walls or even a small loft area for additional storage. This can help keep the playhouse organized and clutter-free.
- Include Decorative Elements: Don’t be afraid to get creative with the design of your playhouse roof. Consider incorporating decorative elements such as trim, paint, or even a unique shape to make the playhouse stand out. This can also be a fun project for kids to participate in and add their own personal touches.
With these additional tips and tricks, you can build a playhouse roof that not only provides protection but also adds to the overall aesthetic of the playhouse.
5 Things You Should Avoid
- Ignoring Local Building Codes: Bypassing local building codes and regulations can lead to significant issues, including fines or being required to dismantle the playhouse entirely. Always check with local authorities about necessary permits or restrictions before starting your project.
- Using Low-Quality Materials: While it might be tempting to save money by choosing cheaper materials, this can compromise the durability and safety of the playhouse roof. Invest in high-quality, weather-resistant materials that will stand the test of time and protect the playhouse occupants.
- Skipping Waterproofing Steps: Failure to properly waterproof the roof can lead to leaks, mold, and wood rot. To prevent water damage, ensure that all roofing materials are correctly installed and sealed. This might include using underlayment and sealant and ensuring all joints and edges are properly covered.
- Neglecting Ventilation: Adequate roof ventilation is crucial to prevent excessive heat buildup during summer and moisture accumulation in colder months. This can deteriorate roofing materials faster and affect the comfort inside the playhouse. Incorporate vents or a skylight that can be opened to ensure proper airflow.
- Overcomplicating the Design: While it’s great to have a unique and attractive roof design, overly complex designs can make the construction process difficult and increase the likelihood of structural issues. Keep the design simple to ensure it’s sturdy, functional, and safe for children.
Avoiding these common pitfalls will help ensure that your playhouse roof is safe, durable, and enjoyable for years to come.
How Do You Waterproof a Playhouse Roof?
Properly waterproofing a playhouse roof is essential to protect it from weather elements and prevent water damage. Here are some steps to follow for effective waterproofing:
- Start with the Right Materials: As mentioned earlier, using quality materials is crucial for a durable and waterproof playhouse roof. Choose roofing materials that are specifically designed for waterproofing, such as asphalt shingles, metal roofing, or rubber membranes.
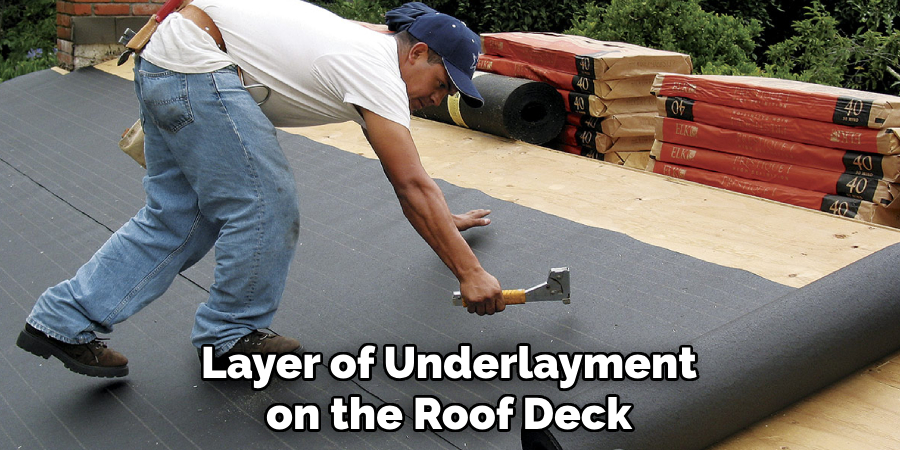
- Install Underlayment: Before installing the roofing material, lay down a layer of underlayment on the roof deck. This will provide an additional barrier against water and prevent leaks.
- Seal All Joints and Edges: Use a waterproof sealant to cover all joints, seams, and edges on the roof. This will prevent water from seeping in through any gaps and causing damage.
- Install Proper Drainage: As mentioned earlier, a slight pitch on the playhouse roof is essential for proper drainage. Ensure that gutters and downspouts are installed to direct rainwater away from the playhouse.
- Regularly Maintain and Inspect: Even with proper waterproofing measures, it’s still essential to regularly maintain and inspect the playhouse roof. Look for any signs of damage or wear, such as cracked shingles or leaks, and address them promptly to prevent further issues.
By following these steps, you can effectively waterproof your playhouse roof and ensure its longevity.
Conclusion
Creating a durable, waterproof, and visually appealing roof for your playhouse requires careful planning, quality materials, and attention to detail.
By following the tips and tricks outlined in this guide on how to build a playhouse roof, you can ensure that your playhouse stands up to the elements, remains safe for play, and continues to spark imagination for years to come.
Remember to choose materials wisely, pay attention to proper drainage and waterproofing, and don’t shy away from adding unique touches that make the playhouse truly special. Additionally, avoiding common pitfalls such as neglecting local building codes and using low-quality materials will save time and money in the long run.
With a little effort and creativity, you can build a playhouse roof that enhances the overall play experience and becomes a cherished part of your outdoor space.
About the Author
Adrian Green, a lifelong woodworking enthusiast, shares his passion for the craft through The Woodenify Blog. With a foundation built on years of hands-on experience in his father’s woodworking shop, Adrian is dedicated to helping others learn and grow in the world of DIY woodworking. His approach to woodworking combines creativity, practicality, and a deep appreciation for the art of building with your own hands. Through his blog, he inspires individuals of all skill levels to embark on their own woodworking journeys, creating beautiful, functional pieces of furniture and décor.
Professional Focus
- Specializes in DIY woodworking projects, from furniture to home décor.
- Provides step-by-step guides and practical tutorials for woodworkers of all skill levels.
- Dedicated to helping readers build confidence and skill through easy-to-follow instructions and tips.
- Passionate about fostering a community of makers who can share, learn, and grow together.
Education History
- University of Craft and Design – Bachelor of Fine Arts (BFA) in Woodworking and Furniture Design
- Woodworking Apprenticeships – Extensive hands-on training with skilled craftsmen to refine carpentry and furniture making techniques.
- Online Courses & Masterclasses – Continued education in advanced woodworking techniques, design principles, and specialized tools
Expertise:
- DIY woodworking, carpentry, furniture making, and home décor projects.
- Creating accessible tutorials and guides for beginner to advanced woodworkers.
- Sharing the joys and satisfaction of woodworking, from raw materials to finished products.