Are you tired of your old and worn-out baseboards? Replacing them can be a great way to refresh the look of your home. But before you head to the hardware store, why not try making your own baseboards?
Creating baseboards for your home can be a rewarding DIY project that adds both functionality and aesthetic appeal to any room. Baseboards, the trim that goes along the bottom of your walls, cover the joint between the wall surface and the floor and protect the walls from scuffs and damage.
This guide will walk you through the materials needed, the tools you’ll require, and step-by-step instructions on how to make baseboards. Whether you’re aiming for a modern, sleek look or a more traditional style, making your own baseboards is a great way to add a personal touch to your home’s interior.
What are the Benefits of Making Your Own Baseboards?
Making your own baseboards not only allows you to customize the look and design, but it also has several other benefits:
- Cost-effective: Buying pre-made baseboards can be expensive, especially if you have a large area to cover. Making your own baseboards can save you money on materials and labor costs.
- Customization: You can choose the type of material, size, and design that best suits your home’s style.
- Quality Control: By making your own baseboards, you have control over the quality of materials used and can ensure a durable and long-lasting product.
- Personal Satisfaction: There is a sense of accomplishment that comes with creating something with your own hands. Making your own baseboards allows you to add a personal touch to your home and can be a fun and fulfilling project.
Materials Needed
Before getting started, gather all the necessary materials. Here’s what you’ll need:
- Wood: Choose a type of wood that is durable and can withstand wear and tear. Popular options include pine, oak, or MDF (medium-density fiberboard).
- Sandpaper: To smooth out any rough edges and ensure a clean finish.
- Primer and Paint/wood Stain: Decide whether you want to paint or stain your baseboards. If painting, primer is essential for better paint adhesion.
- Baseboard Moulding Profile Template: This can be purchased at a hardware store or made from cardboard.
- Measuring Tape, Pencil, and Level: Essential for measuring and marking the correct dimensions for your baseboards.
- Miter Saw or Miter Box and Hand Saw: These tools are used to make precise angled cuts.
- Nail Gun or Hammer and Finishing Nails: Either option can be used to attach the baseboards to the wall.
- Caulk and Caulk Gun: To fill in any gaps between the baseboard and the wall.
Once you have all the materials, it’s time to get started on making your own baseboards!
10 Easy Steps on How to Make Baseboards
Step 1. Measure the Walls:
The first step in making your baseboards is to accurately measure the walls where the baseboards will be installed. Use a measuring tape to measure the length of each wall and note these measurements. Remember, it’s essential to measure twice to avoid any mistakes.
Step 2. Choose Your Wood and Cut to Length:
Once you have all your measurements, select the wood you’ll be using for your baseboards. Based on the style and finish you want, as well as your budget, you might opt for pine, MDF, or oak. After choosing your wood, cut it to the lengths you measured in step 1, ensuring each piece fits each wall section perfectly. Use a miter saw for straight cuts or a miter box and hand saw if you need to make any angled cuts for corners. Remember to wear safety glasses and follow all safety instructions for your tools.
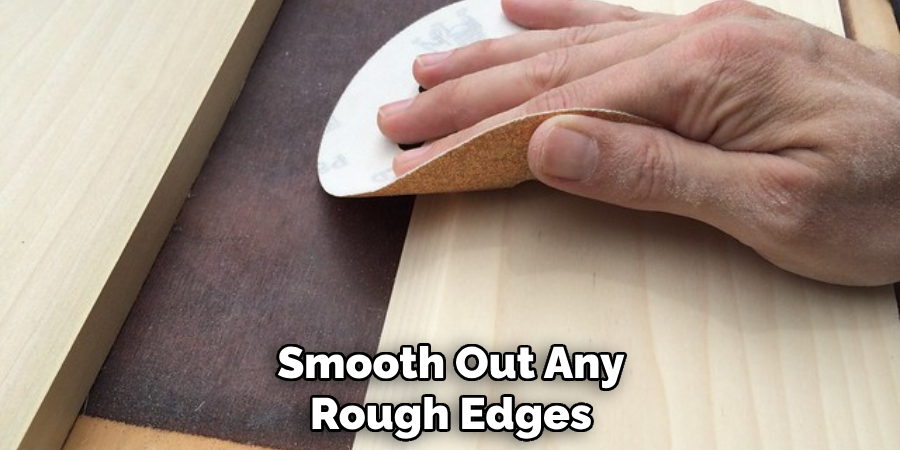
Step 3. Sand the Wood:
Before painting or staining, it’s crucial to prepare the surface of your wood by sanding it. This step will help remove any rough spots and create a smooth surface for painting or staining. Start with a coarser grit sandpaper and work your way up to a finer grit for a smooth finish. Wipe the wood with a damp cloth to remove any sawdust or debris before moving on to the next step. Remember, the better you prep your baseboards at this stage, the more professional the final product will look.
Step 4. Apply Primer (if Painting):
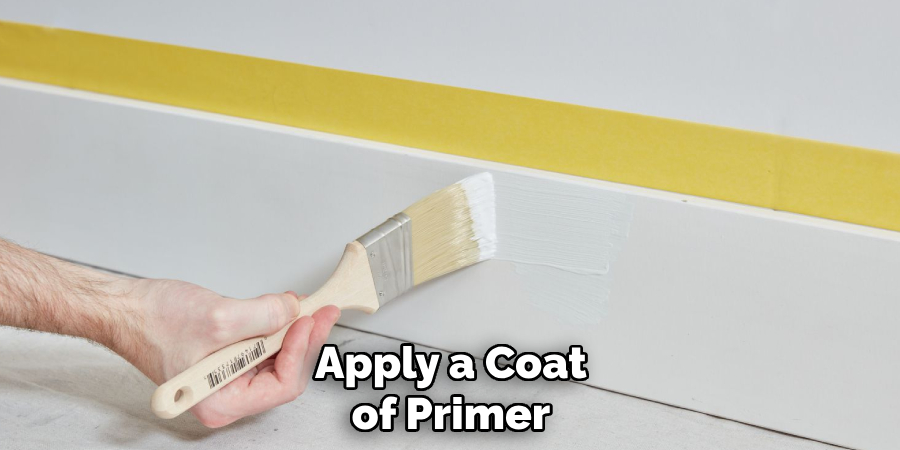
If you’ve decided to paint your baseboards, the next step is to apply a coat of primer. Primer is essential as it helps the paint adhere better to the wood, provides a smoother finish, and increases the durability of the paint job. Make sure the wood is completely dust-free before applying the primer.
Use a brush or roller to apply an even coat of primer to all sides of the wood that will be painted. Allow the primer to dry thoroughly, according to the manufacturer’s instructions, before moving on to painting. If you’re staining your baseboards, you can skip this step.
Step 5. Paint or Stain Your Baseboards:
After the primer has dried completely, it’s time to paint or stain your baseboards. If you’re painting, choose a high-quality paint suitable for trim and apply it with a brush or roller, starting from one end and working your way to the other for a uniform coat. Apply a second coat if necessary, ensuring the first coat is completely dry to avoid any streaks or uneven patches.
For those opting to stain their baseboards, select a wood stain that complements the overall look of your home. Apply the stain with a brush or cloth, following the grain of the wood for the best finish. After staining, apply a clear coat for extra protection and shine. Allow the paint or stain to dry thoroughly before proceeding to the next step.
Step 6. Cut the Profile with a Moulding Template:
Using a baseboard molding profile template, trace the design onto your prepared wood sections. This step is crucial for achieving the desired decorative profile on your baseboards. Carefully cut along the traced lines with a coping saw or a jigsaw, depending on the complexity of your design.
Take your time during this step to ensure precision and accuracy, as the quality of these cuts will significantly impact the overall appearance of your baseboards. After cutting, use a piece of fine-grit sandpaper to smooth out any rough edges or imperfections along the cut profile. This meticulous attention to detail will make the baseboards look professionally crafted.
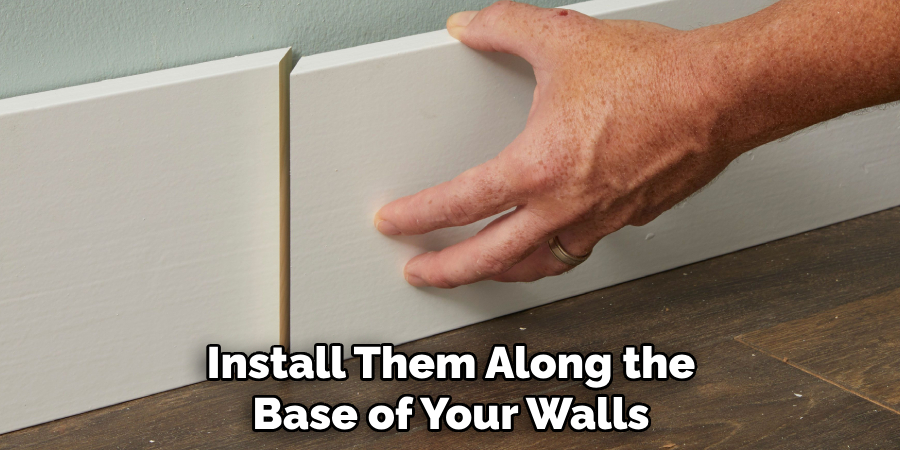
Step 7. Attach the Baseboards to the Wall:
After your baseboards are painted or stained and the profile has been cut, it’s time to install them along the base of your walls. Start by placing the baseboard against the wall and checking for level. Minor adjustments can be made to ensure a perfect fit.
Use a nail gun or hammer and finishing nails to secure the baseboard to the wall, spacing nails about every 18 inches along the length of the board. For corners, miter the ends of the baseboards at a 45-degree angle so they fit together nicely. If you’re using a hammer, consider using a nail set to countersink the nails for a smoother finish.
Step 8. Apply Caulk to Seal Gaps:
Once the baseboards are securely attached to the wall, the next step is to apply caulk to any gaps or seams between the baseboard and the wall. This not only improves the appearance by creating a seamless transition but also helps to insulate your home.
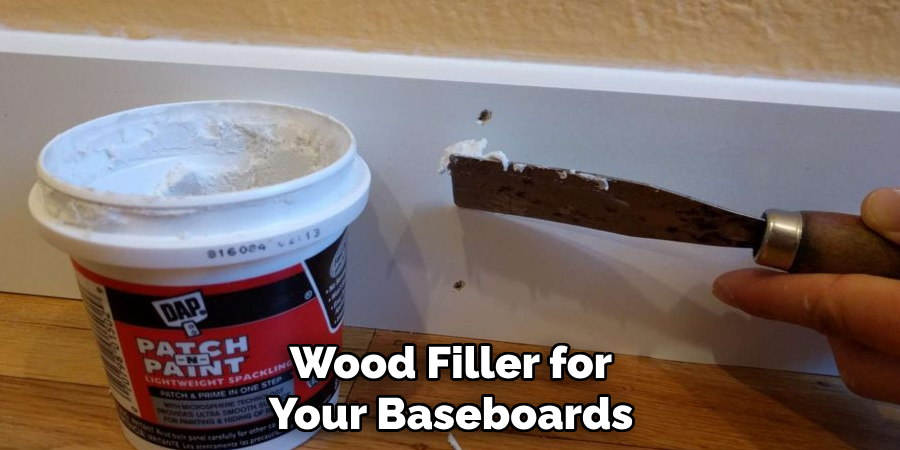
Cut the tip of the caulk tube at a 45-degree angle, and using a caulk gun, apply a bead of caulk along the top edge of the baseboard where it meets the wall. Smooth the caulk with a wet finger or a caulk tool to ensure it fills the gaps evenly. Remember to also fill any nail holes with caulk or wood filler for a polished look. Allow the caulk to dry according to the manufacturer’s instructions before painting over it if necessary.
Step 9. Touch-Up Paint or Stain as Needed:
After the caulk has dried and any necessary repairs or fill-ins have been completed, examine your baseboards for any areas that may need a touch-up. This could include spots where the caulk or wood filler was applied, or areas where the original paint or stain was nicked or scuffed during installation.
Use a small brush to apply paint or stain only to the needed areas, blending it into the surrounding surface for a seamless finish. It’s important to wait until the touch-up has fully dried before evaluating if a second application is needed, as the color can change once it dries.
Step 10. Final Cleanup and Inspection:
The last step in your baseboard installation project is to conduct a thorough cleanup and final inspection of your work. Remove any dust, debris, or tools from the work area, and vacuum along the baseboards to ensure no sawdust or materials are left behind. Inspect the entire length of the baseboards closely to make sure every section is securely attached and the finish is consistent and smooth.
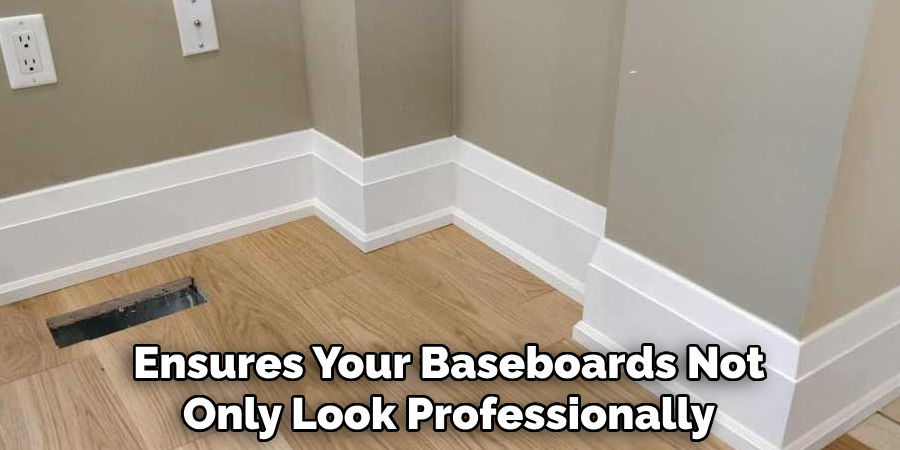
Check that all nail holes and gaps have been properly filled and that the caulk and touch-up paint have dried to an even, unnoticeable finish. This final step ensures your baseboards not only look professionally installed but also contribute to the polished and refined look of your home.
By following these ten steps, you can successfully install baseboards and elevate the appearance of your home’s interior in a cost-effective way. Remember to take your time, pay attention to detail, and use high-quality materials for the best results.
5 Additional Tips and Tricks
- Prep the Wall and Baseboard Surface: Before installing, ensure that both the wall and the baseboard surfaces are clean and smooth. Any nails or imperfections on the wall should be removed or filled in for a seamless installation.
- Measure Twice, Cut Once: Accuracy is key when cutting your baseboards. Always double-check your measurements before making a cut to avoid waste and ensure a perfect fit.
- Use a Scarf Joint for Long Walls: When a wall requires a baseboard length longer than your material, use a scarf joint to connect two pieces. Cut the ends at a 45-degree angle in opposite directions so they fit together more discreetly.
- Caulk Gaps for a Professional Finish: After installation, use caulk to fill any gaps between the baseboard and the wall and the top edge of the baseboard where it meets the wall to achieve a clean, professional appearance.
- Add a Decorative Touch with Molding: Add some extra flair to your baseboards by incorporating decorative molding. This can be used on the top or bottom edges of the baseboard for added visual interest and a more custom look.
With these additional tips and tricks, you can achieve a flawless baseboard installation that will enhance the look of any room in your home.
5 Things You Should Avoid When Installing Baseboards
- Skipping the Sanding Process: Avoid installing baseboards without first sanding the edges, especially if they’ve been cut. Sanding is crucial for removing splinters and ensuring a smooth, clean finish. Not sanding can result in a rough, unfinished look.
- Neglecting to Paint Before Installation: It’s much easier and more efficient to paint or finish your baseboards before installing them. Painting them after installation can be messier and more time-consuming, as you’ll have to protect the wall and floor from drips and spills.
- Using Inappropriate Caulk or Filler: Do not use the wrong type of caulk or wood filler for your baseboards. Use paintable products suitable for the material of your baseboards and the room’s environmental conditions.
- Ignoring the Room’s Humidity: Wood expands and contracts with changes in humidity. Not accounting for this can lead to gaps or buckling in your baseboards. Always allow your wood baseboards to acclimate to the room’s conditions before installation.
- Forgetting to Check Wall Straightness: Avoid assuming your walls are perfectly straight before installation. Use a level to check for any irregularities. Failing to do so can result in uneven gaps or misaligned baseboards, detracting from the aesthetic appeal of your room.
By steering clear of these common mistakes, you can ensure a smoother and more professional baseboard installation process.
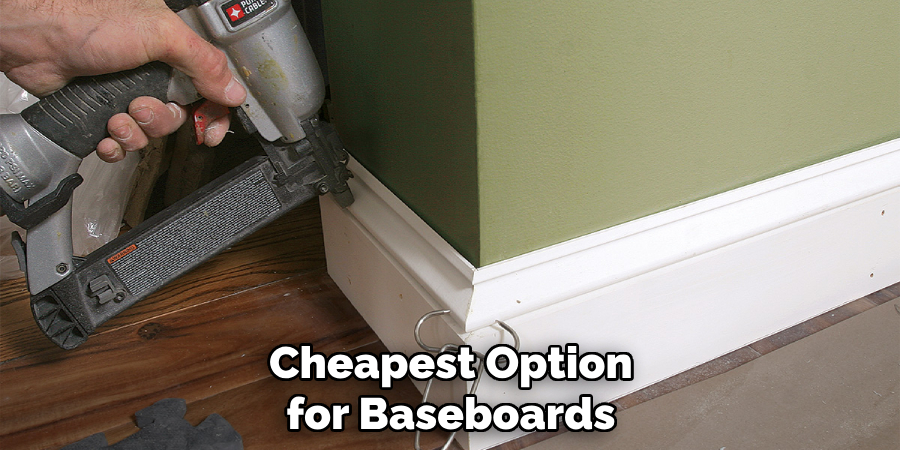
What is the Cheapest Option for Baseboards?
When it comes to baseboards, the cheapest option will depend on various factors such as the material, size, and style. Generally, the most economical options for baseboards include:
- Pine or MDF (Medium-Density Fiberboard) baseboards: These materials are budget-friendly and often come in pre-primed versions that can save you time and money on painting.
- Standard or Basic Styles: Choosing a simple, straight baseboard style can also help keep costs down compared to more intricate designs.
- Buying in Bulk: If you have multiple rooms or areas that require baseboards, consider buying them in bulk to save money on materials and potentially even get a discount from the supplier.
Ultimately, the cheapest option for baseboards will depend on your personal budget and preferences. It’s always a good idea to compare prices and materials from different suppliers before making a decision. You may also want to consider the long-term durability and maintenance costs of your chosen option, as investing a bit more upfront can save you money in the long run. Overall, being knowledgeable about different materials, styles, and purchasing options can help you find the most cost-effective baseboard solution for your home.
Can You Reuse Baseboards?
In some cases, it is possible to reuse baseboards during a renovation or remodeling project. If the baseboards are in good condition and have been removed without causing damage, they can be reinstalled in another room or repurposed for a different project.
However, there are a few factors to consider before reusing baseboards:
- Condition: As mentioned, the baseboards must be in good condition without any damage or warping. They should also be free of any previous paint or caulk, as this can affect their ability to be reinstalled.
- Size and Fit: The baseboards must also still fit the new space and match the existing trim and moldings. If there are any gaps or inconsistencies, purchase new baseboards for a cleaner and more seamless installation.
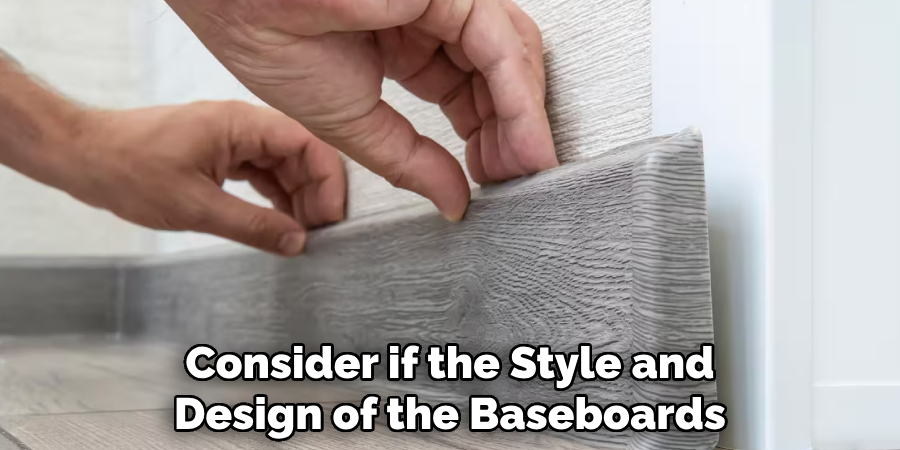
- Aesthetic: Consider if the style and design of the baseboards still match the overall aesthetic of your home. If you have made significant changes to the room or your decor, it may be better to install new baseboards that complement the updated look.
In conclusion, reusing baseboards can be a cost-effective option, but it’s important to assess their condition, size and fit, and overall aesthetic before making a decision.
Conclusion
How to make baseboards is not merely a construction task but an art that adds final touches to the aesthetic and architectural character of your home. Whether you are opting for the affordability and versatility of MDF, the natural charm of pine, or venturing into more luxurious materials, the process demands meticulous attention to detail.
Each step is crucial in defining the room’s ambiance, from choosing the right material to precise cutting, installation, and finishing. Remember to prepare the surfaces, measure accurately, and not overlook the importance of painting or finishing before installation. Avoid common pitfalls such as neglecting room humidity and wall straightness to ensure a professional result.
With patience and adherence to best practices, DIY enthusiasts and professionals alike can achieve beautiful, durable baseboards that enhance the home for years to come.
About the Author
Adrian Green, a lifelong woodworking enthusiast, shares his passion for the craft through The Woodenify Blog. With a foundation built on years of hands-on experience in his father’s woodworking shop, Adrian is dedicated to helping others learn and grow in the world of DIY woodworking. His approach to woodworking combines creativity, practicality, and a deep appreciation for the art of building with your own hands. Through his blog, he inspires individuals of all skill levels to embark on their own woodworking journeys, creating beautiful, functional pieces of furniture and décor.
Professional Focus
- Specializes in DIY woodworking projects, from furniture to home décor.
- Provides step-by-step guides and practical tutorials for woodworkers of all skill levels.
- Dedicated to helping readers build confidence and skill through easy-to-follow instructions and tips.
- Passionate about fostering a community of makers who can share, learn, and grow together.
Education History
- University of Craft and Design – Bachelor of Fine Arts (BFA) in Woodworking and Furniture Design
- Woodworking Apprenticeships – Extensive hands-on training with skilled craftsmen to refine carpentry and furniture making techniques.
- Online Courses & Masterclasses – Continued education in advanced woodworking techniques, design principles, and specialized tools
Expertise:
- DIY woodworking, carpentry, furniture making, and home décor projects.
- Creating accessible tutorials and guides for beginner to advanced woodworkers.
- Sharing the joys and satisfaction of woodworking, from raw materials to finished products.