Cedar wood is a popular choice for indoor furniture and home decor due to its natural beauty, durability, and resistance to rot and pests. However, to keep your cedar wood looking its best, it’s important to finish it properly. Finishing cedar wood enhances its appearance and protects it from wear and tear over time.
In this guide, we’ll discuss the steps for how to finish cedar wood for indoors, including preparation, types of finishes, application methods, and maintenance. Whether you have a new piece of cedar furniture or are looking to refinish an old one, these tips will help you achieve a beautiful and long-lasting finish.
Understanding Cedar Wood
Before we dive into the finishing process, let’s first understand what makes cedar wood a popular choice for indoor use. Cedar wood is known for its distinct aroma and rich color, which can range from light amber to deep reddish-brown. It has a fine grain with straight or slightly wavy patterns, giving it a unique and visually appealing look.
In addition to its aesthetic qualities, cedar wood is also naturally resistant to rot and decay. This is due to the presence of natural oils within the wood, which act as a protective barrier against moisture and pests. These properties make cedar wood an ideal choice for indoor furniture and decor that may be exposed to humidity or temperature changes.
Supplies You Will Need to Finish Cedar Wood for Indoors:
- Sandpaper (120-220 grit)
- Tack cloth
- Wood conditioner
- Wood stain or oil-based polyurethane
- Paintbrush or foam applicator pad
- Clean cloths for wiping and buffing
- Protective gloves and mask (if using oil-based finishes)
Step-by-step Guidelines on How to Finish Cedar Wood for Indoors
Step 1: Prepare the Wood
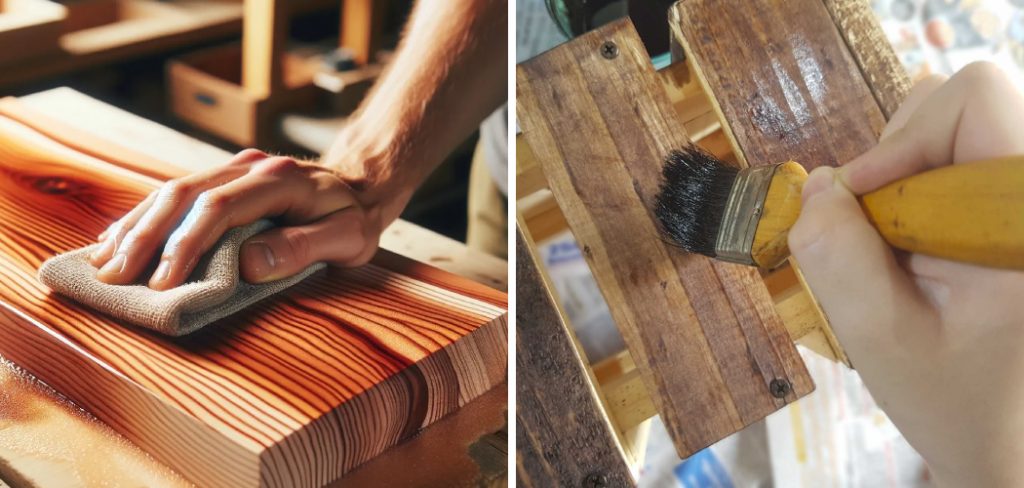
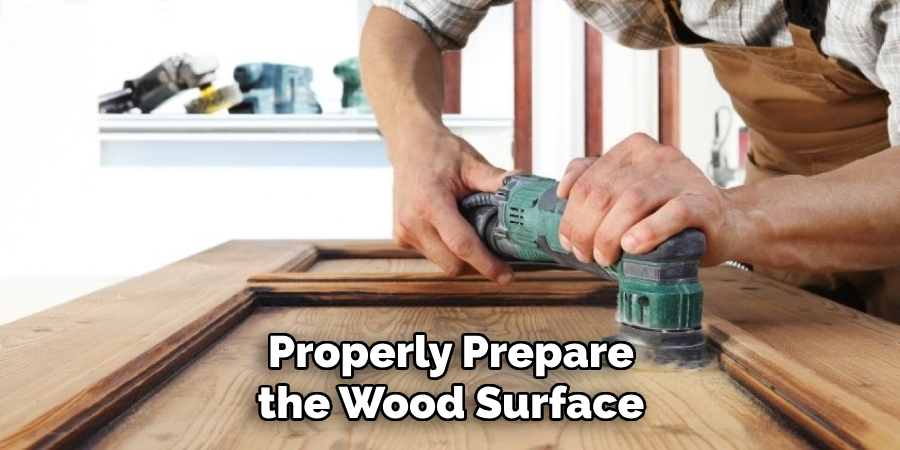
Before applying any finish, it’s important to properly prepare the wood surface. Start by sanding the cedar wood with 120-220 grit sandpaper in the direction of the grain. This will smooth out any rough spots and open up the wood’s pores, allowing for better finish absorption. After sanding, use a tack cloth to remove any dust or debris from the surface. This will ensure a clean and smooth finish.
Step 2: Apply Wood Conditioner
Since cedar wood has natural oils that can resist moisture, it’s important to use a wood conditioner before applying any finish. This will help the wood absorb the finish evenly and prevent blotching or streaking. Apply the wood conditioner with a clean cloth or brush, following the directions on the product label. Let it sit for 5-10 minutes before wiping off any excess with a clean cloth. This step is especially important if you’re using a water-based finish.
Step 3: Choose the Right Finish
Various types of finishes are available for cedar wood, including oil- and water-based options. Oil-based finishes such as stain or polyurethane provide rich color and enhance the natural beauty of cedar wood, but they may take longer to dry and require proper ventilation. On the other hand, water-based finishes are quick-drying and have low odor but may provide less color or depth to the wood.
Step 4: Apply the Finish
To apply the finish, use a paintbrush or foam applicator pad and work in long, smooth strokes in the direction of the grain. Be sure to cover all surfaces evenly, including edges and corners. For a more natural look, you can also use a clean cloth to wipe on the finish and then buff it in with another cloth. Follow the manufacturer’s instructions for drying times and number of coats needed. Make sure to work in a well-ventilated area and wear protective gear if using an oil-based finish.
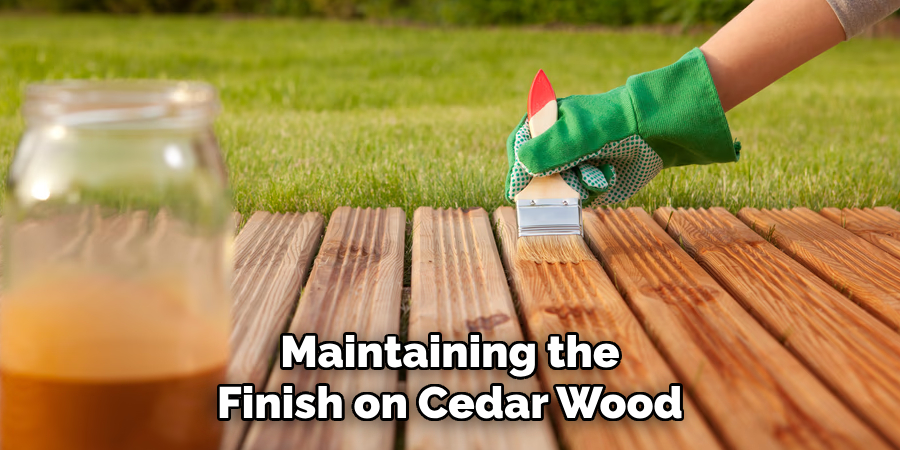
Step 5: Maintain Your Cedar Wood Finish
Regular maintenance is key to keeping your cedar wood looking its best. Dusting and wiping down the surface with a clean, damp cloth will help remove any buildup or debris. Avoid using harsh cleaners or abrasive materials, as these can damage the finish. If you notice any scratches or wear over time, sand lightly and reapply a fresh coat of finish.

Following these steps will help you achieve a beautiful and long-lasting finish on your indoor cedar wood furniture or decor. With the proper care, your cedar wood pieces can become treasured heirlooms that will last for generations to come. So go ahead and give your cedar wood the finish it deserves!
Additional Tips and Tricks to Finish Cedar Wood for Indoors
1. If you want to give your cedar wood a darker finish, try staining it with an oil-based wood stain. This will bring out the wood’s natural beauty while still giving it a protective coat. Just make sure to choose a stain that is specifically designed for cedar wood.
2. Another option for finishing your cedar wood is to use a clear polyurethane sealant. This will provide a durable and glossy finish while also protecting the wood from scratches and water damage.
3. Before applying any finish, thoroughly sand the cedar wood to create a smooth surface. This will help the finish adhere better and prevent any rough spots or imperfections from showing through.
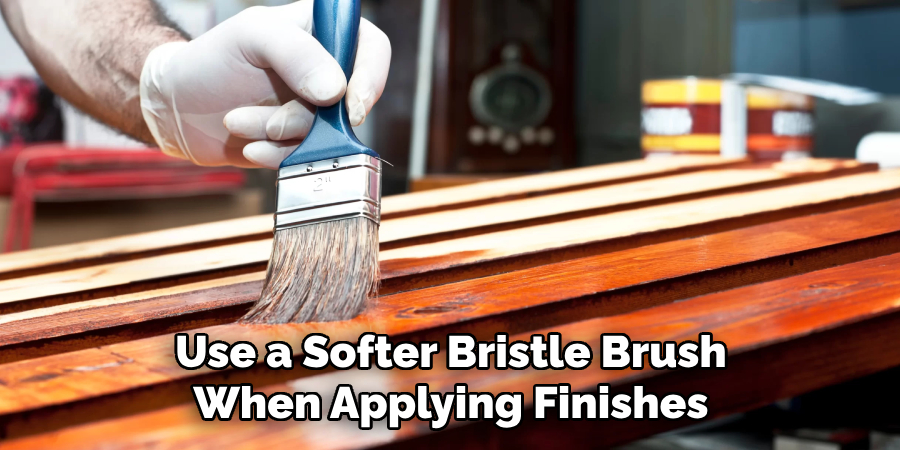
4. When working with cedar wood, it is important to remember that it is a softwood and can easily dent or scratch. To avoid this, use a softer bristle brush when applying finishes and handle the wood carefully during the finishing process.
5. If you use a water-based finish, clean your brush or applicator immediately after use. Water-based finishes can dry quickly and may ruin your tools if not cleaned properly.
6. Be cautious when using heat sources to speed up the drying process of the finish. Too much heat can cause the wood to warp or crack, ruining all of your hard work.
7. It is recommended that multiple thin coats of finish rather than one thick coat be applied. This will help ensure an even smooth finish while allowing the wood to absorb the finish properly.
8. To add extra protection to your finished cedar wood, consider adding a layer of wax or polish on top. This will not only give it a beautiful shine but will also provide an extra layer of protection against wear and tear.
9. Finally, be patient with the finishing process. Allow each coat to dry fully before applying the next one, and give the final finish ample time to cure before using or placing any objects on top of it.
By following these tips and tricks, you can achieve a beautiful and long-lasting finish for your indoor cedar wood projects. Remember to always read and follow the instructions on your chosen finished product and any safety precautions. With proper care and maintenance, your finished cedar wood will remain a stunning addition to your home for years to come. Happy finishing!
Things You Should Consider to Finish Cedar Wood for Indoors
1. The first thing to consider when finishing cedar wood indoors is the type of finish you want to use. Several options are available, including oil, water, and polyurethane finishes. Each type of finish has its own unique properties and benefits, so it’s important to do some research and choose the one that best fits your needs.
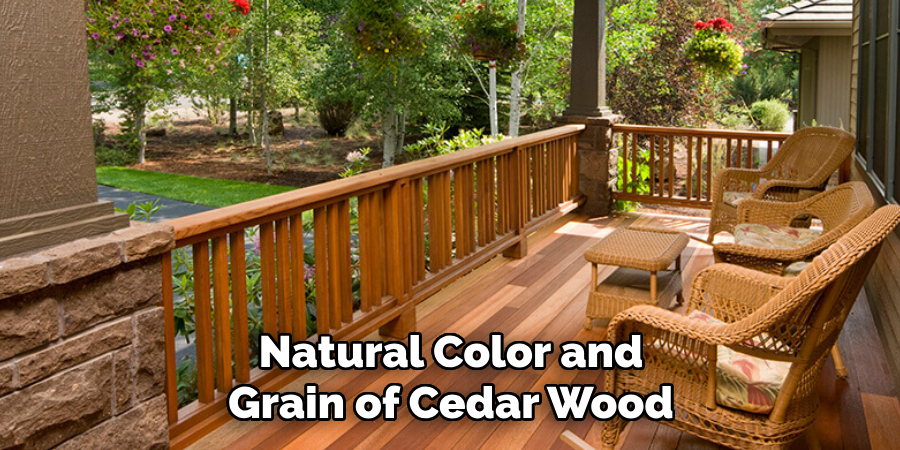
2. When choosing a finish, consider the natural color and grain of cedar wood. Some finishes may darken or alter the wood’s appearance, so it’s important to test a small area first before applying it to the entire surface.
3. Before applying any finish, it’s crucial to prepare the cedar wood properly by sanding it down. This will remove any imperfections and create a smooth surface for the finish to adhere to. It’s recommended to start with coarse-grit sandpaper and gradually work your way up to a finer grit for a polished finish.
4. If you want to enhance the natural beauty of cedar wood, consider using a wood conditioner before applying the finish. This will help even out the finish’s absorption and prevent botching.
5. It’s important to follow the manufacturer’s instructions when applying the finish, especially in terms of application method and drying times. Most finishes require multiple coats, so make sure to allow enough time for each coat to dry completely before moving on to the next one.
6. When applying the finish, make sure to work in a well-ventilated area and wear protective gear such as gloves and a mask. Some finishes emit strong fumes, so it’s important to take precautions.
7. For a more durable finish, consider adding a topcoat or sealer after the final coat of finish has dried. This will provide an extra layer of protection against scratches and stains.
8. Cedar wood is naturally resistant to rot and decay, so it may not require a finish. However, a finish can help protect the wood from wear and tear and enhance its appearance.
9. Regular maintenance is key to maintaining the finish on cedar wood. It’s recommended to clean the surface with a mild soap and water solution every few months and reapply a topcoat or sealer every 1-2 years.
10. Finally, it’s important to consider the environmental impact of the finish you choose. Some finishes may contain harmful chemicals or emit VOCs (volatile organic compounds). Look for environmentally friendly options and follow proper disposal guidelines when finished with the product.
Following these considerations will help you achieve a beautiful and long-lasting finish on cedar wood for indoor use. Remember to research and test different finishes, properly prepare the wood, and regularly maintain the finish to ensure its longevity. Happy finishing!
Maintenance Tips for Cedar Wood for Indoors
1. Clean Regularly:
It is important to regularly clean cedar wood furniture or objects in your home to maintain its natural beauty and longevity. Dusting with a soft cloth or using a vacuum cleaner with a brush attachment can help remove any dirt or debris that may accumulate on the surface. This should be done at least once a week to prevent build-up.
You can also gently wipe down the wood with a mild soap and water solution. Avoid using harsh chemicals or abrasive cleaners, as they can damage the wood’s natural oils and finish. After wiping with the soapy solution, make sure to dry the cedar wood completely with a clean cloth.
2. Protect from Sunlight:
Cedarwood can fade and lose its natural color when exposed to direct sunlight for prolonged periods of time. If you have indoor cedar wood furniture or objects near windows, it is important to use curtains or blinds to limit the amount of sunlight that reaches them. This will help preserve the rich color and prevent the wood from drying out. Try to rotate the positioning of your cedar wood items periodically so that they are not constantly exposed to sunlight.

3. Control Humidity:
Cedar wood is a natural material that can expand and contract with changes in humidity levels. This can cause cracks or warping in the wood if it is exposed to extreme fluctuations in moisture. To prevent this, it is important to maintain a consistent level of humidity in your home. You can use a dehumidifier or humidifier to regulate the moisture levels, especially during the winter and summer months when humidity tends to be at its lowest or highest.
4. Avoid Excessive Heat:
Cedar wood is also sensitive to heat and can become brittle if exposed to high temperatures for prolonged periods of time. Keeping cedar wood items away from heat sources such as radiators or fireplaces is best. If you are using a heater in the room with your cedar wood furniture, make sure to keep it at a safe distance.
5. Refinish as Needed:
Over time, cedar wood may start to lose its natural color and shine due to wear and tear. When this happens, you can refinish the wood to restore its beauty. This process involves sanding down the surface of the wood and applying a new coat of finish or stain. It is recommended to seek professional help for this task, especially if you are unfamiliar with woodworking techniques.
6. Store Properly:
If you plan on storing cedar wood items for an extended period, it is important to do so properly. Ensure the wood is completely dry and clean before storing it in a well-ventilated area. Avoid storing in damp or humid spaces, as this can lead to mold or mildew growth on the wood.
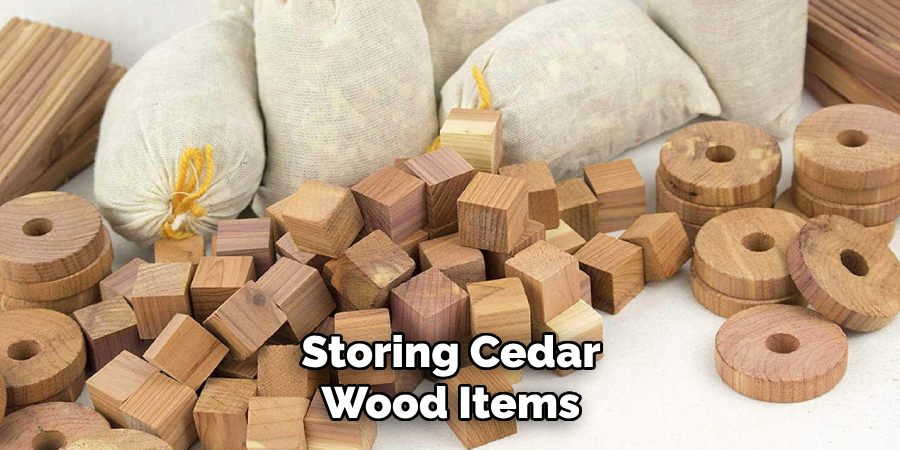
Additionally, if you are stacking or packing multiple cedar wood items together, make sure to use padding or cloth between them to prevent scratches and damage. It is also a good idea to periodically check on your stored cedar wood items to ensure they are in good condition.
Following these maintenance tips can help keep your indoor cedar wood items looking beautiful and in top condition for years to come. With proper care, you can enjoy the natural warmth and charm of cedar wood in your home for a long time. So, make sure to incorporate these tips into your cleaning routine and ensure the longevity of your prized cedar wood possessions.
Frequently Asked Questions
What is the Best Way to Finish Cedar Wood for Indoor Use?
The best way to finish cedar wood for indoor use is by applying a clear coat of varnish or polyurethane. This will protect the wood from scratches, moisture, and UV damage while still allowing the natural beauty of the cedar to shine through.
Why Is It Important to Finish Cedar Wood for Indoor Use?
Finishing cedar wood for indoor use enhances its appearance and protects it from damage. Cedar is a softwood that is prone to scratches and water damage, so finishing it with a protective coat will help extend its lifespan and maintain its beauty.
What Tools Do I Need to Finish Cedar Wood?
To finish cedar wood for indoor use, you will need sandpaper, a paintbrush or foam brush, and the chosen finish (varnish or polyurethane). You may also need a clean cloth to wipe off excess finish and a drop cloth to protect your workspace.
How Do I Prepare Cedar Wood for Finishing?
Before finishing cedar wood, it is essential to prepare the surface properly. This involves sanding the wood with fine-grit sandpaper in the direction of the grain to smooth out any rough edges or imperfections. After sanding, wipe down the wood with a tack cloth to remove any dust.
Can I Stain Cedar Wood Before Applying a Finish?
Yes, you can stain cedar wood before applying a finish. However, keep in mind that staining will change the color of the wood and may not be necessary if you want to preserve its natural appearance. If you choose to stain, apply the finish after the stain has fully dried.
Conclusion
Now you know how to finish cedar wood for indoors and the importance of doing so. By following these steps and using the right tools, you can protect and enhance the natural beauty of your cedar wood for years to come. So, next time you’re working on a project with cedar wood, remember to finish it for a professional and long-lasting result. Happy woodworking!
About the Author
Adrian Green, a lifelong woodworking enthusiast, shares his passion for the craft through The Woodenify Blog. With a foundation built on years of hands-on experience in his father’s woodworking shop, Adrian is dedicated to helping others learn and grow in the world of DIY woodworking. His approach to woodworking combines creativity, practicality, and a deep appreciation for the art of building with your own hands. Through his blog, he inspires individuals of all skill levels to embark on their own woodworking journeys, creating beautiful, functional pieces of furniture and décor.
Professional Focus
- Specializes in DIY woodworking projects, from furniture to home décor.
- Provides step-by-step guides and practical tutorials for woodworkers of all skill levels.
- Dedicated to helping readers build confidence and skill through easy-to-follow instructions and tips.
- Passionate about fostering a community of makers who can share, learn, and grow together.
Education History
- University of Craft and Design – Bachelor of Fine Arts (BFA) in Woodworking and Furniture Design
- Woodworking Apprenticeships – Extensive hands-on training with skilled craftsmen to refine carpentry and furniture making techniques.
- Online Courses & Masterclasses – Continued education in advanced woodworking techniques, design principles, and specialized tools
Expertise:
- DIY woodworking, carpentry, furniture making, and home décor projects.
- Creating accessible tutorials and guides for beginner to advanced woodworkers.
- Sharing the joys and satisfaction of woodworking, from raw materials to finished products.