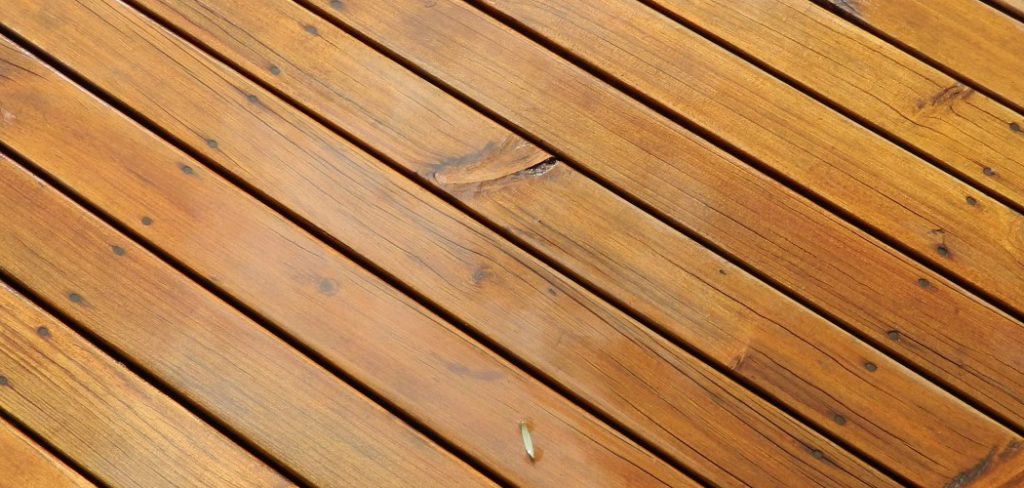
Staining between deck boards is an important step in maintaining the appearance and longevity of your deck. Over time, moisture and UV rays can cause the wood to deteriorate and lose its color. Staining enhances the wood’s natural beauty and protects against weathering elements.
This guide will discuss how to stain between deck boards for a professional and long-lasting finish. So, let’s get started!
Understanding Deck Boards
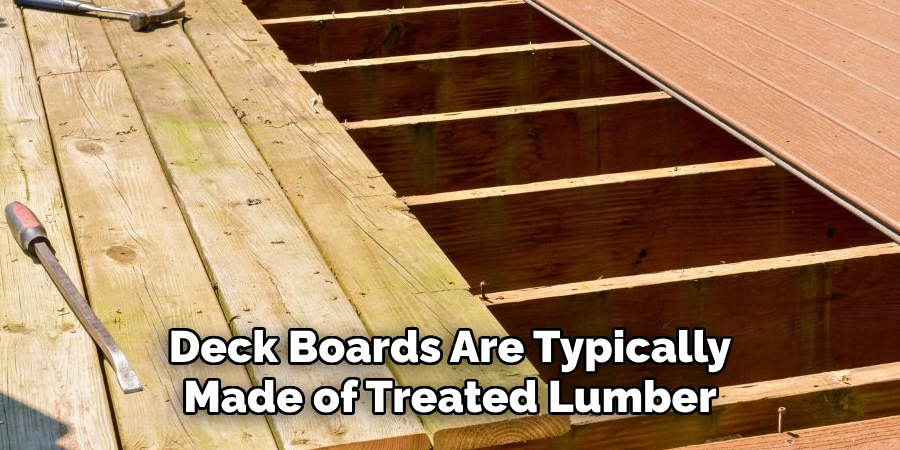
Before we begin the staining process, it is important to understand the structure of deck boards. Deck boards are typically made of treated lumber or composite materials and are laid horizontally on top of the deck frame. They have small spacing between them, which allows for water drainage and air circulation and allows for the expansion and contraction of wood with temperature changes.
When staining between deck boards, it is crucial to maintain this spacing to allow for proper ventilation and prevent water from pooling. Now that we have a basic understanding of deck boards let’s move on to preparing the deck for staining.
Why Stain Between Deck Boards?
The main purpose of staining between deck boards is to protect and preserve the wood from external elements. As mentioned earlier, moisture and UV rays can cause damage to the wood if left untreated. Staining provides a barrier against these elements, preventing them from penetrating the wood and causing rot or discoloration.
Staining adds color to the wood, enhancing its natural grain and giving it a polished look. This improves the deck’s overall appearance and increases its value.
Supplies You Will Need to Stain Between Deck Boards
- Deck cleaner
- Garden hose or pressure washer
- Stain stripper (if necessary)
- Stiff brush or broom
- Plastic sheeting or drop cloth
- Paint roller and paintbrushes
- Stain of your choice (water-based or oil-based)
- Extension pole for the roller
- Safety goggles and gloves
Step-by-step Guidelines on How to Stain Between Deck Boards
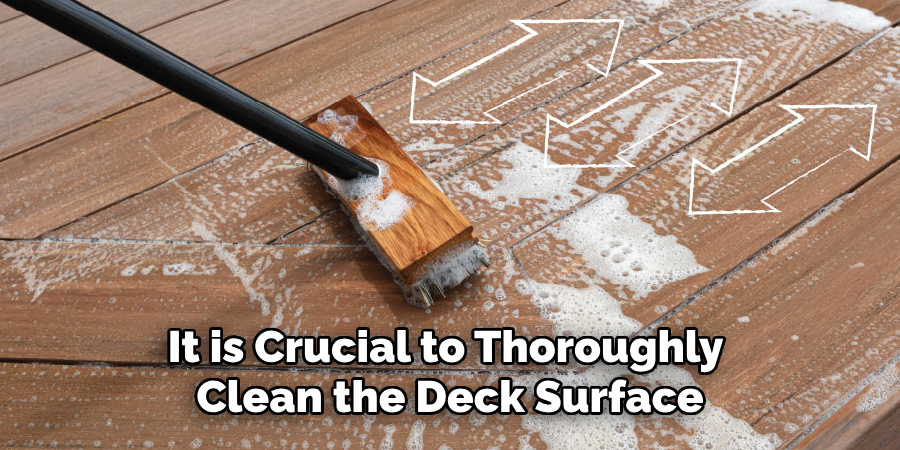
Step 1: Clean the Deck
Before staining, it is crucial to thoroughly clean the deck surface. This will remove any dirt, debris, and mildew that may have accumulated over time. Use a deck cleaner and scrub brush or broom to remove stubborn stains. Cleaning the deck will ensure that the stain adheres to the wood and provides a smooth finish. If your deck has old stains or paint on it, use a stain stripper to remove it before cleaning.
Step 2: Protect Your Surroundings
Staining can be a messy process, so it is essential to protect your surroundings before starting. Cover any nearby plants or furniture with plastic sheeting or drop cloths to prevent them from getting stained. This will also make cleanup easier once you’re finished. If you’re using a pressure washer, make sure to cover any electrical outlets or vents.
Step 3: Apply the Stain
Once the deck is clean and dry, it’s time to apply the stain. Use a paint roller attached to an extension pole for easier application between deck boards. Begin by staining the edges of the deck boards with a paintbrush, then use the roller to cover the rest of the surface. Work in small sections, starting at one end of the deck and working your way across. Apply a thin coat of stain and make sure to maintain consistent spacing between deck boards.
Step 4: Wipe Off any Excess Stain
After applying the stain, use a clean cloth or brush to wipe off any excess stain that may have pooled between the deck boards. This will prevent uneven staining and ensure a smooth finish. This step is especially important for water-based stains, which tend to dry quickly. Make sure to work quickly and efficiently.

Step 5: Allow the Stain to Dry
The final step is to allow the stain to dry completely before using your deck. This usually takes about 24-48 hours, depending on the type of stain used. Avoid walking on the deck or placing furniture back until it’s fully dried. Also, make sure to check the weather forecast and avoid staining if rain is expected within 48 hours.
Following these steps will ensure a professional and long-lasting finish on your deck. Remember to periodically check and maintain your deck by reapplying stain every 2-3 years or as needed. By staining between deck boards, you can protect and enhance the beauty of your deck for years to come! Happy staining!
Additional Tips and Tricks to Stain Between Deck Boards
1. If you are planning to stain your deck yourself, here are some additional tips and tricks that can help you achieve a professional-looking finish:
2. Before staining between the deck boards, clean the surface thoroughly. Use a high-pressure washer or a scrub brush with a mild detergent solution to remove dirt, debris, and mold.
3. If your deck has been previously stained, use a deck stripper to remove the old stain before applying a new one.
4. Choosing the right type of stain for your deck is important. There are two main types: oil-based and water-based. Oil-based stains tend to last longer and provide better protection against moisture, while water-based stains dry faster and are easier to clean up.
5. When applying the stain, always start from the top of the deck and work your way down. This will prevent any drips or spills from staining already finished areas.
6. Use a paintbrush to apply the stain between the deck boards. A small foam brush can also work well for this task.
7. If gaps or cracks exist between the boards, use a putty knife to fill them in with wood filler before staining. This will help create a smooth and even surface for the stain to adhere to. Make sure to let the filler dry completely before proceeding with staining.

8. Consider using a stain pad or roller instead of a paintbrush for a more precise and controlled application.
9. To prevent oversaturation and pooling of the stain between the boards, wipe off any excess stain with a clean cloth or rag.
10. Remember to protect your deck from sunlight and weather elements by applying a sealant or topcoat over the stain. This will help prolong the lifespan of your deck’s finish.
Following these tips and tricks can help you achieve a beautiful, long-lasting stain between your deck boards. Remember to always read and follow the instructions on the stain product carefully for best results. With proper preparation and application, you can transform your deck into a stunning outdoor space that you can enjoy for years to come! Happy staining!
Things You Should Consider to Stain Between Deck Board
1. The first thing to consider when staining between deck boards is the type of wood your deck is made of. Different types of wood require different methods and amounts of stain, so it’s important to research and choose the right stain for your specific type of wood.
2. Another factor to consider is the age and condition of your deck. If your deck is new or in good condition, you may only need to lightly sand and clean the surface before staining. However, if your deck is older or has significant damage, you may need to do more extensive prep work before staining.
3. When choosing a time to stain between deck boards, it’s also important to consider the weather conditions. Staining should ideally be done on a clear, dry day with moderate temperatures. Avoid staining on days with high humidity or when rain is forecast, as this can affect the drying and absorption of the stain.
4. Before staining between deck boards, it’s important to thoroughly clean and prepare the surface. This includes removing any debris or dirt between the boards, using a deck cleaner to remove any mildew or mold, and power washing if necessary.
5. When it comes to staining between deck boards, a few techniques can help ensure an even and thorough application. Using a small paintbrush or roller is often the best way to reach all areas between the boards. Working in smaller sections and wiping off any excess stains with a rag or brush is also important.
6. Another important consideration when staining between deck boards is the type of stain you choose. Many different types are available, such as transparent, semi-transparent, and solid stains. Transparent stains allow more of the natural wood grain to show through, while solid stains provide more coverage and hide imperfections.
7. It’s also important to consider the color of your stain. While most people opt for a traditional wood tone, many different colors are available. You can even mix different colors together to create a customized look for your deck.
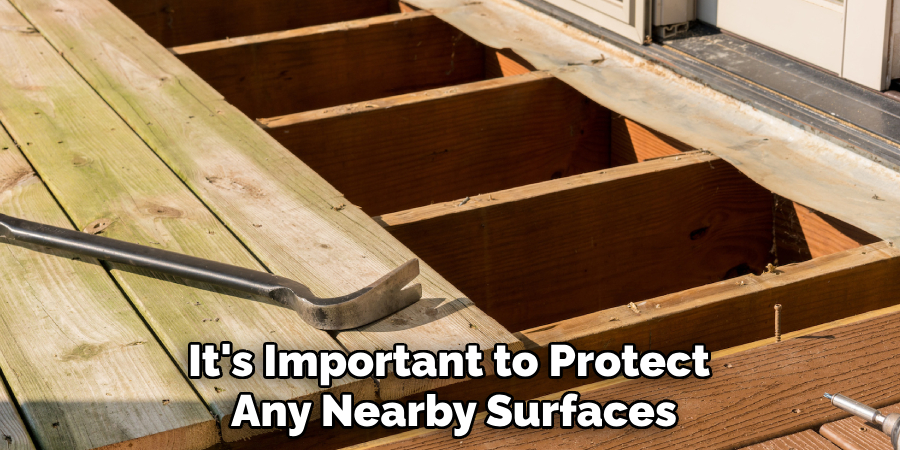
8. When staining between deck boards, it’s important to protect any nearby surfaces, such as siding or plants, with drop cloths or plastic sheeting. Stain can easily splatter and stain these surfaces, so taking precautions beforehand can save you time and hassle in the long run.
9. Finally, after staining between deck boards, it’s important to properly maintain your deck by regularly cleaning and reapplying stains as needed. This will help protect your deck from weathering and keep it looking beautiful for years to come.
Following these considerations and taking your time to properly stain between deck boards will ensure a beautiful and long-lasting finish for your outdoor space. Take your time with the process, and always follow the instructions on your chosen stain product for best results. Happy staining!

Troubleshooting Common Issues to Stain Between Deck Boards
1. Uneven Stain Application:
An uneven application of stain is one of the most common problems encountered when staining between deck boards. This can result in a patchy or blotchy appearance, with some areas appearing darker than others.
To troubleshoot this issue, it is essential to ensure that the stain is evenly distributed on the brush or roller before applying it to the deck boards. You can achieve this by dipping your brush or roller into the stain and then gently tapping it against the side of the paint to remove any excess stain. Additionally, make sure to apply the stain in one direction, following the grain of the wood, to avoid overlapping brush strokes. Finally, use a rag to blend any excess stain that may have pooled in between the boards.
2. Stain Dripping:
Dripping stain can occur when applying too much stain or when the stain is not evenly distributed on the brush or roller. This can result in unsightly drip marks on your deck boards.
To address this issue, make sure to remove any excess stain from your brush or roller before applying it to the deck boards. Use a rag to wipe away any drips that may have already formed on the boards. It is also helpful to work in small sections and continuously check for drips as you go.
3. Stain Not Penetrating Wood:
If the stain is not penetrating the wood properly, it may result in a patchy or discolored appearance. This can happen if the wood is too dry or has been previously treated with a sealer or repellent.
To troubleshoot this issue, you can lightly sand the surface of the deck boards to help the stain penetrate. Additionally, you can try using a penetrating oil-based stain instead of a water-based one. It is also crucial to properly prepare the wood before staining by cleaning and sanding it to remove any previous treatments or debris that may be hindering the stain from penetrating.
4. Color Variation:
Another common issue when staining between deck boards is color variation. This can occur due to differences in wood type, age, or exposure to sunlight.
To address this issue, choosing a stain color that complements the natural variations in the wood is essential. You can also blend different colors of stain to achieve a more uniform appearance. Additionally, regular maintenance and re-staining can help even out any color variations that may occur over time.
By following these troubleshooting tips, you can overcome common issues encountered when staining between deck boards and achieve a beautiful, even finish. Remember to always read the instructions on your chosen stain product and properly prepare and clean the wood before staining for best results. Happy staining!

Precautions Need to Be Followed for Staining Between Deck Board
1. First and foremost, always wear protective gear such as gloves and safety glasses when handling staining products. These chemicals can be harmful to the skin and eyes.
2. Before starting the staining process, make sure to thoroughly clean the deck boards with a power washer or cleaner. This will remove any dirt, debris, or previous stain that may prevent the new stain from adhering properly.
3. If the deck boards have cracks or damage, repair them before staining. This will ensure a smooth and even application of the stain.
4. Before applying the stain, it is important to test it on a small, inconspicuous area first. This will allow you to see how the color looks and how well it absorbs into the wood. It is also a good way to test for any allergic reactions.
5. Always follow the instructions carefully to stain the product. This includes mixing, application methods, and drying times. Using too much or too little stain can result in an uneven finish.
6. When applying the stain, work in small sections at a time and avoid overlapping the areas. This will prevent blotches and streaks in the final result.
7. It is best to stay between deck boards on a calm, dry day. Wind or rain can disrupt the staining process and affect the finish.
8. Make sure to protect any nearby landscaping or furniture from the stain by covering them with plastic sheeting.
9. After applying the stain, allow it to dry completely before walking on the deck boards or placing furniture back on them. Depending on the type of stain used and weather conditions, this can take anywhere from a few hours to a full day.
Following these precautions will help ensure a successful and long-lasting stain between your deck boards. Remember to also regularly maintain and reapply the stain as needed to keep your deck looking beautiful. Any leftover staining products must always be properly disposed of according to local regulations. Happy staining!
Conclusion
Now you know how to stain between deck boards like a pro! By following these simple steps and using the right tools, you can achieve a beautiful finish on your deck that will last for years to come. Remember to always choose the right stain for your specific type of wood and climate conditions and to properly prepare and clean your deck before staining. With a little bit of patience and attention to detail, you can transform your old, weathered deck into a stunning outdoor space that you’ll be proud to show off.
About the Author
Adrian Green, a lifelong woodworking enthusiast, shares his passion for the craft through The Woodenify Blog. With a foundation built on years of hands-on experience in his father’s woodworking shop, Adrian is dedicated to helping others learn and grow in the world of DIY woodworking. His approach to woodworking combines creativity, practicality, and a deep appreciation for the art of building with your own hands. Through his blog, he inspires individuals of all skill levels to embark on their own woodworking journeys, creating beautiful, functional pieces of furniture and décor.
Professional Focus
- Specializes in DIY woodworking projects, from furniture to home décor.
- Provides step-by-step guides and practical tutorials for woodworkers of all skill levels.
- Dedicated to helping readers build confidence and skill through easy-to-follow instructions and tips.
- Passionate about fostering a community of makers who can share, learn, and grow together.
Education History
- University of Craft and Design – Bachelor of Fine Arts (BFA) in Woodworking and Furniture Design
- Woodworking Apprenticeships – Extensive hands-on training with skilled craftsmen to refine carpentry and furniture making techniques.
- Online Courses & Masterclasses – Continued education in advanced woodworking techniques, design principles, and specialized tools
Expertise:
- DIY woodworking, carpentry, furniture making, and home décor projects.
- Creating accessible tutorials and guides for beginner to advanced woodworkers.
- Sharing the joys and satisfaction of woodworking, from raw materials to finished products.