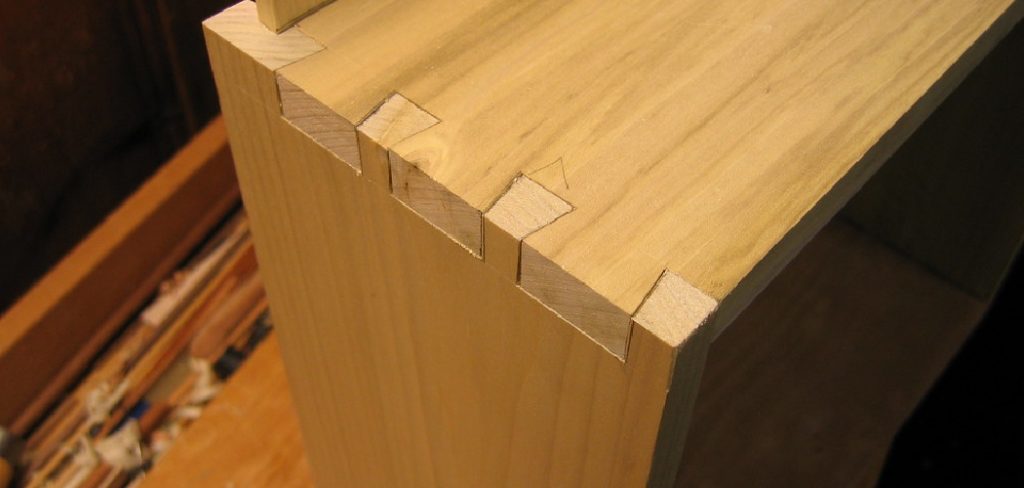
Dovetail joints are renowned for their strength and aesthetic appeal, making them a popular choice for drawer construction. This traditional woodworking technique involves interlocking fan-shaped pins and tails, resulting in a joint that is both durable and visually pleasing.
In this guide on how to dovetail drawers, we will walk you through the step-by-step process of creating dovetail drawers, from selecting the right materials to the final assembly. Whether you are a seasoned woodworker or a beginner looking to enhance your skills, this guide provides all the information you need to craft beautiful and long-lasting dovetail drawers.
What is a Dovetail Joint?
Before we dive into the process of creating dovetail drawers, it is important to understand what a dovetail joint is and its advantages. A dovetail joint consists of two interlocking parts: pins (or tails) and sockets (or tails). The pins have a fan-shaped profile, while the sockets have corresponding tail-shaped profiles. When these parts are connected together, they create a strong bond that resists pulling or twisting forces.
Aside from their strength, dovetail joints also offer an aesthetically pleasing appearance with visible joinery lines. This makes them popular for use in furniture and cabinetry, where both durability and visual appeal are desired.
It is worth noting that there are different types of dovetail joints, such as through dovetails, half-blind dovetails, and full-blind (or secret) dovetails. Each type has its own unique application and level of difficulty.
Materials and Tools Needed
To create your own dovetail drawers, you will need the following materials:
Wood for Drawer Sides and Fronts:
Select a hardwood such as maple, oak, or cherry for the drawer sides and fronts. These woods are known for their strength and ability to hold dovetail joints.
Wood for Drawer Bottom:
Choose a thinner piece of wood, preferably plywood, for the drawer bottom. This will add stability to your drawers and prevent them from warping over time.
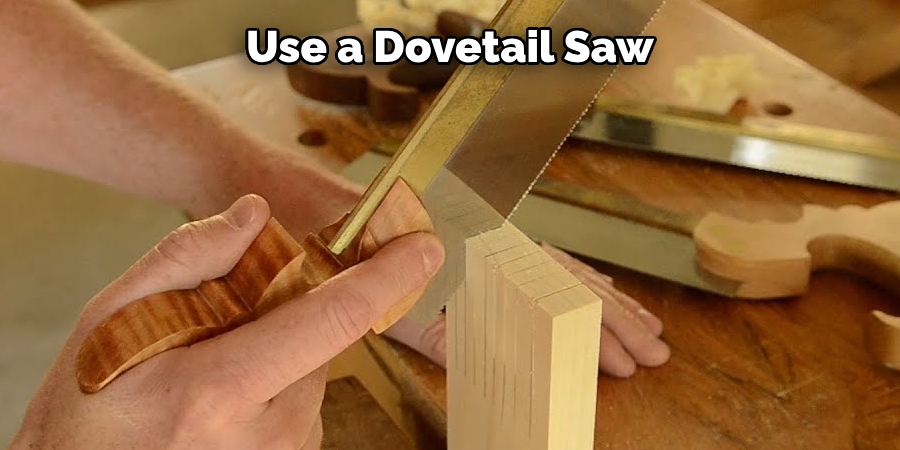
Dovetail Saw:
This specialized hand saw is designed with a thin blade that can create precise cuts for dovetail joints.
Chisels:
A set of sharp chisels will be needed to remove excess wood and clean up the joint edges.
Marking Gauge:
A marking gauge helps you accurately measure the thickness of your materials and mark out the location of your dovetails.
Dovetail Jig (optional):
For beginners, a dovetail jig can be useful in cutting the pins and tails of your joints. It is not necessary but can help ensure precise and consistent cuts.

10 Step-by-step Guides on How to Dovetail Drawers
Now that you have your materials and tools ready let’s dive into the process of creating dovetail drawers:
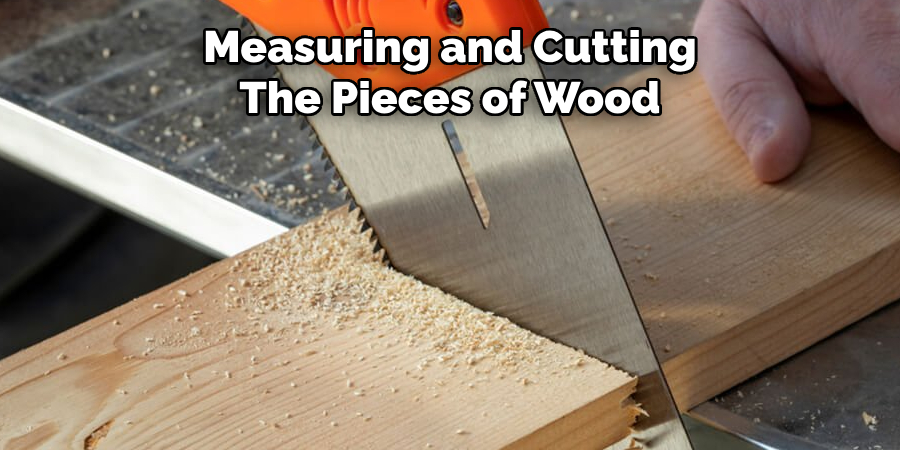
Step 1: Measure and Cut Your Drawer Pieces
Begin by measuring and cutting the pieces of wood that will make up your drawer. You’ll need four pieces: two for the sides and two for the front and back. Ensure that the dimensions of each piece match the desired size of your drawer.
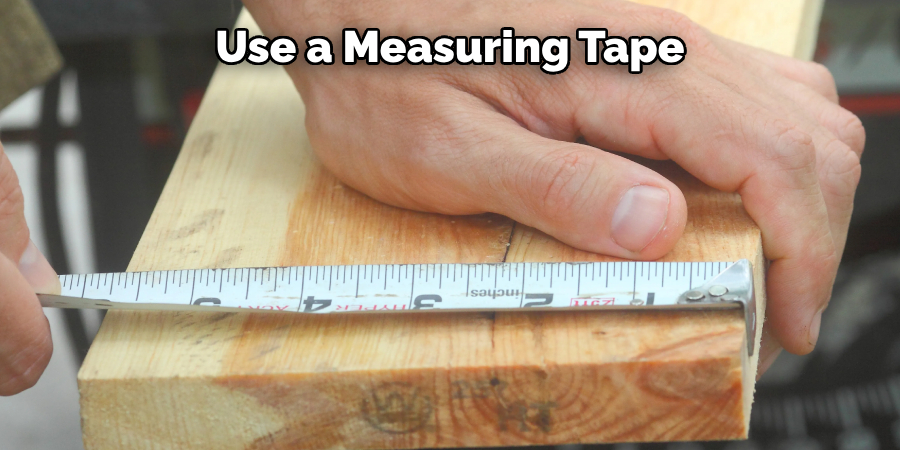
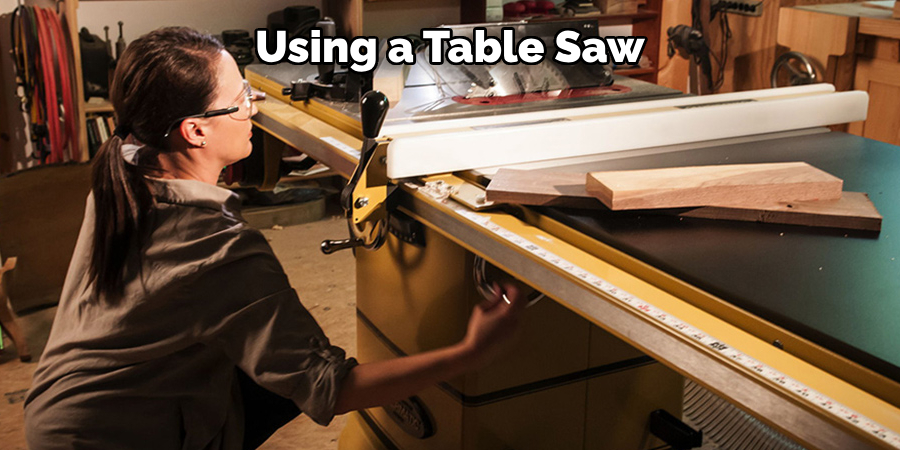
Use a measuring tape or ruler to mark your cuts accurately on the wood. Once marked, use a dovetail saw or a table saw to cut the pieces to the required lengths. Make sure the cuts are straight and clean to ensure a precise fit when you assemble the drawer. Remember, accurate initial cuts are crucial for creating tight and sturdy dovetail joints later in the process.
Step 2: Mark Out the Dovetail Pins and Tails
Use a marking gauge to mark out the thickness of your drawer sides on both ends of each piece. This will help you create evenly spaced pins and tails that are perfectly sized for your drawer material. Next, use a square to transfer these marks onto the face of each piece.
You can use a dovetail jig at this point, or mark out the pins and tails by hand using a pencil and a dovetail template. The choice is yours, but the key is to ensure that each joint has an equal number of pins and tails for strength and balance.
Step 3: Cut Out Your Dovetails
With your marking complete, it’s time to start cutting out the pins and tails. Use a dovetail saw to follow the lines you marked in step two. Keep your cuts straight and precise to avoid any gaps or unevenness in your joints.
Start with one side of each piece, then flip it over and cut the corresponding side. This will eliminate any chance of error due to flipping or turning the pieces over during the process. Once you have completed all four pieces, test-fit them together to ensure a snug and precise fit.
Step 4: Create Space for the Drawer Bottom
To allow for the drawer bottom, you will need to remove some material from each side piece. Using a marking gauge or ruler, measure and mark out where you want your groove for the drawer bottom to be. Then, use a saw or chisel to make these cuts on both sides of each side piece.

Be careful not to cut too deep as this can weaken the structural integrity of your drawers. It’s always better to err on the side of caution and make multiple shallow passes if needed.
Step 5: Cut Out Your Drawer Bottom
With the grooves for the drawer bottom now in place, it’s time to cut the drawer bottom itself. Measure the length and width of the internal space created by your grooves. Then, transfer these measurements onto the piece of wood you’ve selected for the drawer bottom.
Using a table saw or a circular saw carefully cut the drawer bottom to size. Ensure the cuts are straight and accurate for a perfect fit. Double-check the dimensions to avoid any gaps or misalignment when assembling your drawer. After cutting, test fit the bottom piece into the grooves on your side pieces to ensure a snug fit. Adjust as necessary by sanding down any edges that may be too tight. Once satisfied with the fit, set the drawer bottom aside until you’re ready for the final assembly.
Step 6: Clean and Prepare Your Pins and Tails
After cutting out your dovetails, it’s essential to clean and prepare the pins and tails to ensure a tight fit. Start by using a chisel to remove any rough edges or splinters from the cuts. Work carefully to avoid removing too much material, as this can affect the strength and precision of the joints.
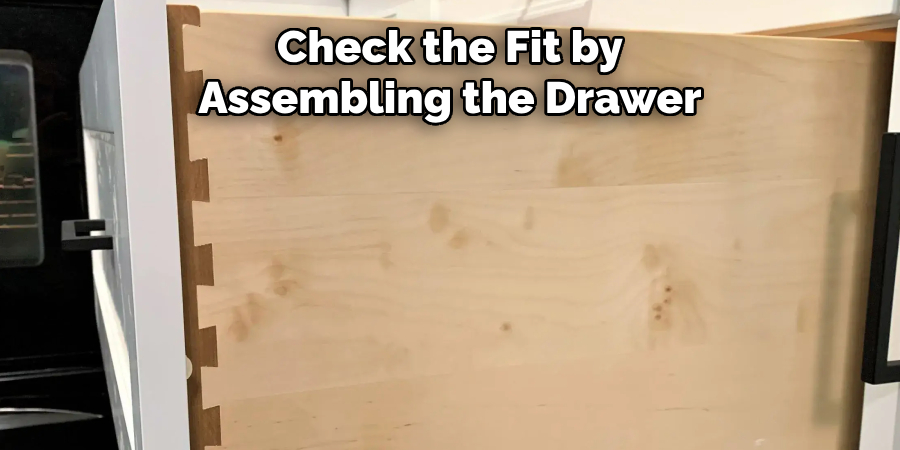
Use a small file or sandpaper to clean up the inside corners where the pins and tails meet. This will help eliminate any minor imperfections that might prevent the pieces from fitting together snugly. Check the fit by assembling the drawer sides gently tapping them together with a mallet if necessary. If you notice any tight spots, carefully fine-tune the affected areas with your chisel or sandpaper.
Once all the pins and tails are smooth and clean, reassess the fit by dry-assembling the drawer sides again. The joints should fit together with minimal gaps, be easy to fit, and be ready for the final assembly in the next steps.
Step 7: Glue and Clamp Your Drawer Sides
With your dovetails now perfectly cut and prepared, it’s time to apply some glue and clamp the sides together. Apply a thin layer of wood glue to the pins and tails, ensuring even coverage. Then, slide the pieces together with a few gentle taps from your mallet.
Once assembled, use clamps to hold each joint firmly in place while the glue dries. Use a damp cloth to wipe away any excess glue that may have squeezed out from the joints. Let them sit for at least an hour or two before moving on to the next step.
Step 8: Attach Your Drawer Front
Now that your drawer sides are securely assembled, it’s time to add the front piece. Apply a thin layer of glue to the edges of your drawer sides, making sure to cover any gaps or uneven areas. Then, slide the front piece into place and use clamps to hold it in position while the glue dries.
Be careful not to apply too much pressure with your clamps as this can cause misalignment or damage to the joints. Use a damp cloth to wipe away any excess glue and leave your drawer front clamped for at least an hour before proceeding.
Step 9: Install Your Drawer Bottom
With the sides and front of your drawer now securely assembled, it’s time to install the drawer bottom. Take the pre-cut bottom piece and slide it into the grooves you created in Step 4. Ensure that it fits snugly without any gaps. If needed, use a mallet to gently tap the bottom piece into place, being careful not to damage the wood.
Once the bottom is securely in place, apply a thin bead of wood glue along the edges where the bottom meets the sides of the drawer. This will add extra stability to your drawer. Use clamps to hold the bottom in place while the glue dries, and wipe away any excess glue with a damp cloth. Let the glue dry completely, following the manufacturer’s drying time recommendations, before proceeding to the final step. This will ensure your drawer bottom is securely attached and ready for use.
Step 10: Finish and Sand Your Drawer
With the drawer now assembled, it’s time to add the finishing touches. Use sandpaper to smooth over any rough edges or imperfections on the outside of your drawer. You can also use a wood filler if needed to fill any small gaps or cracks in the joints.
Once satisfied with the smoothness of your drawer, you can apply a finish of your choice. Whether it’s a stain, paint, or varnish, make sure to follow the manufacturer’s instructions for application and drying times. Once dry, attach your chosen hardware such as handles or knobs, and your handmade dovetail joint drawer is complete!
Congratulations! You have successfully crafted a beautiful and functional piece of furniture using a dovetail
Following these steps and techniques on how to dovetail drawers, you can apply the same principles to create drawers of various sizes and dimensions for different pieces of furniture. Experiment with different wood types and finishes to achieve a unique look for your drawers. With practice, you will master the art of dovetail joinery and be able to incorporate it into many woodworking projects. Happy crafting!
Additional Tips
Tip 1: Use Quality Tools
Investing in high-quality tools can make a significant difference in the accuracy and ease of your woodworking projects. Sharp chisels, precise saws, and reliable clamps will help you achieve clean cuts and strong joints, enhancing the overall quality of your work.
Tip 2: Practice on Scrap Wood
Before attempting dovetail joinery on your final project, practice on scrap wood. This allows you to refine your technique and gain confidence, minimizing mistakes when working on your actual piece.
Tip 3: Mark Your Pieces Clearly
Using a marking gauge or pencil, clearly mark your pieces before making any cuts. Accurate markings will help you align your cuts properly and avoid any misalignment or errors during assembly.
Tip 4: Maintain a Sharp Edge
Keep your chisels and saws sharp to ensure precise cuts. Sharp tools reduce tear-out and splintering, providing cleaner edges and a better fit for your joints.
Tip 5: Take Your Time
Rushing through the process can lead to mistakes and subpar results. Take your time with each step, ensuring accuracy and attention to detail. Patience is key to mastering dovetail joinery.
Tip 6: Ensure Proper Clamping
When gluing and clamping your pieces, ensure even pressure across the joints. Uneven clamping can lead to gaps and weak joints. Adjust your clamps as needed to apply uniform pressure.
Tip 7: Use Test Fittings
Before final assembly, dry test fittings will be conducted to check for alignment and fit. This allows you to make any necessary adjustments without the pressure of working with glue.
Tip 8: Choose the Right Wood
Different wood types have varying characteristics. Choose a wood that suits your project’s needs in terms of strength, appearance, and workability. Hardwoods are commonly used for dovetail joints due to their durability.
Implementing these additional tips can help enhance your woodworking skills and ensure successful outcomes for your dovetail joint projects. Happy crafting!
Frequently Asked Questions
Q: Is Dovetail Joinery Necessary for All Drawers?
A: No, dovetail joinery is not a requirement for all drawers. It is primarily used for its strength and traditional aesthetic appeal. Other methods such as box joints or dowel joints, can also be used for drawer construction. The choice depends on the individual’s preference and the purpose of the drawer. You can use dovetail joinery for drawers that will hold heavy items or experience frequent use, while simpler joints may suffice for lighter and less frequently used drawers.
Q: What Type of Glue Should I Use for Dovetail Joints?
A: The most commonly used glue for dovetail joints is carpenter’s wood glue. This type of glue provides a strong bond and dries clear, making it ideal for woodworking projects. Make sure to read the manufacturer’s instructions and allow adequate drying time before handling your project. The type of wood glue used should also match the type of wood being joined.
Q: Can Dovetail Joinery be Used for Other Woodworking Projects?
A: Yes, dovetail joinery can be used in various woodworking projects such as cabinets, boxes, and furniture pieces. It is a versatile technique that adds strength and visual interest to any project. However, it may not be the most practical option for every project, so it’s essential to consider the purpose and design of your project before deciding to use dovetail joinery. Ultimately, it is a personal preference and can add a unique touch to your woodworking projects.
Q: Can I Use Power Tools instead of Hand Tools for Dovetail Joints?
A: While hand tools are commonly used for traditional dovetail joinery, power tools can also be used. Some woodworkers prefer using power tools for efficiency and accuracy, while others enjoy the satisfaction of creating dovetail joints by hand. Whichever method you choose, make sure to use quality tools and exercise caution to ensure accurate cuts and safe operation.
Conclusion
Crafting dovetail joints requires patience, precision, and practice, but the end results are well worth the effort. These joints not only provide exceptional strength to your furniture but also add a touch of traditional craftsmanship that is both functional and aesthetically pleasing. By following the detailed steps and tips provided in this guide on how to dovetail drawers, you can achieve professional-quality dovetail joints in your woodworking projects.
Remember to invest in quality tools, practice on scrap wood, and take your time to ensure accuracy and a seamless fit. Whether you are a novice or an experienced woodworker, mastering dovetail joinery will significantly enhance your woodworking skills and open up new possibilities for your creative endeavors. Happy crafting!
About the Author
Adrian Green, a lifelong woodworking enthusiast, shares his passion for the craft through The Woodenify Blog. With a foundation built on years of hands-on experience in his father’s woodworking shop, Adrian is dedicated to helping others learn and grow in the world of DIY woodworking. His approach to woodworking combines creativity, practicality, and a deep appreciation for the art of building with your own hands. Through his blog, he inspires individuals of all skill levels to embark on their own woodworking journeys, creating beautiful, functional pieces of furniture and décor.
Professional Focus
- Specializes in DIY woodworking projects, from furniture to home décor.
- Provides step-by-step guides and practical tutorials for woodworkers of all skill levels.
- Dedicated to helping readers build confidence and skill through easy-to-follow instructions and tips.
- Passionate about fostering a community of makers who can share, learn, and grow together.
Education History
- University of Craft and Design – Bachelor of Fine Arts (BFA) in Woodworking and Furniture Design
- Woodworking Apprenticeships – Extensive hands-on training with skilled craftsmen to refine carpentry and furniture making techniques.
- Online Courses & Masterclasses – Continued education in advanced woodworking techniques, design principles, and specialized tools
Expertise:
- DIY woodworking, carpentry, furniture making, and home décor projects.
- Creating accessible tutorials and guides for beginner to advanced woodworkers.
- Sharing the joys and satisfaction of woodworking, from raw materials to finished products.