Antique and distressed wood finishes have an enduring appeal rooted in their ability to convey a sense of history and character. The charm of aged wood lies in its unique imperfections, such as cracks, dents, and varied coloration, contributing to its vintage look. Incorporating vintage wood elements has become increasingly popular in the modern decor landscape.
People are drawn to the warmth and authenticity of aged wood in contemporary interiors, making it a versatile and stylish choice for furniture, flooring, and decorative accents. This guide aims to provide you with detailed instructions on how to make wood look old, offering a comprehensive overview of various techniques and methods.
Whether you’re a seasoned DIY enthusiast or a beginner, you’ll find valuable tips and step-by-step procedures to transform new wood into convincingly aged pieces, enriching your living space with timeless elegance.
Choosing the Right Wood
A. Selecting Wood Types: Best Wood Types for Aging
Choosing the right type of wood is crucial when aiming to achieve an aged appearance. Some wood types take to aging techniques more naturally than others. Pine is popular due to its softness and ease of manipulation; it readily accepts stains and distressing methods, creating a convincingly worn look.
Oak, with its robust grain pattern and inherent durability, develops a rich patina over time and responds well to chemical aging processes. Cedar, known for its aromatic properties and resistance to decay, is also an excellent candidate, particularly for outdoor projects. Each wood type offers unique characteristics that influence the final aged appearance, so selecting one that aligns with your specific project needs and aesthetic goals is essential.
B. Preparing the Wood: Cleaning and Prepping New Wood for the Aging Process
Before diving into the aging process, proper wood preparation is necessary to ensure optimal results. Begin by thoroughly cleaning the wood surface to remove any dirt, dust, or existing finishes. A mild soap and water mixture can be used for this purpose, followed by a clear rinse and ample drying time.
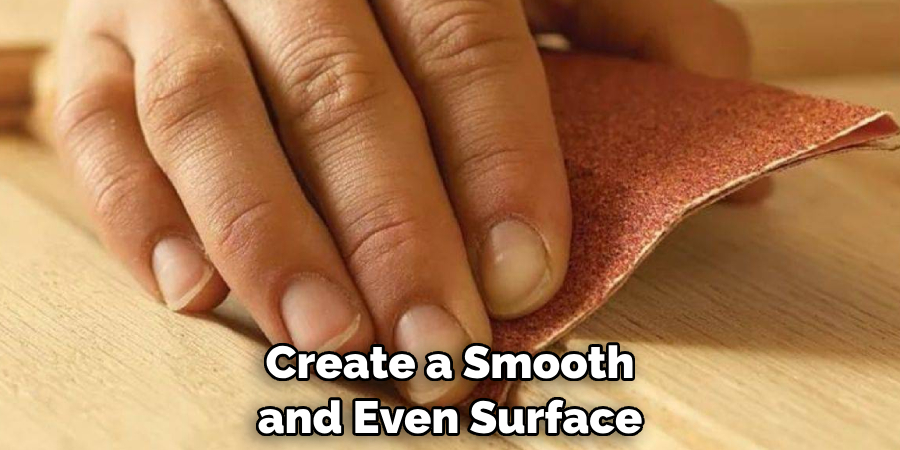
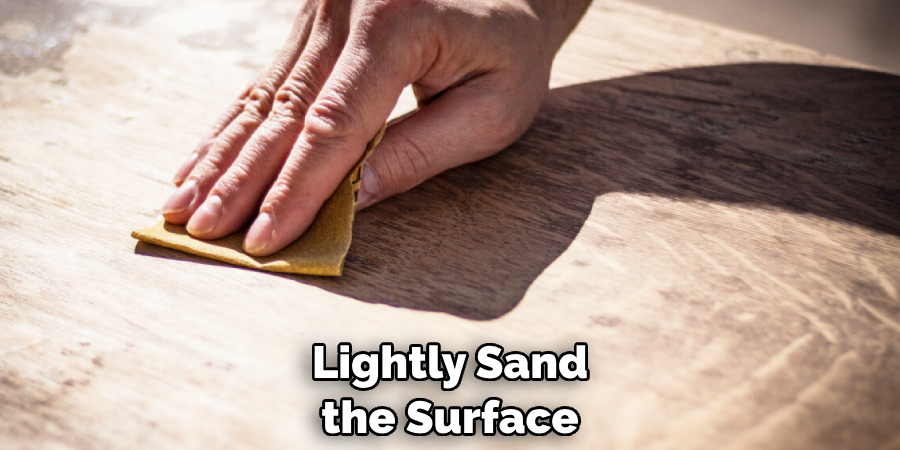
Next, sand the wood to create a smooth and even surface. Start with a coarser grit sandpaper and gradually move to a finer one. This step not only smooths out any imperfections but also opens up the wood pores, allowing better absorption of stains and chemicals. Additionally, inspect the wood for any knots, cracks, or irregularities that you may need to address or incorporate into your aging technique for a more natural look.
C. Safety Precautions: Ensuring Safety While Handling and Treating Wood
Safety should be a top priority when working with wood and various aging techniques. Always wear protective gear, such as gloves, safety goggles, and a dust mask, to shield against splinters, debris, and fumes from chemicals.
Ensure adequate ventilation in your workspace, especially when using chemical solutions like vinegar, steel wool, or store-bought aging products, to prevent inhalation of hazardous fumes. Keep a first aid kit nearby in case of minor injuries, and store all chemicals and tools safely out of reach when not in use. By taking these precautions, you can effectively protect yourself while achieving a beautiful, aged wood finish.
How to Make Wood Look Old: Basic Distressing Techniques
A. Hammer and Nails: Creating Dents and Impressions to Mimic Natural Wear
One of the most straightforward methods to distress wood is by using a hammer and nails to create dents and impressions. By gently tapping the surface with the hammer, you can mimic the kind of natural wear that occurs over time.
Varying the pressure and angles at which you strike the wood will result in a more authentic, uneven appearance. You can also use nails of different sizes to create a variety of indentations. Simply place the nail on the wood’s surface and lightly hammer it in, moving it around to produce random patterns. This technique is particularly effective for achieving a rustic look, adding character and depth to your wood pieces.
B. Wire Brush and Sandpaper: Using Abrasive Tools to Add Texture and Wear
Another effective technique for distressing wood involves using a wire brush and sandpaper. The wire brush is excellent for adding texture by scraping along the wood’s surface, which creates fine lines and scratches that replicate natural weathering. Apply moderate pressure while dragging the brush toward the wood grain.
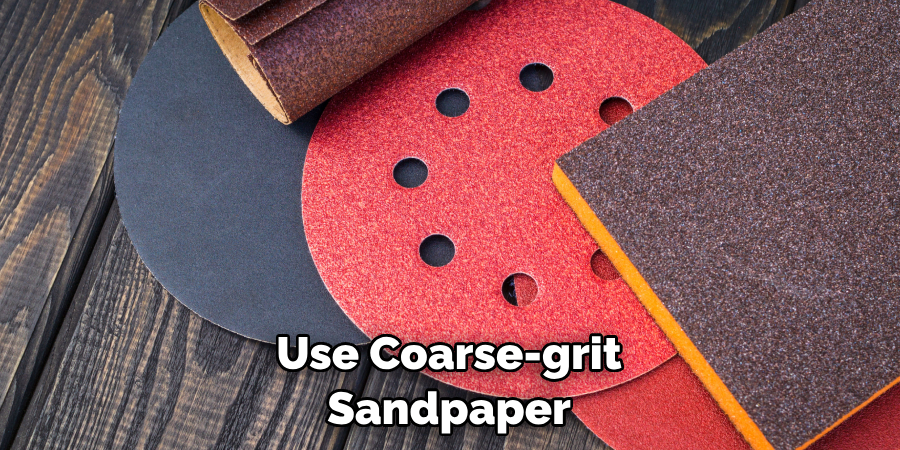
For additional texture, use coarse-grit sandpaper (around 60 to 80 grit) to selectively sand areas, focusing on edges and corners where wear naturally occurs over time. After roughing up the wood, switch to a finer grit sandpaper (120 to 220) to smooth out any overly harsh scratches, ensuring the distressed areas blend seamlessly with the rest of the wood.
C. Chains and Heavy Objects: Adding Random Indentations for a More Authentic Look
Consider using chains or other heavy objects to add random indentations to the wood for a more dramatic effect. Chains offer a unique way to create an irregular pattern of dents and dings closely resembling the impacts and abrasions that wood might encounter in everyday use. Simply hold the chain and strike it against the wood surface, allowing it to fall and bounce naturally.
You can also drop heavy objects like hammers, metal rods, or even stones onto the wood to produce a varied and unpredictable wear pattern. The key to this technique is randomness; avoid creating uniform patterns to ensure that the final look feels organic and genuine. Each impact should tell its own story, contributing to the overall aged aesthetic of the wood.
How to Make Wood Look Old: Chemical Aging Methods
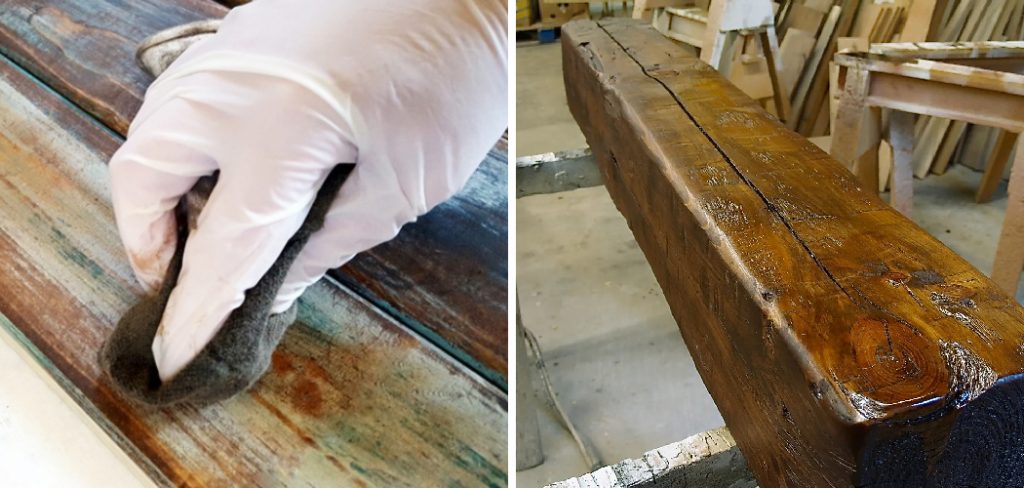
A. Vinegar and Steel Wool: How to Use Vinegar and Steel Wool Solution to Age Wood
A popular and cost-effective method for aging wood involves using a vinegar and steel wool solution. This technique relies on the reaction between vinegar’s acetic acid and the iron in the steel wool to create a homemade stain that mimics the natural aging process. To prepare the solution, start by soaking a piece of steel wool in a vinegar jar for approximately 24 to 48 hours.
Once the solution has developed a rusty hue, strain out any remnants of the steel wool. Before applying, test the solution on a scrap piece of wood to determine the color result. Brush the solution onto the wood evenly, allowing it to dry completely. Depending on the desired depth of color, you may need to apply multiple coats. The final effect reveals a beautifully aged, silvery-grey patina that enhances the wood’s natural grain and character.
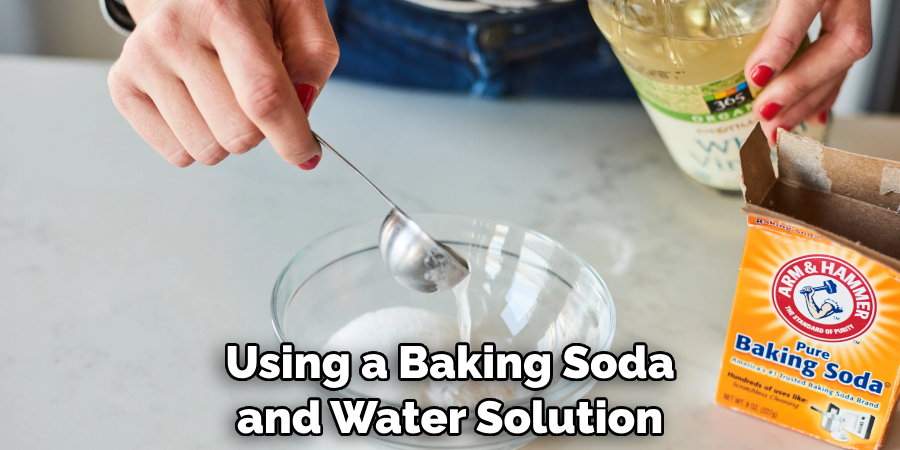
B. Baking Soda and Water: Aging Wood with a Simple Baking Soda Solution
Another effective and environmentally friendly method for aging wood is using a baking soda and water solution. Baking soda, when applied to wood, reacts with tannins and sunlight, hastening the aging process. To create the solution, dissolve one part baking soda in two parts water. Stir until fully mixed, then apply the solution evenly across the wood surface with a brush.
Allow the wood to dry in a sunny location, as the UV rays from the sun activate the baking soda and speed up the aging process. Over time, the wood turns a weathered, greyish tone reminiscent of barn wood or driftwood. This method is particularly useful for achieving a softer, more subtle, aged look that feels natural and understated.
C. Commercial Aging Solutions: Overview of Store-Bought Products for Aging Wood
Commercial aging solutions offer a reliable option for those looking for convenience and consistency. These pre-mixed products are formulated to replicate the appearance of naturally aged wood without requiring lengthy preparation. Available in various shades and finishes, they can produce effects ranging from light weathering to deep, rich patinas.
Brands like Minwax and Varathane provide easy-to-use solutions that work on different wood types, ensuring uniform results. To apply, follow the manufacturer’s instructions, typically brushing or wiping the solution onto the wood and allowing it to dry. Some products may require a sealant to protect the aged finish and enhance longevity. Commercial solutions are ideal for those seeking a quick and effortless way to achieve professional-grade aging effects without extensive experimentation.
Applying Stains and Finishes
A. Dark Stains: Using Dark Wood Stains to Enhance the Aged Appearance
Dark wood stains are an excellent choice for accentuating the aged appearance of distressed or chemically aged wood. These stains penetrate deep into the wood grain, enhancing its natural details and adding a rich, dramatic tone. To apply a dark stain, begin by ensuring the wood surface is clean and dust-free. Use a brush or cloth to apply the stain evenly, working toward the grain.
Allow the stain to penetrate for the recommended time specified by the manufacturer before wiping off any excess with a clean cloth. You can apply additional coats for a deeper color, allowing each layer to dry thoroughly before reapplying. Dark stains work particularly well on woods with prominent grain patterns, such as oak or walnut, as they highlight the inherent beauty of the wood while imparting a timeless, antique quality.
B. Layering Techniques: Applying Multiple Layers of Stain for Depth and Complexity
Layering different stains is a powerful technique to add depth and complexity to your aged wood projects. By combining various shades, you can create a rich, multi-dimensional finish that mimics the natural patina developed over years of exposure. Start with a base coat of your chosen stain and let it dry completely. Next, lightly sand the surface with fine-grit sandpaper to ensure the subsequent layers adhere properly.
Apply a second stain in a different shade, using a rag for a more controlled application. This technique allows you to blend the stains, adding highlights and lowlights to create a more dynamic appearance. Experimenting with stains of contrasting colors, such as a lighter base coat followed by a darker top coat, can produce striking results. Remember to test your layering approach on a scrap piece of wood to refine your technique before committing to the final piece.
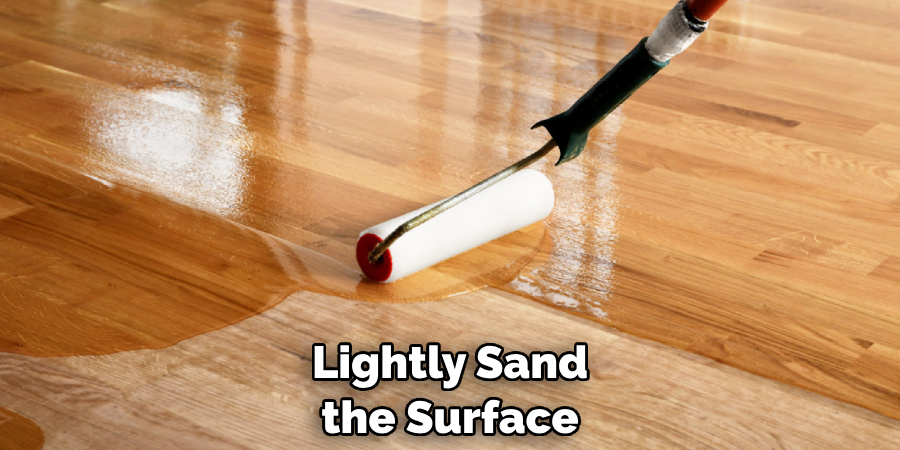
C. Finishing Touches: Sealing and Protecting Aged Wood with Wax or Polyurethane
Once the desired stain effect is achieved, sealing and protecting the wood is crucial to maintain its beauty and longevity. Wax and polyurethane are two popular options for finishing aged wood. Wax provides a soft, natural sheen and enhances the wood’s texture without altering its color significantly.
To apply wax, use a cloth to rub a small amount onto the surface in circular motions, allowing it to absorb for a few minutes before buffing it to a shine with a clean cloth. This method offers a more subtle finish ideal for pieces where a more traditional, hand-finished look is desired.
Polyurethane, on the other hand, offers a more durable and protective finish, especially suitable for high-traffic pieces or surfaces exposed to moisture. Available in both matte and glossy finishes, polyurethane enhances the stained wood while providing a robust barrier against wear and tear.
To apply, brush on a thin, even coat, following the wood grain. Allow it to dry completely, then lightly sand the surface with fine-grit sandpaper before applying additional coats. Typically, two to three coats are sufficient to achieve a hard-wearing finish. Choosing between wax and polyurethane depends on the intended use and desired look of the finished piece. Both options will protect the aged wood and bring out the richness and character of the layers and stains applied.
By thoughtfully applying stains and finishes, you can significantly enhance your aged wood projects’ visual appeal and durability. Whether you prefer wax’s soft glow or polyurethane’s resilient shine, these finishing touches will ensure your wood pieces stand the test of time, beautifully showcasing their unique, aged character.
Advanced Distressing Techniques
A. Burning and Scorching: Using Controlled Burning to Create an Antique Look
Burning and scorching wood is an advanced distressing technique that adds an authentic, antique appearance by intentionally charcoaling the surface. This method, often called “Shou Sugi Ban” (a traditional Japanese technique), enhances the wood’s grain and adds a unique texture that cannot be achieved through other means.
First, ensure you have safety equipment, including gloves and goggles, and perform this technique in a well-ventilated area or outdoors. Use a propane torch to lightly pass over the wood surface, moving consistently to avoid excessive burning in one spot. The level of charring can be adjusted based on the desired effect; a light scorch reveals more grain, while a deeper burn achieves a more pronounced, rugged look.
After burning, use a wire brush to remove loose charcoal and further remove the grain. To protect the charred wood, apply a finish such as oil or polyurethane, enhancing the deep, rich color created by the burn. This technique is excellent for elements like outdoor furniture, shutters, and decorative accents.
B. Painting and Sanding: Applying Paint and Sanding for a Weathered Effect
Painting and sanding is a versatile technique for creating a weathered look that mimics the appearance of furniture or surfaces exposed to years of wear and tear. Begin by applying a base coat of paint in a chosen color and allowing it to dry completely. Once dry, apply a second coat in a contrasting color for a layered effect. After thoroughly drying the paint, use sandpaper to distress the surface, focusing on edges and areas naturally prone to wear.
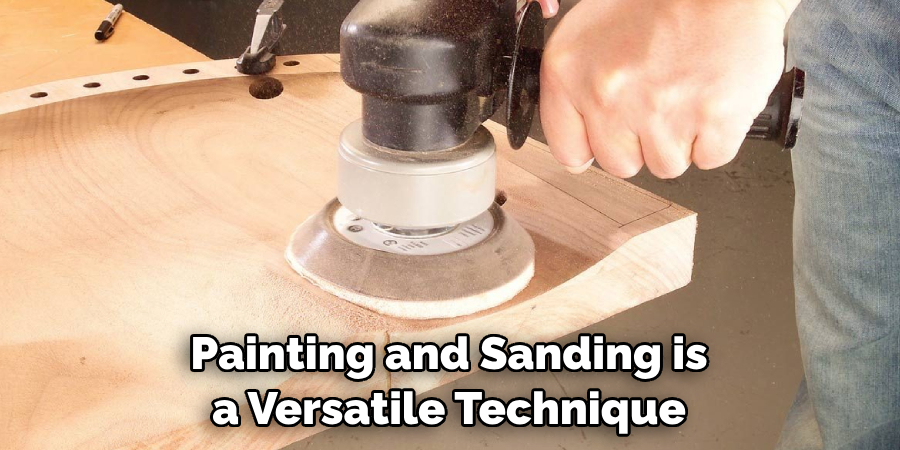
Sand through the top layer of paint to reveal the base color and sometimes the bare wood beneath, creating a multi-tone, aged appearance. For an even more authentic look, use a scraper or steel wool in addition to sandpaper to produce varied levels of distressing. This method works particularly well for creating vintage-style furniture, picture frames, and decorative panels.
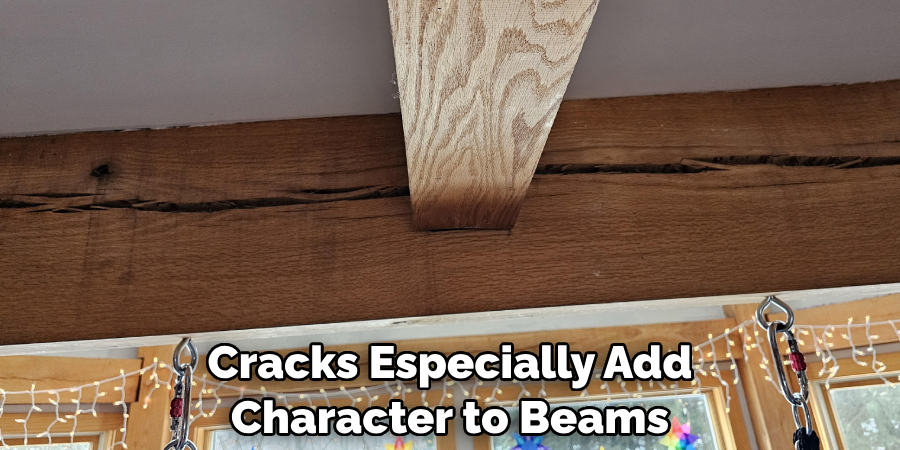
C. Cracking and Splitting: Techniques to Simulate Age-Related Cracks and Splits
Creating cracks and splits in wood can enhance the illusion of age and add a rustic charm to your projects. One way to achieve this effect is by combining the ination of humidity and controlled stresses. Allow the wood to absorb moisture by exposing it to a humid environment or wetting it slightly.
Then, use tools such as chisels, hammers, or freeze-thaw cycles to naturally induce cracks and splits. For a more controlled approach, scoring the wood surface with a utility knife followed by gentle tapping can produce strategic cracks.
Another method involves applying a crackle medium before painting; this causes the paint to crack as it dries, creating an appearance of aged, cracked paint. Cracks especially add character to beams, furniture, and any wooden decor, aiming for an antique, lived-in feel. Always use caution to ensure the piece’s structural integrity is maintained while achieving the desired aesthetic.
By employing these advanced distressing techniques, you can craft wood pieces that convey authenticity and charm, emulating the timeless beauty of antiques. The art of distressing opens up endless possibilities for creativity and tailored finishes in woodworking projects.
Creating Patina and Wear
A. Natural Patina: Encouraging Natural Patina with Oils and Waxes
Creating a natural patina encourages the wood to age gracefully and develops a rich, seasoned look over time. Oils and waxes are excellent for this purpose, as they nourish the wood and bring out its inherent beauty. First, choose a high-quality oil such as tung, linseed, or hemp oil.
Apply a generous amount to the wood surface using a cloth, allowing the oil to penetrate deeply into the wood fibers. This process enhances the grain and deepens the color. Follow up with a suitable wax, such as beeswax or carnauba wax, to seal the oil and add a soft, lustrous sheen. Buff the wax to a shine to finalize the process. Over time, repeated applications of oil and wax will naturally darken and enrich the wood, creating a beautiful patina that tells the story of the piece’s history.
B. Simulating Water Damage: Using Water and Stains to Create Watermarks and Rings
Simulating water damage can add an element of age and character to a wood piece, mimicking the marks left by years of use and exposure to moisture. You’ll need water, a brush, and wood stains to create watermarks and rings. Start by lightly wetting the wood surface where you want the watermarks to appear. Allow the water to sit briefly to raise the grain slightly. Next, apply a wood stain to the damp area in varying shades to imitate the discoloration caused by water exposure.
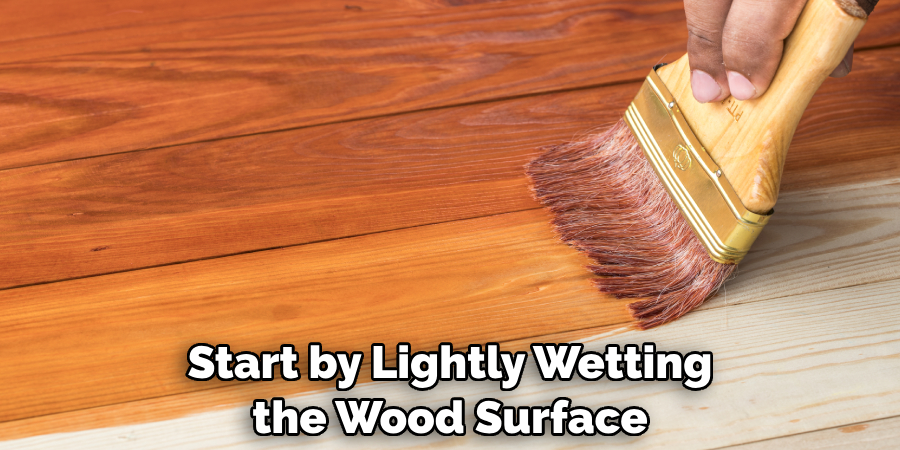
Use a cup or a similar round object to outline the shape for ring marks, and then add stains within the circle. Re-create the layered look of water damage by experimenting with different stain colors and intensities. Combining these techniques will help simulate water’s irregular and random effects on wood, adding realism and depth to the distressed appearance.
C. Mimicking Insect Damage: Creating Small Holes and Tracks to Simulate Insect Activity
Insects can leave behind distinctive marks that contribute to a wood’s aged appearance, such as small holes and intricate tracks. You’ll need a small drill bit, an awl, or similar tools to mimic insect damage to create tiny holes and channels. Carefully drill or perforate the wood surface in random patterns, focusing on areas where insects are likely to have burrowed, such as knots or ends of boards. Create clusters of holes of varying sizes and depths to enhance the authenticity.
For longer tracks, use a fine-tip wood-burning tool or a sharp knife to carve delicate, winding pathways across the wood, imitating insect tunnels. This technique works well for adding subtle but realistic signs of deterioration, enriching the piece’s overall character. Always ensure that the simulated damage does not compromise the structural integrity of the wood, maintaining a balance between aesthetic effect and functionality.
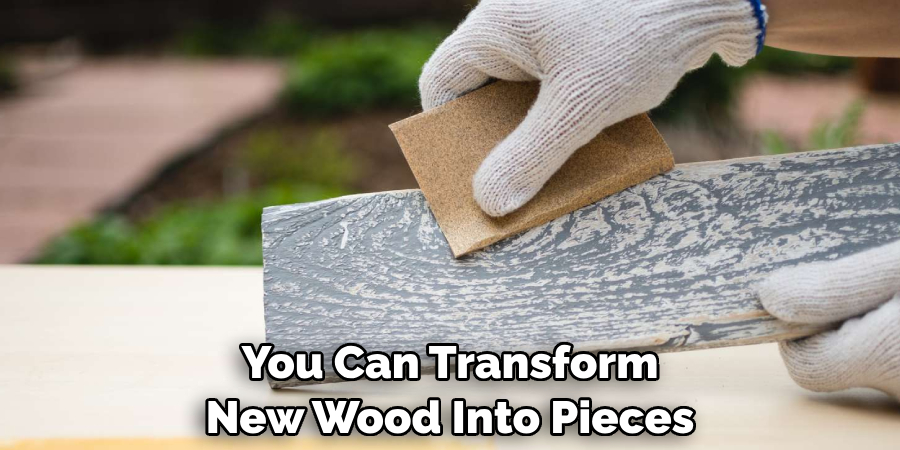
By incorporating these methods to create patina and wear, you can transform new wood into pieces that exude the charm and character of well-loved antiques. These techniques allow for a high degree of creativity and customization, enabling you to tailor each project to achieve a unique, aged appearance that tells its own story.
Aging Wood with Paint
A. Milk Paint and Chalk Paint: Applying and Distressing Milk or Chalk Paint
Milk and chalk paint are popular choices for creating a vintage, distressed look on wood projects. These paints are known for their matte finish and ease of use, making them ideal for achieving an aged aesthetic.
To begin, prepare the wood surface by lightly sanding it to ensure the paint adheres well. When using milk paint, mix the powdered paint with equal water until it reaches a smooth consistency. Apply the paint with a brush in even strokes, allowing it to dry thoroughly between coats. Use chalk paint straight from the can, applying one or two coats as needed.
Once the final coat of paint is dry, you can begin the distressing process. Use sandpaper, steel wool, or a damp cloth to carefully wear away the paint in areas that would naturally experience use over time, such as edges and handles. The goal is to expose the wood or base color beneath, creating a layered, well-worn effect. Finish the piece by sealing it with a wax or clear topcoat to protect the paint and enhance the aged appearance.
B. Crackle Finish: Using Crackle Medium to Create an Aged, Crackled Paint Effect
A crackle finish can add a dramatic and authentic aged look to painted wood. This technique relies on a special crackle medium that causes the top layer of paint to crack as it dries, revealing the base color below.
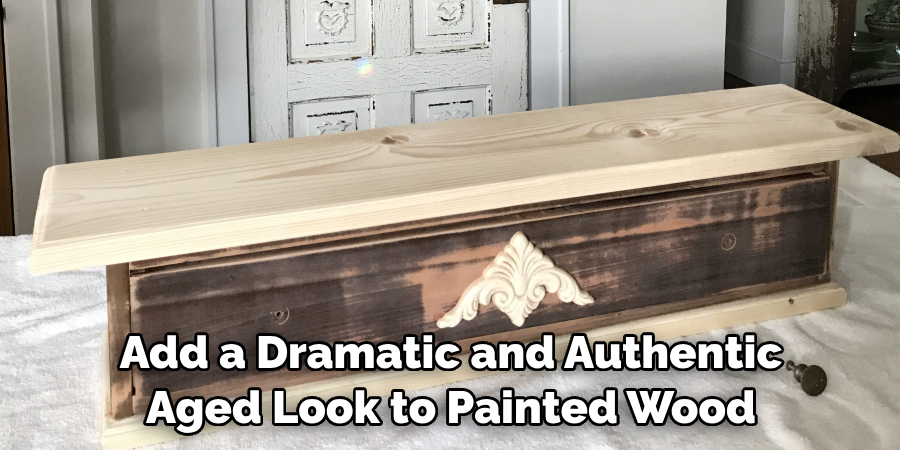
Start by painting the wood with a base color and let it dry completely. Once dry, apply a thick, even coat of crackle medium with a brush. The medium’s thickness will determine the cracks’ size; a thicker application results in larger cracks, while a thinner layer produces finer ones. Allow the crackle medium to dry as specified by the manufacturer’s instructions.
Next, apply the top coat of paint in a single, smooth stroke without going over the same area twice, as this will disrupt the crackle effect. As the paint dries, it will start to crack, revealing the base color through the fissures. The result is a beautifully aged and weathered appearance.
C. Dry Brushing: Techniques for Dry Brushing Paint to Highlight Distressed Areas
Dry brushing is a simple yet effective technique to highlight the texture and details of distressed wood. It involves using very little paint on a dry brush to create a subtle, feathered effect.
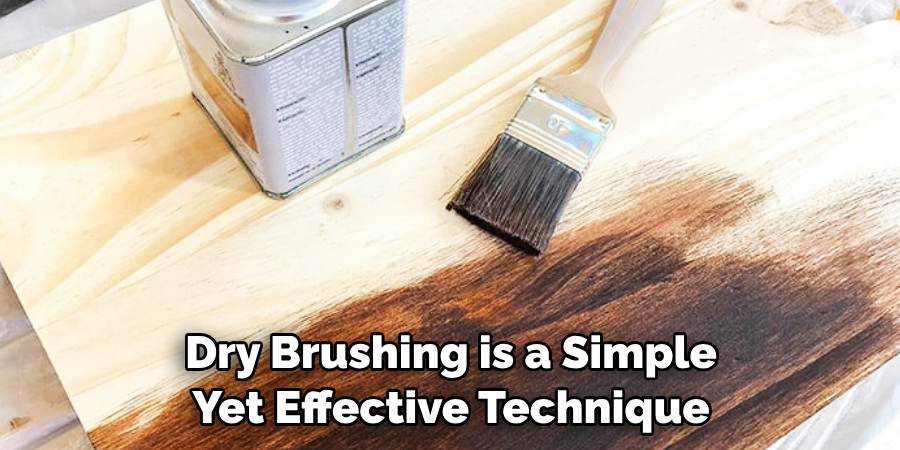
Begin with a painted or stained wood surface. Dip the tip of a dry brush into the paint, then remove most of it by wiping it on a paper towel or rag until only a minimal amount of paint remains. Lightly drag the brush across the wood surface, paying special attention to raised areas, edges, and corners. This technique will deposit paint on the highest points of the texture, enhancing the distressed look.
Dry brushing can be used with multiple colors to add depth and character. For instance, applying a light color over a dark base can create a striking contrast that mimics natural wear and tear. Finish the piece with a clear protective coat to preserve the dry-brushed effect and ensure longevity.
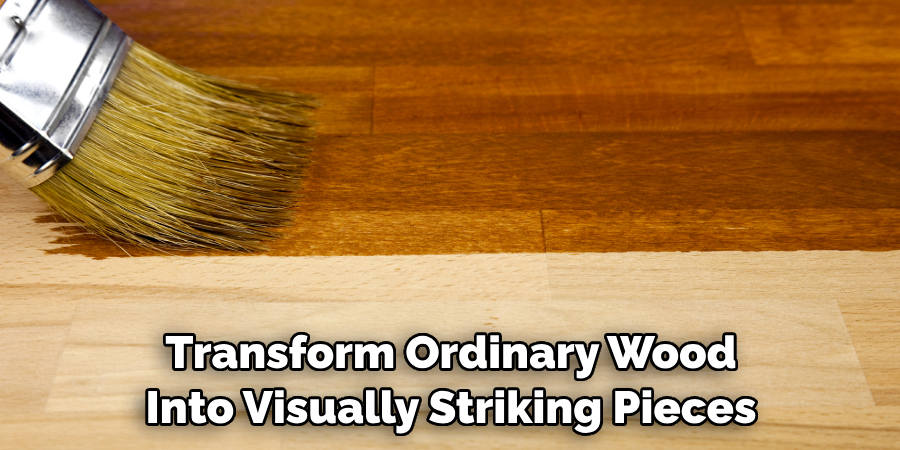
Mastering these painting techniques allows you to transform ordinary wood into visually striking pieces with a rich, historic feel. Whether you choose milk paint, chalk paint, a crackle finish, or dry brushing, each method offers unique possibilities for aging wood, allowing you to customize each project to your liking.
Conclusion
In summary, the key methods for aging wood include selecting appropriate wood types, using techniques such as staining, sanding, and painting, and applying distress methods like dry brushing and crackle medium. These approaches can transform both large furniture and smaller decor items into timeless pieces filled with character. Weather-resistant stains and finishes ensure durability for outdoor projects while maintaining a naturally worn appearance.
Don’t hesitate to experiment with the various techniques covered in this guide on how to make wood look old. Finding your unique style is part of the creative journey. Mix and match methods, test different stains and finishes, and see what works best for your projects. Every piece of wood will react differently, offering limitless possibilities for personalization.
Creating custom-aged wood pieces is a rewarding endeavor that brings a sense of history and charm to your surroundings. It allows you to add a personal touch to your space while developing a deeper appreciation for the artistry involved. Enjoy the process and the beautiful, unique results it yields.
About the Author
Adrian Green, a lifelong woodworking enthusiast, shares his passion for the craft through The Woodenify Blog. With a foundation built on years of hands-on experience in his father’s woodworking shop, Adrian is dedicated to helping others learn and grow in the world of DIY woodworking. His approach to woodworking combines creativity, practicality, and a deep appreciation for the art of building with your own hands. Through his blog, he inspires individuals of all skill levels to embark on their own woodworking journeys, creating beautiful, functional pieces of furniture and décor.
Professional Focus
- Specializes in DIY woodworking projects, from furniture to home décor.
- Provides step-by-step guides and practical tutorials for woodworkers of all skill levels.
- Dedicated to helping readers build confidence and skill through easy-to-follow instructions and tips.
- Passionate about fostering a community of makers who can share, learn, and grow together.
Education History
- University of Craft and Design – Bachelor of Fine Arts (BFA) in Woodworking and Furniture Design
- Woodworking Apprenticeships – Extensive hands-on training with skilled craftsmen to refine carpentry and furniture making techniques.
- Online Courses & Masterclasses – Continued education in advanced woodworking techniques, design principles, and specialized tools
Expertise:
- DIY woodworking, carpentry, furniture making, and home décor projects.
- Creating accessible tutorials and guides for beginner to advanced woodworkers.
- Sharing the joys and satisfaction of woodworking, from raw materials to finished products.