Are you interested in making a round table for your home or outdoor space? Look no further! In this guide, we will walk you through the steps on how to make a round table.
Creating a round table can be a rewarding woodworking project that combines functionality and aesthetic appeal. Whether you want to add a handcrafted piece to your dining room or create a unique accent table for your living space, making a round table requires careful planning, the right materials, and some basic woodworking skills. In this guide, we’ll walk you through each step of the process, from selecting the appropriate wood and tools to assembling and finishing your table.
By following these instructions, you can craft a beautiful, sturdy round table that will last.
What are the Use Cases for a Round Table?
A round table has many practical uses, depending on the size and design you choose. Here are some common use cases to consider:
- Dining Table: A round dining table can be a unique alternative to the traditional rectangular or square shape. It allows for more intimate conversations and can fit well in smaller spaces.
- Coffee Table: A small round table can be a great addition to your living room as a coffee table. Its circular shape makes it ideal for placing in the center of a seating area, creating a cozy and functional space.
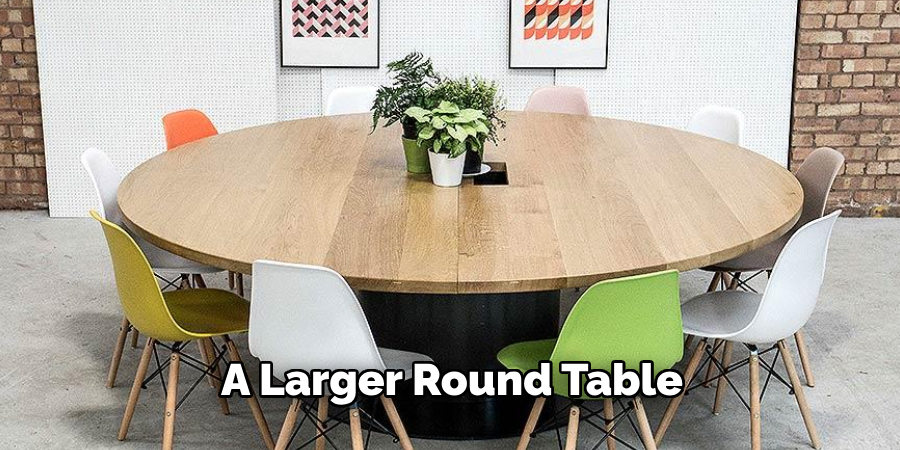
- Accent Table: A larger round table can serve as an accent piece in any room. Its versatile design allows for various uses, such as displaying decorative items or holding plants.
- Outdoor Table: A round table can be a great addition to your outdoor space, whether it’s for dining, entertaining, or simply enjoying the outdoors. Its circular shape allows for easy movement and conversation among guests.
These are just a few of the many possible use cases for a round table. With some creativity, you can find even more ways to incorporate this versatile piece into your home or outdoor space.
What Will You Need?
Before you get started with your round table project, it’s important to gather all the necessary materials and tools. Here’s a list of what you’ll need:
- Wood: The most important material for making a round table is the wood itself. Depending on your preference and budget, you can choose from pine, oak, cedar, or cherry. Make sure to select high-quality wood that is sturdy and free from defects.
- Circular Saw or Jigsaw: To cut the shape of your table, you’ll need a circular saw or a jigsaw. A circular saw will provide straight and even cuts, while a jigsaw allows for more intricate designs.
- Drill: A drill will be necessary to make holes for screws and other fasteners.
- Screws, Nails, or Dowels: Depending on your preferred method of assembly, you’ll need appropriate fasteners to hold your table together.
- Measuring Tape and Pencil: These tools will help you mark out the dimensions of your table and make precise cuts.
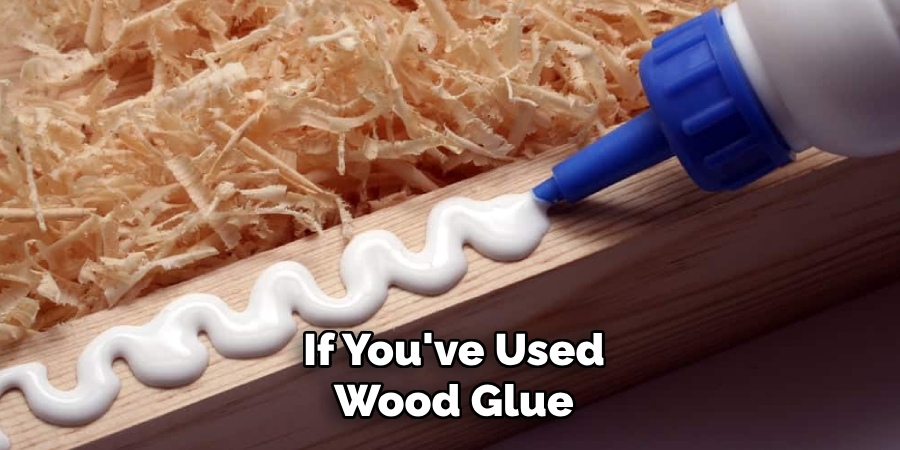
- Wood Glue: For extra stability and strength, you may want to use wood glue in addition to screws or nails.
- Sander: To achieve a smooth finish on your table, you’ll need a sander to sand down any rough edges.
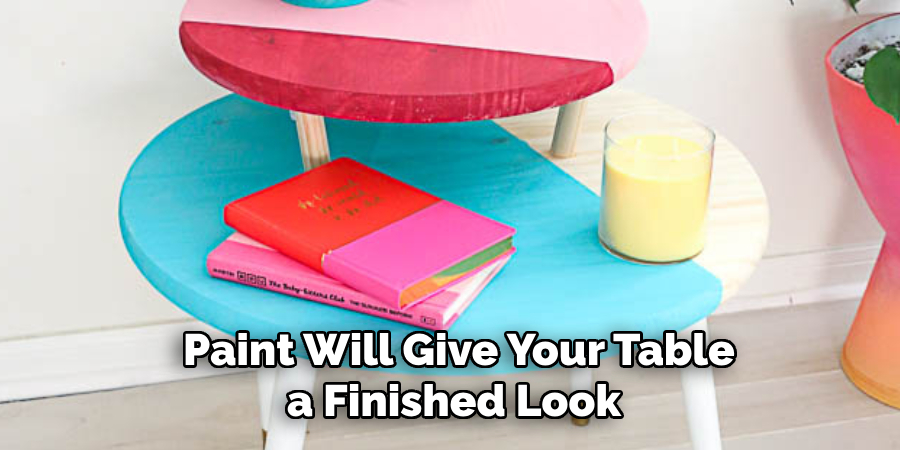
- Stain or Paint: Lastly, stain or paint will give your table a finished look. Select a color that complements your existing furniture or matches your overall aesthetic.
Once you have all the materials and tools, you’re ready to start your round table project!
8 Easy Steps on How to Make a Round Table
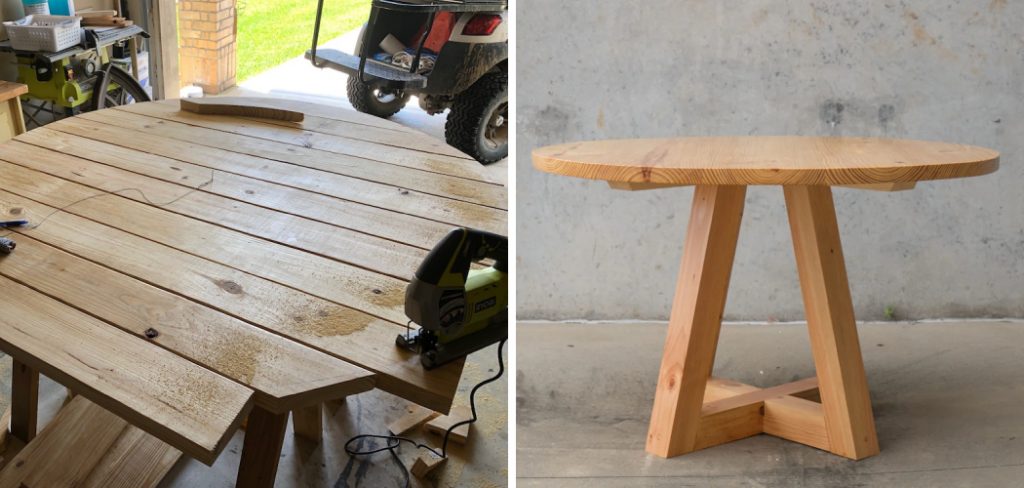
Step 1. Measure and Cut the Wood
Start by measuring and cutting the wood for your table. You’ll need to determine the diameter of your round table and then cut the tabletop out of your chosen wood. Using a circular saw or jigsaw, carefully cut out the round shape. If you’re unsure about getting a perfect circle, you can create a cardboard or plywood template to trace onto your wood before cutting. Smoothing the edges with a sander to remove any splinters or rough spots.
Step 2. Cut the Table Legs
Next, you’ll need to measure and cut the legs for your table. The height of your table will depend on its intended use. The standard height for a dining table is usually around 30 inches, while a coffee table is typically around 18 inches high. Cut the legs to the appropriate length using your circular saw or jigsaw. Sand down the edges of the legs for a smooth finish.
Step 3. Attach the Legs to the Tabletop
Now that you have your tabletop and legs cut to size, it’s time to attach the legs to the tabletop.
- Mark the Placement: Begin by flipping the tabletop face down on a flat surface. Measure and mark where each leg will be placed, ensuring they are evenly spaced around the perimeter for stability. A good rule of thumb is to position the legs about 2-3 inches in from the edge of the tabletop.
- Pre-drill Holes: Once you’ve marked the placement of the legs, use a drill to create pilot holes in the spots where the screws or dowels will go. Pre-drilling helps in preventing the wood from splitting when you insert the screws. If you’re using dowels, ensure the holes are of appropriate depth to accommodate them.
- Apply Wood Glue: Apply a small amount of wood glue to the top of each leg, where it will connect with the tabletop. This step is optional but recommended for added stability.
- Attach the Legs: Align each leg with the pre-drilled holes on the underside of the tabletop. Insert screws through the holes in the tabletop and into the legs using a drill or screwdriver. If you’re using dowels, insert them into the pre-drilled holes and gently tap them in with a mallet, then secure them with screws from the tabletop into the dowels.
- Check for Stability: Once all the legs are attached, stand the table upright and check if it wobbles. If any adjustments are needed, loosen the screws slightly, reposition the legs, and then retighten them.
- Allow to Dry: If you’ve used wood glue, let it dry as per the manufacturer’s instructions for optimal strength. Typically, this takes about 24 hours.
By thoroughly working through each of these steps, you’ll ensure that your table legs are securely attached, providing a solid foundation for your round table.
Step 4. Add Support Braces
To further reinforce the stability of your round table, you can add support braces between the legs.
- Measure and Cut Braces: Measure the distance between each pair of legs and cut your wood to the required length. You can use the same wood type as the rest of the table or choose a contrasting type for a decorative touch.
- Attach Braces: Pre-drill holes at the ends of each brace to prevent splitting. Apply wood glue to the ends before positioning the braces between the legs. Using screws or dowels, secure the braces in place. Check the table for stability once the braces are installed.
- Drying Time: Allow any wood glue used to dry completely according to the manufacturer’s instructions before proceeding to the next step.
Adding support braces is crucial in ensuring that your table remains sturdy and can withstand daily use.
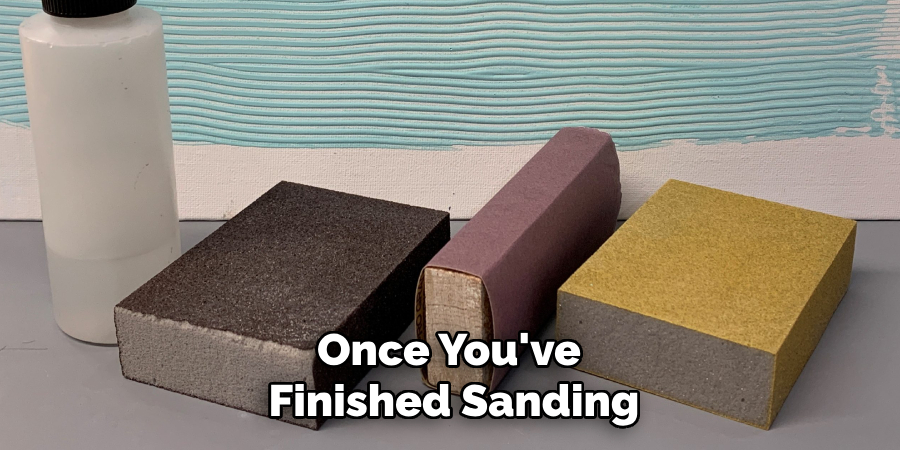
Step 5. Sand the Entire Table
Once the main structure of your table is assembled, it’s time to sand the entire piece to ensure a smooth and polished finish.
- Initial Sanding: Begin by using coarse-grit sandpaper (around 80 grit) to sand the tabletop, legs, and braces. This will remove any large imperfections or rough spots left from the cutting process.
- Smooth Finishing: After the initial sanding, switch to a finer grit sandpaper (around 150-220 grit) and go over the entire surface again. This will smooth out any remaining rough areas and prepare the wood for staining or painting.
- Edge Smoothing: Pay special attention to the edges and corners of the tabletop and legs. Use a sanding block or sponge to gently round off any sharp edges for a more refined look.
- Cleaning Up: Once you’ve finished sanding, use a soft cloth or tack cloth to wipe down the entire table, removing all dust and debris. This step is crucial for ensuring an even application of stain or paint.
By thoroughly sanding your round table, you’ll create a smooth, professional finish that highlights the wood’s natural beauty and ensures that the stain or paint will adhere evenly.
Step 6. Apply Finish
With the table sanded and prepped, it’s time to apply your chosen finish to protect and beautify the wood.
- Choosing Your Finish: You can select from several types of finishes, including stain, paint, or a clear varnish. Consider how the table will be used and the look you’re aiming for. Stains enhance the wood’s natural appearance, while paint offers the chance to incorporate a pop of color. A clear varnish can offer protection without altering the wood’s original appearance.
- Staining the Wood: If you’re using a stain, apply it with a brush or clean cloth, following the direction of the wood grain. Allow the stain to penetrate for the recommended time before wiping off any excess. Multiple coats can be applied for a deeper color, but ensure each coat dries thoroughly as per the manufacturer’s instructions before adding the next.
- Painting the Table: For a painted finish, apply a primer first to help the paint adhere better. Once the primer is dry, apply your paint using a brush or roller, ensuring even coverage. It’s typically best to apply multiple thin coats rather than one thick one to avoid drips and achieve a smooth finish. Allow adequate drying time between coats.
- Applying Varnish: If you choose to varnish, apply a thin coat using a brush or roller, again following the wood grain. Once the first coat is dry, lightly sand the surface with fine-grit sandpaper and wipe away any dust before applying a second coat. Repeat this process until you achieve the desired level of sheen and protection.
- Drying Time: Ensure ample drying time for your chosen finish. Follow the manufacturer’s instructions to achieve the best results and avoid using the table until the finish is fully cured, which can take several days.
- Final Touch-Up: After the finish is arid, inspect the table for any areas needing touch-ups or additional coats.
By carefully selecting and applying the right finish, you’ll enhance your round table’s durability and aesthetic appeal, making it a beautiful and functional addition to your home.
Step 7. Final Inspection and Maintenance
Now that the finishing touches have been applied and the table has dried completely, it’s time for a final inspection and to consider a maintenance plan to ensure the longevity of your round table.
- Inspect the Table: Carefully examine your table under good lighting to ensure that the finish is even and that there are no missed spots or imperfections. Check the legs, braces, and tabletop thoroughly. If you find any issues, consider lightly sanding and touching up the affected areas.
- Test for Stability: Give the table a gentle shake and check for any wobbling or instability. If necessary, tighten any screws or add additional support braces to enhance stability.
- Cleaning: Use a microfiber cloth to gently wipe down the entire table, removing any remaining dust or fingerprints. This will help maintain the pristine look of the table.
- Routine Maintenance: Regularly dust your table to keep it looking its best. Depending on the type of finish, occasionally apply furniture polish or wax to protect the surface and maintain its shine. For painted tables, touch up any chips or scratches with matching paint.
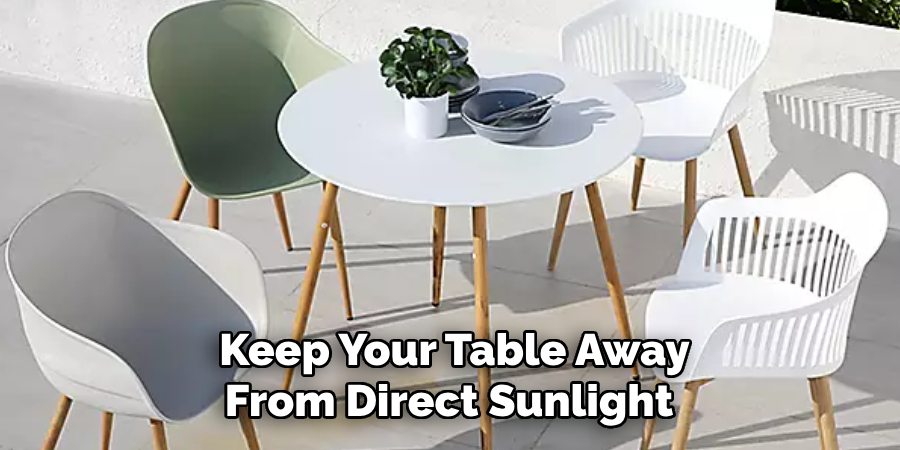
- Avoid Excessive Moisture: To prevent warping and discoloration, keep your table away from direct sunlight and excessive moisture. Use coasters or placemats to protect the finish from spills and heat.
By conducting a thorough final inspection and establishing a maintenance routine, you’ll ensure that your newly constructed round table remains a beautiful and functional piece in your home for years to come.
Step 8. Enjoy Your New Table
With the final inspection and maintenance plan in place, your round table is ready to be enjoyed. Whether it’s a cozy family dinner, a gathering with friends, or simply serving as a centerpiece in your home, your hand-crafted table will surely be a source of pride and functionality.
- Set the Scene: Dress your table with a stylish tablecloth, placemats, or a centerpiece that complements your décor.
- Host a Meal: Invite loved ones to a meal to celebrate your accomplishment. If they don’t already know, share the story of how you built the table!
- Daily Use: Incorporate your new table into your daily routine. Whether it’s breakfast with your family or an evening tea, the table will become an integral part of your home life.
- Special Occasions: Use the table as a focal point for special events and holidays, creating new memories around it.
By taking the time to build, finish, and maintain your round table, you’ve created a unique piece that reflects your craftsmanship and style. Enjoy the fruits of your labor and the countless moments that will be shared around your table.
5 Things You Should Avoid
- Skipping the Planning Stage: Without proper planning, you might face unexpected issues during the construction process, leading to frustration and delays.
- Rushing the Sanding Process: Sanding is crucial in achieving a smooth and polished finish. Rushing this step could result in an uneven or rough surface.
- Not Allowing Adequate Drying Time: Failing to follow recommended drying times can lead to issues with your chosen finish, such as bubbling or cracking.
- Neglecting Maintenance: Regular maintenance is essential to keeping your table looking its best and prolonging its lifespan. Neglecting this could damage or deteriorate the wood.
- Using Poor-Quality Materials: Investing in quality materials will ensure the durability and longevity of your round table. Cutting corners on materials may lead to a poorly constructed and unappealing final product.
By avoiding these common mistakes, you can ensure a smooth and successful process of building your round table.
5 Different Design Ideas
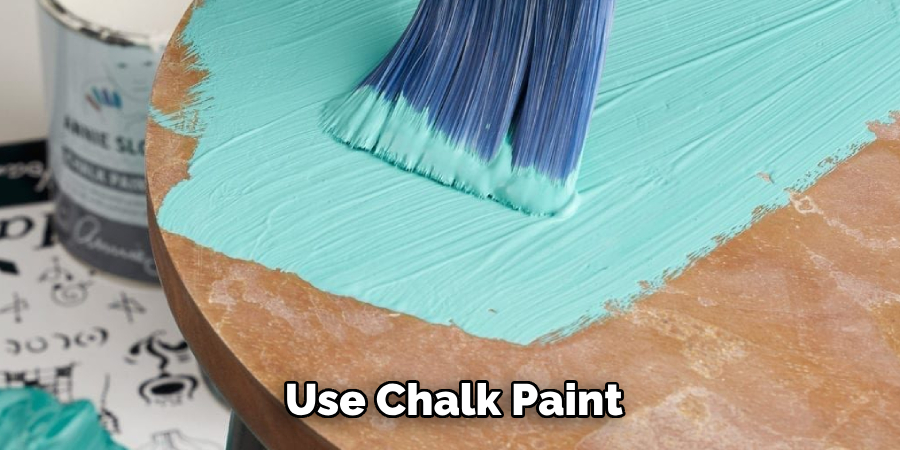
- Farmhouse Style: Use chalk paint to incorporate a weathered or distressed look and add rustic accents like metal handles or a dark-stained top.
- Minimalist Design: For a modern, minimalist aesthetic, use clean lines, natural wood finishes, and simple table legs.
- Bohemian Vibe: Incorporate bright colors, intricate patterns, and unique accents like tassels or macrame to create a boho feel.
- Industrial Touches: For an industrial look, combine metal legs with a wooden top or add metal accents such as rivets or brackets to your table.
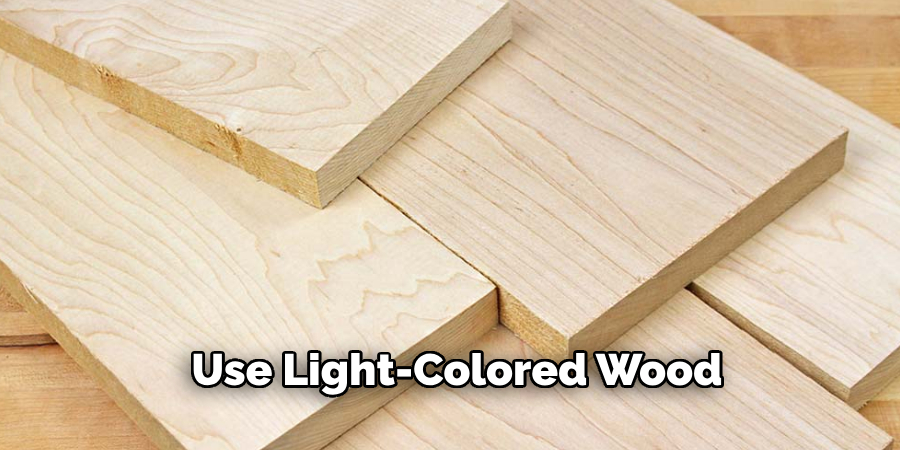
- Coastal Theme: Use light-colored wood and white-washed finishes for a beachy feel, or incorporate coastal elements like shell accents or driftwood details.
Choose a design that speaks to your personal style and complements the overall look of your home.
Conclusion
How to make a round table from start to finish is a rewarding project that combines creativity, skill, and patience.
By meticulously following each step—from planning and gathering materials to constructing, finishing, and inspecting—the result is a piece of furniture that serves a practical purpose and carries the unique touch of its maker. Ensuring the quality of materials, perfecting each process, and maintaining regular upkeep will guarantee a long-lasting and beautiful addition to your home.
Whether you are a seasoned woodworker or a novice DIY enthusiast, building your own round table is an achievement that brings both satisfaction and lasting utility. It becomes a central piece for many memorable moments and gatherings.
About the Author
Adrian Green, a lifelong woodworking enthusiast, shares his passion for the craft through The Woodenify Blog. With a foundation built on years of hands-on experience in his father’s woodworking shop, Adrian is dedicated to helping others learn and grow in the world of DIY woodworking. His approach to woodworking combines creativity, practicality, and a deep appreciation for the art of building with your own hands. Through his blog, he inspires individuals of all skill levels to embark on their own woodworking journeys, creating beautiful, functional pieces of furniture and décor.
Professional Focus
- Specializes in DIY woodworking projects, from furniture to home décor.
- Provides step-by-step guides and practical tutorials for woodworkers of all skill levels.
- Dedicated to helping readers build confidence and skill through easy-to-follow instructions and tips.
- Passionate about fostering a community of makers who can share, learn, and grow together.
Education History
- University of Craft and Design – Bachelor of Fine Arts (BFA) in Woodworking and Furniture Design
- Woodworking Apprenticeships – Extensive hands-on training with skilled craftsmen to refine carpentry and furniture making techniques.
- Online Courses & Masterclasses – Continued education in advanced woodworking techniques, design principles, and specialized tools
Expertise:
- DIY woodworking, carpentry, furniture making, and home décor projects.
- Creating accessible tutorials and guides for beginner to advanced woodworkers.
- Sharing the joys and satisfaction of woodworking, from raw materials to finished products.