Crafting a table saw push stick is a fundamental woodworking project that ensures both safety and precision when operating a table saw. A push stick is a simple yet indispensable tool used to guide wood through the saw blade while keeping hands safely away from the cutting area.

Building your own push stick allows for customization to fit your preferences and needs, such as ergonomic design and material choice. Whether you’re a seasoned woodworker or a beginner, making a table saw push stick is a valuable skill to master. From selecting the right materials, such as hardwood or acrylic, to designing the handle for comfort and control, there are various considerations to explore.
In this comprehensive guide, we’ll delve into step-by-step instructions and essential tips for how to make table saw push stick, ensuring safe and precise woodworking practices in your workshop.
The Importance of Safety When Operating a Table Saw
Safety is paramount when operating a table saw, as this powerful tool can be dangerous if not handled properly. One of the primary risks associated with using a table saw is the potential for severe injuries, including cuts, amputations, and kickbacks, which occur when the wood is thrown back toward the operator at high speed.
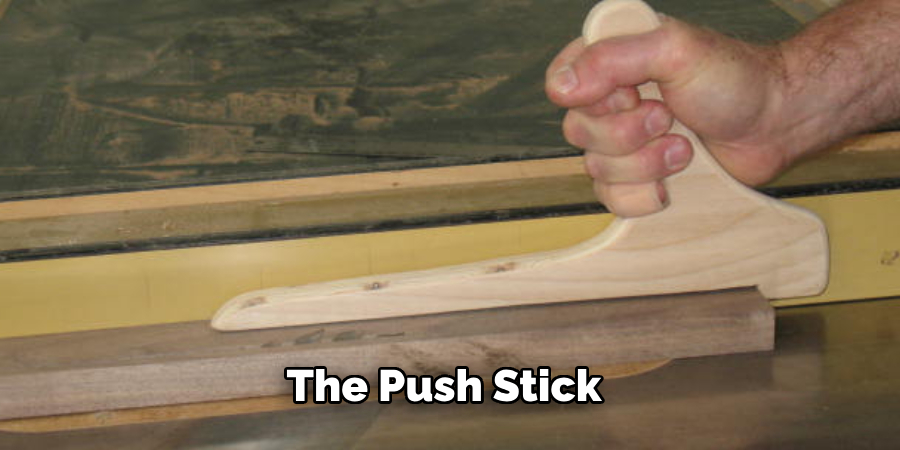
To mitigate these risks, it is essential to always use protective gear such as safety glasses, hearing protection, and push sticks. Push sticks, in particular, offer a safe way to guide the wood through the saw blade without placing your hands too close to the cutting area.
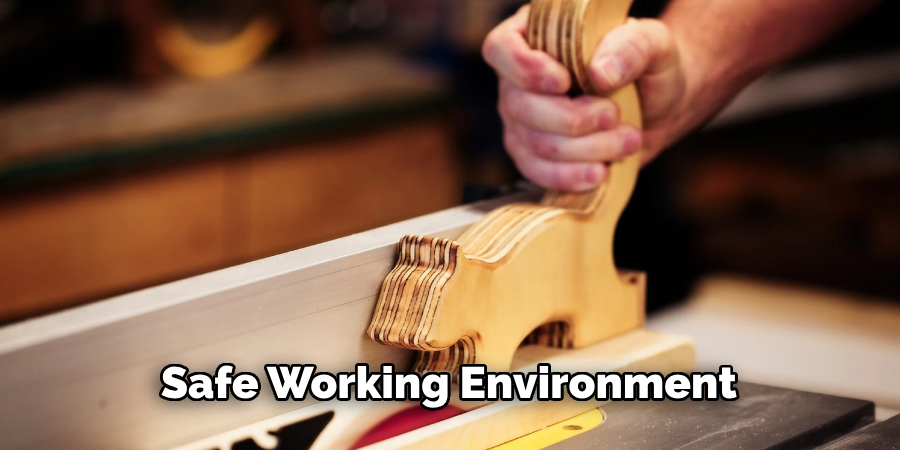
Additionally, keeping the workspace clean and free of debris, ensuring the saw blade is sharp and properly aligned, and thoroughly understanding the saw’s features and functions are crucial steps in maintaining a safe working environment. Remember, taking the time to prioritize safety not only protects you from potential harm but also promotes more precise and efficient woodworking practices.
The Function and Benefits of a Table Saw Push Stick
A table saw push stick plays a crucial role in enhancing both safety and efficiency while working with a table saw. The primary function of a push stick is to keep your hands at a safe distance from the saw blade, significantly reducing the risk of injury. By using a push stick to guide the wood through the cutting process, you maintain better control over the material, leading to smoother and more precise cuts. This control is especially valuable when working with narrow or small pieces of wood, which can be challenging to handle safely with just your hands.
In addition to improving safety, a push stick also helps to prevent kickback, a dangerous occurrence where the wood is forcefully ejected back towards the operator. By maintaining consistent pressure and direction on the wood, the push stick minimizes the chances of the material binding or catching on the blade.
Furthermore, using a push stick can prolong the life of your saw blade by ensuring even feed rates and reducing unnecessary strain. Overall, incorporating a push stick into your woodworking routine fosters a safer, more efficient, and more enjoyable working environment.
Understanding Table Saw Safety
Understanding table saw safety is vital for any woodworker, whether experienced or just starting out. Proper safety practices begin with a comprehensive knowledge of the tool itself, including its capabilities and limitations. A clear understanding of how to set up and operate a table saw can significantly reduce the risk of accidents.
Always begin by reading and adhering to the manufacturer’s instructions and guidelines specific to your model. Equipping the saw with essential safety features such as blade guards, riving knives, and anti-kickback pawls is non-negotiable; these components are designed to protect operators from common hazards.
Before initiating any cut, inspect the wood for any hidden nails, screws, or other foreign objects that could cause dangerous kickbacks or damage the saw blade. Align the rip fence properly and use feather boards or guides when necessary to ensure the wood remains securely positioned against the fence throughout the cut. Regularly check the saw blade for sharpness and alignment, as a dull or misaligned blade increases the chances of binding and kickback.
Additionally, personal protective equipment (PPE) such as safety goggles, ear protection, and dust masks should always be worn. Maintaining a well-organized workspace, with sufficient lighting and a clean floor free from sawdust and debris, also plays a critical role in ensuring a safe working environment.
Never underestimate the importance of remaining focused and avoiding distractions; operating a table saw demands your full attention to prevent mishaps. By mastering these safety practices and making them an integral part of your woodworking routine, you can significantly mitigate risks and create a safer, more productive workshop environment.
Common Table Saw Accidents and Injuries
Despite following rigorous safety guidelines, accidents can still occur when operating a table saw. Understanding the most common types of accidents and injuries can help woodworkers take additional precautions and recognize potential hazards before they result in harm.
Kickback
Kickback is one of the most dangerous accidents associated with table saws. It occurs when the wood being cut suddenly binds or catches on the blade, causing it to be violently ejected back toward the operator. Kickback can result in severe injuries, such as contusions, fractures, and even impalement. To minimize the risk of kickback, always ensure the rip fence is properly aligned, use anti-kickback devices, and maintain consistent feed pressure on the material.

Cuts and Amputations
One of the most serious and unfortunately common injuries are cuts and amputations. These injuries typically occur when the operator’s hands come too close to the moving blade. Using push sticks, feather boards, and other guiding devices greatly reduces this risk by keeping hands away from the dangerous cutting area. Additionally, blade guards should always be in place and used properly to provide an extra layer of protection.
Burns
Although less common, burns can occur when wood overheats due to friction from a dull or improperly set blade. Burns can also result from touching a hot blade immediately after use. Always ensure the blade is sharp and correctly positioned, and allow time for the blade to cool before performing any adjustments or cleaning.
Eye Injuries
Eye injuries are another significant concern, often caused by flying debris or sawdust. Wearing safety goggles or face shields is essential to protect the eyes from these hazards. Additionally, using a dust collection system can help minimize airborne particles and improve overall workshop air quality.
Respiratory Problems
Prolonged exposure to sawdust, particularly from certain types of wood, can lead to respiratory problems. Wearing a dust mask or respirator while operating a table saw is crucial. Ensuring proper ventilation and utilizing dust collection systems can further reduce the amount of harmful particles in the air.
By being aware of these common accidents and injuries and taking continuous steps to mitigate them, woodworkers can maintain a safer working environment. Regular safety training and a commitment to using protective equipment are key components of preventing these hazards.
Importance of Using Proper Safety Equipment and Techniques
Using proper safety equipment and techniques is paramount in any woodworking environment. The correct use of safety gear such as goggles, ear protection, and dust masks can prevent severe injuries and long-term health issues. Eye protection is essential to shield against flying debris and sawdust that can cause serious eye injuries or impair vision over time. Similarly, ear protection helps to guard against hearing loss due to prolonged exposure to the loud noises generated by table saws and other power tools.

In addition to personal protective equipment (PPE), adopting appropriate safety techniques is crucial for mitigating risks associated with operating a table saw. This includes ensuring that all safety features of the saw, such as blade guards and anti-kickback devices, are properly installed and used.
Consistently maintaining and inspecting equipment can prevent malfunctions that might lead to accidents. Furthermore, using tools like push sticks and feather boards helps keep hands away from the blade, reducing the risk of cuts and amputations.
Awareness of proper techniques also encompasses understanding how to handle materials correctly. Keeping wood secure and maintaining an even feed rate can prevent binding and kickback. Proper workspace organization also plays a significant role; a clutter-free, well-lit area reduces distractions and the likelihood of tripping or other mishaps.
10 Methods How to Make Table Saw Push Stick
Method 1: Basic Wooden Push Stick
Start by selecting a piece of hardwood, such as maple or oak, that is sturdy and durable enough to withstand repeated use. Cut the hardwood into a rectangular shape, approximately 12 inches long and 1 inch thick, using a table saw or handsaw. Next, taper one end of the stick to a point, creating a wedge shape that will fit snugly against the wood being cut.
Sand the edges and surfaces of the push stick smooth to prevent splinters and ensure a comfortable grip. Finally, drill a small hole near the tapered end of the stick and attach a lanyard or rope for easy storage and retrieval.
Method 2: Ergonomic Push Stick with Handle
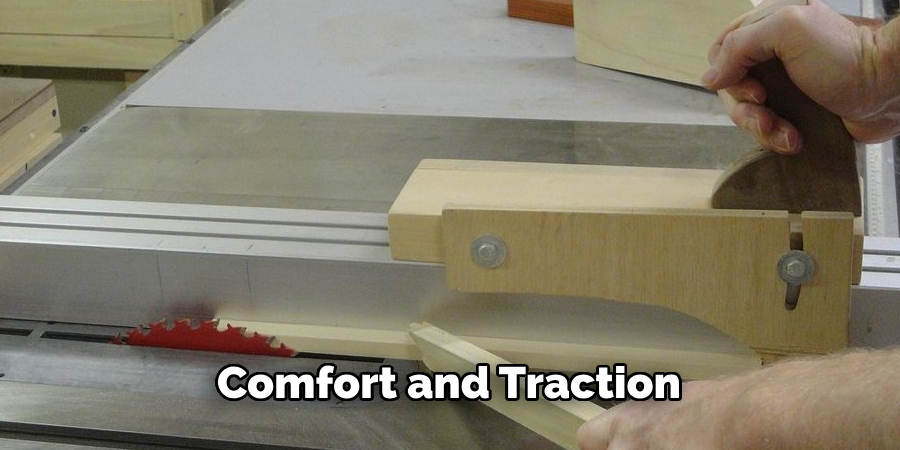
For added comfort and control, consider making an ergonomic push stick with a built-in handle. Start by cutting a piece of hardwood into a rectangular shape, approximately 12 inches long and 1 inch thick, as in the basic wooden push stick method. Next, carve a comfortable grip or handle into one end of the stick, using a chisel, gouge, or carving knife. Sand the handle smooth and round off any sharp edges to ensure a comfortable grip. Optionally, you can attach a rubber or foam grip to the handle for added comfort and traction.
Method 3: Adjustable Push Stick with Replaceable Tip
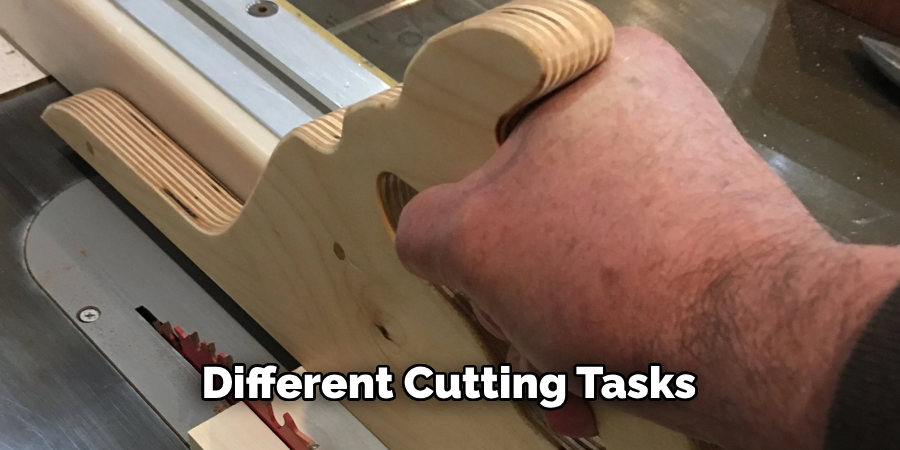
An adjustable push stick with a replaceable tip allows you to customize the size and shape of the pushing surface to suit different cutting tasks. Start by cutting a piece of hardwood into a rectangular shape, approximately 12 inches long and 1 inch thick, as in the basic wooden push stick method. Next, attach a replaceable tip made from a thicker piece of hardwood or plastic to one end of the stick using screws or bolts. This tip can be easily replaced as needed to accommodate different cutting tasks or blade heights.
Method 4: T-track Push Stick
A T-track push stick is designed to slide along a T-slot or T-track mounted to the table saw fence, providing added stability and control during cutting. Start by cutting a piece of hardwood into a rectangular shape, approximately 12 inches long and 1 inch thick, as in the basic wooden push stick method. Next, attach a T-track or T-slot runner to the bottom of the stick using screws or bolts, ensuring that it is securely fastened. This allows the push stick to slide smoothly along the T-track, providing precise control and reducing the risk of kickback.
Method 5: Plastic Push Stick
Plastic push sticks offer durability, flexibility, and visibility compared to their wooden counterparts. Start by selecting a sturdy and rigid plastic material, such as high-density polyethylene (HDPE) or acrylic, that is suitable for use with power tools. Cut the plastic material into a rectangular shape, approximately 12 inches long and 1 inch thick, using a table saw or bandsaw. Next, taper one end of the stick to a point to create a wedge shape that will fit snugly against the wood being cut. Sand the edges and surfaces of the push stick smooth to prevent rough edges or burrs.
Method 6: 3D Printed Push Stick
For those with access to a 3D printer, creating a custom push stick is a viable option. Start by designing a push stick model using 3D modeling software or downloading a pre-designed model from an online repository. Choose a durable and heat-resistant filament material, such as ABS or PETG, for printing the push stick. Ensure that the design includes a comfortable grip or handle for ease of use. Once the push stick has been printed, sand any rough edges or imperfections smooth and test its fit and functionality before use.
Method 7: Magnetic Push Stick
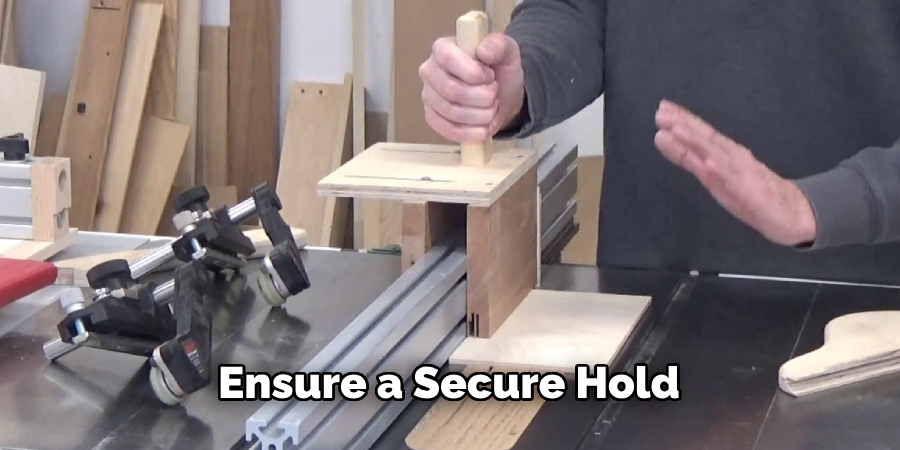
A magnetic push stick is designed to securely attach to the table saw or fence when not in use, keeping it readily accessible and preventing it from getting lost or misplaced. Start by attaching a small rare-earth magnet to the bottom of a wooden or plastic push stick using epoxy or super glue. Position the magnet near the end of the stick opposite the pushing surface to ensure a secure hold when attached to the table saw or fence. Optionally, you can attach a metal plate or washer to the table saw or fence to create a magnetic surface for the push stick to adhere to.
Method 8: Foldable Push Stick
A foldable push stick is designed to fold or collapse for easy storage and transport, making it ideal for workshops with limited space. Start by cutting a piece of hardwood or plastic into two identical pieces, each approximately 6 inches long and 1 inch thick. Next, attach a hinge or pivot point to one end of each piece, allowing them to fold or collapse together. Optionally, you can attach a locking mechanism or latch to secure the push stick in the extended position during use.
Method 9: Push Block with Handle
A push block with a handle provides added control and leverage when guiding wood through the table saw, particularly when cutting larger or heavier workpieces. Start by cutting a piece of hardwood or plastic into a rectangular shape, approximately 6 inches long and 3 inches wide. Next, carve a comfortable grip or handle into one end of the block, similar to the ergonomic push stick method. Attach a rubber or foam pad to the bottom of the block to provide traction and prevent slipping during use.
Method 10: Multi-functional Push Stick with Attachments
A multi-functional push stick with attachments allows you to perform a variety of cutting tasks with ease and precision. Start by creating a basic wooden or plastic push stick using one of the methods described above. Next, attach additional accessories or attachments, such as a featherboard, hold-down clamp, or saw blade guard, to the push stick using screws, bolts, or adhesive. These attachments can be easily adjusted or removed as needed to accommodate different cutting tasks or workpiece sizes.
Conclusion
A well-made table saw push stick is essential for safe and precise cutting on a table saw. By following these ten detailed methods, you can create a custom push stick that suits your preferences and provides maximum control and safety. Whether you prefer the simplicity of a basic wooden push stick or the versatility of a multi-functional push stick with attachments, there’s a method to suit your needs and skill level.
Experiment with different materials, designs, and techniques to find the push stick that works best for you. Hopefully, this article gave you some helpful tips about how to make table saw push stick successfully, so now that you have the proper knowledge on how to get the job done, why not give it a try today?
About the Author
Adrian Green, a lifelong woodworking enthusiast, shares his passion for the craft through The Woodenify Blog. With a foundation built on years of hands-on experience in his father’s woodworking shop, Adrian is dedicated to helping others learn and grow in the world of DIY woodworking. His approach to woodworking combines creativity, practicality, and a deep appreciation for the art of building with your own hands. Through his blog, he inspires individuals of all skill levels to embark on their own woodworking journeys, creating beautiful, functional pieces of furniture and décor.
Professional Focus
- Specializes in DIY woodworking projects, from furniture to home décor.
- Provides step-by-step guides and practical tutorials for woodworkers of all skill levels.
- Dedicated to helping readers build confidence and skill through easy-to-follow instructions and tips.
- Passionate about fostering a community of makers who can share, learn, and grow together.
Education History
- University of Craft and Design – Bachelor of Fine Arts (BFA) in Woodworking and Furniture Design
- Woodworking Apprenticeships – Extensive hands-on training with skilled craftsmen to refine carpentry and furniture making techniques.
- Online Courses & Masterclasses – Continued education in advanced woodworking techniques, design principles, and specialized tools
Expertise:
- DIY woodworking, carpentry, furniture making, and home décor projects.
- Creating accessible tutorials and guides for beginner to advanced woodworkers.
- Sharing the joys and satisfaction of woodworking, from raw materials to finished products.