Transferring pictures to wood is a captivating and creative art form that allows you to transform ordinary wooden surfaces into personalized and unique decor pieces. This technique involves transferring images onto wood, resulting in beautiful, vintage-style artwork that can add a touch of charm to any space. Whether you are looking to create custom home decor items, thoughtful gifts, or artistic projects, learning how to transfer pictures to wood opens up a world of possibilities for your creativity.
The popularity of picture transfers has surged in recent years thanks to their versatility and wide range of applications. People use this technique to create bespoke home decor pieces, such as personalized photo frames, rustic wall art, and distinctive coasters. Additionally, picture transfers make excellent personalized gifts that carry sentimental value, from custom key holders to beautifully decorated wooden plaques. Artists and crafters also utilize this method to add a unique touch to their mixed-media projects, making it a favorite among DIY enthusiasts and professionals alike.
This guide provides a comprehensive roadmap for successfully transferring pictures to wood using various techniques, including gel medium and Mod Podge. It covers everything from selecting the right materials and preparing the wood surface to troubleshooting common issues and adding finishing touches. By following the detailed steps and tips provided, you will gain the knowledge and confidence needed to master how to transfer pictures to wood, enabling you to create stunning and personalized wooden artwork.
Materials and Tools Needed
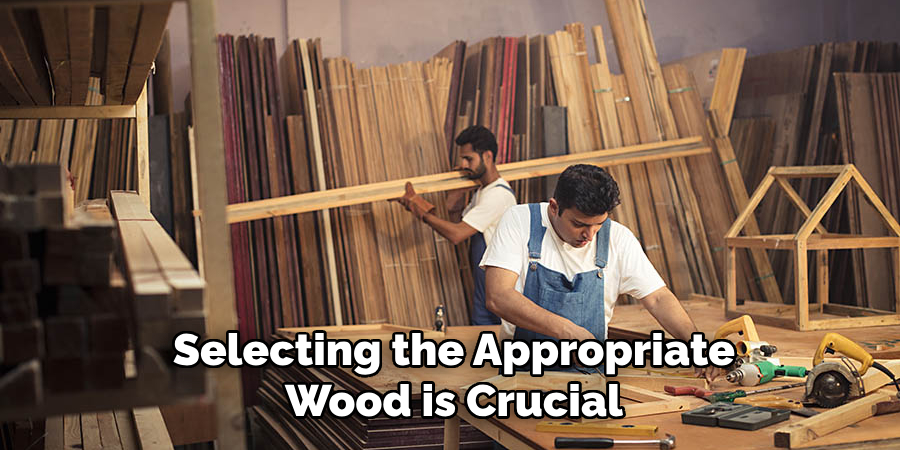
A. Choosing the Right Wood
Selecting the appropriate wood is crucial for a successful image transfer. Choose wood pieces that have a smooth texture and minimal grain for the best results. Poplar, birch, and maple are excellent choices due to their tight grain and lighter color, which helps the transferred image stand out. Avoid using wood with knots or a rough texture, as these can interfere with the image transfer process and result in a less clear, uneven appearance. Additionally, consider the finish of the wood. Untreated or unpainted wood is preferable as it allows the transfer medium to adhere effectively.
B. Essential Supplies
To transfer your pictures to wood, you will need the following materials:
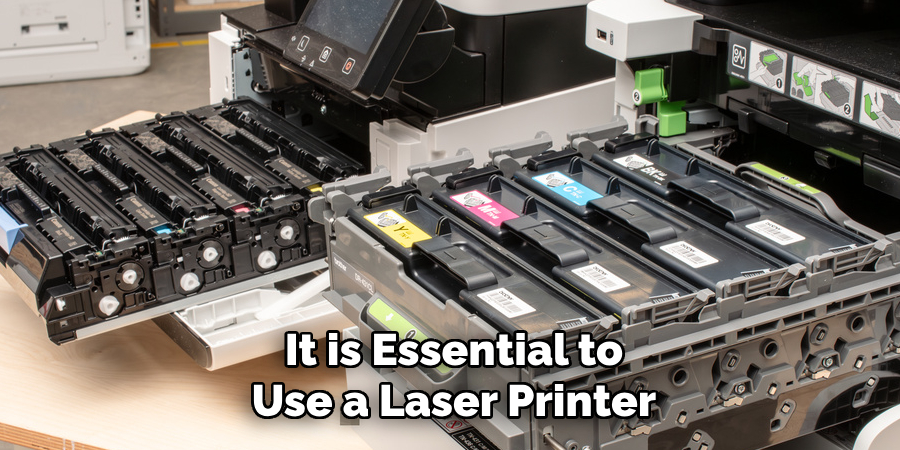
- Laser-Printed Image: Ensure your image is printed using a laser printer, as inkjet prints do not work well with this technique. Remember to mirror the image before printing if it contains text.
- Gel Medium: A clear acrylic gel medium is essential for transferring the image. It acts as an adhesive that bonds the image to the wood.
- Mod Podge: This all-in-one glue, sealer, and finish is an alternative to gel medium and is commonly used in decoupage projects.
- Sandpaper: Use fine-grit sandpaper to smooth the wood surface and remove any imperfections, ensuring better adhesion of the transfer medium.
C. Tools Required
The following tools will help facilitate the image transfer process:
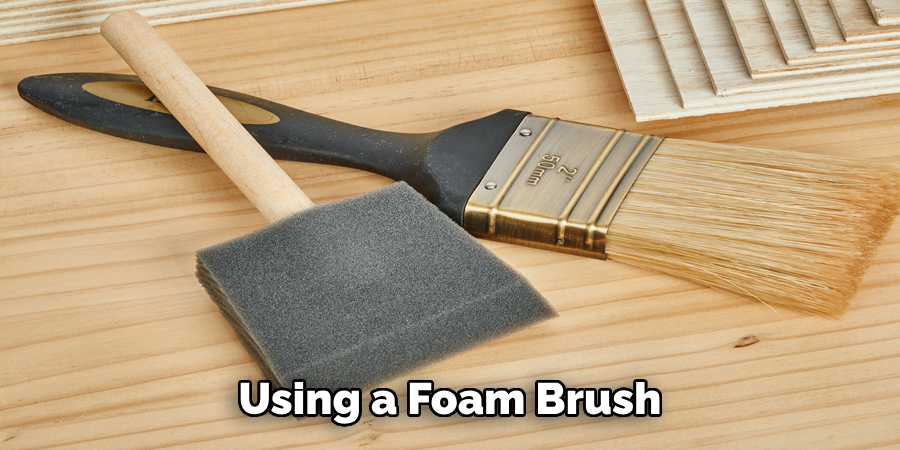
- Brushes: Use foam or bristle brushes to apply the gel medium or Mod Podge evenly onto the wood and the image.
- Soft Cloths: These are used for wiping away excess medium and for gently rubbing away the paper after the transfer process.
- Burnishing Tools: A burnishing tool, such as a bone folder or the back of a spoon, helps press the image firmly onto the wood and remove air bubbles.
- Scissors: Scissors are necessary for trimming the image and any excess paper before transferring.
Having the right materials and tools on hand will ensure a smoother and more successful image transfer process, allowing you to easily create beautiful and personalized wood pieces.
Preparing the Wood Surface
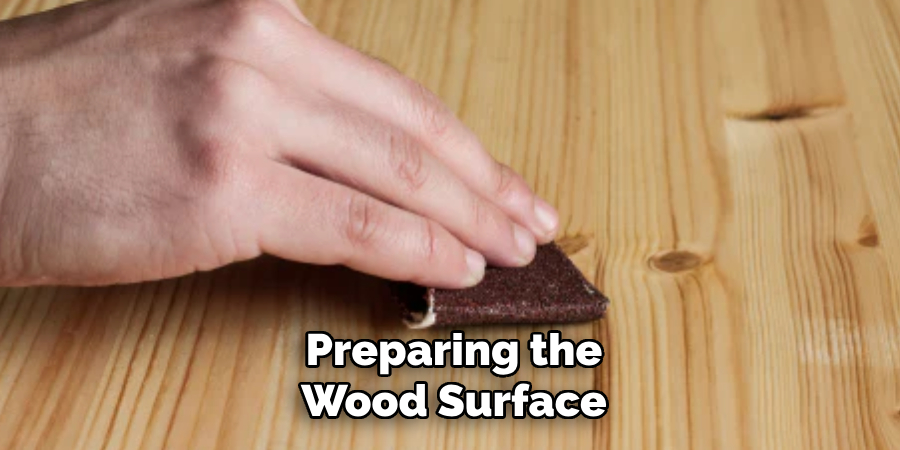
A. Sanding the Wood
The first step in preparing the wood surface for image transfer is sanding. Sanding is crucial as it ensures that the surface is smooth and free of imperfections, which could affect the quality of the transferred image. Use coarse-grit sandpaper (around 80-100 grit) to remove any rough spots and major imperfections on the wood surface. Progressively, switch to finer grit (150-220 grit) to achieve a smooth finish. Always sand in the direction of the wood grain to prevent scratches and ensure a uniform texture. Once you have finished sanding, run your hand over the surface to check for smoothness. A well-sanded wood surface will facilitate better adhesion of the gel medium or Mod Podge, resulting in a clearer and more vibrant image transfer.
B. Cleaning the Surface
After sanding, cleaning the wood thoroughly to remove any dust and debris is essential. Use a soft, dry cloth to wipe away the sanding dust. For a more thorough cleaning, you can use a slightly damp cloth, but ensure the wood is completely dry before proceeding to the next step. Removing all particles from the wood surface is critical because dust and debris can interfere with the adhesion of the transfer medium, leading to an uneven and patchy image transfer. Properly cleaned wood will provide a pristine surface, allowing the image to bond seamlessly with the wood.
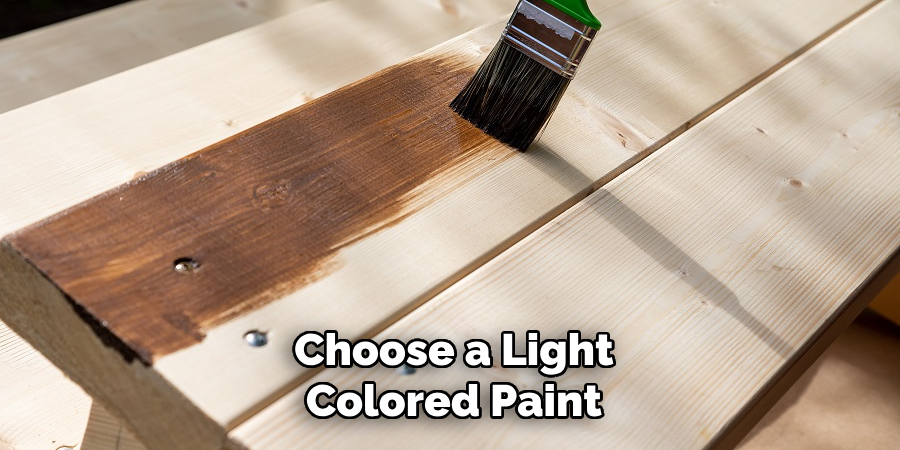
C. Applying a Base Coat
Applying a base coat of paint or stain to the wood is an optional yet recommended step, especially if you desire a specific background color or want to enhance the visual impact of the transferred image. Choose a light-colored paint or stain to make the image more vivid. Apply the base coat evenly using a foam or bristle brush and allow it to dry completely. Depending on the type of paint or stain, you may need to apply multiple coats, ensuring each coat dries before applying the next. Sand lightly between coats with fine-grit sandpaper (220 grit) to maintain a smooth surface. While applying a base coat adds an extra step to the process, it can significantly enhance the final appearance of your transferred image, giving it a polished and professional look.
By taking the time to properly prepare the wood surface through sanding, cleaning, and optionally applying a base coat, you set the foundation for a successful and visually striking image transfer.
Choosing and Printing the Image
A. Selecting the Right Image
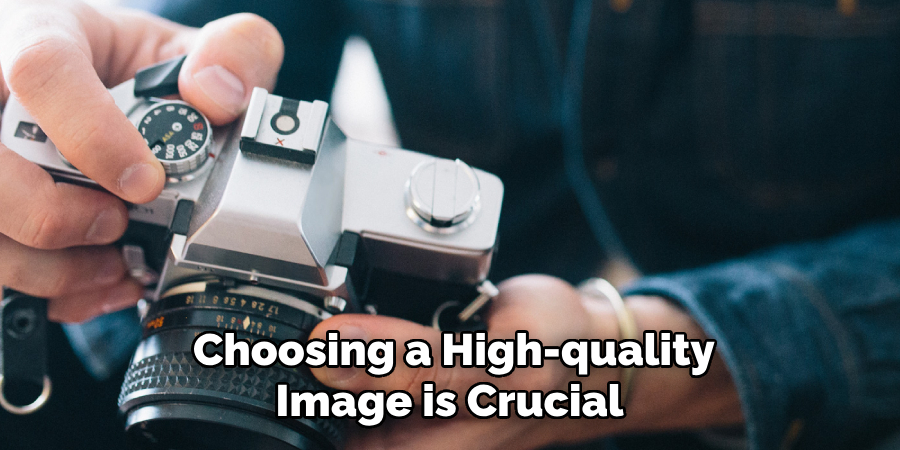
Choosing a high-quality image is crucial to achieving a clear and vibrant transfer onto wood. Opt for pictures that have sharp details and good resolution to ensure the final result is crisp and precise. Images with high contrast and solid colors tend to work best, as they will appear more vivid once transferred. Avoid images that are too dark or have low contrast, as these may not translate well onto the wood’s surface. Additionally, consider the size of your wood piece and select an image that fits well without losing important elements or details.
B. Image Orientation
Image orientation plays a vital role in the success of your transfer. Since the image will be applied face down onto the wood, it is essential to mirror or flip it horizontally before printing, especially if it contains text or any directional elements. This step ensures that the final transferred image appears correctly oriented on the wood. Most image editing software and some printer settings offer a “mirror” or “flip horizontal” option to achieve this. Taking the time to adjust the orientation beforehand will prevent any potential disappointment later in the process.
C. Printing the Image
For optimal transfer results, it is essential to use a laser printer to print your image. Laser-printed images work better with the gel medium and Mod Podge techniques due to the toner used in the printing process. On the other hand, inkjet prints may not yield satisfactory results as the ink can bleed and smear during the transfer. Print your image on regular, plain paper rather than glossy or photo paper, allowing for better adhesion and easier removal of the paper backing. Print multiple copies of your image at different sizes to give yourself options and test the transfer process on a small piece of wood before committing to your final project.
How to Transfer Pictures to Wood: Transferring the Image Using Gel Medium
A. Applying Gel Medium
The first step in transferring an image using a gel medium is to apply the gel medium to both the wood surface and the printed side of the image. Start by stirring the gel medium thoroughly to ensure consistency. Apply a generous, even layer of gel medium to the wood surface using a foam or bristle brush. Make sure the entire area where the image will be transferred is covered. Next, apply a gel medium layer to the image’s printed side. Ensure the gel medium is spread evenly across the image, fully covering the printed area to facilitate proper adhesion. Work efficiently to apply the gel medium to both surfaces promptly, as the gel can start to dry quickly.
B. Positioning the Image
Once both surfaces are coated with gel medium, carefully position the image face down on the wood. Align the edges of the image with your desired positioning on the wood surface. Gently press the image onto the wood, starting from the center and working your way outward to avoid trapping air bubbles under the paper. Use a burnishing tool, like a bone folder or the back of a spoon, to firmly press the image onto the wood. Rub the tool over the entire surface in a smooth, consistent motion to ensure good contact between the image and the wood and to remove any air bubbles that could affect the transfer quality.
C. Drying Time
After positioning and smoothing the image, allowing the gel medium to dry completely is crucial. This drying period typically takes about 24 hours. Place the wood piece in a clean, dry area, dust and moisture-free. Avoid moving or disturbing the wood during this period to ensure proper curing of the gel medium. The drying time is essential for the gel medium to adhere to both the wood and the image thoroughly, ensuring a more effective and lasting transfer.

D. Removing the Paper
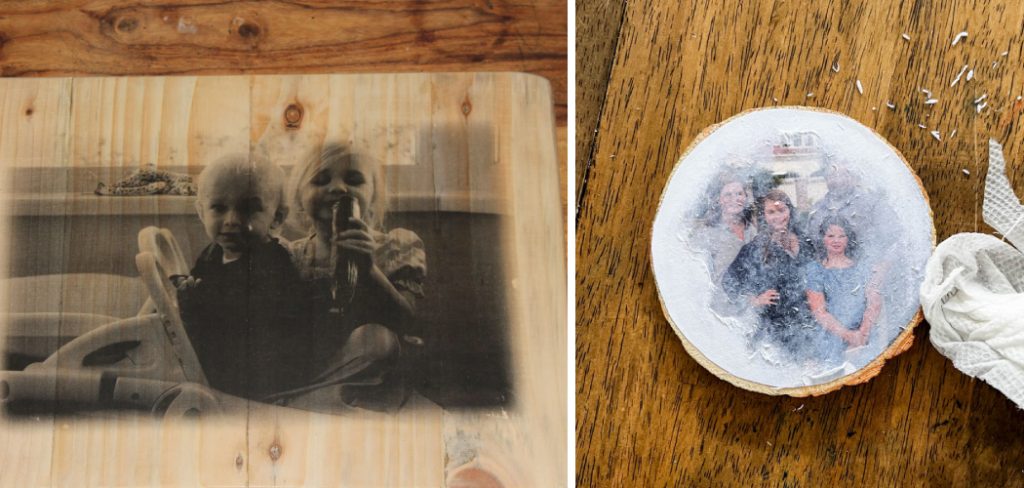
Once the gel medium has dried completely, it is time to remove the paper backing to reveal the transferred image. Gently dampen a soft cloth with water and begin to rub the paper. Start with small, light, circular motions to avoid damaging the transferred image. The paper will begin to peel away, leaving the ink transferred onto the wood surface. Continue this process until all the paper is removed. Be patient and gentle, rewetting the cloth as needed and not rubbing too hard. After removing all the paper, let the wood dry completely before handling it further. The result will be a beautifully transferred image that retains the details and vibrancy of the original print.
How to Transfer Pictures to Wood: Transferring the Image Using Mod Podge
A. Applying Mod Podge: Coating the Wood Surface and the Image with Mod Podge
To transfer an image using Mod Podge, apply a generous, even coat of Mod Podge to the wood surface where the image will be transferred. Use a foam brush or bristle brush to ensure full coverage and a seamless application. Next, apply Mod Podge to the printed side of the image, covering the entire area thoroughly. This dual application helps the image adhere more effectively to the wood, enhancing the transfer quality.

B. Placing the Image: Pressing the Image Face Down onto the Wood and Ensuring It Adheres Smoothly
With both surfaces coated in Mod Podge, carefully place the image face down onto the wood. Align the edges of the image with your desired placement on the wood. Starting from the center, gently smooth out the image using a burnishing tool like a bone folder, credit card, or the back of a spoon. Work your way outward to remove any air bubbles and ensure full contact between the image and the wood. Be thorough but gentle to prevent tearing or shifting the image.
C. Allowing to Dry: Letting the Mod Podge Dry for Several Hours or Overnight for Best Results
Once the image is properly positioned and smoothed, it is essential to let the Mod Podge dry completely. For best results, allow the piece to dry for several hours or overnight. Place the wood in a clean, dry area away from dust and moisture. Avoid moving or handling the piece during this period to ensure the Mod Podge cures properly and adheres the image securely to the wood.
D. Peeling Off the Paper: Soaking the Paper with a Damp Cloth and Gently Peeling It Off to Reveal the Transferred Image
After the Mod Podge has dried thoroughly, it is time to remove the paper backing. Begin by dampening a soft cloth with water and gently soaking the paper’s surface. Once the paper is adequately soaked, use your fingers to gently rub away the paper in small, circular motions. Avoid applying too much pressure to avoid damaging the transferred image. Continue this process until all the paper has been removed, revealing the beautifully transferred image on the wood surface. Allow the wood to dry completely before handling or sealing the piece with a protective finish to preserve the transferred image.
Finishing Touches
A. Sealing the Transfer: Applying a Sealant, Such as Polyurethane or Clear Acrylic Spray, to Protect the Transferred Image
To ensure the longevity and durability of your transferred image, it is crucial to apply a protective sealant. Options such as polyurethane or clear acrylic spray work exceptionally well. Begin by ensuring the image and wood surface are completely dry and free of dust or debris.
Using a foam brush or spray can apply a thin, even coat of sealant over the entire transferred image and the surrounding wood surface. Allow the first coat to dry thoroughly, following the manufacturer’s recommended drying times. For added protection and a smoother finish, apply multiple thin coats, allowing each coat to dry completely before applying the next. This will help to safeguard the image from moisture, fading, and everyday wear and tear.
B. Sanding Edges: Lightly Sanding the Edges of the Wood for a Smooth and Polished Look
Once the sealant has fully dried, you may wish to sand the edges of the wood for a more polished appearance. Use fine-grit sandpaper to lightly sand the edges and corners of the wood. This step helps to smooth out any rough spots or splinters, creating a clean, finished edge. Sand in a consistent motion, following the grain of the wood, to achieve an even finish. After sanding, wipe away any dust with a clean cloth before proceeding. This extra effort will give your piece a professional, refined look that enhances its overall presentation.
C. Adding Decorative Elements: Enhancing the Wood Piece with Additional Decorative Elements, Such as Paint or Stencils
Consider adding decorative elements like paint, stencils, or other artistic touches to personalize and embellish your wood piece further. You can use acrylic paints to add color accents or intricate designs, applying them after the sealant has dried completely to ensure proper adhesion. Stencils can be used to create patterns or lettering with precision. Simply position the stencil on the wood and apply the paint using a sponge or small brush. Remove the stencil carefully to avoid smudging. Additional embellishments, such as metallic accents or decorative hardware, can also be incorporated to enhance the aesthetic appeal. By adding these unique touches, you can transform your wood piece into a one-of-a-kind artwork that reflects your personal style and creativity.
Conclusion
In summary, mastering the art of how to transfer pictures to wood involves meticulous preparation and careful execution. Key steps include ensuring thorough drying time for Mod Podge, using high-quality paper and images, and applying an even coat of adhesive for clarity and uniformity. Techniques such as using a burnishing tool for even pressure and rehydrating stubborn paper residue can significantly enhance the outcome of your transfers.
Don’t be afraid to experiment with different images, techniques, and surfaces to personalize your wood projects. The possibilities are endless, whether you are creating gifts, home décor, or artistic pieces. Each project you undertake will refine your skills and enhance your creativity.
We invite you to share your finished projects and continue exploring the art of image transfers. Join our community by posting your creations and discovering new ideas on how to transfer pictures to wood. Your innovative contributions can inspire others and help foster a community of creative exchange.
About the Author
Adrian Green, a lifelong woodworking enthusiast, shares his passion for the craft through The Woodenify Blog. With a foundation built on years of hands-on experience in his father’s woodworking shop, Adrian is dedicated to helping others learn and grow in the world of DIY woodworking. His approach to woodworking combines creativity, practicality, and a deep appreciation for the art of building with your own hands. Through his blog, he inspires individuals of all skill levels to embark on their own woodworking journeys, creating beautiful, functional pieces of furniture and décor.
Professional Focus
- Specializes in DIY woodworking projects, from furniture to home décor.
- Provides step-by-step guides and practical tutorials for woodworkers of all skill levels.
- Dedicated to helping readers build confidence and skill through easy-to-follow instructions and tips.
- Passionate about fostering a community of makers who can share, learn, and grow together.
Education History
- University of Craft and Design – Bachelor of Fine Arts (BFA) in Woodworking and Furniture Design
- Woodworking Apprenticeships – Extensive hands-on training with skilled craftsmen to refine carpentry and furniture making techniques.
- Online Courses & Masterclasses – Continued education in advanced woodworking techniques, design principles, and specialized tools
Expertise:
- DIY woodworking, carpentry, furniture making, and home décor projects.
- Creating accessible tutorials and guides for beginner to advanced woodworkers.
- Sharing the joys and satisfaction of woodworking, from raw materials to finished products.