Stripping a table is a fundamental process in preparing old furniture for refinishing. Whether you are restoring an antique piece or simply renewing the look of a worn-out table, stripping off the existing finish reveals the raw wood beneath and opens up numerous possibilities for a fresh finish.
This guide on how to strip a table will walk you through the necessary steps and provide tips to ensure a smooth and efficient stripping process.
What is Stripping?
Stripping is the process of removing the existing finish or paint from a piece of furniture. In the case of tables, this involves stripping off any varnish, lacquer, shellac, or paint that may have been applied to the surface over time. This is necessary before applying a new finish as it allows for better adhesion and a more professional-looking result.
It is important to note that stripping should only be done on solid wood tables and not on veneer surfaces, as the process can damage or even completely remove the thin layer of wood veneer.
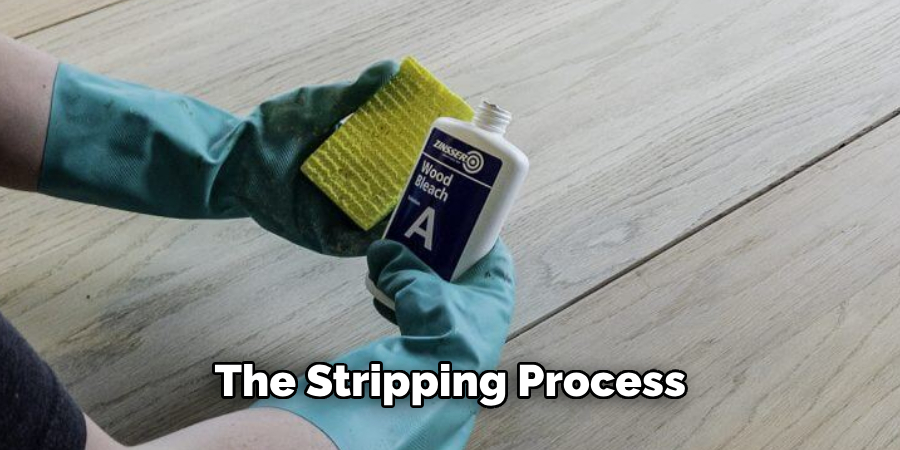
The stripping process can be done using chemical strippers or mechanical methods such as sanding or scraping. Chemical strippers are the most common and effective method for stripping a table, but they require proper safety precautions to avoid any harm.
Materials Needed
Before beginning the stripping process, make sure you have all the necessary materials on hand:
Chemical Stripper (Such as Methylene Chloride-based Stripper):
Chemical strippers work by dissolving the existing finish or paint, making it easier to remove. Methylene Chloride-based stripper is the most common and effective type for stripping furniture. It can be found in most hardware stores.
Protective Gear:
Since chemical strippers contain harsh chemicals, it is essential to protect yourself with gloves, safety goggles, a respirator mask, and long-sleeved clothing while handling them.
Scraper:
A scraper will help you remove the softened finish or paint from the table surface.
Steel Wool or Soft Bristle Brush:
These materials are helpful for removing any remaining residue after scraping off the finish.
Clean Rags:
Use clean rags to wipe down the table during and after stripping to remove any remaining stripper residue.
Mineral Spirits:
Mineral spirits are used to clean the surface of the table after stripping and preparing it for a new finish.
8 Step-by-step Guidelines on How to Strip a Table
Now that you have all the necessary materials follow these steps to strip your table properly:
Step 1: Preparation
Before you begin the stripping process, it’s crucial to prepare your workspace and the table itself. Start by selecting a well-ventilated area, preferably outdoors or in a garage with plenty of airflow, to avoid inhaling any harmful fumes from the chemical stripper. Lay down a protective covering such as a drop cloth or plastic sheeting to catch any drips and protect the floor beneath the table.
Ensure you have all your protective gear on – gloves, safety goggles, a respirator mask, and long sleeves. Finally, remove any hardware or detachable parts from the table, such as drawers, handles, or legs, to make the stripping process more manageable and thorough. Your table is now ready for stripping.
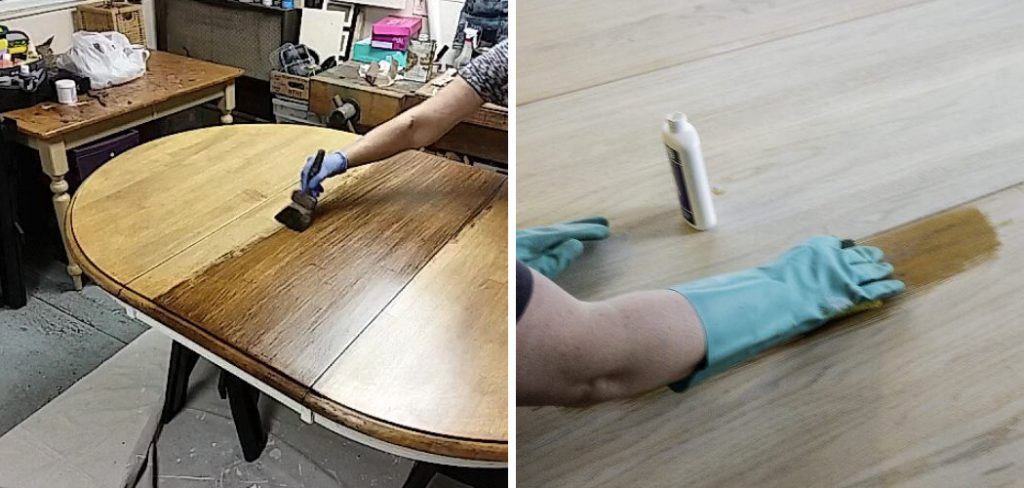
Step 2: Apply the Stripper
With your workspace prepared and protective gear on, it’s time to apply the chemical stripper. Start by shaking the container of the stripper well to ensure it is properly mixed. Pour a manageable amount of the chemical stripper into a disposable container. Using a paintbrush specifically designated for use with chemicals, apply a generous, even coat of the stripper onto the table surface. Be sure to cover all the areas you wish to strip, including any intricate details or hard-to-reach spots.
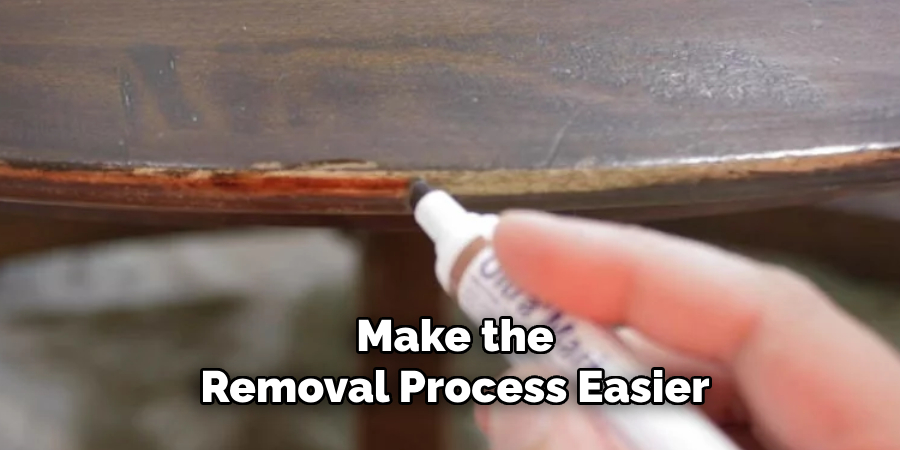
Allow the stripper to sit and penetrate the existing finish for the amount of time recommended by the manufacturer, usually around 15 to 30 minutes. You will notice the finish beginning to bubble, wrinkle, or lift as the stripper works to break it down. Be patient and avoid rushing this step, as allowing the stripper sufficient time to work will make the removal process easier and more effective.
Step 3: Scrape off the Finish
After allowing the stripper to sit for the recommended time, use a scraper to remove the softened finish from the table surface. Hold the scraper at a low angle and gently push it across the surface, being careful not to gouge or damage the wood beneath. Work in small sections, scraping off one area before moving on to the next.
As you scrape, wipe off any excess stripper and dissolved finish onto a disposable rag. Continue until all of the softened finish has been removed from the entire table surface. If there are any stubborn areas that do not come off easily, apply more stripper and let it sit for longer before attempting to scrape again.
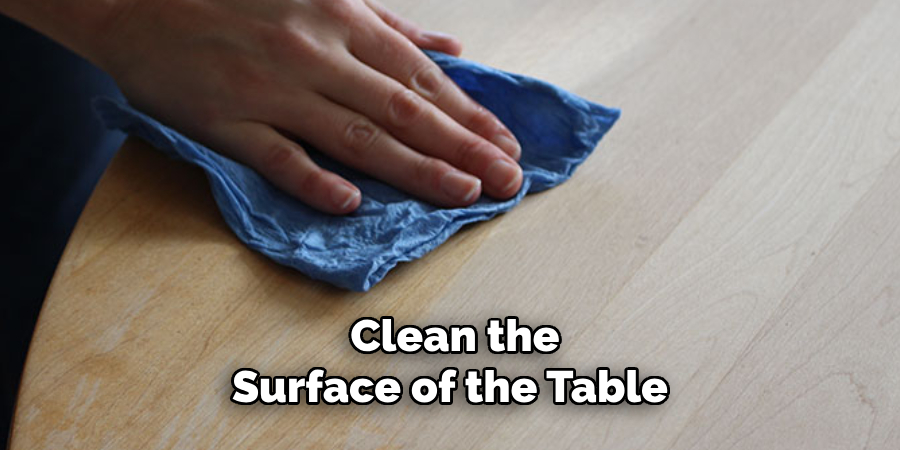
Step 4: Clean with Mineral Spirits
Once you have scraped off all the softened finish, it’s essential to clean the table surface to remove any remaining stripper residue. Dip a clean rag into a container of mineral spirits and thoroughly wipe down the entire surface of the table. The mineral spirits will help to dissolve and lift any leftover stripper and finish remnants.
Pay special attention to any crevices or detailed areas, using a soft bristle brush or steel wool if necessary to ensure that all residue is removed. Continue wiping with the mineral spirits until the surface feels clean and smooth.
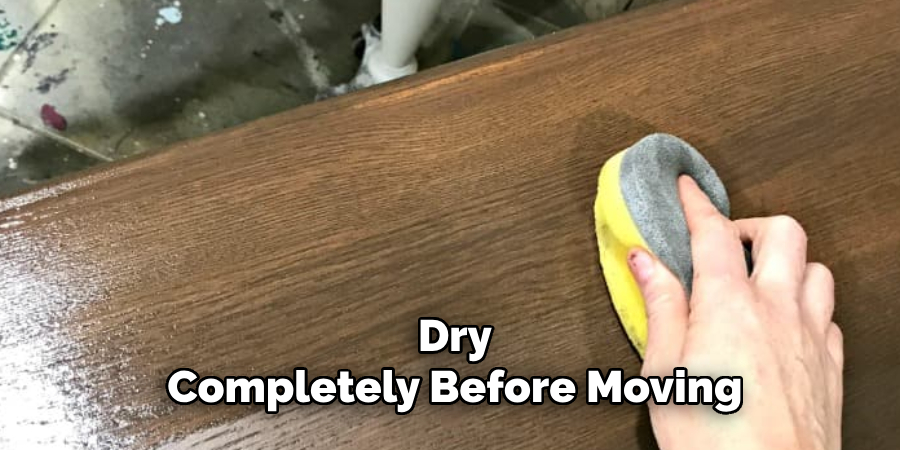
This step is crucial as it prepares the wood for the next stages of refinishing by ensuring that no remnants of the old finish or stripper remain, which could interfere with the adhesion and look of the new finish. Allow the table to dry completely before moving on to the next step.
Note: Dispose of any used rags and mineral spirits properly, as they are flammable and can be hazardous if not handled correctly.
Step 5: Sanding (Optional)
Depending on the type of finish you want for your table, sanding may be necessary to smooth out any imperfections or scratches in the wood. If you opt for a natural wood finish, lightly sand the entire surface with fine-grit sandpaper until it feels smooth to the touch.
For a painted or stained finish, use medium-grit sandpaper to remove any remaining traces of the old finish and create a rougher surface that will help the new finish adhere better. Be sure to clean off any dust or debris from sanding before moving on to the next step.
You can also use a wood conditioner at this stage to help prepare the wood for staining, especially if it is prone to blotching. Follow the instructions on the wood conditioner carefully before proceeding.
Step 6: Staining (Optional)
If you want to stain your table, now is the time to do so. Apply the stain according to the manufacturer’s instructions, using a clean rag or brush and working in small sections until the entire surface is evenly coated. Allow the stain to penetrate for several minutes before wiping off any excess with a clean rag. If you want a darker color, allow the first coat of stain to dry completely before applying additional coats until the desired shade is achieved.
Note: Always test your chosen stain on an inconspicuous area of the table, such as the underside or a small corner, to ensure you are satisfied with the color and look before applying it to the entire surface.
Step 7: Let Dry
After staining the table, it is crucial to allow it to dry thoroughly before applying any protective topcoat or further finishing touches. The drying time can vary depending on the type of stain used and environmental conditions such as temperature and humidity. Refer to the manufacturer’s instructions for the recommended drying time, which is typically around 24 to 48 hours. Ensure the table is placed in a dust-free area with good ventilation during this period to prevent any particles from settling on the wet stain and to promote even drying.
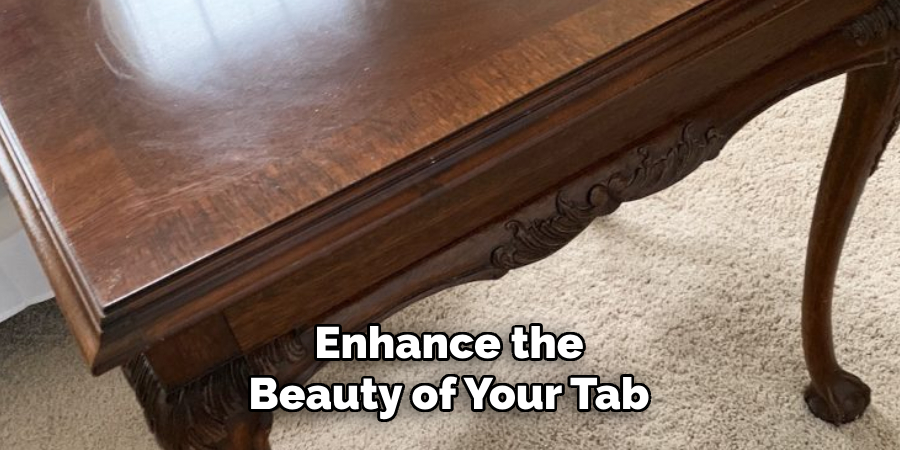
Avoid handling or placing objects on the table while it is drying to ensure a smooth and flawless finish. Once the table is fully dry, you can proceed to apply a topcoat or other desired finishes to protect and enhance the beauty of your newly stripped and stained table. Congratulations, you have successfully stripped and refinished your table!
Step 8: Maintenance
To keep your newly refinished table looking its best, it is essential to maintain and care for it properly. Avoid placing hot or wet items directly onto the surface, as this can damage the finish. Use coasters and trivets to protect the wood from heat and moisture.
Regularly clean the table with a mild soap and water solution, avoiding harsh chemicals that can strip or damage the finish. Additionally, periodically polish the surface with a furniture polish or wax to restore shine and protect the wood. With proper maintenance and care, your refinished table will continue to be a beautiful and functional piece in your home for years to come.
Following these steps on how to strip a table and taking your time to properly strip and refinish your table will result in a stunning piece that you can be proud of. Remember to always read and follow the instructions on the products you are using, and take necessary safety precautions when handling chemicals. With patience and attention to detail, you can transform an old, worn-out table into a like-new centerpiece for your space. Happy refinishing!
Additional Tips and Recommendations
Tip 1: Work in a Well-Ventilated Area
When using chemical strippers and mineral spirits, it’s crucial to work in a well-ventilated area to avoid inhaling fumes. Open windows and doors or use fans to circulate air and reduce exposure to potentially harmful chemicals.
Tip 2: Wear Protective Gear
Always wear protective gear such as gloves, safety goggles, and a mask when handling chemical strippers, mineral spirits, and stains. This will protect your skin and eyes from splashes and your lungs from inhaling harmful fumes.
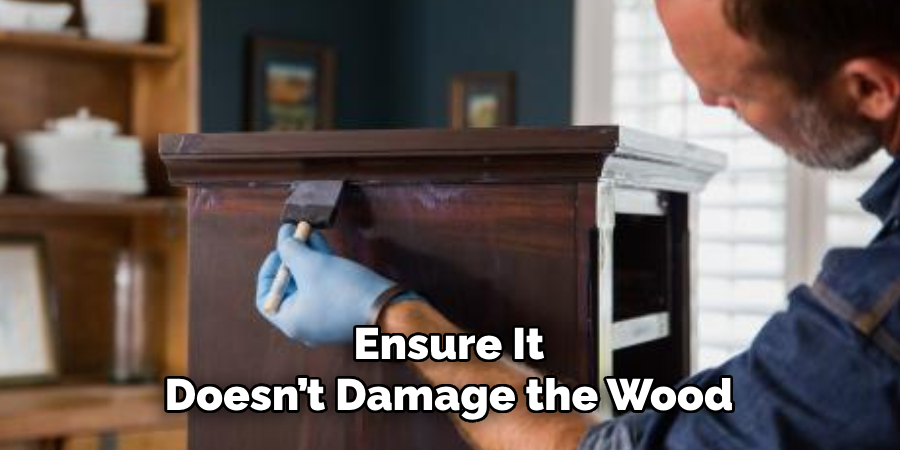
Tip 3: Test Stripper on a Small Area
Before applying the stripper to the entire table, test it on a small, inconspicuous area. This will help you gauge the effectiveness of the stripper and ensure it doesn’t damage the wood. Adjust the application time if necessary based on the test results.
Tip 4: Use a Plastic Scraper
Opt for a plastic scraper instead of a metal one to avoid gouging or scratching the wood surface. Plastic scrapers are gentler on the wood and still effectively remove the softened finish.
Tip 5: Sand with the Grain
When sanding the table, always move the sandpaper in the direction of the wood grain. Sanding against the grain can create scratches that are difficult to remove and mar the wood’s appearance.
Tip 6: Layer Protective Coatings
After staining and allowing it to dry completely, consider applying multiple thin coats of a protective topcoat like polyurethane, varnish, or shellac. This layering creates a durable finish that better protects your table from daily wear and tear.
Tip 7: Seasonal Wood Movement
Wood can expand and contract with changes in temperature and humidity. Make sure the final finish you choose has some degree of flexibility to accommodate this movement, reducing risks of cracking or peeling.
Tip 8: Regular Inspection
Periodically inspect your refinished table for any signs of damage or wear. Early detection and prompt treatment of small issues can prevent more significant problems down the line.
By implementing these additional tips and recommendations, you can further ensure the longevity and beauty of your refinished table. Happy refinishing!
Do You Need to Use Professionals?
The decision to hire professionals to strip and refinish your table depends on several factors, including your experience, available time, and the condition of the table. If you lack the necessary tools or expertise, professional services can ensure a high-quality finish.
Experts have specialized equipment and knowledge that can effectively handle complex refinishing, especially if the table has intricate details or significant damage. Additionally, hiring professionals can save time, allowing you to focus on other projects or commitments.
However, if you enjoy DIY projects and feel confident in your skills, refinishing a table yourself can be a rewarding experience. It offers the opportunity to customize the finish according to your preferences and can be a cost-effective solution.
Before starting, assess the project’s scope and consider your ability to tackle each step safely and effectively. Whether you choose to go the DIY route or enlist professional help, the ultimate goal is to restore and enhance the beauty of your table, ensuring it remains a cherished piece in your home.
Frequently Asked Questions
Q: Is Strip and Refinish My Table Necessary?
A: If your table has an old, worn-out finish or you want to change the color, stripping and refinishing is a great way to give it a fresh look. However, if the current finish is still in good condition, you can simply sand and apply a new coat of stain or paint without stripping. The decision ultimately depends on your preference and the condition of the table.
Q: Can I Use a Chemical Stripper on Any Type of Wood?
A: Not all types of wood are suitable for chemical strippers, as some can be sensitive to these harsh chemicals. It’s best to test a small area first before proceeding with the entire table. Additionally, always read the product label for any specific instructions or warnings regarding the type of wood you are working with.
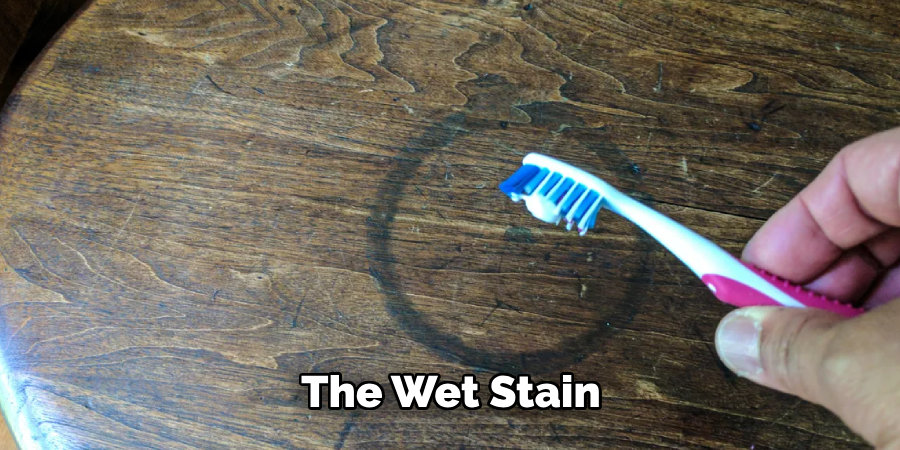
Q: How Can I Remove Stubborn Stains on My Table?
A: If your table has stubborn stains that are difficult to remove, try using a mixture of equal parts vinegar and water or a specialized wood cleaner specifically designed for removing stains. Apply the solution with a soft cloth and let it sit for a few minutes before wiping it off. Repeat if necessary. You can also lightly sand the area with fine-grit sandpaper to remove the top layer of wood and reveal a fresh surface.
Q: How Often Should I Refinish My Table?
A: It depends on the type of finish and amount of use your table receives. Generally, it’s recommended to refinish every 3-5 years or when you start to notice signs of wear and tear, such as scratches or fading. Regular maintenance can also extend the time between refinishing projects. You can also consider using protective coasters or placemats to prevent damage to the table’s surface.
Conclusion
Stripping and refinishing a table may seem like a daunting task, but by following the detailed steps and tips outlined in this guide on how to strip a table, you can achieve professional-looking results. Patience and attention to detail are key to transforming an old, worn-out piece into a beautiful, functional centerpiece that enhances your living space.
Remember to work in a well-ventilated area, use protective gear, and follow all product instructions carefully. With the right approach and proper maintenance, your refinished table will not only look stunning but also last for many years to come. Happy refinishing!
About the Author
Adrian Green, a lifelong woodworking enthusiast, shares his passion for the craft through The Woodenify Blog. With a foundation built on years of hands-on experience in his father’s woodworking shop, Adrian is dedicated to helping others learn and grow in the world of DIY woodworking. His approach to woodworking combines creativity, practicality, and a deep appreciation for the art of building with your own hands. Through his blog, he inspires individuals of all skill levels to embark on their own woodworking journeys, creating beautiful, functional pieces of furniture and décor.
Professional Focus
- Specializes in DIY woodworking projects, from furniture to home décor.
- Provides step-by-step guides and practical tutorials for woodworkers of all skill levels.
- Dedicated to helping readers build confidence and skill through easy-to-follow instructions and tips.
- Passionate about fostering a community of makers who can share, learn, and grow together.
Education History
- University of Craft and Design – Bachelor of Fine Arts (BFA) in Woodworking and Furniture Design
- Woodworking Apprenticeships – Extensive hands-on training with skilled craftsmen to refine carpentry and furniture making techniques.
- Online Courses & Masterclasses – Continued education in advanced woodworking techniques, design principles, and specialized tools
Expertise:
- DIY woodworking, carpentry, furniture making, and home décor projects.
- Creating accessible tutorials and guides for beginner to advanced woodworkers.
- Sharing the joys and satisfaction of woodworking, from raw materials to finished products.