Removing stains from wood is a crucial skill for anyone wanting to maintain or restore the beauty of their wood surfaces. Whether due to accidental spills, errors during staining projects, or a desire to change the wood’s finish, knowing how to wipe stain off wood effectively can help salvage the piece without causing further damage.
This introduction explains the necessity of removing stains to preserve the wood’s aesthetic and integrity and highlights the importance of employing proper stain-removal techniques. Incorrect methods can damage surfaces, affecting the wood’s appearance and durability. In this guide, we will walk you through a comprehensive, step-by-step approach to wiping stains off wood, ensuring you can confidently tackle this task and achieve excellent results.
Assessing the Situation
When removing a stain from a wood surface, it is vital to carefully assess the situation before proceeding with any removal techniques. This initial assessment is crucial for determining the most effective approach.
A. Identifying the Stained Area
The first step is thoroughly examining the wood and locating the stained area. Once identified, assess the severity of the stain by considering its size, depth, and the extent of its penetration into the wood. This assessment will help in deciding the intensity of the removal technique needed. A gentle approach may suffice for superficial stains, whereas deeply ingrained stains may require more aggressive treatments.
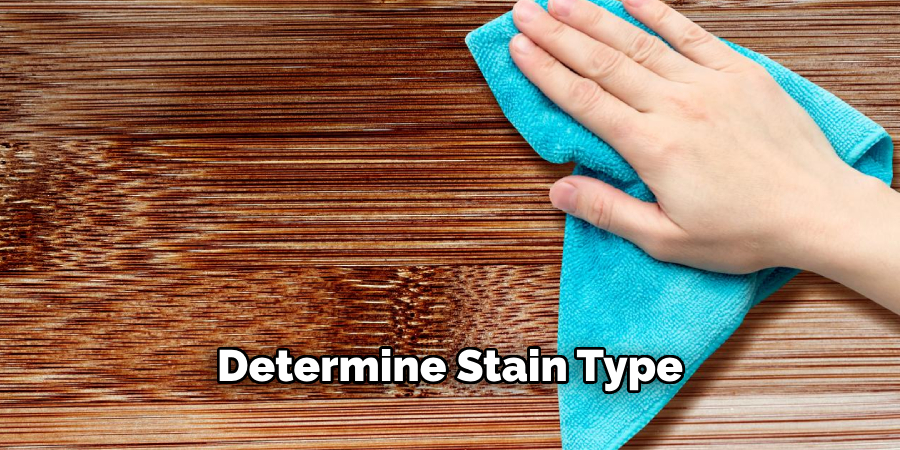
B. Determining Stain Type
Identifying the type of stain you are dealing with is crucial as it determines the removal method. Stains can be oil-based, water-based, or gel-based, and each type has a specific solvent or cleaner that works best. Oil-based stains, for instance, may require a different approach than water-based stains. Knowing the nature of the stain not only streamlines the removal process but also increases the chances of successfully restoring the wood surface to its original state.
C. Testing in Hidden Area
Before applying any stain removal solution to the main stained area, conduct a patch test in a concealed or less noticeable part of the wood. This step is essential to ensure that the chosen removal method does not cause further damage or discoloration to the wood. Apply a small removal agent to the hidden area and monitor the reaction. If there is no adverse effect, you can proceed with greater confidence. This precautionary measure minimizes the risk of irreparable damage, ensuring that the integrity and appearance of the wood are preserved.
Preparing the Work Area
Before removing the stain from the wood begins, preparing the work area properly is crucial. This preparation ensures the safety of the individual performing the task and the protection of the surrounding environment from potential damage or contamination.
A. Gathering Materials
The first step in preparation is gathering all the materials and tools required for the stain removal project. This includes clean cloths or sponges used to apply the stain remover and mineral spirits. It’s also essential to have the stain remover or mineral spirits itself at hand. Protective gear is a must to safeguard your skin and eyes from harsh chemicals, so ensure you have gloves and safety glasses. Additionally, having a well-ventilated mask can provide protection against inhaling fumes.
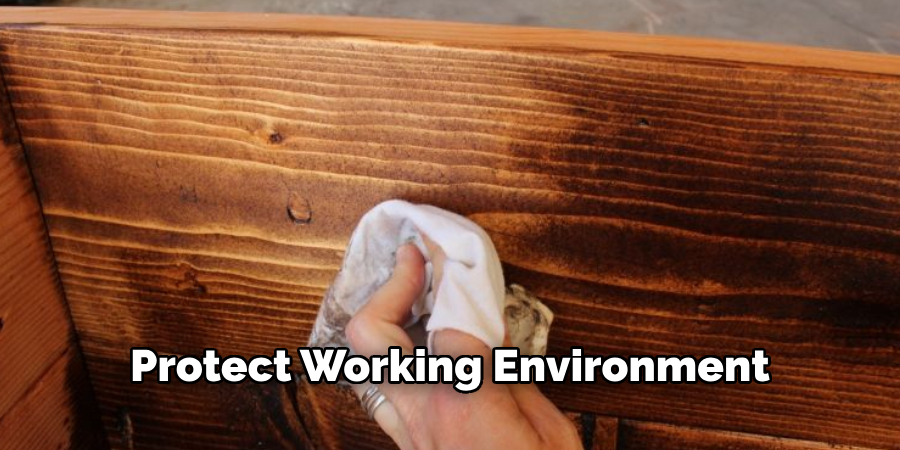
B. Protecting Surroundings
Once all materials are gathered, the next step is to protect your working environment. This involves covering surrounding surfaces or floors with drop cloths or plastic sheeting to prevent any stain spills or splatters from causing further damage. This precaution is particularly important if you work in an area with carpets, rugs, or anything that could absorb the stain remover and become damaged. Using painter’s tape to secure the edges of the drop cloths can prevent them from shifting and offer full coverage protection.
C. Ventilating the Area
Lastly, ensuring adequate ventilation in the work area is critical for minimizing the fumes and odors emitted from stain removal products. This can be achieved by opening windows, using fans to circulate air, or working outdoors if possible. Proper ventilation protects your health by preventing inhalation of potentially harmful chemicals and aids in the drying process once the stain remover has been applied. If working in an area with limited ventilation options, consider taking frequent breaks to get fresh air and reduce exposure to fumes.
Following these steps meticulously prepares the work area and plays a fundamental role in safely and effectively removing stains from wood surfaces. It sets the stage for a smooth and efficient cleaning process that maximizes the likelihood of restoring the wood to its original beauty while minimizing risks to your health and the environment.
How to Wipe Stain Off Wood: Applying Stain Remover
Once the work area and materials are prepared, the next critical step is applying the stain remover to the stained wood. This step must be carried out with care to ensure that the stain is effectively removed without causing damage to the wood’s surface. Here’s how to proceed:
A. Pouring Stain Remover
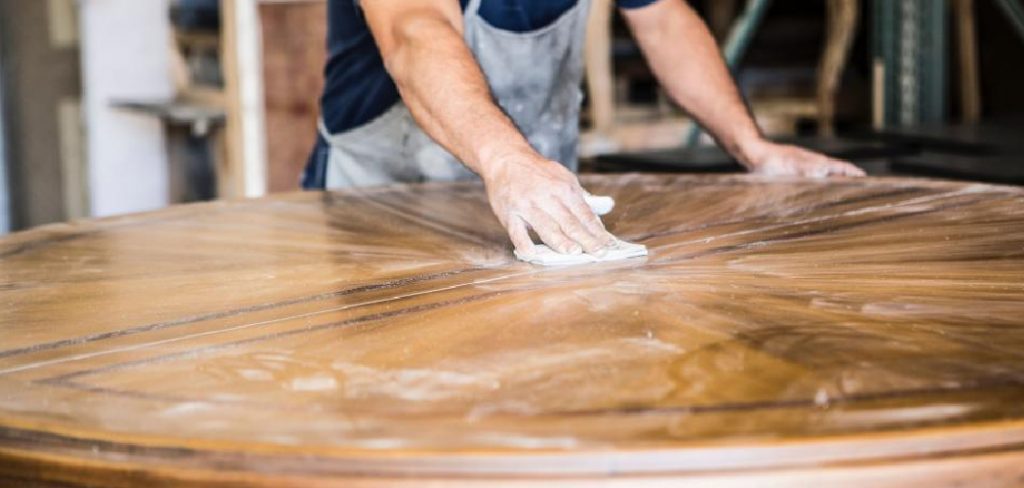
Begin by applying a small amount of stain remover or mineral spirits onto a clean cloth or sponge. Using just enough remover to dampen the cloth without soaking it is crucial. This prevents excess liquid from spilling onto the wood and potentially causing further staining or damage. The choice of mineral spirits or a specific stain remover will depend on the type of stain you’re dealing with, as determined in the earlier assessment phase.

B. Blotting or Wiping
Gently blot or wipe the stained area with your dampened cloth or sponge, working toward the wood grain. This technique helps protect the integrity of the wood’s surface by minimizing abrasion. Gentle, controlled motions are key; aggressive scrubbing could degrade the finish or further embed the stain into the wood. Patience is vital if you’re dealing with a particularly stubborn stain, as it may take several attempts to see a noticeable difference.
C. Repeating as Needed
Removing a stain from wood is often not a one-step process. Depending on the severity and depth of the stain, it may be necessary to repeat the application of stain remover several times. After each application, wipe the area with a clean section of the cloth or a fresh sponge to prevent re-depositing the stain onto the wood. Between applications, allow the area to dry somewhat to assess the progress of the stain removal effectively. Continuously evaluate the condition of the stain and the wood’s surface to avoid over-processing and potential damage.
Throughout this process, it’s essential to remain vigilant and methodical. Rushing or applying too much pressure can harm the wood’s finish and may not speed up the stain removal. Carefully monitor the wood’s appearance after each application, adjusting your technique to ensure the best outcome. The goal is to lift the stain gently without compromising the wood’s natural beauty and integrity.
How to Wipe Stain Off Wood: Rinsing and Drying
After applying a stain remover and the methodical effort to remove the stain from the wood, the next step focuses on removing any residual stain remover and letting the wood surface dry. This stage is crucial for assessing the effectiveness of the stain removal process and ensuring that the wood’s surface is fully restored without any lingering damage or discoloration.
A. Dampening Clean Cloth
The process begins with dampening a clean cloth with water. It’s important to ensure the cloth is just wet enough to help remove any remaining stain remover without saturating the wood. With the damp cloth, gently wipe over the treated area. This step helps pick up any leftover stain remover that could harm the wood if left to dry on its surface. During this process, it’s vital to move with the grain of the wood to maintain the integrity of its surface, avoiding any actions that could cause swelling or raising of the grain.
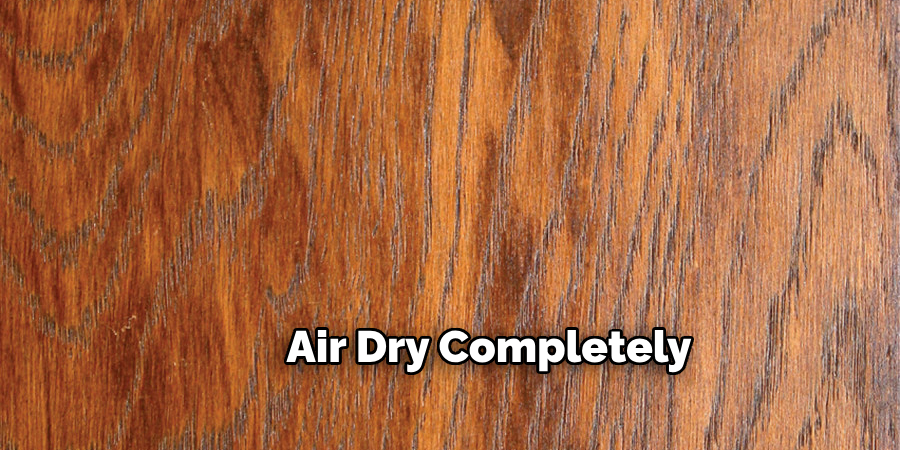
B. Drying Surface
Once the residual stain remover has been wiped away, the next step is to allow the wood surface to air dry completely. This natural drying process is essential to prevent trapping moisture within the wood, which could lead to issues such as warping or mold development. Depending on the ambient conditions, this may take several hours. It’s best to avoid the temptation to speed up the process with heat or direct sunlight, as these could cause uneven drying or additional damage to the wood’s finish.
C. Evaluating Results
After the wood has dried thoroughly, it’s time to evaluate the results of the stain removal process. Inspect the treated area carefully to determine if the stain has been completely removed or if there are lingering signs of discoloration. If the stain persists, it may be necessary to repeat the stain removal process, starting with applying the stain remover. This iterative approach ensures that the treatment is thorough and effective. Still, it’s also crucial to proceed cautiously to prevent damaging the wood through excessive exposure to chemicals or abrasion.
The process of rinsing and drying, followed by evaluating the results, is an integral part of the overall effort to restore wood surfaces. Patience and attention to detail during these steps can significantly impact the success of stain removal, ensuring that the beauty and integrity of the wood are preserved.
Sanding
After thoroughly evaluating the stain removal process’s results and ensuring the wood is dry, the next step in wood restoration might involve sanding. This phase is particularly important if the stain has affected the wood’s surface texture or if removing the stain has left the wood looking uneven or rough. Sanding can help to smooth out these imperfections and prepare the wood for refinishing, if necessary.
A. Sandpaper Selection
Choosing the right sandpaper is crucial to the success of the sanding process. For light stain removal where the wood’s surface is still relatively smooth, fine-grit sandpaper ranging from 120 to 220 is advisable. This range of grit is gentle enough to smooth out minor imperfections without causing significant abrasion to the wood. In contrast, starting with coarse-grit sandpaper (80-100 range) might be necessary for more stubborn stains or where the wood surface has become rough. This coarser grit can effectively remove layers of the wood that hold deeper-set stains but should be used sparingly to avoid excessive damage.
B. Sanding Technique
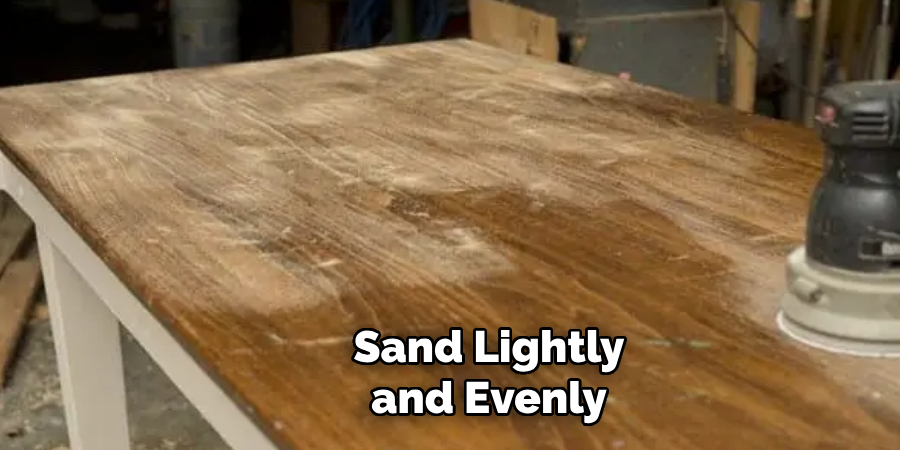
When sanding the treated area, it is important to sand lightly and evenly, moving toward the wood grain. This technique helps preserve the wood’s natural appearance and texture while smoothing out any roughness or inconsistencies. Avoid pressing too hard or over-sanding a particular area, as this can create dips or further damage the surface. The goal is to make the treated area match as closely as possible with the surrounding wood, seamlessly blending it into the overall surface.
C. Gradually Increasing Grit
After initially sanding with coarser grit paper (if required), it’s beneficial to gradually progress to finer grit sandpaper. This progression allows for a smoother finish, with each successive grit removing the scratches left by the previous coarser paper. Moving from rough preliminary sanding through intermediate grits and finishing with fine or very fine grit sandpaper ensures a smooth, professional-quality finish that blends well with the surrounding wood. This attention to gradually increasing the sandpaper grit enhances the aesthetic appeal and prepares the wood surface optimally for any finishing treatments like staining or sealing.
In conclusion, sanding is essential in the wood restoration process, particularly after stain removal. Proper selection of sandpaper, employing the right sanding technique, and gradually increasing grit leads to a smoother finish and successful blending with the surrounding wood. Patience and attention to detail during this phase can significantly enhance the final appearance and longevity of the wood surface.
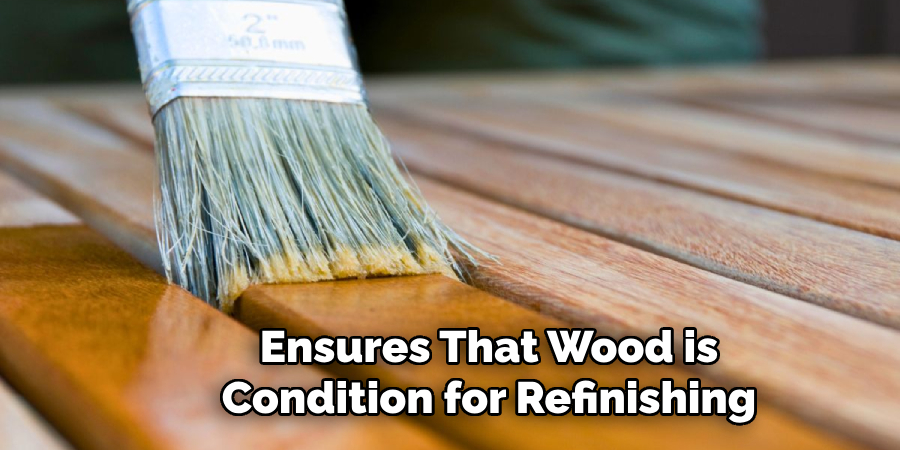
Final Cleaning and Inspection
The culmination of the wood restoration process involves meticulous cleaning and thorough inspection of the treated surface. This final step ensures that the wood is in optimal condition for refinishing, sealing, or staining, thereby restoring its original luster and beauty.
A. Wiping with Tack Cloth
Once sanding is complete, the next crucial step involves wiping down the sanded area with a tack cloth. A tack cloth, which is a specialized type of cloth designed to capture and remove fine particles, is invaluable for cleaning away the sanding residue that can otherwise interfere with refinishing efforts. Gently wiping the wood surface with a tack cloth ensures that even the finest dust particles are picked up, leaving the surface smooth and immaculate. This step is essential for preventing any imperfections in the refinishing or restaining processes that would be caused by leftover debris.
B. Inspecting the Surface
Following the cleaning stage, thoroughly inspecting the treated wood surface is critical. This inspection focuses on ensuring that the stain has been completely removed to satisfy the desired results. Examining the area in good lighting is important to detect any lingering discoloration, unevenness, or imperfections that might affect the overall appearance after refinishing. Additional treatment or correction may be necessary before proceeding if any issues are identified. This diligent inspection safeguards against the disappointment of discovering flaws after the refinishing process is already underway.
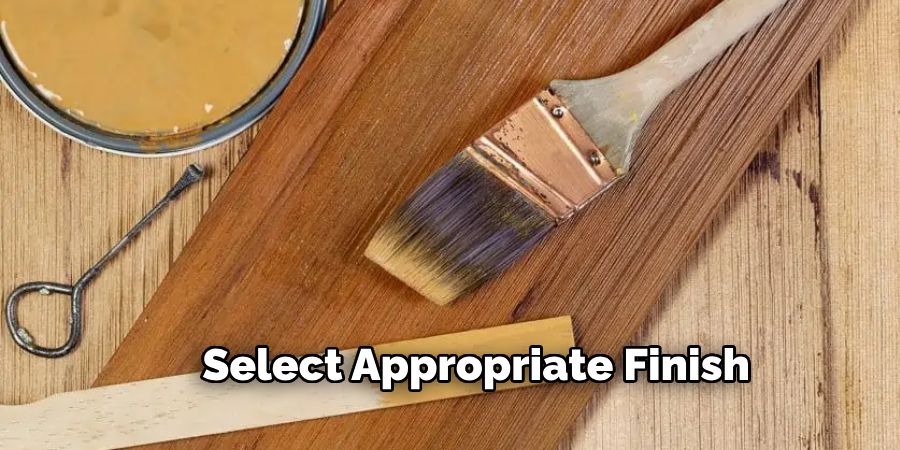
C. Preparing for Refinishing
Having ensured that the wood surface is clean, dry, and entirely stains-free, the final step before refinishing is to prepare the area properly. This preparation might involve masking surrounding areas to protect them from stain or finish, selecting the appropriate finish or stain for the wood type, and ensuring that all materials and tools are at hand for a smooth refinishing process. Proper preparation not only facilitates a flawless finish but also significantly contributes to the longevity and durability of the wood’s appearance. Refinishing or restaining at this juncture promises to breathe new life into the wood, showcasing the painstaking efforts invested throughout the restoration process.
In summary, final cleaning and inspection are paramount in the wood restoration sequence. By meticulously wiping the surface with a tack cloth, rigorously inspecting for any remaining imperfections, and preparing thoughtfully for refinishing, it is ensured that the wood’s beauty is revived with a quality that rivals its original state.
Conclusion
In addressing how to wipe stain off wood, it’s vital to recap the essential steps that contribute to successful stain removal. Each phase plays a crucial role in preparing wood surfaces for refinishing, starting with selecting appropriate sandpaper, moving through the stages of sanding with proper technique, and concluding with final cleaning and surface inspection.
The process underscores the importance of patience and meticulous care in stain removal. Rushing or employing incorrect techniques can lead to irreversible damage to wood surfaces. Careful adherence to the outlined steps, especially the gradual transition from coarser to finer sandpaper, ensures a gentle yet effective approach to stain removal.
Achieving clean and restored wood surfaces through proper stain removal techniques provides aesthetic satisfaction and the preservation of the wood’s integrity. Following the discussed steps not only illuminates how to wipe stain off wood effectively but also instills a sense of accomplishment in restoring the beauty of wood furnishings or floors, ensuring they remain a cherished part of your space.
About the Author
Adrian Green, a lifelong woodworking enthusiast, shares his passion for the craft through The Woodenify Blog. With a foundation built on years of hands-on experience in his father’s woodworking shop, Adrian is dedicated to helping others learn and grow in the world of DIY woodworking. His approach to woodworking combines creativity, practicality, and a deep appreciation for the art of building with your own hands. Through his blog, he inspires individuals of all skill levels to embark on their own woodworking journeys, creating beautiful, functional pieces of furniture and décor.
Professional Focus
- Specializes in DIY woodworking projects, from furniture to home décor.
- Provides step-by-step guides and practical tutorials for woodworkers of all skill levels.
- Dedicated to helping readers build confidence and skill through easy-to-follow instructions and tips.
- Passionate about fostering a community of makers who can share, learn, and grow together.
Education History
- University of Craft and Design – Bachelor of Fine Arts (BFA) in Woodworking and Furniture Design
- Woodworking Apprenticeships – Extensive hands-on training with skilled craftsmen to refine carpentry and furniture making techniques.
- Online Courses & Masterclasses – Continued education in advanced woodworking techniques, design principles, and specialized tools
Expertise:
- DIY woodworking, carpentry, furniture making, and home décor projects.
- Creating accessible tutorials and guides for beginner to advanced woodworkers.
- Sharing the joys and satisfaction of woodworking, from raw materials to finished products.