Are you tired of working with boring, plain wood burnings? Do you want to take your wood-burning projects to the next level?
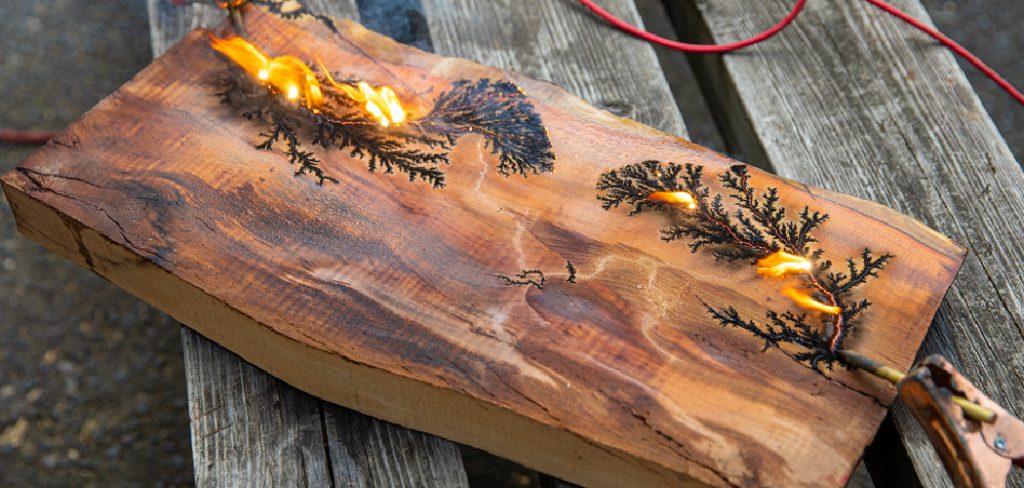
Adding color to wood burning opens up a whole new world of creativity and expression. While traditionally, wood burning, or pyrography, involves creating designs using controlled burn marks on wood, introducing color can transform your artwork into vibrant and dynamic pieces. This technique allows artists to blend the rustic charm of wood burning with the visual impact of colored art, creating pieces that stand out.
Whether you are a novice or an experienced pyrographer, incorporating color into your projects can enhance your work’s depth, interest, and overall aesthetics. This guide will walk you through various methods and tips on how to add color to wood burning, providing you with the tools and knowledge to take your craft to the next level.
What are the Benefits of Adding Color to Wood Burning?
There are many benefits to incorporating color into your wood-burning art. Some of the key advantages include:
- Adding Depth and Dimension: Colors can bring your artwork to life by adding layers, shadows, and highlights, creating a more realistic and dynamic effect.
- Enhancing Visual Appeal: By introducing color, you can create eye-catching pieces that stand out and attract attention.
- Increased Creativity: Color allows you to explore new possibilities and experiment with different techniques, unleashing your creative potential.
- Personalization: Adding color to wood burnings allows you to add a personal touch to your work, making each piece unique.
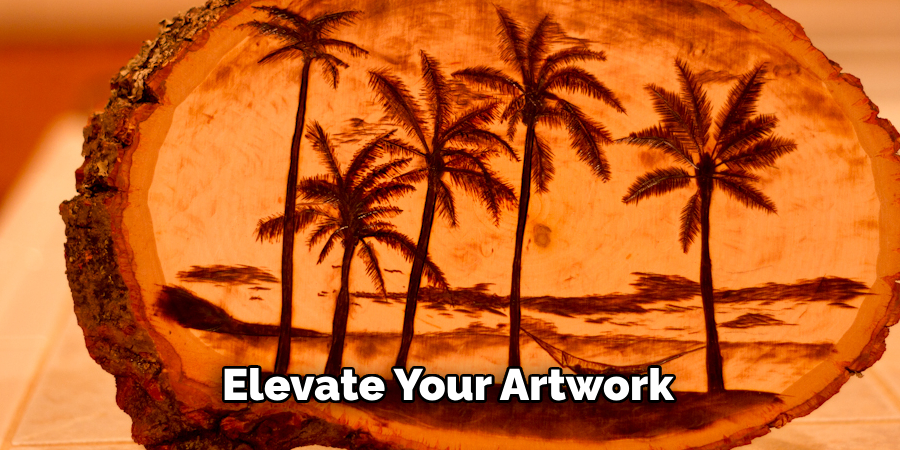
These are just a few of the benefits of adding color to wood burning. By incorporating this technique into your projects, you can elevate your artwork and take it to new heights.
What Will You Need?
To add color to your wood-burning projects, you will need some additional tools and materials in addition to your standard wood-burning kit. Here are some essential items you may need:
- Wood Burner: The primary tool used to create burn marks on the wood surface. Make sure to use a high-quality burner with adjustable heat settings for more precise control.
- Wood is the Base Material for Your Project. Choose the Type of Wood According to your preference and the design you want to create.
- Watercolor or Acrylic Paint: The most popular paint types used to add color to wood burnings. Watercolor provides a more transparent look, while acrylic offers opaque coverage.
- Paint Brushes: Essential tools for applying paint onto the wood surface. Different brush sizes can give you more versatility in your artwork.
- Sandpaper: Used to smooth out any rough edges or imperfections on the wood before starting your project.
- Masking Tape is Useful for creating straight lines or masking off areas that you don’t want to paint over.
- Palette & Water Container: Necessary for mixing and diluting your paint to achieve different shades and hues.
- Sealant or Varnish: Used to protect your work and give it a glossy finish. Make sure to choose a sealant that is compatible with the type of paint you are using.
Once you have gathered all your materials, it is time to add color to your wood burning!
8 Easy Steps on How to Add Color to Wood Burning:
Step 1: Prepare Your Work Area
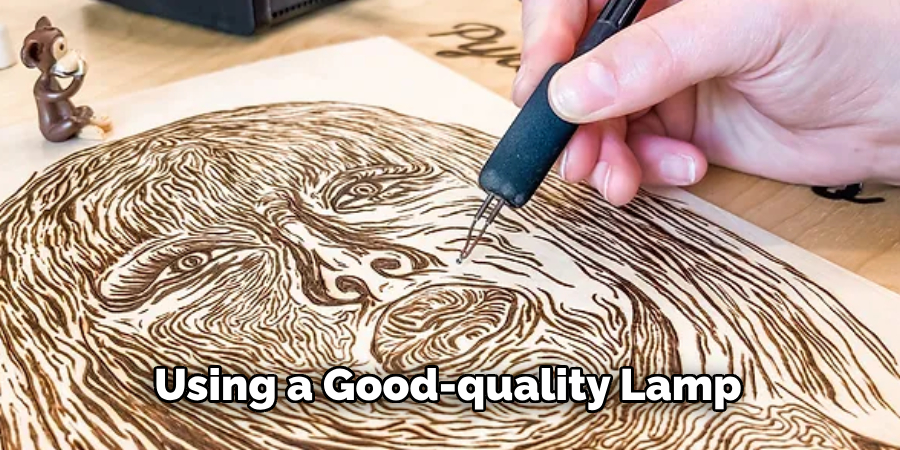
Before you begin your project, setting up a clean and organized work area is crucial. Clear off any clutter from your workspace to ensure you have enough room to maneuver your materials and tools comfortably. Place a protective covering over your work surface, such as a drop cloth or old newspaper, to prevent any accidental spills or burns from damaging your table or desk. Good lighting is essential for detailed work, so ensure your space is well-lit, either with natural light or by using a good-quality lamp.
Next, lay out all your materials and tools for easy access. Having everything organized will help you work more efficiently and allow you to focus entirely on your project without searching for items. If you use paints, arrange them in your palette and fill your water container before you start. Ensure you also have a few paper towels or a cloth handy to wipe your brushes or clean up any messes.
Lastly, ensure proper ventilation in your work area. Wood burning can produce smoke and fumes, and working in a well-ventilated space will help maintain a safe environment. Work near an open window or use a small fan to help disperse any fumes produced during the burning process. Once your work area is prepared, you can move on to the next step.
Step 2: Choose and Prepare the Wood
Selecting the right type of wood for your project is an important step. Softwoods like pine, basswood, and birch are ideal for wood burning and taking on color because they have a smooth, even grain that is easy to work with. Hardwoods like oak and maple can also be used, but they may be more challenging to burn and paint due to their denser structure.
Once you have chosen your wood, it is important to prepare the surface. Start by sanding the wood with fine-grit sandpaper to create a smooth, even surface free of rough patches or splinters. Wipe away any dust with a damp cloth and let it dry completely before proceeding. If you plan to use masking tape to create straight lines or protected areas, now is the time to apply it to your wood.
When the wood is prepped and ready, sketch your design lightly onto the surface with a pencil. This guide will help you follow your design accurately during the burning and painting phases. Ensure your lines are clear but not too dark, as they can be difficult to erase later. Once your design is transferred, you are set to start the wood-burning process.
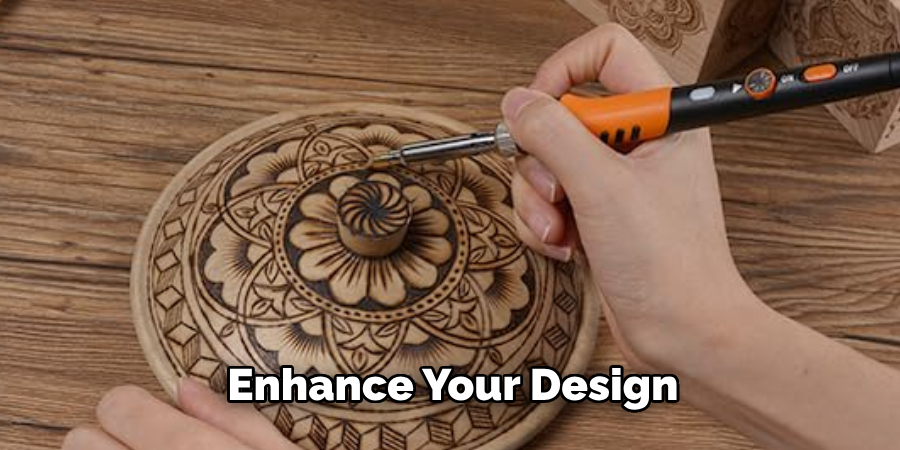
Step 3: Burn Your Design
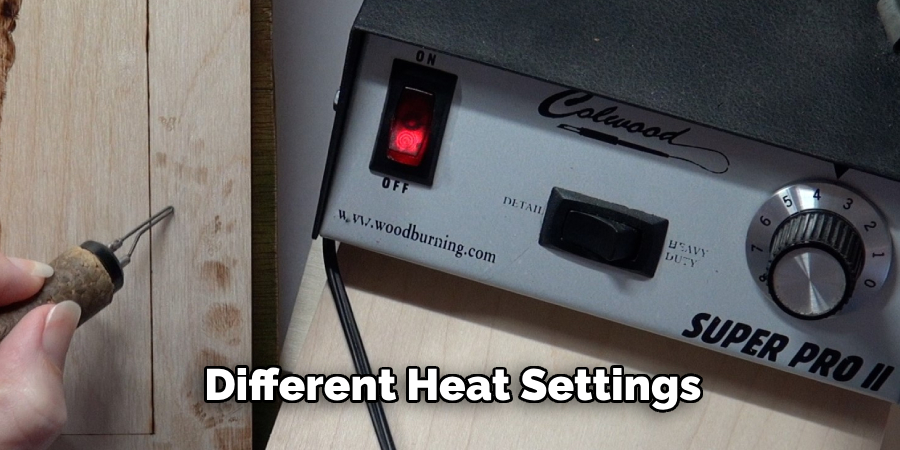
Begin by heating your wood burner to the appropriate temperature for the type of wood you are using. Different woods require different heat settings, so consult your burner’s manual for guidance. Generally, a lower temperature is recommended for delicate work and softer woods, while a higher setting may be needed for harder woods.
Carefully follow your sketched lines with the heated tip of the wood burner, creating burn marks that outline your design. Take your time and move the burner slowly to achieve clean, precise lines. Be mindful of the heat and take breaks if necessary to prevent the wood from burning too deeply or unevenly.
During this step, working in a well-ventilated area is important, as wood burning can produce smoke and fumes. Use a small fan or work near an open window to ensure good airflow. If you make a mistake, you can lightly sand the area with fine-grit sandpaper once it has cooled and then re-burn the section.
Once you have completed the burning stage, allow the wood to cool completely before moving on to adding color.
Step 4: Add Color to Your Design
With your design burned into the wood, it’s time to bring your artwork to life with color. Depending on your desired effect, you can use either watercolor or acrylic paint. Watercolor paints offer a translucent look that allows the wood’s natural grain to show through, while acrylics provide bold, opaque coverage.
If you use watercolors, mix your colors in the palette and dilute them with water as needed. Apply the paint with a brush, starting with lighter colors and gradually adding darker shades for depth and dimension. Work in thin layers to build up color gradually, allowing each layer to dry completely before adding another.
Use a palette to mix your colors and apply them directly to the wood using a brush for acrylic paints. Acrylics dry quickly, so work efficiently but carefully. You can use a wet brush to blend colors smoothly and create gradient effects. Ensure that each painted section is dry before moving on to prevent smudging and unwanted blending.
Take your time and be creative, experimenting with different techniques to enhance your design.
Step 5: Finish and Protect Your Artwork
To ensure the longevity and durability of your colored wood burning, applying a protective finish is important. Choose a sealant or varnish that is compatible with the type of paint you have used. A clear, glossy sealant can enhance the colors and add a professional look to your artwork.
Apply the sealant in thin coats using a brush or spray, following the manufacturer’s instructions. Allow each coat to dry fully before applying the next. Typically, two to three coats are sufficient to protect your piece, but you can add more if desired for extra durability.
Once the final coat of sealant is dry, your colored wood-burning project is complete. Admire your work and take pride in the unique, vibrant piece you have created. Display it in your home, give it as a gift, or even sell it as part of your art portfolio. With practice, you will continue to improve your skills and create even more intricate and colorful wood-burning art.
Step 6: Clean Your Tools and Workspace
After completing your wood-burning project, cleaning your tools and workspace to maintain their longevity and ensure safety is crucial. Begin by unplugging your wood burner and allowing it to cool completely. Once cooled, wipe the tip with a soft cloth to remove any residue and store it in its designated box or case.
Clean your paintbrushes immediately after use by rinsing them thoroughly in water if you use watercolor paints or with soap and water if you use acrylics. Reshape the bristles and let them air dry completely before storing them.
Wipe down your work surface to remove any dust, paint drips, or wood shavings. Properly dispose of any paper towels or clothes used during the process. Keeping a tidy workspace reduces clutter and makes your next project easier to start.
Lastly, ensure any leftover paint is sealed tightly and stored appropriately for future use. By cleaning up properly, you’ll be prepared and organized for your next artistic endeavor.
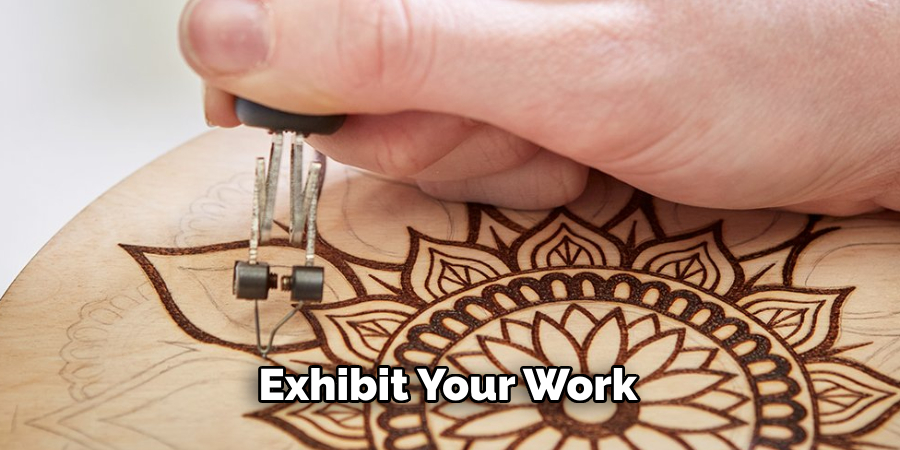
Step 7: Display Your Artwork
Now that your colored wood-burning project is complete and your workspace is clean, it’s time to display your artwork proudly. Choose a location where your piece will be showcased prominently and can be appreciated by others. This could be a wall in your living room, an art display shelf, or even a dedicated art gallery if you plan to exhibit your work.
To hang your artwork, you may need to add hanging hardware such as D-rings, screws, or a wire to the back of your piece. Ensure that the hardware is securely attached and that it can bear the weight of the wood. Use a level to ensure that your artwork hangs straight. If you’re not hanging it, consider using an easel or a stand to show it on a tabletop or shelf.
If you plan to gift your artwork, wrap it carefully with protective materials to prevent any damage during transit. A personalized note explaining the inspiration behind your piece can add a heartfelt touch to your gift.
Remember to photograph your finished artwork for your portfolio or social media. High-quality images will help showcase your skills and can be used for marketing if you plan to sell your art.
Step 8: Reflect and Plan Your Next Project
After completing and displaying your colored wood-burning artwork, take some time to reflect on the process and the outcome. Assess what worked well and identify any areas where you faced challenges. This self-evaluation will help you improve your techniques and planning for future projects.
Consider keeping a journal or a sketchbook where you can jot down notes, sketches, and ideas for new projects. Reflect on feedback received from friends, family, or audiences who have seen your work and consider how you can incorporate their suggestions into your next piece.
Planning your next project can be as exciting as the creation process itself. Research new designs, wood types, or color schemes to experiment with. Set new goals or challenges for yourself, such as trying a more complex design or using a new medium in combination with wood burning.
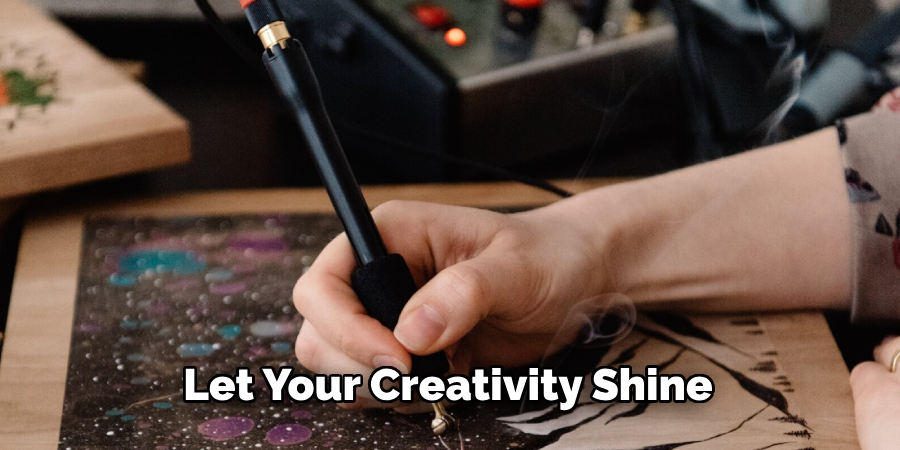
By following these steps and continuously practicing, you will improve your skills and create unique and beautiful colored wood-burning artwork that you can be proud of. Remember to have fun, be patient with yourself, and let your creativity shine through in every piece.
5 Additional Tips and Tricks
- Use Colored Pencils: After burning your design, use high-quality colored pencils to add vibrant hues. The pencil allows for precise control and a wide range of colors, making it ideal for intricate details.
- Wood Dyes: Staining your wood burning with wood dyes can enhance the natural beauty of the wood. Dyes penetrate the wood, making the texture and grain visible while adding rich color.
- Oil Pastels: For a creamy, textured look, try oil pastels. They’re great for blending colors and adding depth. To set the pastels, lightly heat the surface with a heat gun or hair dryer so the colors meld into the wood.
- Keep Your Tools Sharp: A dull tool can ruin even the most skilled burn. Keep your tips sharp by honing them regularly with fine-grit sandpaper or a sharpening stone.
- Practice Makes Perfect: Wood burning is a skill that takes time and practice to master. Don’t get discouraged if your first few attempts don’t appear as expected. Keep practicing and experimenting with different techniques and you’ll see improvement over time.
By following these additional tips and tricks, you can take your wood-burning skills to the next level and create even more stunning designs.
5 Things You Should Avoid:
- Using Low-Quality Materials: Avoid using cheap or low-quality colored pencils, dyes, or pastels. These can result in dull colors, uneven application, and a lack of adhesion to the wood, diminishing the quality of your work.
- Applying Too Much Pressure: Be careful not to press too hard when adding color. Excessive pressure can indent the wood, damage the surface, and cause uneven coloration.
- Ignoring Test Samples: Before applying color to your final piece, avoid skipping the step of testing your materials on a scrap piece of wood. This helps ensure that the colors appear as expected and work well with your specific wood type.
- Overheating the Wood: While using tools like heat guns or hair dryers to set colors, be cautious not to overheat the wood. Excessive heat can scorch the wood, alter its color, or cause the applied hues to change or fade.
- Mixing Incompatible Mediums: Be mindful of the materials you are combining. Some mediums may not interact well with others, resulting in smudging, uneven blending, or peeling off the wood surface. Always ensure the compatibility of the products you use together.
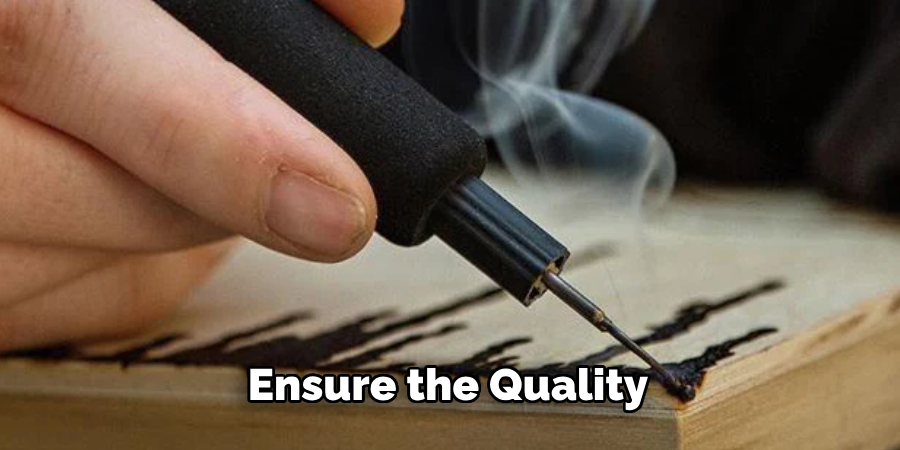
By avoiding these common mistakes, you can ensure the quality and longevity of your wood-burned designs.
Conclusion
In conclusion, how to add color to wood burning projects can greatly enhance their aesthetic appeal and bring your designs to life.
The key is to choose the right materials, such as high-quality colored pencils, wood dyes, or oil pastels, and apply them carefully. It’s essential to maintain the sharpness of your tools, practice your techniques, and avoid common pitfalls such as using low-quality supplies or applying too much pressure.
You can achieve vibrant, long-lasting results by testing your colors on scrap wood first and ensuring that your chosen mediums are compatible. With patience and practice, you’ll be able to master the art of adding color to your wood-burning creations, taking your artwork to new heights.
About the Author
Adrian Green, a lifelong woodworking enthusiast, shares his passion for the craft through The Woodenify Blog. With a foundation built on years of hands-on experience in his father’s woodworking shop, Adrian is dedicated to helping others learn and grow in the world of DIY woodworking. His approach to woodworking combines creativity, practicality, and a deep appreciation for the art of building with your own hands. Through his blog, he inspires individuals of all skill levels to embark on their own woodworking journeys, creating beautiful, functional pieces of furniture and décor.
Professional Focus
- Specializes in DIY woodworking projects, from furniture to home décor.
- Provides step-by-step guides and practical tutorials for woodworkers of all skill levels.
- Dedicated to helping readers build confidence and skill through easy-to-follow instructions and tips.
- Passionate about fostering a community of makers who can share, learn, and grow together.
Education History
- University of Craft and Design – Bachelor of Fine Arts (BFA) in Woodworking and Furniture Design
- Woodworking Apprenticeships – Extensive hands-on training with skilled craftsmen to refine carpentry and furniture making techniques.
- Online Courses & Masterclasses – Continued education in advanced woodworking techniques, design principles, and specialized tools
Expertise:
- DIY woodworking, carpentry, furniture making, and home décor projects.
- Creating accessible tutorials and guides for beginner to advanced woodworkers.
- Sharing the joys and satisfaction of woodworking, from raw materials to finished products.