Adding legs to a cabinet is a rewarding DIY project that can significantly enhance both its functionality and aesthetic appeal. This guide will take you through the entire process, from gathering the necessary tools and materials to ensuring the final product is stable and stylish.
By following these detailed steps, you’ll learn how to add legs to a cabinet and transform it into an elevated piece of furniture that is easier to access and clean underneath. Additionally, this project offers the opportunity to customize the legs to better match your decor, adding a unique touch to your space.
Elevating a cabinet improves its visual appeal and makes day-to-day tasks more convenient, providing better airflow and easier maintenance. Whether you’re looking to upgrade an old cabinet or assemble a new one, this comprehensive guide covers you.
Gather Materials and Tools
Legs
Select legs that match your cabinet’s desired height, style, and weight capacity. Options include pre-made legs available in various designs and materials or DIY solutions that allow for greater customization. Consider the overall look you aim to achieve, whether modern, rustic, or traditional, and choose legs that complement this aesthetic.
Mounting Plates
Choose appropriate mounting plates or brackets for attaching the legs to the cabinet. These mounting plates are critical for ensuring the legs are securely fastened and capable of supporting the cabinet’s weight. Make sure they are compatible with the type of legs you’ve selected.
Tools
- Drill and Drill Bits: Essential for creating pilot holes and securing screws.
- Screwdriver or Impact Driver: For driving screws into the cabinet and mounting plates.
- Measuring Tape: To ensure precise measurements for leg placement.
- Pencil or Marker: For marking where the holes need to be drilled.
- Level: To ensure the cabinet is perfectly horizontal after the legs are attached.
Hardware
You’ll need screws and washers specifically suited for your mounting plates and cabinet material. Depending on the weight and size of the cabinet, you might also consider additional hardware such as corner brackets for extra support or wood glue for enhanced adhesion. Making sure you have all the necessary materials and tools before starting will set you up for a smooth and efficient DIY project.
Prepare the Cabinet
Empty the Cabinet
Remove all items from the cabinet to make moving and working easier. An empty cabinet is lighter and more manageable, allowing you to focus entirely on properly attaching the legs without the risk of damaging its contents.
Clean the Surface

Wipe down the bottom of the cabinet to remove dust and debris, ensuring a clean surface for attaching the legs. Using a damp cloth or mild cleaner, thoroughly clean all areas where the mounting plates or brackets will be installed. A clean surface ensures better adhesion and a secure fit, reducing the risk of the legs becoming loose over time.
Measure and Mark
Use a Measuring Tape
Use a measuring tape to determine and mark the placement of the legs on the bottom of the cabinet. Accurate measurements are crucial to ensure the legs are evenly spaced and the cabinet remains stable. Depending on the size and shape of your cabinet, you might opt for four corner placements or additional legs in the center for larger units.
Mark Placement
Ensure marks are evenly spaced and aligned properly for balance and stability. Using a pencil or marker, make small marks on the bottom of the cabinet where each leg will be attached. Double-check your measurements to confirm that each mark is equidistant from the edges and corners and that opposing legs are parallel to each other.
This will help maintain an even weight distribution and prevent the cabinet from wobbling.
Taking the time to meticulously prepare the cabinet will set the stage for a successful and secure leg attachment. By emptying, cleaning, and accurately marking the cabinet, you lay a strong foundation for the rest of the DIY project, ensuring a professional-looking result that will enhance your piece’s functionality and aesthetic appeal.
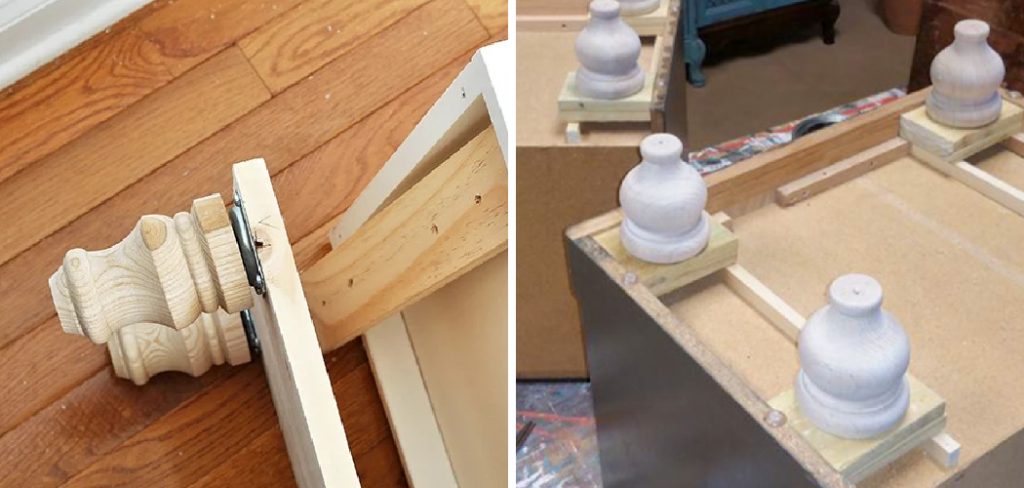
How to Add Legs to A Cabinet: Attach Mounting Plates
Position Mounting Plates
Place the Mounting Plates
Place the mounting plates over the marks on the cabinet’s bottom. Align the holes in the plates with the marks you created earlier. This positioning is crucial as it ensures that the legs will be attached in the correct locations, providing maximum support and stability to the cabinet.
Ensure Correct Positioning
Ensure the plates are positioned correctly to support the weight of cabinet’s weight cabinet. Double-check to make sure they are evenly spaced and aligned according to your earlier measurements. Misalignment can lead to instability and may cause the cabinet to wobble or tilt, so take your time to get this step right.
Drill Pilot Holes
Create Pilot Holes
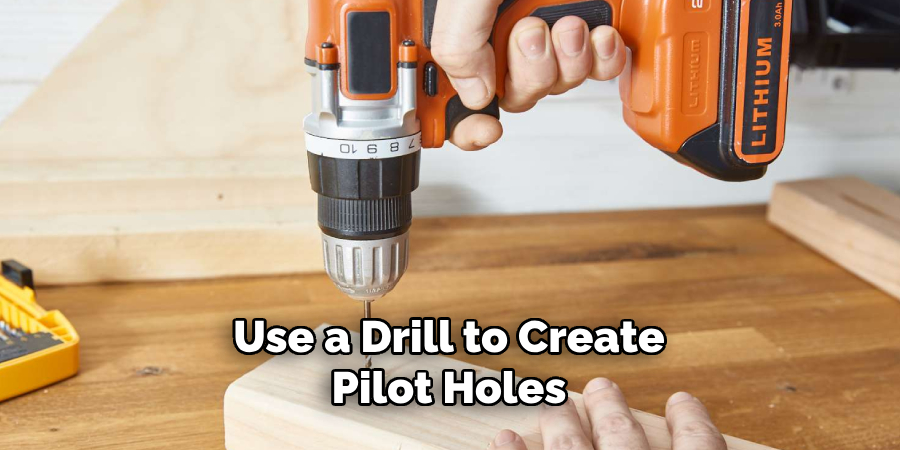
Use a drill to create pilot holes through the mounting plate holes and into the cabinet bottom. Pilot holes are essential as they guide the screws into place and make the process of securing the plates much easier.
Ensure Proper Size
Pilot holes should be smaller than the screws to ensure a secure fit. Typically, the pilot hole should be about 70-80% of the screw’s diameter. This allows the screws to grip the wood firmly, preventing them from coming loose over time.
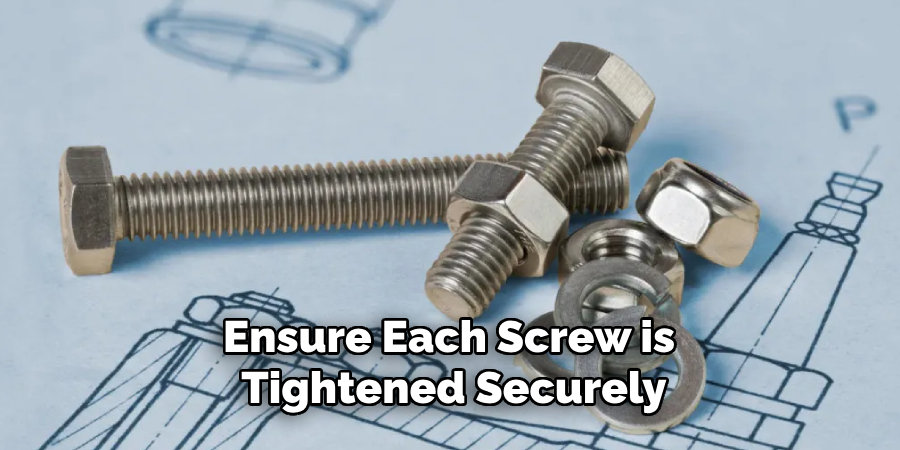
Secure Mounting Plates
Attach the Plates
Use screws to attach the mounting plates firmly to the cabinet. Start by partially screwing in each screw to hold the plate in place, then go back and fully tighten each one. This approach helps ensure that the plate remains level as you work.
Tighten Securely
Ensure each screw is tightened securely and the plates are flush with the cabinet bottom. There should be no gaps between the mounting plate and the cabinet, as gaps can weaken the attachment and lead to instability. Consider using a screwdriver to make the final turns to avoid over-tightening, which can strip the screws or damage the cabinet material.
You create a solid foundation for attaching the legs by carefully positioning and securing the mounting plates. Once the legs are added, this step is critical to the overall stability and durability of the cabinet. Properly aligning, drilling, and securing the plates ensures a professional-looking and functional result, setting the stage for the next steps in your DIY project.
How to Add Legs to A Cabinet: Attach the Legs
Screw in Legs
Insert Threaded Bolts
If the legs come with threaded bolts, begin by screwing them into the mounting plates. Carefully align the bolts with the holes in the mounting plates to ensure they fit correctly. Thread each bolt by turning it clockwise until it is hand-tight. This step anchors the legs securely to the mounting plates and provides initial stability to the structure.
Tighten Each Leg
After hand-tightening the threaded bolts, use a wrench to fully secure each leg. Hold the mounting plate steady and turn the wrench clockwise until the leg is firmly attached. Be cautious not to overtighten, as this can strip the threads or damage the mounting plate. Ensuring each leg is tightly fastened is crucial for maintaining the integrity and stability of the cabinet.
Use Washers or Additional Hardware
Enhanced Stability

For added stability, consider using washers or additional hardware as specified by the leg or mounting plate manufacturer. Washers can distribute the force exerted by the screws more evenly, preventing the screws from loosening over time.
If your legs come with additional hardware, follow the manufacturer’s instructions for optimal assembly. This may include brackets, locknuts, or other stabilizing components that increase the durability and sturdiness of the cabinet.
Installation
Follow the instructions that come with your legs or mounting plates to properly install washers or other hardware. Place the washer between the leg and the mounting plate to provide a tighter bond. Insert any additional components as advised and ensure they are securely fastened. Double-check all connections to confirm that they are tight and secure.
Check for Stability
Upright Position
Once all legs are attached, gently place the cabinet upright. Carefully lift it, avoiding any sudden movements that might stress the mounts and dislodge the legs. Position it on a flat surface to accurately assess its stability.
Ensure Stability
Check for wobbling and ensure each leg is secure and level. Apply gentle pressure to different cabinet parts to see if it maintains balance. If you notice any wobbling, recheck the tightness of each leg and make adjustments as necessary. Use a level if needed to confirm that the cabinet is standing evenly.
You complete a crucial part of your DIY project by meticulously attaching the legs and ensuring they are secure and stable. This attention to detail helps guarantee that the cabinet is both functional and aesthetically pleasing, providing a reliable and attractive piece of furniture.
Additional Support and Customization
Add Brackets (Optional)
Corner Brackets for Extra Support
For larger or heavier cabinets, consider adding corner brackets to provide additional support. The extra reinforcement helps distribute the weight more evenly and enhances the cabinet’s overall stability.
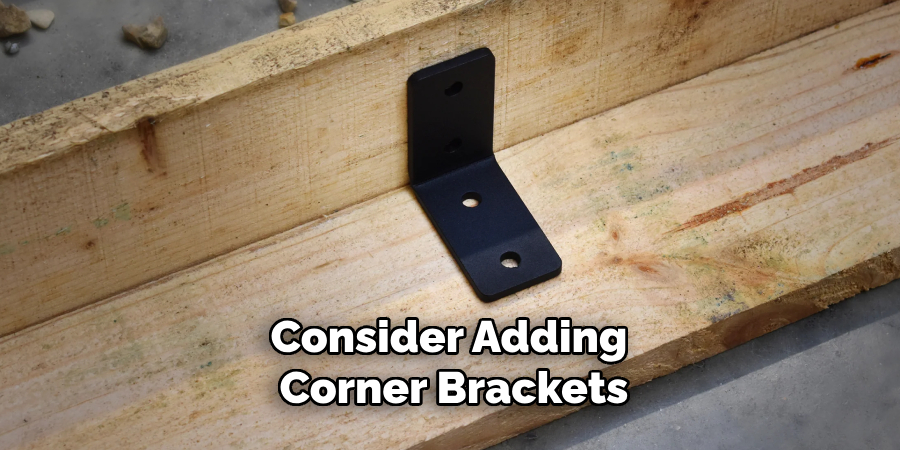
Attach Brackets
Attach the brackets inside the cabinet at the corners, securing them to both the leg and the cabinet frame. Use screws that are suitable for the materials involved, ensuring that each bracket is firmly attached. This step can prevent wobbling and extend the life of your furniture by strengthening the connections between the legs and the cabinet.
Reinforce with Wood Glue (Optional)
Apply Wood Glue
Add wood glue to the mounting plate area for added adhesion before attaching the legs. The glue provides an extra layer of bonding that can enhance the cabinet’s structural integrity. Make sure to use wood glue that is compatible with the materials of both the cabinet and the legs.
Allow Glue to Dry
Allow the glue to dry according to the manufacturer’s instructions. Generally, wood glue needs several hours to set properly, so it’s important to give it enough time to cure before moving on to the next steps. This precaution ensures a durable and long-lasting bond that reinforces the attachment of the legs to the cabinet.
Customize the Legs
Paint or Stain
To personalize your cabinet, paint or stain the legs to match or complement the cabinet. Choose a color or finish that enhances the piece’s overall aesthetics. Sand the legs lightly before applying paint or stain to ensure better adhesion and a smoother finish.
Add Decorative Elements
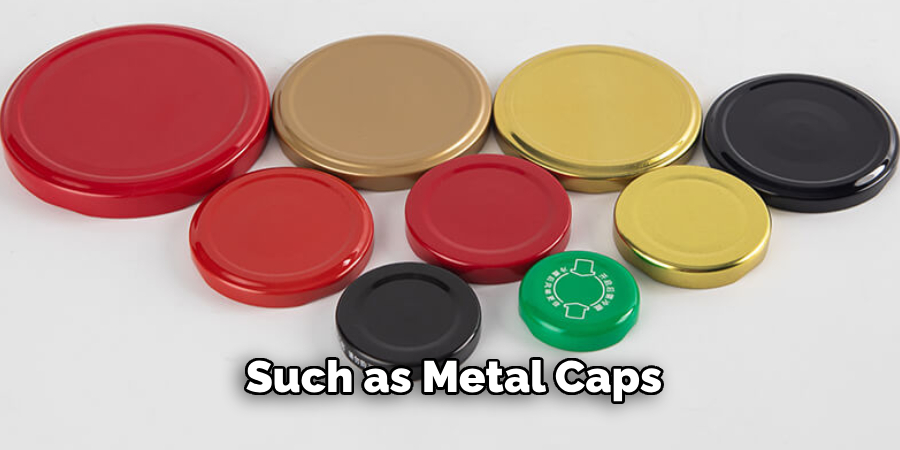
Consider adding decorative elements such as metal caps or carvings to the legs for an extra touch of elegance. These embellishments can transform the legs from simple structural supports to striking design features. Metal caps, for example, can protect the ends of the legs and add a sophisticated touch, while carvings offer a unique and personalized appearance.
By employing these additional support measures and customization options, you can elevate the functionality and appearance of your cabinet. These steps enhance the durability and stability of your furniture and allow you to inject your personal style into the project, resulting in a unique and bespoke piece.
Level and Adjust
Use a Level
Place a Level on Top
Place a level on top of the cabinet to ensure that it is perfectly horizontal. This simple tool will guide you in making precise adjustments, providing a balanced surface that is crucial for the functionality and aesthetics of your furniture.
Adjust the Legs
If the level indicates that the cabinet is not even, adjust the legs as necessary to achieve a balanced, level position. Turn each leg incrementally, checking the level after each adjustment. This process may require a bit of patience, but it is essential for the cabinet’s stability and even weight distribution.
Tighten and Secure
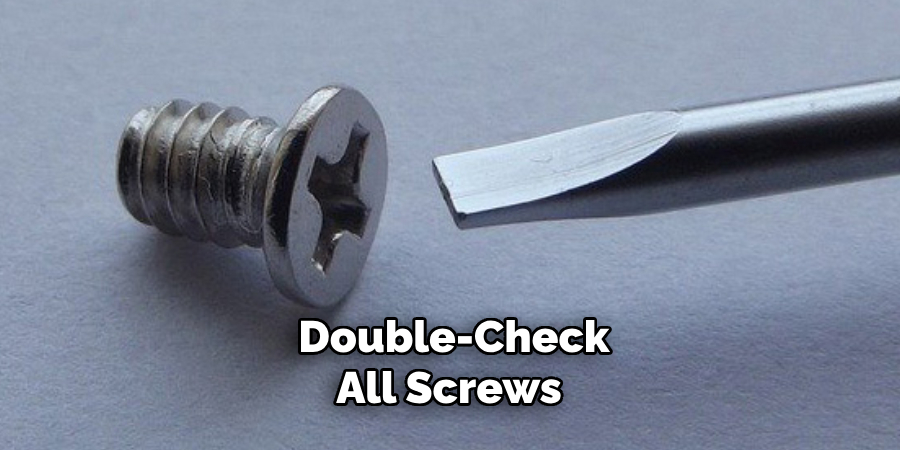
Double-Check Screws and Connections
Once you have adjusted the legs and the cabinet is level, double-check all screws and connections. Go over each screw with your screwdriver or wrench, tightening them as needed. This step ensures that all components are securely fastened, which is vital for the durability and safety of your furniture.
Ensure Stability
Before using your cabinet, make sure it feels sturdy and secure. Apply gentle pressure to various parts of the cabinet, simulating the type of stress it will endure during everyday use. If any wobbling or instability is detected, reexamine the legs and connections, making further adjustments as necessary.
You complete a crucial phase of your DIY project by meticulously leveling and securing your cabinet. This attention to detail guarantees that the cabinet will function properly and add a polished, professional touch to your space.
Final Touches and Maintenance
Inspect Regularly
Periodically Check the Legs and Mounting Plates
It’s important to inspect the legs and mounting plates periodically for any signs of loosening or wear. Over time, frequent use or environmental changes can cause these components to shift, impacting the stability of your cabinet.
Tighten Screws and Reapply Glue or Brackets
If you notice any looseness or instability, take immediate action to tighten screws and reapply glue or brackets as necessary. Ensuring everything is securely fastened will maintain your cabinet’s structural integrity and longevity. Regular maintenance can prevent small issues from becoming larger problems.
Cleaning and Care
Clean the Legs and Mounting Plates
To keep your cabinet pristine, clean the legs and mounting plates regularly. Use a soft cloth to remove dust and debris, avoiding harsh chemicals that could damage the finish or materials. Regular cleaning maintains the appearance and helps you spot any potential issues early.
Avoid Placing Excessive Weight on the Cabinet
Avoid placing excessive weight on your cabinet to prolong its life. Overloading can strain the legs and mounting plates, potentially causing damage and reducing stability. Distribute weight evenly and adhere to any weight limits specified for your cabinet.
By following these final touches and maintenance tips, you ensure that your cabinet remains a functional and visually appealing part of your home. Attention to detail and regular upkeep will keep your furniture in excellent condition for years to come.
Frequently Asked Questions
1. Can I Change the Legs on Any Cabinet?
While most cabinets can be modified with new legs, it’s important to consider the material and construction of your cabinet before making any changes.
Ensure the cabinet base is sturdy enough to support new legs and that the mounting plates can be securely attached without compromising the cabinet’s structural integrity.
If in doubt, consult a professional to assess the feasibility of your specific cabinet.
2. What Type of Glue Should I Use for Reinforcing the Legs?

When choosing wood glue, opt for a high-quality glue specifically designed for woodworking. PVA (polyvinyl acetate) wood glue is a popular choice, known for its strong bond and ease of use. Ensure that the glue is compatible with both the cabinet’s wood and the legs. Always follow the manufacturer’s instructions for application and drying times to achieve the best results.
3. How Often Should I Check and Tighten the Screws on My Cabinet?
It is advisable to inspect the screws and mounting plates of your cabinet at least twice a year or more frequently if the cabinet is heavily used. Regular checks help identify any signs of loosening or wear early, allowing for timely maintenance. Immediate action, such as tightening screws or reapplying glue, will prevent minor issues from escalating and ensure the long-term stability and durability of your cabinet.
Conclusion
Adding legs to a cabinet involves several essential steps, from gathering materials and applying wood glue to painting or staining the legs and ensuring everything is level and secure. Proper adjustments and periodic maintenance are crucial for the longevity and stability of the cabinet.
With these comprehensive guidelines on how to add legs to a cabinet, you’re equipped to enhance both its functionality and style. This DIY project improves your cabinet’s practicality and adds a personalized touch to your space.
For a professional-looking result, ensure you carefully level the cabinet and securely fasten all components. Regular inspection and maintenance will keep your furniture in excellent condition. Embrace the process and enjoy the satisfaction of transforming your cabinet into a custom masterpiece.
About the Author
Adrian Green, a lifelong woodworking enthusiast, shares his passion for the craft through The Woodenify Blog. With a foundation built on years of hands-on experience in his father’s woodworking shop, Adrian is dedicated to helping others learn and grow in the world of DIY woodworking. His approach to woodworking combines creativity, practicality, and a deep appreciation for the art of building with your own hands. Through his blog, he inspires individuals of all skill levels to embark on their own woodworking journeys, creating beautiful, functional pieces of furniture and décor.
Professional Focus
- Specializes in DIY woodworking projects, from furniture to home décor.
- Provides step-by-step guides and practical tutorials for woodworkers of all skill levels.
- Dedicated to helping readers build confidence and skill through easy-to-follow instructions and tips.
- Passionate about fostering a community of makers who can share, learn, and grow together.
Education History
- University of Craft and Design – Bachelor of Fine Arts (BFA) in Woodworking and Furniture Design
- Woodworking Apprenticeships – Extensive hands-on training with skilled craftsmen to refine carpentry and furniture making techniques.
- Online Courses & Masterclasses – Continued education in advanced woodworking techniques, design principles, and specialized tools
Expertise:
- DIY woodworking, carpentry, furniture making, and home décor projects.
- Creating accessible tutorials and guides for beginner to advanced woodworkers.
- Sharing the joys and satisfaction of woodworking, from raw materials to finished products.