Are you planning to attach some plywood to a steel frame for a project or construction purpose? If yes, then you have come to the right place.
Attaching plywood to a steel frame can be a straightforward process if the correct methods and tools are used. Whether you’re working on construction, furniture design, or DIY projects, combining these materials offers both strength and durability. Proper attachment is essential to ensure a secure and long-lasting connection between the plywood and steel frame, preventing potential issues such as warping, instability, or structural failure.
This guide on how to attach plywood to steel frame will walk you through the necessary steps, materials, and techniques to effectively join plywood to a steel frame, ensuring a professional and dependable result. Let’s get started with steel bed frame ideas!
What Are the Benefits of Attaching Plywood to a Steel Frame?
Attaching plywood to a steel frame offers several benefits, including:
- Increased Strength: The combination of plywood and steel creates a strong and durable structure that can withstand heavy loads and resist warping or buckling.
- Greater Stability: The rigid nature of steel provides stability to the plywood, preventing it from shifting or sagging over time.
- Versatility: By using plywood as the cladding material for a steel frame, you have the flexibility to create various designs and shapes, giving you more options for your project.
- Cost-effective: Compared to other building materials, attaching plywood to a steel frame can be a cost-effective solution without compromising on quality.
What Will You Need?
To begin constructing plywood cladding on a steel frame, you will need the following materials and tools:
- Steel Frame: This is the main structure that provides support for the plywood cladding. Make sure to get all the necessary measurements beforehand to ensure accuracy.
- Plywood Sheets: These are available in various sizes and thicknesses, so be sure to choose ones that fit your specific project needs. It’s best to use exterior-grade plywood for its durability against weather elements.
- Galvanized Screws or Nails: These will be used to attach the plywood sheets onto the steel frame. Make sure they are long enough to go through both the plywood and steel without being too long.
- Drill or Hammer: Depending on which method you choose for attaching the plywood, you will need either a drill with drill bits or a hammer with nails.
- Saw: You will need a saw to cut the plywood sheets to fit your specific measurements and angles. A circular saw is recommended for its precision and ease of use.
10 Easy Steps on How to Attach Plywood to Steel Frame
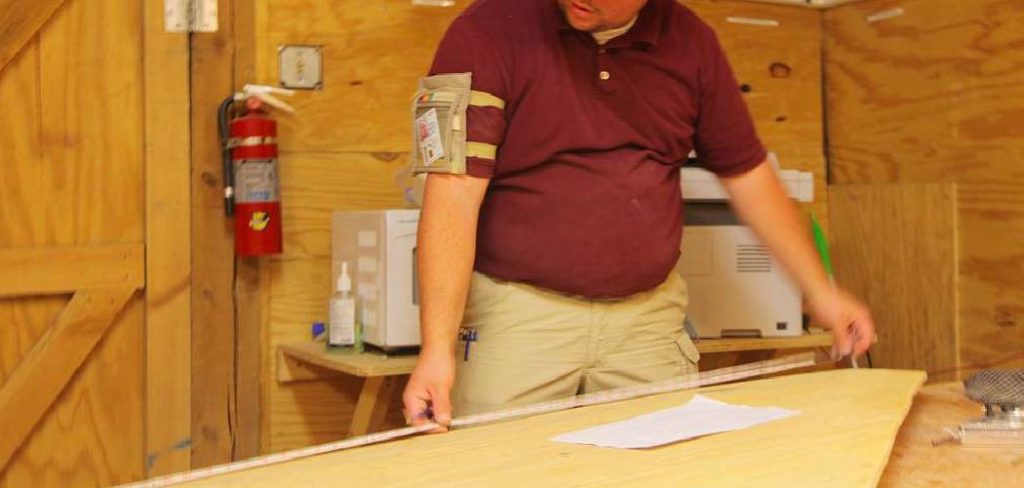
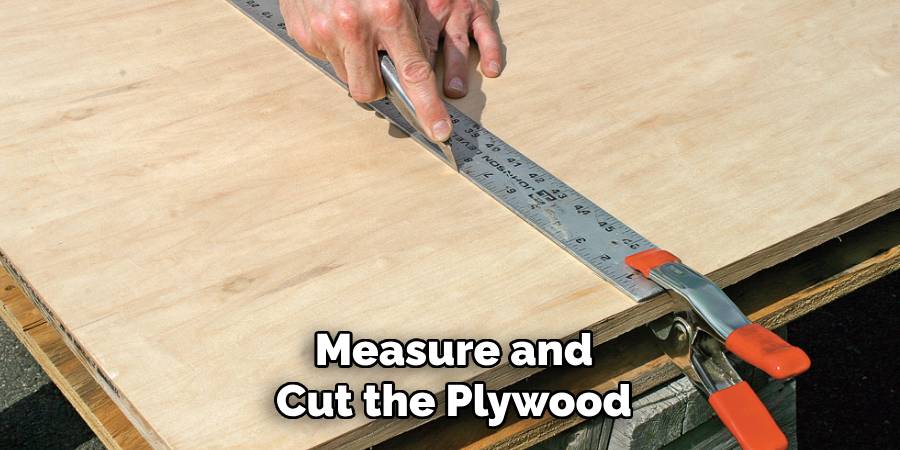
Step 1. Measure and Cut the Plywood
Use a measuring tape to precisely measure the dimensions of the steel frame where the plywood will be attached. Mark these measurements onto the plywood using a pencil to ensure accuracy. Double-check your measurements to avoid any mistakes. Once marked, use a circular saw or an appropriate cutting tool to cut the plywood along the marked lines. Make sure to cut straight and smooth edges to ensure a proper fit against the steel frame. Always wear protective gear, such as safety goggles and gloves, while cutting to ensure your safety.
Step 2. Drill Pilot Holes in the Steel Frame
Drilling pilot holes in the steel frame is essential to ensure that screws can be inserted without damaging the material or compromising the structure. Begin by marking the locations for the pilot holes on the steel frame using a measuring tape and a marker, ensuring even spacing and alignment. Use a center punch to make a small indentation at each marked spot to keep the drill bit in place and prevent slipping. Attach a drill bit suitable for metal to your power drill, ensuring it matches the size required for your screws. Drill slowly and apply steady pressure to maintain control and precision. Always wear safety goggles and gloves during this process to protect yourself from metal shards and debris.
Step 3. Position the Plywood on the Frame
Carefully place the plywood sheet on top of the metal frame, ensuring it aligns properly with the edges and corners. Check that the plywood sits flush against the frame without any overhang or gaps. Use clamps to secure the plywood in place, preventing it from shifting during the fastening process. Double-check the alignment by measuring the distances between the plywood edges and the frame to ensure consistency. Proper positioning is crucial for stability and a professional finish in the final assembly.
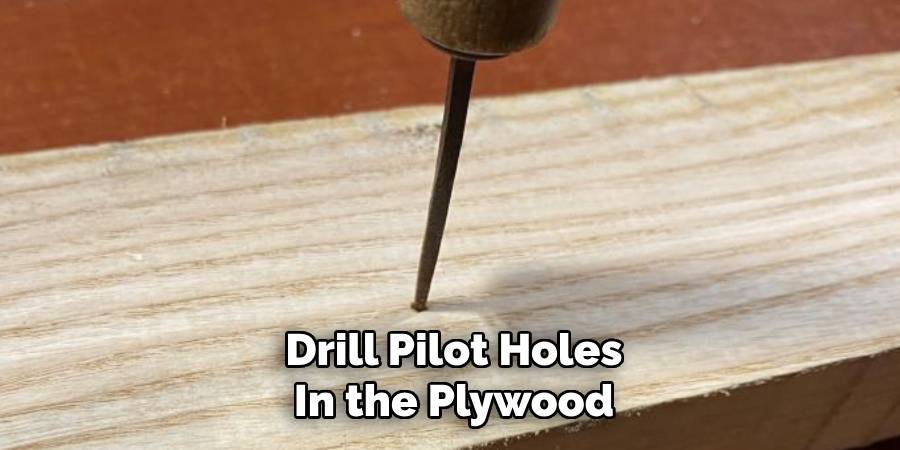
Step 4. Drill Pilot Holes in the Plywood
Using a drill and a bit slightly smaller than the screws you’ll be using, carefully drill pilot holes through the plywood and into the frame. Space the holes evenly to ensure a secure hold, typically every 6–8 inches along the edges and corners. Be cautious not to drill too deep or at an angle, as this can compromise the integrity of the wood or lead to misalignment. Drilling pilot holes helps prevent the plywood from splitting and makes it easier to insert screws during the assembly process.
Step 5. Secure the Plywood with Screws or Bolts
Once the pilot holes are drilled, align the plywood with the frame and begin securing it in place using screws or bolts. Start at one corner and work your way around the edges to ensure the plywood is evenly attached. Use a power drill or screwdriver to tighten the screws, ensuring they sit flush with the surface without over-tightening, which can damage the material. For bolts, tighten them with a wrench or socket tool, making sure they’re snug but not over-tightened. Double-check the alignment as you go to maintain a professional and stable finish.
Step 6. Double-Check Stability
Once all screws or bolts are securely fastened, it is crucial to inspect the structure for stability. Gently apply pressure to various points to ensure there is no wobbling or shifting. Pay close attention to joints and corners, as these are often the most susceptible to weakness. If any movement is detected, identify the source and tighten the necessary fasteners. For added safety, confirm that the surface is level and even, using a spirit level if needed.
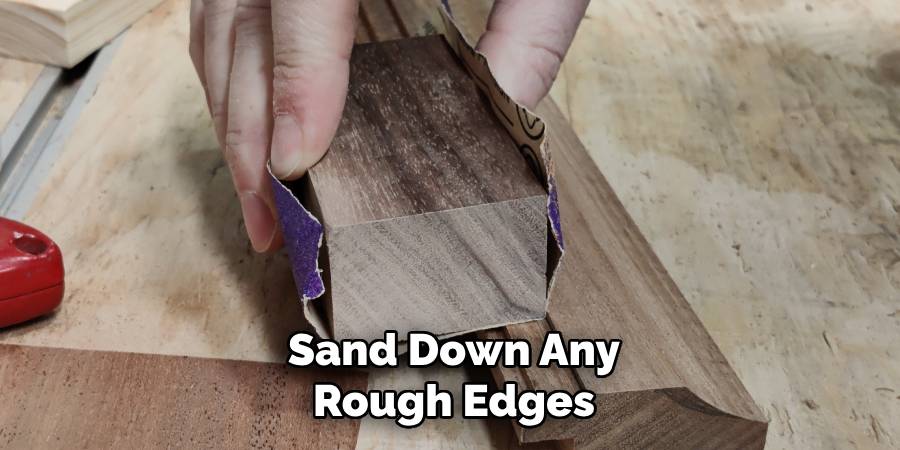
Step 7. Sand Down Any Rough Edges
Using fine-grit sandpaper or a sanding block, carefully smooth down any rough edges or uneven surfaces on your project. Focus on areas where cuts or joints have left splinters or sharp angles. Sanding not only improves the appearance but also enhances safety by reducing the risk of splinters and creating a clean, professional finish. Work in the direction of the grain to avoid scratches, and continue until the surface feels smooth to the touch. Once completed, wipe away any dust with a damp cloth to prepare the project for the next step.
Step 8. Seal the Plywood for Protection
Sealing the plywood is a crucial step to protect it from moisture, wear, and environmental factors, ensuring longevity and durability. Begin by selecting an appropriate sealer, such as polyurethane, epoxy, or a wood stain with sealing properties, based on the intended use of your project. Using a clean brush or roller, apply an even coat of the sealer, working along the grain for a smooth finish. Allow the first layer to dry completely as specified in the product instructions, and lightly sand the surface with fine-grit sandpaper to remove any bubbles or imperfections. Wipe away the dust and apply a second coat if needed for enhanced protection.
Step 9. Apply Finishing Touches
After attaching the plywood to your steel frame, you may want to add some finishing touches for a more polished look. This can include painting or staining the wood, adding trim pieces, or even attaching decorative elements such as metal accents. These final steps will not only improve the aesthetics of your project but also provide added protection and durability.
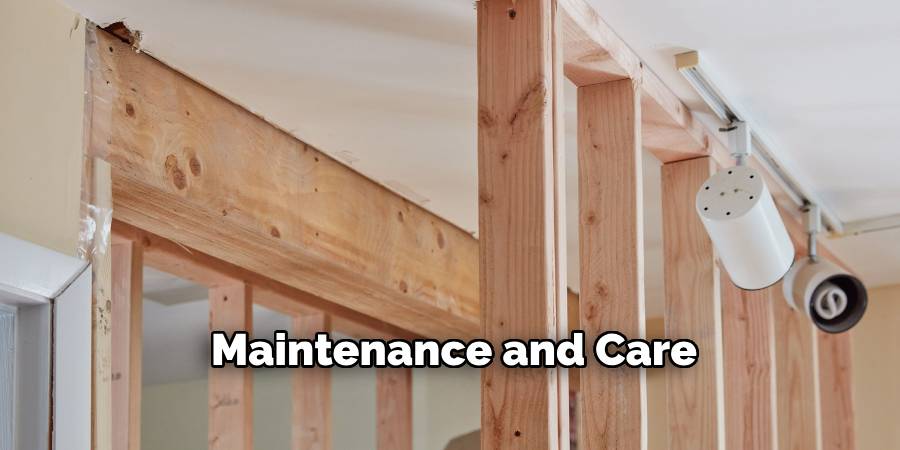
Step 10. Maintenance and Care
To ensure your project remains in excellent condition over time, regular maintenance is essential. Inspect the structure periodically for any signs of wear, such as rust on the steel frame or damage to the wood. If you notice any rust, sand it down and apply a fresh coat of rust-resistant paint to prevent further corrosion. For the wood, check for cracks, warping, or signs of rot, and reseal or refinish it as necessary to maintain its durability. Keep the project clean by wiping it down with a mild soap solution and a soft cloth, especially if it’s exposed to outdoor elements.
By following these steps, you can ensure the longevity and safety of your project.
Conclusion
How to attach plywood to steel frame requires careful preparation and the right tools to ensure a secure and lasting connection.
By selecting suitable fasteners, such as self-tapping screws or bolts designed for metal and wood, you can ensure the materials bond effectively. Pre-drilling holes in the plywood and using a quality adhesive can add extra strength to the attachment. Always ensure the steel frame is clean and free of any rust or debris before starting the process, as this will help create a solid foundation.
With proper techniques and maintenance, the combined structure of plywood and steel can offer both durability and stability for your project.
About the Author
Adrian Green, a lifelong woodworking enthusiast, shares his passion for the craft through The Woodenify Blog. With a foundation built on years of hands-on experience in his father’s woodworking shop, Adrian is dedicated to helping others learn and grow in the world of DIY woodworking. His approach to woodworking combines creativity, practicality, and a deep appreciation for the art of building with your own hands. Through his blog, he inspires individuals of all skill levels to embark on their own woodworking journeys, creating beautiful, functional pieces of furniture and décor.
Professional Focus
- Specializes in DIY woodworking projects, from furniture to home décor.
- Provides step-by-step guides and practical tutorials for woodworkers of all skill levels.
- Dedicated to helping readers build confidence and skill through easy-to-follow instructions and tips.
- Passionate about fostering a community of makers who can share, learn, and grow together.
Education History
- University of Craft and Design – Bachelor of Fine Arts (BFA) in Woodworking and Furniture Design
- Woodworking Apprenticeships – Extensive hands-on training with skilled craftsmen to refine carpentry and furniture making techniques.
- Online Courses & Masterclasses – Continued education in advanced woodworking techniques, design principles, and specialized tools
Expertise:
- DIY woodworking, carpentry, furniture making, and home décor projects.
- Creating accessible tutorials and guides for beginner to advanced woodworkers.
- Sharing the joys and satisfaction of woodworking, from raw materials to finished products.