Rattan is a popular material used in furniture making due to its durability, flexibility, and natural beauty. It is often combined with wood to create stunning pieces of functional and aesthetically pleasing furniture.
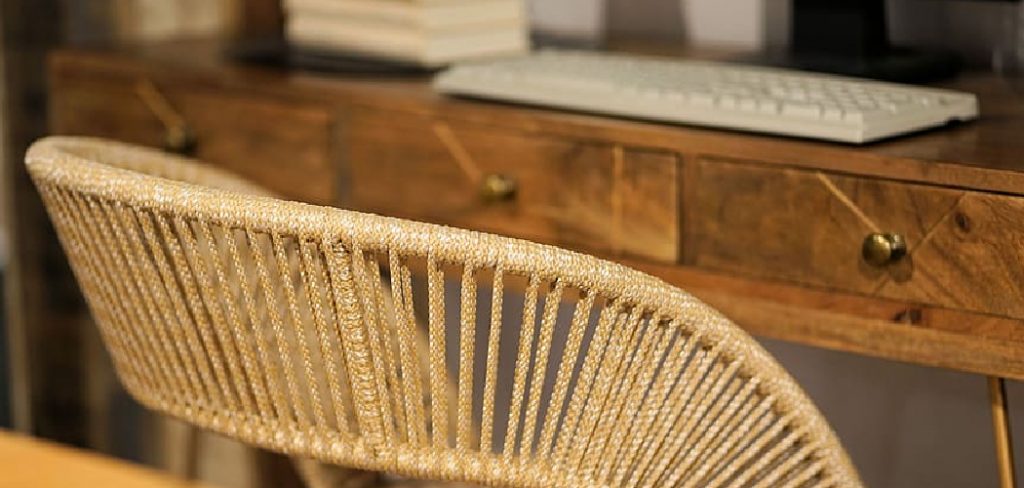
However, attaching rattan to wood can be tricky if you need to learn the proper techniques. In this guide, we will take you through the steps of how to attach rattan to wood, so you can create your own unique pieces of furniture. If you’re a DIY enthusiast or a professional furniture maker, this guide is for you.
Understanding Rattan
Before we dive into the attachment process, it is essential to understand what rattan is and why it is such a popular material in furniture making. Rattan is a type of climbing palm plant that grows in tropical regions such as Southeast Asia, Africa, and Australia. The stem of the rattan plant is strong, flexible, and lightweight, which makes it an ideal material for furniture making. The rattan skin is peeled off and used in weaving, while the core is used as a sturdy frame for furniture. Rattan is also environmentally friendly as it is a renewable resource and does not require harmful chemicals for processing.
Tools and Materials You Will Need to Attach Rattan to Wood
- Wood glue
- Rattan strips or cane
- Wooden base (furniture or frame)
- Pencil or marker
- Scissors
- Staple gun and staples
- Drill with a thin drill bit
- Hammer and small nails
- Measuring tape or ruler
- Sandpaper
- Paintbrush
Step-by-step Guidelines on How to Attach Rattan to Wood
Step 1: Prepare the Wood Base
Before attaching rattan to wood, ensure your wooden base is clean and smooth. Use sandpaper to remove any rough edges or imperfections on the surface. This will provide a better adhesion between the wood and rattan.
Preparing the wood base is crucial, as any bumps or unevenness can cause the rattan to break or detach over time. If you are using a pre-existing piece of furniture, make sure to remove any old rattan or cane before starting the attachment process.
Step 2: Measure and Mark the Rattan Strips
Measure the length and width of your wooden base and transfer those measurements onto the rattan strips. You can use a pencil or marker to mark where you need to cut the rattan. Make sure to leave a few extra inches on each end to ensure you have enough material for attachment and trimming.
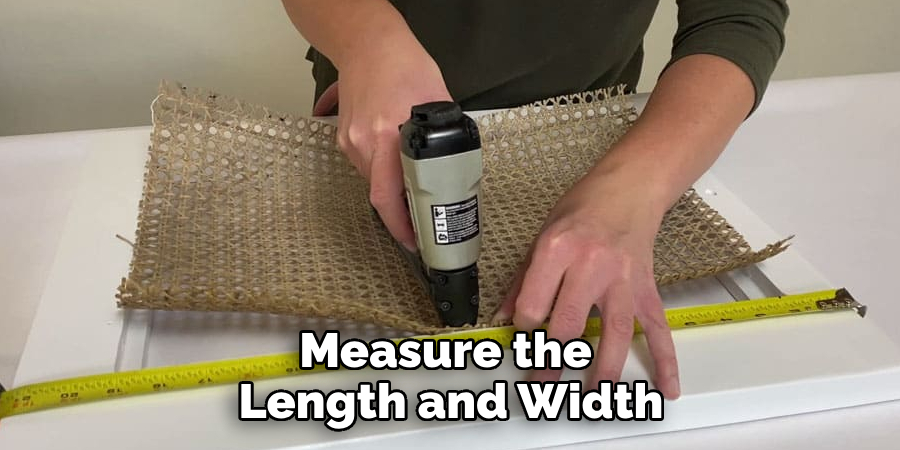
Measuring and marking the rattan strips beforehand will save you time and ensure a neat and precise finish. This step is especially important if you attach rattan to create a woven pattern.
Step 3: Cut the Rattan Strips
After marking the rattan, cut along the lines with scissors. Rattan can be easily cut with scissors, but make sure to use sharp ones for a clean and even cut. If you use thicker rattan strips, you may need a saw instead. Cut the strips one by one to avoid any potential mistakes. While cutting, make sure to keep the ends of the rattan strips straight and even.
Step 4: Apply Wood Glue
Before attaching the rattan strips to the wood base, apply a thin layer of wood glue on the surface. This will help create a stronger bond between the two materials. Use a paintbrush or your finger to spread an even layer of glue on the surface. Make sure to cover the entire area where you will attach the rattan. This step is crucial in ensuring the rattan stays firmly attached to the wood.
Step 5: Attach Rattan to Wood
Carefully place the rattan strip on top of the glue and press it down firmly. Ensure to align one end of the strip with one side of the wooden base. Use a staple gun and staples to secure the rattan in place. Start from the middle of the rattan strip and work your way outwards, stapling every few inches. This will help prevent any air bubbles or creases in the rattan. Make sure to keep the rattan tight while attaching it to ensure a smooth finish.
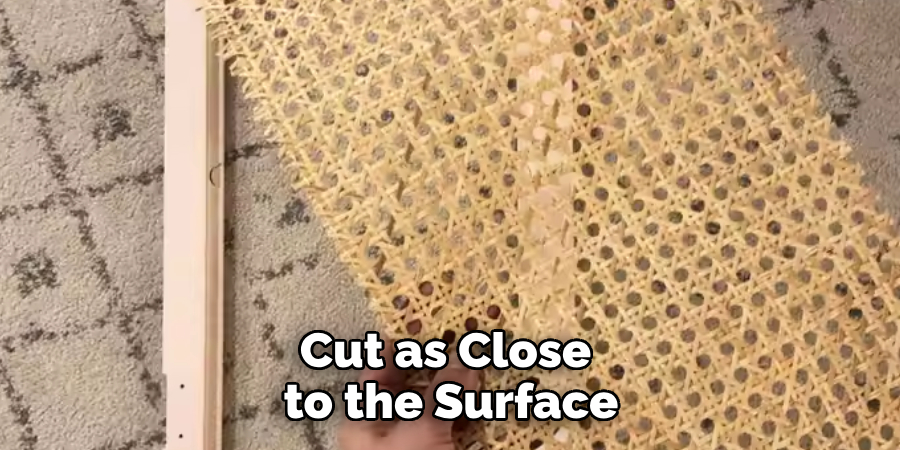
Step 6: Trim Excess Rattan
Once you have attached all the rattan strips, trim off any excess material from the ends using scissors. Make sure to cut as close to the surface of the wood as possible for a neat finish. You can also use sandpaper to smooth out any rough edges if needed. This step is essential if you are attaching rattan to create a woven design, as it will help define the pattern.
Step 7: Drill Holes for Extra Support
If you want extra support for your rattan and wood attachment, you can drill small holes along the edges of the rattan strips. Make sure to use a thin drill bit to avoid splitting the rattan. These holes can then be used to hammer in small nails, securing the rattan even further. If you are attaching rattan to a frame, drilling holes and using nails is highly recommended for stability.
Following these simple steps will help you successfully attach rattan to wood and create beautiful, durable pieces of furniture. You can even experiment with different patterns and designs using rattan and wood combinations with a little bit of practice.
So go ahead and try it—who knows, you might discover your new favorite hobby or business venture! Remember to always use the appropriate safety precautions when handling tools and materials. Happy crafting!
Additional Tips and Tricks to Attach Rattan to Wood
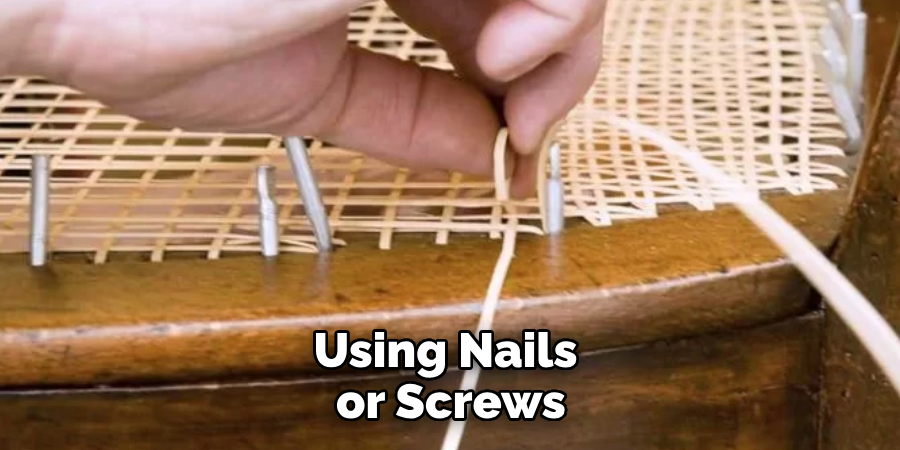
- If you are using nails or screws to attach rattan to wood, make sure to use a drill bit or awl to create pilot holes before inserting them. This will prevent the wood from splitting and ensure a secure hold for the rattan.
- To add extra stability, consider applying a small amount of wood glue onto the rattan before attaching it to the wood. This will help the rattan adhere better to the wood and prevent it from loosening over time.
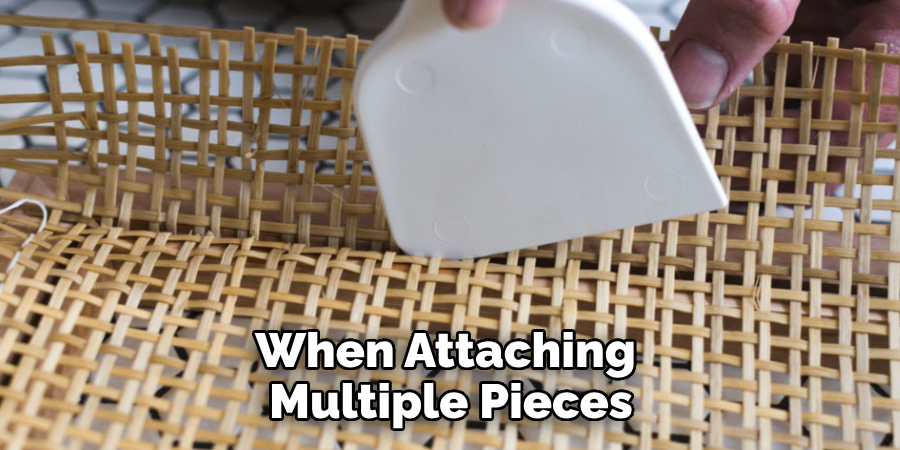
- When attaching multiple pieces of rattan to a single piece of wood, make sure to evenly distribute them along the length of the wood for a balanced look.
- If you use adhesive, such as hot glue or epoxy, allow it to dry completely before handling the attached rattan. This will ensure a strong bond between the wood and rattan.
- For added visual interest, consider using different thicknesses of rattan or mixing different types of weaving patterns when attaching them to wood.
- If you are working with curved pieces of wood, soak the rattan in water for a few minutes to make it more pliable and easier to attach.
- Always wear protective gear, such as gloves and eye goggles, when handling sharp tools or using adhesives.
- Before attaching the rattan to the wood, make sure to clean and sand down any rough edges or imperfections on the wood surface. This will ensure a smooth and secure attachment.
- When attaching rattan to outdoor furniture or structures, use weather-resistant materials such as stainless steel screws or marine-grade glue to prevent damage from exposure to the elements.
Following these additional tips and tricks will help you achieve a professional and long-lasting attachment of rattan to wood. Remember to take your time and be careful when handling the materials, as precision and attention to detail are key to creating a beautiful and durable result. Happy crafting!
Things You Should Consider to Attach Rattan to Wood
- The first thing you should consider is the type of wood you are working with. Different types of wood have varying levels of strength and density, which can affect how well the rattan will attach to it. Hardwoods like oak or maple are generally stronger than softer woods like pine or cedar.
- Next, think about the thickness and width of the wood. For smaller, thinner pieces of wood, you may need to use thinner rattan or wrap it more tightly to ensure a secure attachment. For wider pieces of wood, thicker rattan may be necessary for a sturdy hold.
- Consider the shape and design of your project. Suppose you are attaching rattan to a curved or irregular surface. In that case, you may need to use additional techniques like soaking the rattan in water to make it more pliable or using specialized tools like clamps or hooks for a secure hold.
- Consider the weight and intended use of your project. If you are creating something that will bear a heavy load, such as a chair or table, you may need to double up on the rattan strands or use thicker pieces for added strength.
- Remember the aesthetic aspect of attaching rattan to wood. How you wrap and secure the rattan can greatly impact the overall look of your project. Consider experimenting with different wrapping techniques or adding decorative elements like beads or knots for a unique touch.
- Another important consideration is weather resistance. If your project will be used outdoors, make sure to use materials suitable for outdoor use and withstand moisture, sunlight, and other environmental factors.
- Before attaching the rattan to the wood, ensure both materials are clean and free from any dirt or debris that could affect the adhesion. Sanding down the surface of the wood can also improve the bond between the two materials.
- Choosing a high-quality adhesive or glue specifically designed for attaching rattan to wood is essential. Depending on your project, you may also want to consider using nails or screws in addition to the adhesive for added strength and durability.
- After attaching the rattan to the wood, allow proper drying time according to the adhesive instructions. Rushing this step can result in a weak bond and compromise the integrity of your project.
- Finally, always test the strength of your attachment before using or displaying your project. Gently tug on the rattan to ensure it is securely attached to the wood before putting any weight or pressure on it.
Following these considerations will help ensure a strong and secure attachment of rattan to wood, leading to a successful and visually pleasing project. Remember to always prioritize safety and quality when working with these materials. So go ahead and get creative with your next rattan and wood project! Happy crafting!
Troubleshooting Common Issues to Attach Rattan to Wood
1. Rattan Breakage:
Rattan is a natural material that is prone to breaking if not handled properly. This can be frustrating when trying to attach it to wood. To prevent rattan breakage, make sure to use good quality rattan that is not too old and brittle.
Additionally, avoid using excessive force when attaching it to wood. If you notice any cracks or weak spots in the rattan, reinforce those areas with glue or wrap them tightly with twine before attaching. This will help prevent further breakage during the attachment process.
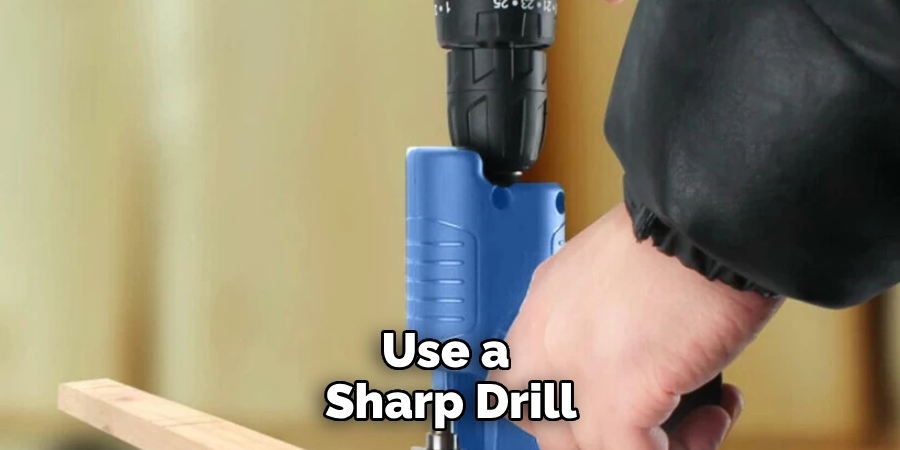
2. Difficulty Drilling Holes:
Some types of wood, such as hardwoods or aged wood, can be difficult to drill through when trying to attach rattan. This can be due to their density and hardness. To make drilling easier, use a sharp drill bit specifically designed for drilling into wood. Additionally, you can use a lubricant or oil to help the drill bit glide through the wood. If all else fails, consider using alternative methods, such as hammering small nails into the wood or using strong adhesive glue.
3. Uneven Attachment:
Attaching rattan to wood requires precision and careful attention to detail. Not attaching the rattan evenly can cause aesthetic issues and affect the piece’s structural integrity. To avoid this issue, measure and mark out the areas where the rattan will be attached before drilling any holes. Use a level to ensure the attachment points are straight and evenly spaced. When attaching the rattan, use even pressure to ensure it is securely in place.
4. Rattan Slipping or Loosening:
It is common for rattan to slip or loosen over time, especially if the piece is frequently used or exposed to moisture. To prevent this, make sure to use a strong adhesive glue when attaching the rattan to wood. You can also reinforce the attachment points with screws or nails for added stability. If the rattan starts to slip or loosen, apply more adhesive glue and use clamps to hold it in place until it fully dries.
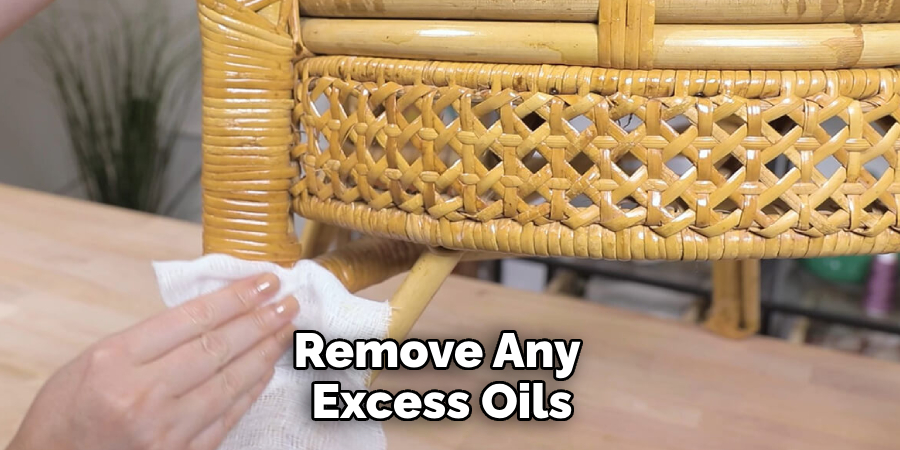
5. Rattan Staining Wood:
Sometimes, the natural oils and tannins in rattan can cause discoloration on wood surfaces. This can be especially problematic if you are working with lighter-colored woods. To prevent staining, you can sand down the rattan to remove any excess oils or apply a sealer before attaching it to the wood. If staining occurs, you can lightly sand the affected area or use a wood cleaner designed to remove stains.
Following these troubleshooting tips can help make the process of attaching rattan to wood smoother and more successful. Remember to always use caution and carefully handle materials to prevent unwanted issues. Your rattan and wood creations will be beautiful and long-lasting with proper care and attention. Happy crafting!
Frequently Asked Questions
What is Rattan?
Rattan is a type of climbing palm native to tropical regions such as Africa, Asia, and Australia. Due to its durability and flexibility, it is widely used in furniture making. Rattan is also a sustainable material as it grows and replenishes quickly.
Why Would I Want to Attach Rattan to Wood?
Attaching rattan to wood can create a unique and stylish look in furniture or home decor. Combining the natural, rustic look of wood with the intricate woven pattern of rattan adds texture and interest to any piece. Additionally, rattan is known for its strength and durability, making it a great choice for furniture frames or other structural components.
Can Rattan Be Attached to Any Wood?
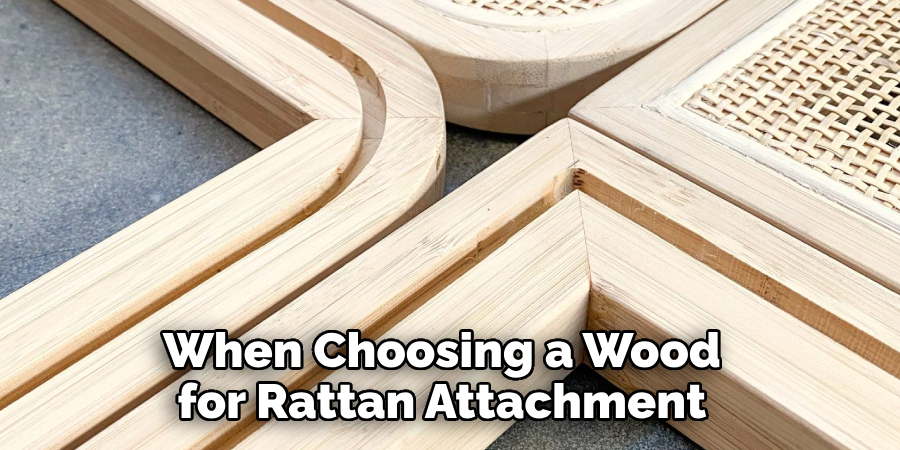
Rattan can be attached to most types of wood, including hardwoods like oak and softwoods like pine. However, depending on the project, some woods may be more suitable for rattan attachment.
For example, softer woods may not provide enough support for heavier pieces of furniture, so a sturdier wood such as oak may be a better choice. It is important to consider the weight and intended use of the final product when choosing a wood for rattan attachment.
What Are Some Techniques for Attaching Rattan to Wood?
One common technique for attaching rattan to wood is using pre-drilled holes and screws or nails. This method involves drilling holes into the wood where you want to attach the rattan, then securing it with screws or nails.
Another technique uses adhesive, such as wood glue or epoxy, to bond the rattan to the wood. This method works well for smaller pieces or projects that require less structural support. You can also use a combination of these techniques for added strength and stability.
Conclusion
Now you know how to attach rattan to wood; you can start incorporating this beautiful and versatile material into your furniture or home decor projects. Remember to choose the right type of wood for your project and consider using a combination of attachment techniques for added durability.
With some creativity and skill, you can create stunning pieces that showcase the natural beauty of both rattan and wood. So, why not try it and add some rattan to your next woodworking project? The possibilities are endless! Keep exploring and experimenting with different techniques to find the perfect combination for your desired outcome. Happy crafting!
About the Author
Adrian Green, a lifelong woodworking enthusiast, shares his passion for the craft through The Woodenify Blog. With a foundation built on years of hands-on experience in his father’s woodworking shop, Adrian is dedicated to helping others learn and grow in the world of DIY woodworking. His approach to woodworking combines creativity, practicality, and a deep appreciation for the art of building with your own hands. Through his blog, he inspires individuals of all skill levels to embark on their own woodworking journeys, creating beautiful, functional pieces of furniture and décor.
Professional Focus
- Specializes in DIY woodworking projects, from furniture to home décor.
- Provides step-by-step guides and practical tutorials for woodworkers of all skill levels.
- Dedicated to helping readers build confidence and skill through easy-to-follow instructions and tips.
- Passionate about fostering a community of makers who can share, learn, and grow together.
Education History
- University of Craft and Design – Bachelor of Fine Arts (BFA) in Woodworking and Furniture Design
- Woodworking Apprenticeships – Extensive hands-on training with skilled craftsmen to refine carpentry and furniture making techniques.
- Online Courses & Masterclasses – Continued education in advanced woodworking techniques, design principles, and specialized tools
Expertise:
- DIY woodworking, carpentry, furniture making, and home décor projects.
- Creating accessible tutorials and guides for beginner to advanced woodworkers.
- Sharing the joys and satisfaction of woodworking, from raw materials to finished products.