Building a grill table is a practical and rewarding project that allows you to enhance your outdoor cooking experience. A sturdy and well-designed table not only provides a dedicated space for your grill but also offers additional room for food prep, utensils, and storage. Whether you’re a seasoned DIY enthusiast or just starting out, creating a grill table can be a straightforward task with the right materials, tools, and guidance.
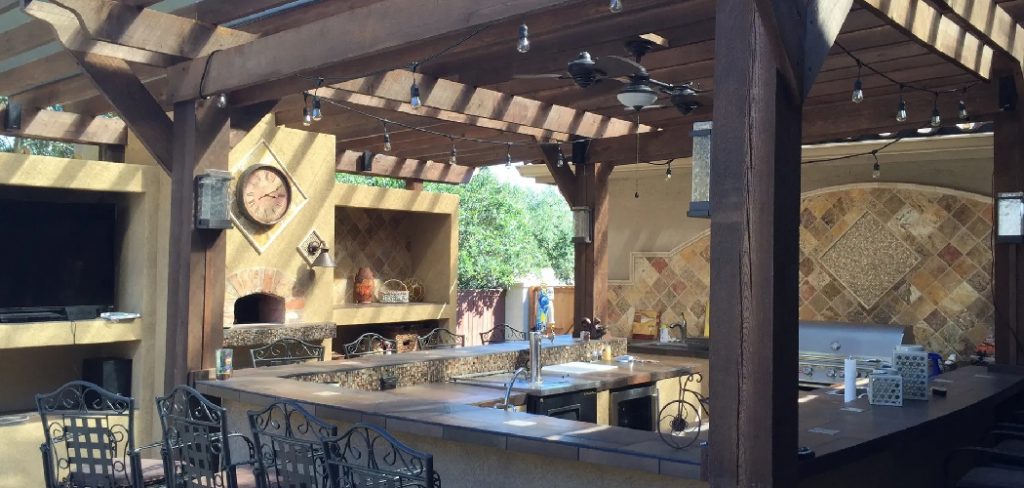
This guide on how to build a grill table will walk you through the steps to build a functional and attractive grill table that suits your needs.
Why Build a Grill Table?
Building your own grill table has its perks. Here are some reasons why you should consider building one for yourself:
Personalization:
By building it yourself, you have the freedom to customize your grill table according to your preferences and needs. You can choose the size, shape, and design that best fits your grilling style and space restrictions.
Cost Savings:
Purchasing a pre-made grill table can be expensive. Building one yourself is a cost-effective alternative, allowing you to save money while still getting a high-quality product.
Creative Outlet:
Building a grill table is an excellent opportunity to unleash your creativity. From choosing materials to designing and decorating, you have the chance to express your personal style and make something unique.
Materials Needed
Before starting on your project, gather the following materials:
- Pressure-treated Lumber or Cedar Wood for the Frame
- Exterior Screws or Nails
- Plywood or Decking Boards for the Tabletop and Shelves
- Saw
- Drill
- Measuring Tape
- Level
- Sandpaper or Sander
- Wood Stain or Paint (Optional)
8 Step-by-step Guides on How to Build a Grill Table
Step 1: Measure and Plan
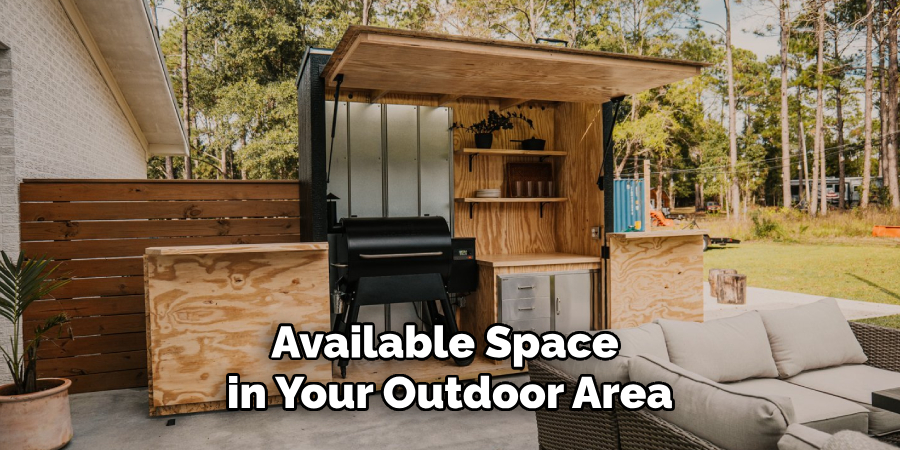
The first step in building your grill table is to measure and plan the design. Start by taking accurate measurements of your grill to ensure the table will accommodate it perfectly. Decide on the overall dimensions of the table, including the height, width, and length, keeping in mind the available space in your outdoor area.
Sketch a basic blueprint or outline of your design, including any additional features such as shelves, hooks for tools, or a cutout for the grill. Proper planning will help you visualize the final product and ensure you have all the necessary materials before beginning construction.
Step 2: Cut the Lumber
Once you have your measurements and design finalized, it’s time to cut the lumber. Using your saw, carefully cut the pressure-treated lumber or cedar wood to the dimensions outlined in your plan. Begin with the main frame pieces, such as the legs and horizontal supports, ensuring each piece is accurately sized for a sturdy and balanced table. Next, cut the wood for the tabletop, shelves, and any additional features like a grill cutout or side extensions.
Take your time and double-check measurements before cutting to avoid wasting material. After cutting, use sandpaper or a sander to smooth the edges and surfaces of the wood to prevent splinters and prepare the lumber for assembly. Properly cut and prepared wood will ensure a precise fit and contribute to the durability of your grill table.
Step 3: Assemble the Frame
With all your pieces cut and prepared, the next step is to assemble the frame of your grill table. Start by constructing the rectangular base frame using horizontal supports and four legs. Use your drill and exterior screws or nails to securely join the pieces together, ensuring each connection is sturdy and stable. It’s essential to check that the frame is level as you work, so use a level to confirm that all parts are aligned properly.
Once the base frame is complete, add additional horizontal supports at the desired heights for shelves or extra stability. If your design includes a middle or lower shelf, attach the framing for those as well. Ensuring that the frame is well-constructed and balanced will be critical for supporting the weight of the grill and any added features. Take your time to double-check each joint and tighten where necessary to create a solid foundation for the rest of your table.
Step 4: Attach the Tabletop and Shelves
Once the frame is assembled, it’s time to add the tabletop and shelves. If using plywood, place it on top of the frame and secure it with screws or nails around the edges and in the middle for added support.

For decking boards, lay them out across the frame and use a drill to attach them to each horizontal support. Follow a similar process for any additional shelves or features, making sure they are securely attached to avoid any accidents while using your grill table.
Step 5: Cut Out Grill Space (Optional)
If your grill table design includes a cutout for the grill, now is the time to create it. Start by marking the location where the grill will sit on the tabletop. Measure the dimensions of your grill carefully, accounting for any necessary clearance for ventilation and ease of use. Use a pencil or marker to outline the exact shape and size of the cutout on the wood.
Once the outline is ready, use a jigsaw to cut along the marked lines. Take your time and follow the lines accurately to ensure a snug fit for your grill. After cutting, sand the edges of the cutout to smooth any rough spots and prevent splinters. Double-check the fit by placing the grill in the cutout. Adjust as needed to ensure the cutout supports the grill securely. Creating a precise and well-finished cutout will enhance the functionality and appearance of your grill table.
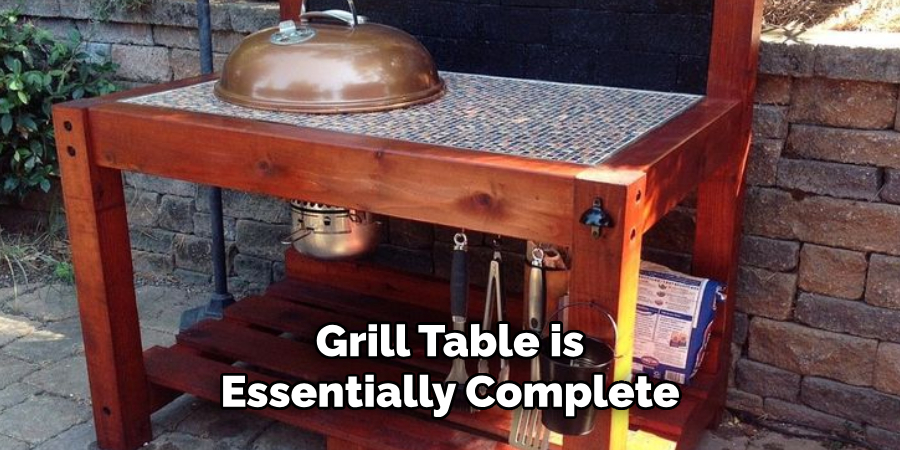
Step 6: Add Finishing Touches (Optional)
At this stage, your grill table is essentially complete. However, you can add some finishing touches to enhance its appearance and functionality further. If desired, you can stain or paint the wood to protect it from the elements and add a personal touch.
Alternatively, you can leave the wood unfinished for a more rustic look. You can also attach hooks or hangers for grilling tools or small shelves on the sides for condiments and spices. These small details will make your grill table even more practical and convenient to use.
Step 7: Test Stability
Before using your grill table, it’s essential to test its stability. Place your grill on the tabletop and ensure it sits securely without any wobbling or tipping. Give the table a gentle shake to check for any weak points that may need reinforcement. If necessary, use additional screws or nails to strengthen these areas and ensure your table can handle the weight of the grill and any added features.
It’s also a good idea to test the stability of the shelves and any other attachments. Make sure they can hold their intended weight without bending or shifting. A sturdy and stable grill table will provide a safe and enjoyable outdoor cooking experience.
Step 8: Enjoy Your New Grill Table!
Congratulations on completing your custom grill table! Now it’s time to put it to good use. Set up your grill and organize your tools, spices, and accessories on the shelves and hooks for a seamless cooking experience. Invite friends and family over for a barbecue and enjoy the convenience and style of your new outdoor setup.
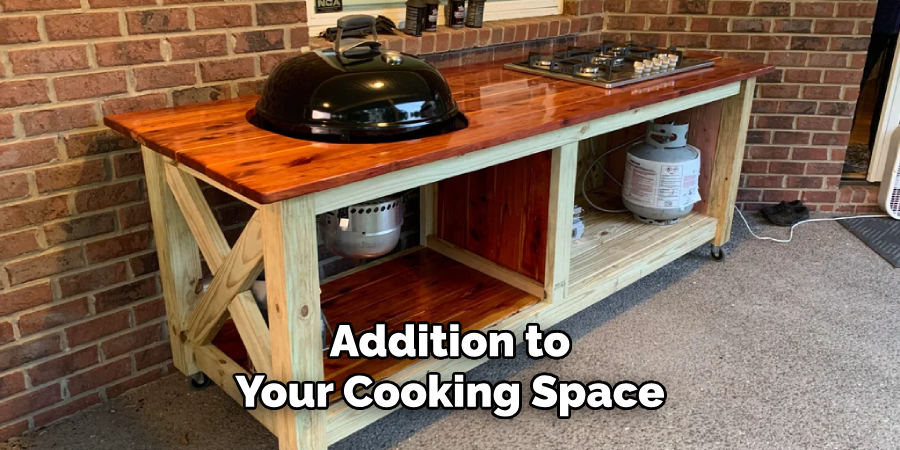
Your grill table not only serves as a practical addition to your cooking space but also as a reflection of your effort and creativity. Maintain it regularly to ensure it lasts for many seasons of outdoor cooking and gatherings. Here’s to countless delicious meals and memories around your grill table!
Following these steps on how to build a grill table and putting in some effort, you can create a unique and functional grill table that will enhance your outdoor cooking experience. Get creative with the design and make it your own by incorporating personal touches. With proper care and maintenance, your custom grill table can be a staple in your backyard for years to come. Happy grilling!
Frequently Asked Questions
Q1: Can I Use Any Type of Wood to Build a Grill Table?
A1: Pressure-treated or weather-resistant wood such as cedar, redwood, or pine is recommended for outdoor projects. Avoid using regular untreated lumber as it may not withstand outdoor conditions and could rot or warp over time.
Q2: How Much Will It Cost to Build a Grill Table?
A2: The cost of materials will depend on the size and design of your grill table. On average, DIY grill tables can range from $50 to $200, depending on the type of wood and additional features you choose to incorporate. However, keep in mind that making your own grill table can also save you money compared to buying a pre-made one.
Q3: Can I Customize My Grill Table?
A3: Absolutely! Building your own grill table allows you to customize it according to your specific needs and preferences. You can
adjust the dimensions, add shelves or hooks for tools, and even create a unique cutout for your grill.
Q4: Do I Need Any Special Tools to Build a Grill Table?
A4: While having access to power tools such as a drill, jigsaw, and circular saw can make the process easier, you can also use hand tools such as a hammer and handsaw if needed. It all depends on your comfort level and the complexity of your design.
Conclusion
Building your own grill table is a rewarding project that combines creativity, functionality, and practicality. It allows you to tailor your outdoor cooking space exactly to your needs while saving money compared to purchasing a pre-made alternative. By following the detailed steps outlined in this guide on how to build a grill table, you can construct a sturdy and stylish grill table that enhances your outdoor culinary experience. Whether you prefer a rustic, minimalist design or a table outfitted with shelves and hooks for maximum storage, the possibilities for customization are endless.
Take pride in your craftsmanship and enjoy the satisfaction of cooking with a grill table you built yourself. If you’re an outdoor cooking enthusiast, a DIY grill table can provide the perfect combination of storage and workspace, enhancing your grilling experience. With proper care and maintenance, your DIY grill table will stand as a durable and valuable addition to your outdoor space for years to come. Happy grilling!
About the Author
Adrian Green, a lifelong woodworking enthusiast, shares his passion for the craft through The Woodenify Blog. With a foundation built on years of hands-on experience in his father’s woodworking shop, Adrian is dedicated to helping others learn and grow in the world of DIY woodworking. His approach to woodworking combines creativity, practicality, and a deep appreciation for the art of building with your own hands. Through his blog, he inspires individuals of all skill levels to embark on their own woodworking journeys, creating beautiful, functional pieces of furniture and décor.
Professional Focus
- Specializes in DIY woodworking projects, from furniture to home décor.
- Provides step-by-step guides and practical tutorials for woodworkers of all skill levels.
- Dedicated to helping readers build confidence and skill through easy-to-follow instructions and tips.
- Passionate about fostering a community of makers who can share, learn, and grow together.
Education History
- University of Craft and Design – Bachelor of Fine Arts (BFA) in Woodworking and Furniture Design
- Woodworking Apprenticeships – Extensive hands-on training with skilled craftsmen to refine carpentry and furniture making techniques.
- Online Courses & Masterclasses – Continued education in advanced woodworking techniques, design principles, and specialized tools
Expertise:
- DIY woodworking, carpentry, furniture making, and home décor projects.
- Creating accessible tutorials and guides for beginner to advanced woodworkers.
- Sharing the joys and satisfaction of woodworking, from raw materials to finished products.