Are you looking to build a beautiful and functional post and rail fence for your property?
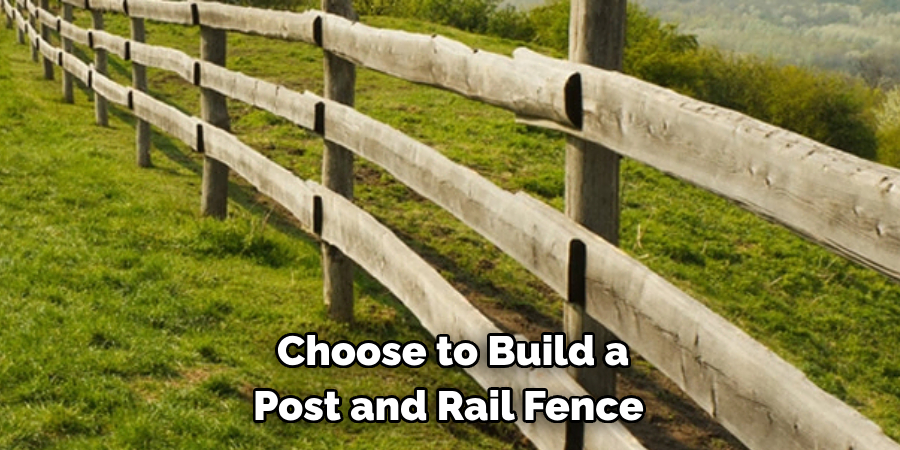
How to build a post and rail fence is an excellent way to define the boundaries of your property, add aesthetic appeal, and even increase its value. This type of fence is not only functional but also carries a timeless look that blends effortlessly into both rural and suburban landscapes.
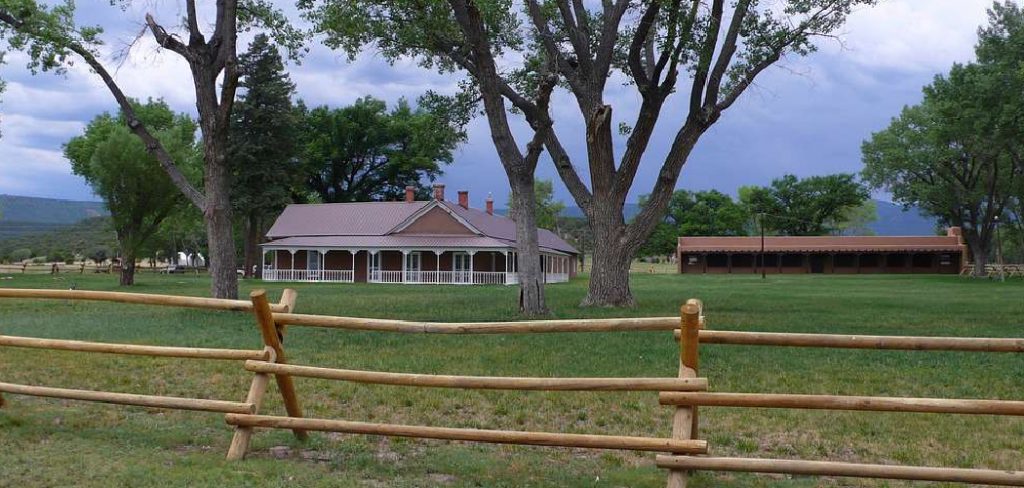
Whether you’re aiming to keep livestock within bounds or simply mark the perimeter of your garden, constructing a post and rail fence can be a rewarding DIY project. With the right tools, materials, and a bit of know-how, you can set up a sturdy and picturesque fence that will stand the test of time.
This guide will walk you through the necessary steps, from planning and material selection to the final installation, ensuring your fencing project is a complete success.
What are the Benefits of Building a Post and Rail Fence?
Before we dive into the process, let’s first explore some of the benefits of building a post and rail fence.
- Adds Aesthetic Appeal: One of the primary reasons people choose to build a post and rail fence is for its visual appeal. This type of fencing has a rustic and traditional look that blends well with natural surroundings. It can also add a touch of charm and character to your property.
- Defines Boundaries: A post and rail fence is an excellent way to define the boundaries of your property. It helps keep neighboring properties or animals out, providing a sense of privacy and security.
- Cost-effective: Building a post and rail fence is relatively inexpensive compared to other types of fencing. With fewer materials and simple construction techniques, it can be a budget-friendly option for those looking to add fencing to their property.
- Easy to Install: Another benefit of post and rail fencing is its relatively easy installation. With the right tools and materials, you can complete the project in a short amount of time with minimal effort.
- Versatile: Post and rail fences come in various designs that can be customized to suit your needs. From different materials such as wood or vinyl to different heights and spacing between rails, this type of fence offers versatility in both function and style.
These are just a few of the many benefits that come with building a post and rail fence on your property.
What Will You Need?
Now that you know the advantages of building this type of fence, it’s time to gather the necessary tools and materials.
Tools:
- Measuring tape
- Level
- Post hole digger or auger
- Shovel
- Hammer
- Circular saw or handsaw
- Drill with screwdriver bit
- Clamps
Materials:
- Fence posts (4×4 or 6×6 treated lumber)
- Rails (2×4 or 2×6 treated lumber)
- Gravel
- Concrete mix
- Nails/screws
It’s essential to use high-quality materials as they will ensure the durability and longevity of your fence. Make sure to double-check all measurements before purchasing any materials to avoid any mistakes.
10 Easy Steps on How to Build a Post and Rail Fence:
Step 1. Plan and Measure
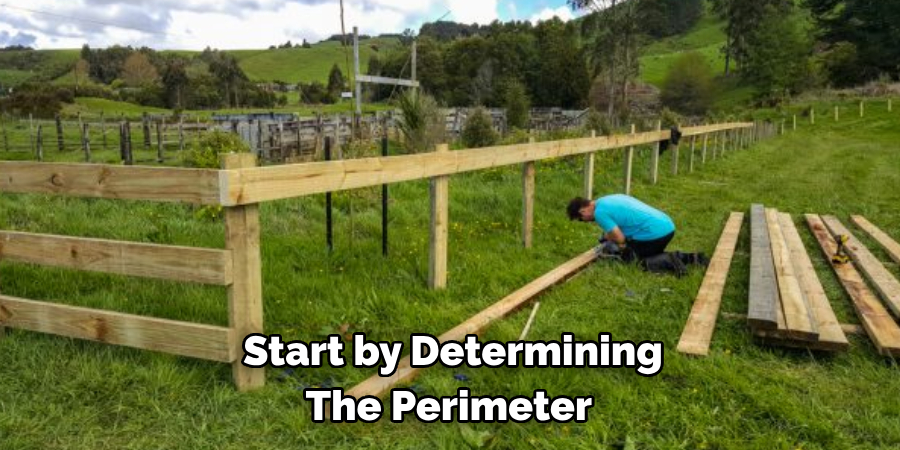
Planning and measurement are crucial first steps before any digging or construction begins. Start by determining the perimeter of the area where you want your fence to be. Use a measuring tape to accurately measure this area. Remember, precise measurements are key to ensuring that you purchase the correct amount of materials and that your fence is evenly spaced and straight.
Once you have your measurements, mark the positions of each post with stakes or spray paint. It’s recommended to space posts about 8 feet apart; this distance may vary depending on the length and height of your fence.
Step 2. Digging Holes
The foundational step in constructing your post and rail fence involves digging holes for the posts. This task requires a post hole digger, an auger, and a shovel for any necessary adjustments. Each hole should be approximately one-third as deep as the height of the fence post. For example, if your fence posts are 6 feet tall, aim to dig about 2 feet deep holes to ensure stability.
Also, remember to make the holes wide enough to accommodate the width of the post, plus a few inches for the concrete mix that will help secure it in place. The general recommendation is to dig holes that are about three times wider than the post diameter to ensure a snug fit. Taking the time to accurately dig these holes will lay a strong foundation for your fence and help prevent future issues like leaning or sagging posts.
Step 3. Setting the Posts
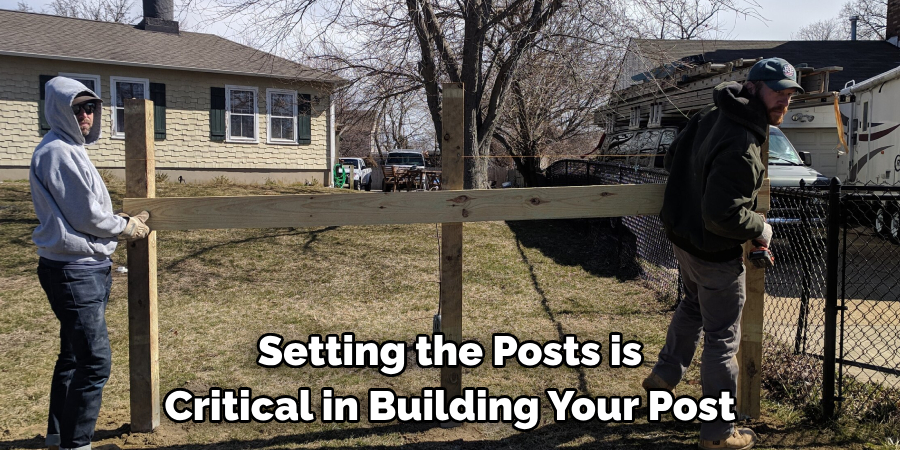
Setting the posts is critical in building your post and rail fence. Begin by placing a layer of gravel at the bottom of each hole to assist with drainage and prevent wood rot. Next, insert the post into the hole, ensuring it is perfectly vertical using a level. Once the post is properly aligned, it’s time to secure it in place.
Mix the concrete according to the manufacturer’s instructions and pour it around the post, filling the hole to just below ground level. Use a stick or a tool to poke the concrete mix and eliminate air pockets, ensuring a solid foundation. Allow the concrete to set according to the package directions, usually 24-48 hours, before proceeding with attaching the rails. It’s essential to check the alignment of the posts again after the concrete has been poured but before it sets completely to make any necessary adjustments.
Step 4. Attaching the Rails
Once your posts are set and the concrete has fully cured, the next step is to attach the rails to them. Measure and cut your rails to the appropriate length, ensuring they fit snugly between each set of posts. For a traditional post-and-rail fence, you will typically need two to three rails per section of fencing.
Start by marking the position of the rails on your posts. For uniformity, starting from the bottom’s a good idea, leaving about 8 to 10 inches of space from the ground to the bottom rail. Place the first rail against the post at your mark and secure it with screws or nails. Repeat this process to attach the remaining rails. If your design includes more than one rail, ensure that the spacing between each rail is equal.
Step 5. Checking for Uniformity
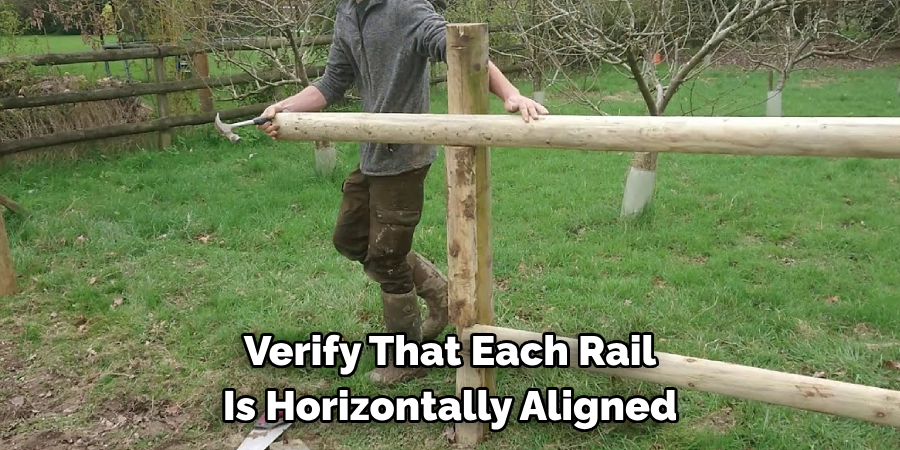
After attaching the rails to the posts, it’s important to take a step back and check for uniformity across your fence. Use your level to verify that each rail is horizontally aligned and make any necessary adjustments. Also, ensure that the spacing between each rail is consistent throughout the fence. Taking the time to double-check these aspects can significantly impact your fence’s overall appearance and stability. If any disparities are found, it’s easier to make adjustments now rather than later in the process.
Step 6. Finishing Touches
With the rails securely attached to the posts, the main structure of your post and rail fence is now complete. The final step involves applying the finishing touches to protect the wood and enhance the fence’s aesthetic appeal. Start by sanding down any rough edges on the posts and rails to prevent splinters and give your fence a polished look. Next, apply a coat of paint or stain to protect the wood from weather elements and to extend its lifespan.
If you choose to paint your fence, consider a color that complements the surroundings and your home’s exterior. Allow the paint or stain to dry completely according to the product’s directions. Lastly, add post caps to the top of each post. These caps add a decorative touch and help protect the posts from rain and sun damage. With these steps, your post and rail fence will be ready to provide beauty and functionality to your property for years to come.
Step 7. Maintenance and Upkeep
Regular maintenance is essential to keeping your post and rail fence looking its best and extending its lifespan. Start by periodically inspecting the fence for any signs of damage, such as splinters, cracks, or loose nails/screws, and address these issues promptly. It’s also advisable to clean the fence annually with a mild soap solution to remove dirt, algae, or mildew that may have accumulated.
To protect the wood further, consider reapplying a coat of paint or stain every few years, depending on the weather conditions in your area and the specific product’s durability. Additionally, ensure that the area around the fence is clear of heavy vegetation to prevent moisture buildup and potential wood decay.
Step 8. Troubleshooting Common Problems
After your fence has been successfully installed, you might encounter a few common issues over time. Leaning posts are often a result of shifting soil or inadequate footing. To rectify this, you may need to excavate around the affected post, straighten it to the proper vertical position, and then secure it with additional concrete. Another frequent concern is wood rot, particularly at the base of the posts.
Preventing moisture accumulation is key; however, if rot sets in, it might be necessary to replace the affected posts to maintain the structure’s integrity. Lastly, loose or sagging rails can occur. Tightening the hardware or replacing it with longer or more durable screws may offer a simple fix. Regularly inspecting and addressing these common issues will help ensure your fence remains sturdy and visually appealing for as long as possible.
Step 9. Enhancements and Customization
Once your post and rail fence are fully installed and maintained, consider enhancements and customization to increase functionality and aesthetic appeal. Adding lighting features, such as solar post caps, can provide illumination and add a warm ambiance to your outdoor space.
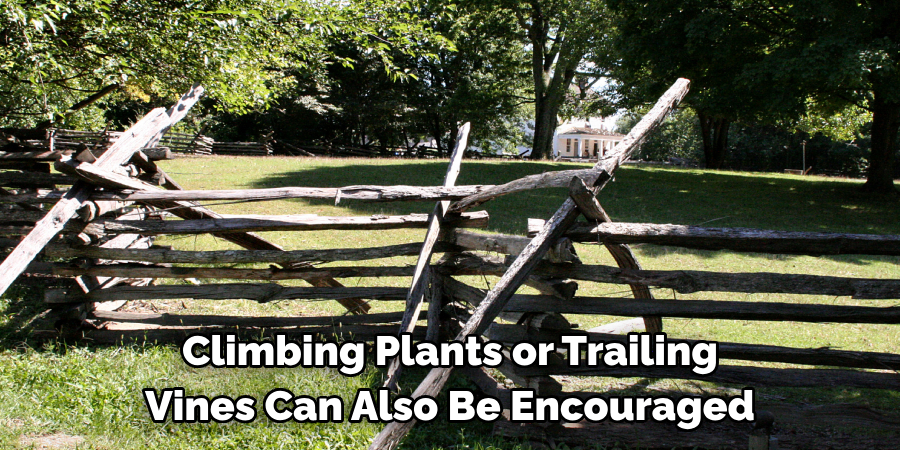
Consider weaving in lattice panels between the posts or attaching privacy slats to the rails for added privacy. Climbing plants or trailing vines can also be encouraged to grow along the fence for a natural, green barrier. Personal touches, like decorative hardware or unique paint choices, can further reflect your style and complement the landscape. By incorporating these enhancements, your post and rail fence will serve its practical purpose and become a standout feature of your property.
Step 10. Reflection and Future Considerations
After completing your post and rail fence, reflecting on the process can provide valuable insights for future projects. Assess the challenges encountered, the solutions implemented, and the overall outcome of the installation. Consider how the design and functionality of the fence meet your initial objectives and what, if any, changes you might make for subsequent projects.
Additionally, think about the future needs of your property and how your new fence can adapt or accommodate those needs. Whether it involves additional sections, alternative materials, or further customization, planning for the future ensures that your fence remains a versatile and integral part of your property’s landscape. Reflecting on these aspects enhances your satisfaction with the completed project and enriches your knowledge and experience for future fencing endeavors.
By following these steps, you can confidently build a post-and-rail fence that meets your functional needs and adds beauty and value to your property.
5 Additional Tips and Tricks
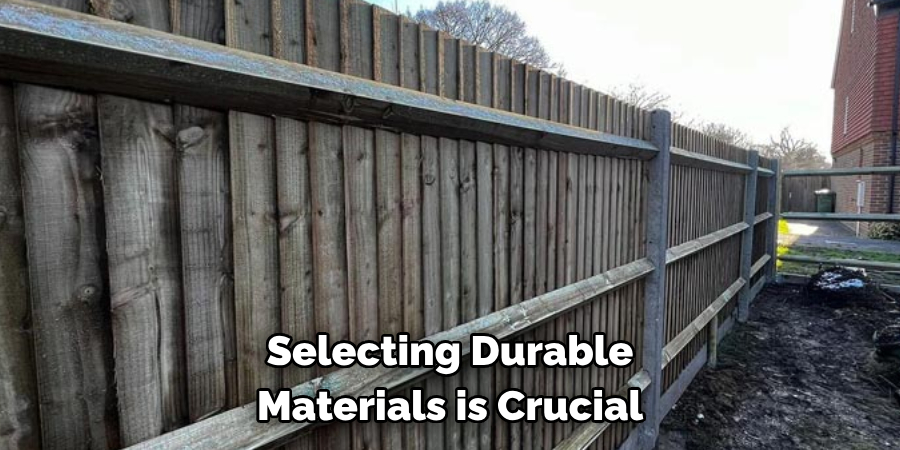
- Choose the Right Material: Selecting durable materials is crucial for the longevity of your post and rail fence. Consider treated wood, vinyl, or aluminum for their resilience against decay, pests, and weather conditions.
- Space Posts Properly: Adequate spacing between posts is essential for structural integrity. Typically, posts should be placed 6 to 8 feet apart. Proper spacing ensures stability and evenly distributed support for the rails.
- Ensure Even Post Depth: To prevent leaning and uprooting, all fence posts should be buried at least 2 feet into the ground. For added stability, consider setting the posts in concrete.
- Use Horizontal Rails Wisely: Install horizontal rails on the side of the fence facing your property to provide a smooth and more aesthetically pleasing look. Additionally, this positioning deters climbers and enhances privacy.
- Regular Maintenance: Once your fence is up, it is key to prolonging its life. This includes checking for and repairing any loose, cracked, or rotting sections, cleaning off mold or mildew, and applying a fresh coat of paint or sealant as needed.
With these additional tips and tricks, you can ensure that your post and rail fence not only look great but also stand the test of time.
5 Things You Should Avoid When Building a Post and Rail Fence
- Neglecting Legal Requirements: Failing to check local building codes and not obtaining necessary permits can result in fines or having to dismantle your fence. Always ensure you are compliant with local regulations before starting your project.
- Inaccurate Measurements: Skipping the step of carefully measuring your fence layout can lead to significant issues with spacing and material shortages. Accurate measurements are crucial for a seamless installation process.
- Ignoring Property Lines: Building on your neighbor’s property by mistake can lead to disputes and possibly legal actions. It’s essential to precisely determine and respect property boundaries before construction begins.
- Using Poor Quality Materials: Opting for the cheapest materials can be tempting, but this often leads to deterioration and more maintenance in the long run. Investing in high-quality materials from the start pays off by ensuring the longevity and durability of your fence.
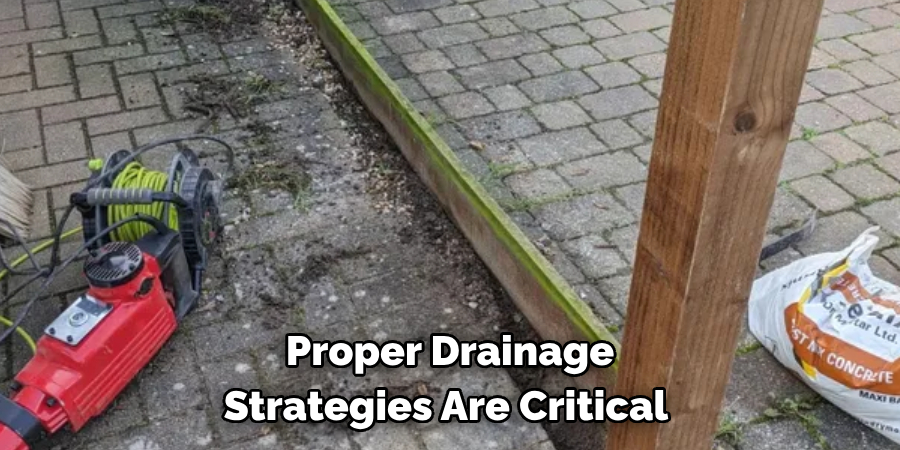
- Overlooking the Importance of Drainage: Failing to consider how water will drain around your fence posts, especially if setting them in concrete, can lead to water pooling and accelerated wood rot or corrosion. Proper drainage strategies are critical to prevent premature damage.
By avoiding these common mistakes, you can ensure a successful and hassle-free construction process for your post and rail fence.
How Do You Calculate the Materials Needed for Your Post and Rail Fence?
Calculating the materials needed for your post and rail fence depends on a few factors, including the length of your fence, the number of rails you want, and the spacing between posts. Here’s a general formula to estimate material quantities:
- Start by measuring the total length of your fence in feet.
- Divide this number by the spacing between posts (usually 6 to 8 feet) to determine the number of posts needed.
- Multiply the number of posts by the number of rails desired (typically 2 or 3) to get the total number of rails.
- Calculate the length of each rail by multiplying the post spacing by the number of sections, then dividing this number by the total number of rails.
- The number of pickets needed will depend on the spacing between rails and picket width. Typically, you’ll need 2 to 3 pickets per linear foot.
Adding an extra 10% to your calculations for any waste or mistakes during installation is always a good idea. Remember that these measurements are just estimates, and it’s best to double-check with your specific fence design and measurements before purchasing materials.
Conclusion
How to build a post and rail fence is a rewarding project that enhances the aesthetic appeal of your property and provides a sturdy barrier for many years to come.
By following the outlined steps—from choosing the right materials and spacing your posts correctly to avoiding common pitfalls and calculating your material needs—you set the groundwork for a successful installation. Remember, preparation and attention to detail are paramount at every process stage. Whether it’s ensuring compliance with local building regulations, selecting high-quality materials, or executing proper installation techniques, each element plays a crucial role in your fence’s overall durability and effectiveness.
Ultimately, with a bit of planning, effort, and adherence to the tips and precautions mentioned, anyone can construct a post-and-rail fence that is both functional and beautiful, adding value and charm to their outdoor space.
About the Author
Adrian Green, a lifelong woodworking enthusiast, shares his passion for the craft through The Woodenify Blog. With a foundation built on years of hands-on experience in his father’s woodworking shop, Adrian is dedicated to helping others learn and grow in the world of DIY woodworking. His approach to woodworking combines creativity, practicality, and a deep appreciation for the art of building with your own hands. Through his blog, he inspires individuals of all skill levels to embark on their own woodworking journeys, creating beautiful, functional pieces of furniture and décor.
Professional Focus
- Specializes in DIY woodworking projects, from furniture to home décor.
- Provides step-by-step guides and practical tutorials for woodworkers of all skill levels.
- Dedicated to helping readers build confidence and skill through easy-to-follow instructions and tips.
- Passionate about fostering a community of makers who can share, learn, and grow together.
Education History
- University of Craft and Design – Bachelor of Fine Arts (BFA) in Woodworking and Furniture Design
- Woodworking Apprenticeships – Extensive hands-on training with skilled craftsmen to refine carpentry and furniture making techniques.
- Online Courses & Masterclasses – Continued education in advanced woodworking techniques, design principles, and specialized tools
Expertise:
- DIY woodworking, carpentry, furniture making, and home décor projects.
- Creating accessible tutorials and guides for beginner to advanced woodworkers.
- Sharing the joys and satisfaction of woodworking, from raw materials to finished products.
