Building a custom shoe rack for a closet is an excellent DIY project tailored to fit your specific needs and maximize your storage space. This guide will walk you through the steps on how to build a shoe rack for closet, helping you create a practical and aesthetically pleasing solution.
Creating a personalized shoe rack offers numerous benefits, including improved organization and efficient use of closet space. Not only does it help keep your shoes neatly arranged and easily accessible, but it also frees up floor space and reduces clutter.
Engaging in DIY projects such as building your own shoe rack provides a sense of achievement and allows for customization to meet your unique preferences. It’s a straightforward yet rewarding task that can significantly enhance your closet’s functionality and overall appearance.
Planning and Design
Assessing Space:
- Measure the closet area to determine the available space for the shoe rack.
- Consider the height, width, and depth that will fit comfortably within the closet, ensuring the shoe rack does not obstruct other storage areas.
- Take note of any obstructions, such as closet doors or other built-in features, that may impact the design.
Determining Capacity:
- Estimate the number of shoes to be stored and their sizes. This includes accounting for different types of shoes, such as boots, sneakers, and heels.
- Plan for additional space for future shoe purchases to avoid overcrowding.
- Consider the frequency of use and accessibility for each type of shoe to keep frequently worn pairs more accessible.
Choosing a Design:
- Evaluate your needs and available space to choose the most suitable design. Options include:
- Simple Horizontal Shelves: Ideal for straightforward and easy access to shoes. They can be used for a wide variety of shoe types.
- Slanted or Angled Shelves: These shelves allow better visibility and easier reach, which is particularly useful for displaying shoes.
- Stackable Cubbies or Compartments: Offer a neat, compartmentalized way to store shoes of different sizes and can be easily expanded.
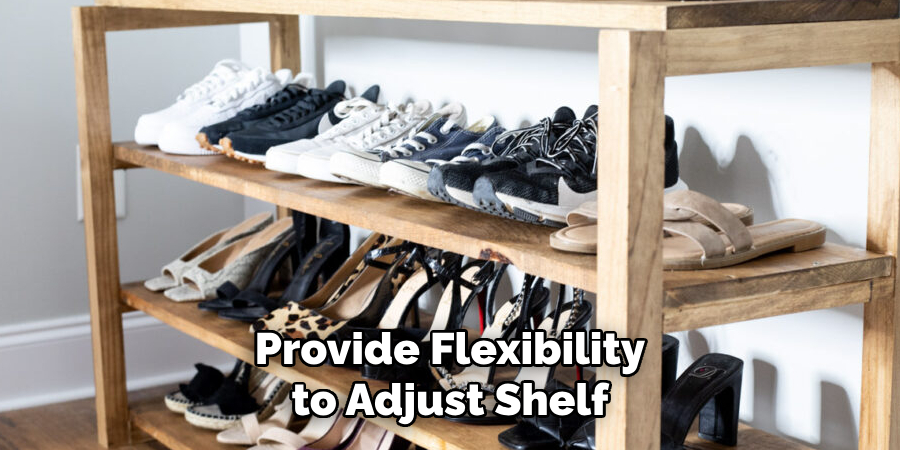
- Adjustable Shelving Options: Provide flexibility to adjust shelf heights to accommodate various shoe types, including boots and high heels.
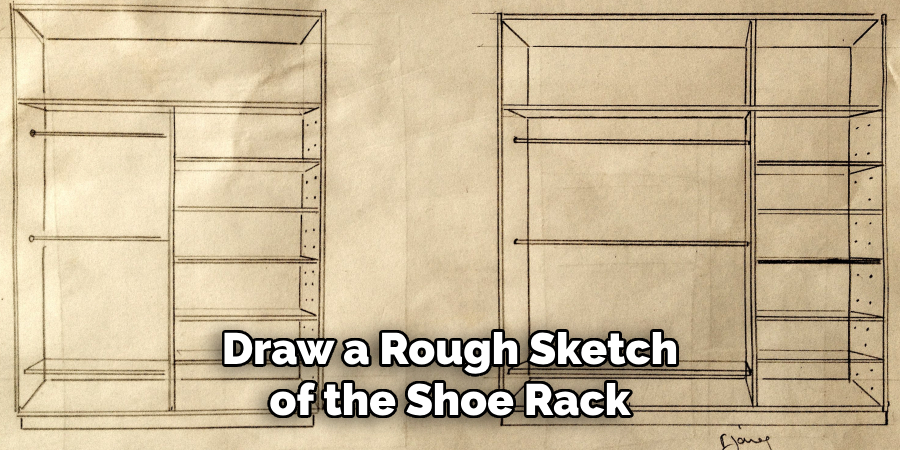
Sketching the Design:
- Draw a rough sketch of the shoe rack, including dimensions and layout, which will serve as a reference throughout the build.
- Visualize the final product and make necessary adjustments to ensure it meets your needs and fits well within the closet space.
- Consider adding elements such as hooks or small bins for functionality like storing shoelaces, polish, or other accessories.
Gathering Materials and Tools
Materials:
- Plywood or solid wood boards (depending on preference)
- Wood screws or nails
- Wood glue
- Sandpaper (various grits)
- Wood stain or paint (optional)
- Shelf brackets (if making adjustable shelves)
Tools:
- Measuring tape
- Pencil
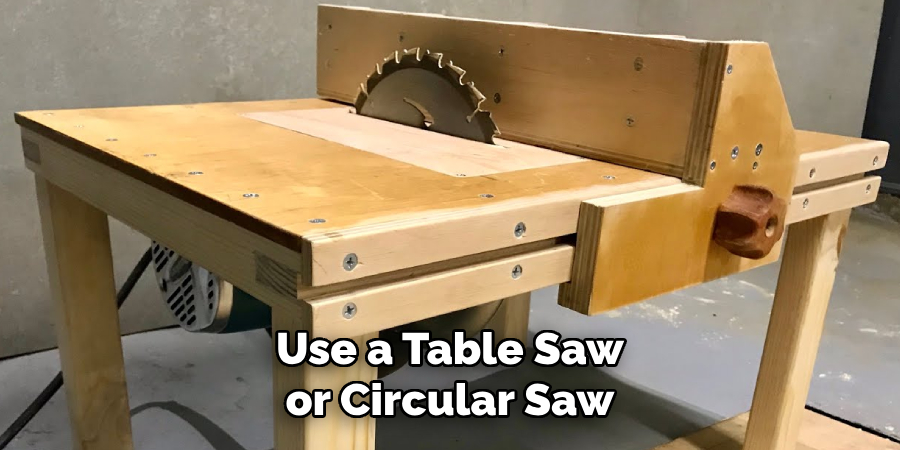
- Table saw or circular saw
- Drill and drill bits
- Screwdriver or hammer
- Clamps
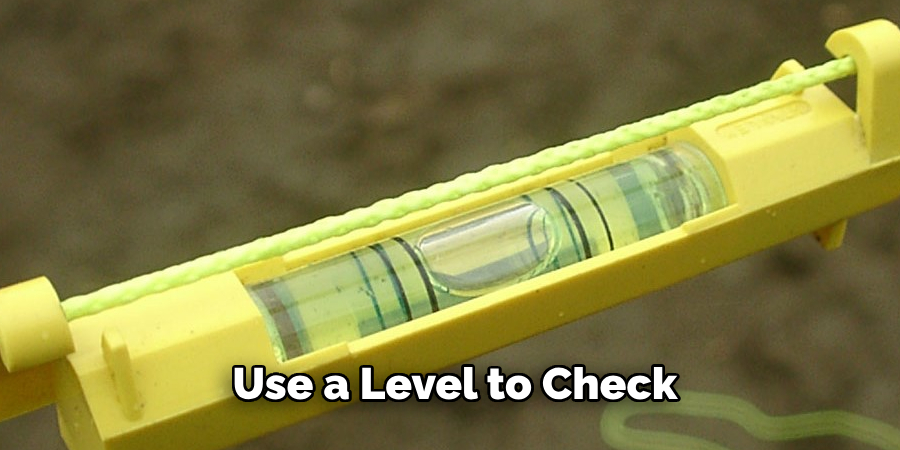
- Level
- Safety equipment (gloves, goggles, dust mask)
Before starting the build, gathering all the necessary materials and tools is crucial to ensure a smooth and efficient process. For the shoe rack, you can choose either plywood or solid wood boards based on your preference for durability and aesthetics. Wood screws or nails will be essential for securing the components together, while wood glue provides additional strength to the joints.
Various sandpaper grits will help you achieve a smooth finish on the wood surfaces. If you decide to stain or paint the shoe rack, make sure to select a finish that complements your closet decor. If you opt for adjustable shelving, shelf brackets will be necessary to support the variable shelf heights.
Regarding tools, a measuring tape and pencil are fundamental for marking accurate measurements and cutting lines. A table saw or circular saw is needed to cut the wood to the required dimensions. Use a drill and appropriate drill bits for making pilot holes and either a screwdriver or hammer to assemble the shoe rack. Clamps will assist in holding the pieces together while the glue sets, ensuring a strong bond. A level is critical for checking that your shelves are even, contributing to a professional-looking result. Always remember to wear safety equipment, including gloves, goggles, and a dust mask, to protect yourself during the building process.
How to Build a Shoe Rack for Closet: Cutting the Wood
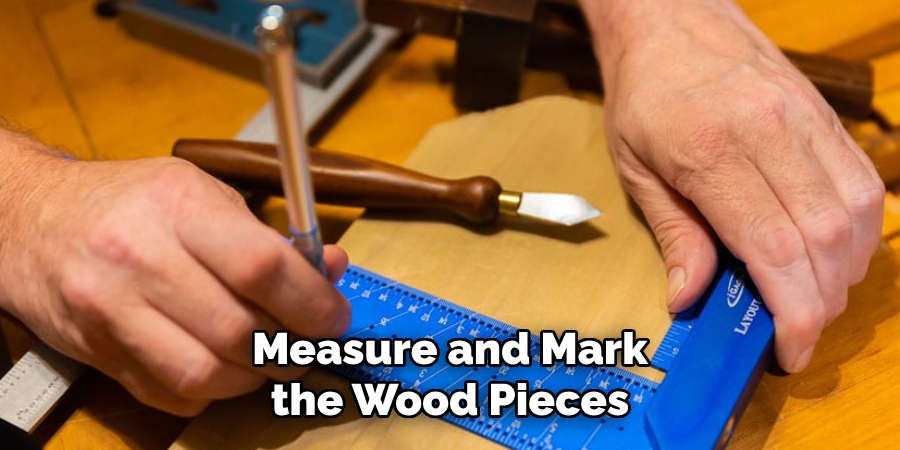
Measure and Mark:
- Measure and Mark the Wood Pieces:
- Begin by measuring the wood pieces based on the dimensions specified in your design sketch. Make sure to account for shelves, side panels, back panels (if applicable), and supports.
- Use a pencil to mark the measurements clearly on the wood. Accurate marking is crucial to ensure all pieces fit together properly.
Cut the Panels:
- Use a Table Saw or Circular Saw:
- Carefully cut the wood pieces to the marked dimensions using a table saw or circular saw. If you’re using a circular saw, a straight edge or guide can help keep the cuts accurate and straight.
- Double-check your measurements before cutting to ensure precision. Accurate cuts will contribute to a well-fitting and professional-looking shoe rack.
- Take your time with this step, as rushing could lead to mistakes and uneven cuts.
Sand the Edges:
- Smooth the Cut Edges:
- Once all the pieces are cut, smooth the edges with sandpaper. Start with medium-grit sandpaper to remove any splinters or roughness from the cutting process.
- Follow up with fine-grit sandpaper to achieve a smoother finish. This step is important for aesthetic appeal and safety, preventing any splinters or rough edges that could cause injury.
- Pay extra attention to the visible edges and areas that will be frequently touched.
By carefully measuring, marking, cutting, and sanding your wood pieces, you lay the foundation for a sturdy and visually appealing shoe rack. Ensuring precision and smoothness in these early steps will pay off in your custom shoe rack’s overall quality and durability.
How to Build a Shoe Rack for Closet: Assembling the Frame
Building the Side Panels:
- Cutting Side Panels:
- If using plywood or boards, cut two side panels to the desired height and depth based on your design.
- Ensure the panels are identical for even support, as uneven panels could lead to an unstable shoe rack.
- Positioning Panels:
- Place the side panels parallel to each other, ensuring they are perpendicular to the floor to maintain the shoe rack’s structure.
- Attaching the Shelves:
- Spacing Shelves:
- Decide on the spacing between shelves based on the height of the shoes being stored. Ensure there is enough space for taller footwear like boots.
- Mark the positions of the shelves on the inner sides of both side panels. Use a measuring tape and pencil to ensure consistent spacing across the entire frame.
- Securing Shelves:
- Attach the shelves to the side panels using wood screws or nails. Start at one end and work your way to the other to maintain structural integrity.
- Apply wood glue to the joints where the shelves meet the side panels for added strength. This step will enhance the durability of your shoe rack.
- Use clamps to hold the pieces together while the glue dries. Ensure that everything is aligned correctly and at a level before clamping. Allow sufficient drying time, as the wood glue manufacturer recommends, to achieve a strong bond.
- Adding a Back Panel (Optional):
- Cutting Back Panel:
- If you have chosen to add a back panel, cut it to fit the dimensions of the assembled frame. The back panel should cover the entire rear side of the shoe rack to provide maximum stability.
- Attaching Back Panel:
- Attach the back panel to the assembled frame using wood screws or nails. This step adds substantial stability and helps to keep the shoe rack square.
- Ensure the back panel is flush with the edges of the side panels and shelves. Use a level to check for evenness as you secure the back panel.
- By carefully following these steps, you can assemble a sturdy and functional shoe rack frame with reliable support and a sleek appearance. Ensuring each component is tightly secured and properly aligned will result in a high-quality piece that can efficiently accommodate your shoe collection.
Installing the Shoe Rack
Positioning in the Closet:
- Place the Assembled Shoe Rack in the Designated Spot Within the Closet:
- Ensure that the shoe rack fits snugly in the chosen location. Measure the space beforehand to avoid any issues.
- When positioning, ensure the shoe rack does not obstruct other storage areas or interfere with clothing or other items in the closet.
- If your closet has doors, check that they can open and close without hitting the shoe rack.
Securing to the Wall (Optional):
- For Added Stability, Secure the Shoe Rack to the Wall Using Brackets or Screws:
- This step is particularly useful if you have children or pets, as it prevents the shoe rack from tipping over.
- Locate the wall studs using a stud finder. Wall studs provide a strong anchor for securing the shoe rack.
- Attach the brackets to the wall studs and then to the shoe rack. Use appropriately sized screws to ensure a secure fit.
- After securing the shoe rack to the wall, double-check its levelness and make any necessary adjustments to maintain stability.
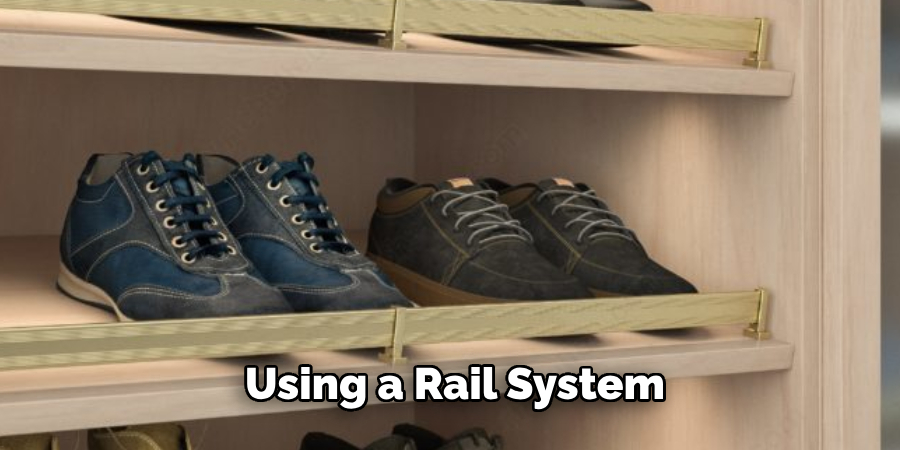
Adjustable Shelving (Optional):
- If Using Adjustable Shelves, Install Shelf Brackets at Desired Intervals:
- Decide the height for each shelf based on the types of shoes you plan to store. Taller footwear, such as boots, will require more space between shelves.
- Attach the shelf brackets to the inner sides of the shoe rack. Ensure that the brackets are level and evenly spaced.
- For added versatility, consider using a rail system that allows for easy adjustment of shelf heights.
- Place the Shelves on the Brackets and Adjust as Needed for Different Shoe Sizes
- Start with the largest items, like boots, to establish the spacing for lower shelves first.
- Adjust the shelves up or down to create the best arrangement for your shoe collection. This flexibility allows you to maximize storage efficiency.
- Regularly check the stability of the shelves, especially if you are frequently adjusting them. Tighten any brackets or screws that may have loosened over time.
By following these steps, you can securely position your shoe rack in the closet, ensuring both practical storage and optimal organization. Attaching the rack to the wall and using adjustable shelving enhances the flexibility and safety of your custom-built shoe rack.
Finishing Touches
Sanding and Smoothing:
- Sand the Entire Shoe Rack to Remove Any Rough Spots or Sharp Edges:
- Use a sanding block or an electric sander to smooth all surfaces. Start with coarse-grit sandpaper to remove larger imperfections and then progress to finer grits for a polished finish.
- Pay special attention to the edges and corners, ensuring there are no splinters or sharp areas that could cause injury or snag clothing.
- Ensure All Surfaces Are Smooth to the Touch:
- Run your hand across the sanded surfaces to check for any remaining rough spots. Sand any areas that still feel uneven until the entire shoe rack is smooth.
- Staining or Painting:
- Apply Wood Stain or Paint to the Shoe Rack to Match the Closet Decor:
- Choose a wood stain or paint color that complements the existing decor of your closet. Test the stain or paint on a small, inconspicuous area first to ensure it achieves the desired color.
- Use a brush or cloth to apply the stain, following the wood grain to achieve an even coat. If painting, use a high-quality brush or roller for smooth application.
- Follow the Manufacturer’s Instructions for Application and Drying Times:
- The manufacturer recommends that the stain or paint dry thoroughly between coats. Multiple coats may be necessary to achieve a rich, even color.
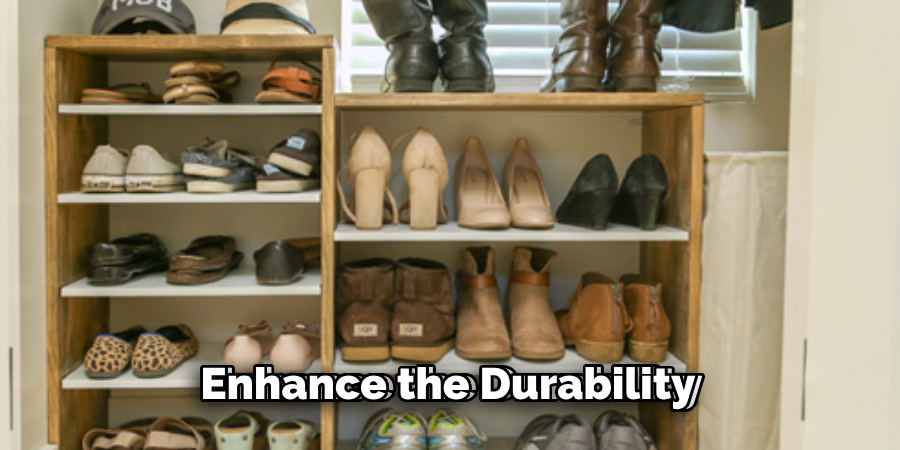
- Apply a Protective Finish, Such as Polyurethane, for Added Durability:
- Apply a clear protective finish once the stain or paint is completely dry. This protective layer will help prevent scratches and wear, ensuring the longevity of your shoe rack.
- Apply the finish in thin, even coats, allowing each coat to dry completely before applying the next. Sand lightly between coats with fine-grit sandpaper for a smooth final finish.
- Final Assembly:
- Reassemble Any Removable Parts After Finishing:
- After the finish has dried, reattach any removable parts, such as adjustable shelves or back panels, that were taken off for staining or painting.
- Ensure all screws anEnsure All Screws and Nails Are Secure and Flush With the Wood Surface:
- Double-check all connections, making sure that screws and nails are tightly secured and flush with the wood surface. This step ensures that the shoe rack remains stable and safe to use.
- Conduct a final inspection to verify that everything is in place and properly aligned. Your completed shoe rack should now be ready for use, providing an organized and aesthetically pleasing storage solution for your footwear.
- By following these finishing steps, you will enhance the appearance and durability of your shoe rack, ensuring it serves as both a functional and attractive addition to your closet.
Organizing Shoes
Categorizing Shoes:
- Group Shoes by Type (E.g., Casual, Formal, Sports) for Easy Access
- Start by sorting your shoes into categories based on their use and style. This makes it easier to find the right pair quickly.
- Create separate sections in the shoe rack for different types of shoes. For instance, group all casual shoes together and have a distinct section for formal wear and another for sports shoes.
- Arrange Shoes by Frequency of Use, Placing Commonly Worn Shoes on Accessible Shelves:
- Position the shoes you wear most often on the more accessible shelves. This saves time and effort, as you won’t need to search through infrequently worn pairs.
- Less frequently worn shoes, such as those used for special occasions, can be stored on higher or lower shelves out of the way.
Utilizing Space Efficiently:
- Use Vertical Space by Stacking Shoes or Adding Additional Shelves if Needed:
- Maximize your storage capacity by configuring your shoe rack to use vertical space. Stackable shoe organizers or additional shelves can help you store more pairs without consuming extra floor space.
- Adjustable shelves are particularly useful as they allow you to customize the space between shelves based on the height of your shoes.
- Consider Using Shoe Boxes or Bins for Seasonal or Less Frequently Used Shoes:
- Shoe boxes or storage bins are a great way to organize and protect your less frequently worn shoes from dust. Label the boxes or bins to easily identify the contents without opening them.
- Store these boxes on the topmost or bottom shelves to free up space for shoes that are in regular rotation.
Maintaining Organization:
- Regularly Declutter and Reorganize the Shoe Rack to Keep It Tidy:
- Periodically go through your shoe collection to get rid of any pairs you no longer wear. This helps keep the shoe rack clutter-free and allows new additions.
- A regular reorganization routine ensures that shoes don’t get misplaced and remain in good condition.
- Rotate Shoes Seasonally to Make the Most of Available Space:
- Adjust your shoe arrangement based on the season. For instance, place winter boots at the back of the rack during summer and bring forward lighter shoes.
- This seasonal rotation prevents overcrowding and ensures your footwear is always within easy reach.
By categorizing, utilizing space efficiently, and consistently maintaining your shoe rack, you can create a well-organized and functional storage solution for your footwear.
Conclusion
Building and installing a custom shoe rack involves several key steps. First, you need to plan and measure to ensure the rack fits your space. Next, gather the materials and tools necessary for construction. Cut and assemble the pieces, ensuring all connections are secure. Attach the back panel, install shelves, and then sand and finish the wood. Finally, organize your shoes methodically to maximize the efficiency and aesthetics of your newly built rack.
Taking on this DIY project can significantly improve your closet organization and provide a sense of accomplishment. By learning how to build a shoe rack for closet, you not only enhance your storage solutions but also personalize your living space with a functional and stylish addition.
To achieve a professional-looking result, take your time with each step, especially during measuring and finishing. Regular maintenance, including stability checks and cleaning, will ensure your shoe rack’s durability and long-term use.
About the Author
Adrian Green, a lifelong woodworking enthusiast, shares his passion for the craft through The Woodenify Blog. With a foundation built on years of hands-on experience in his father’s woodworking shop, Adrian is dedicated to helping others learn and grow in the world of DIY woodworking. His approach to woodworking combines creativity, practicality, and a deep appreciation for the art of building with your own hands. Through his blog, he inspires individuals of all skill levels to embark on their own woodworking journeys, creating beautiful, functional pieces of furniture and décor.
Professional Focus
- Specializes in DIY woodworking projects, from furniture to home décor.
- Provides step-by-step guides and practical tutorials for woodworkers of all skill levels.
- Dedicated to helping readers build confidence and skill through easy-to-follow instructions and tips.
- Passionate about fostering a community of makers who can share, learn, and grow together.
Education History
- University of Craft and Design – Bachelor of Fine Arts (BFA) in Woodworking and Furniture Design
- Woodworking Apprenticeships – Extensive hands-on training with skilled craftsmen to refine carpentry and furniture making techniques.
- Online Courses & Masterclasses – Continued education in advanced woodworking techniques, design principles, and specialized tools
Expertise:
- DIY woodworking, carpentry, furniture making, and home décor projects.
- Creating accessible tutorials and guides for beginner to advanced woodworkers.
- Sharing the joys and satisfaction of woodworking, from raw materials to finished products.