Are you tired of splitting wood with an axe or manual splitter? Do you want to save time and effort when it comes to cutting firewood for your fireplace or wood stove? Building a wood splitter may be the solution for you!
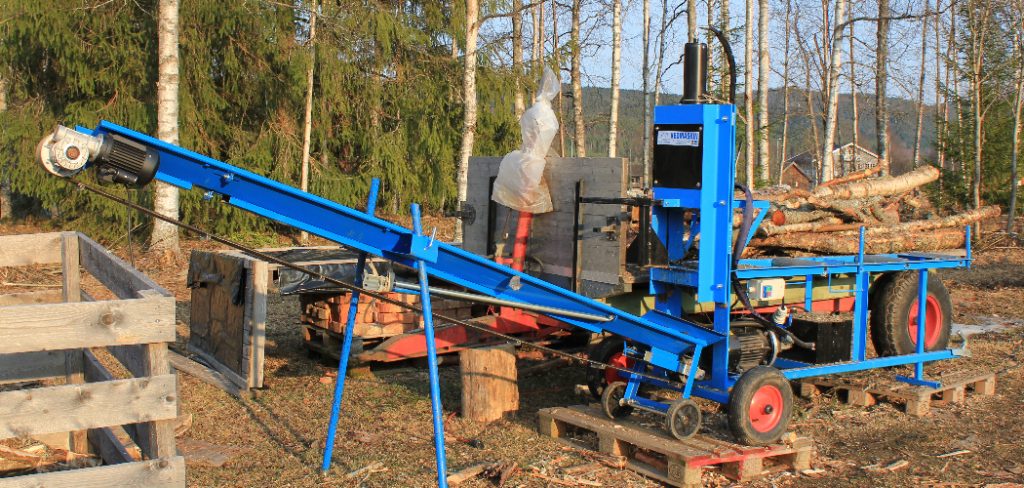
Building your own wood splitter can be a rewarding project that saves money and allows you to customize the machine to your specific needs. Whether you’re a seasoned DIY enthusiast or a novice looking to undertake a new challenge, this guide will walk you through the essential steps and considerations on how to build a wood splitter plans.
From selecting the right materials to understanding the mechanics of splitting wood, we’ll provide you with the knowledge you need to create a tool that can handle your firewood preparation with ease.
What is a Wood Splitter?
A wood splitter, or a log splitter, is a tool for splitting large pieces of wood into smaller, more manageable pieces. It uses hydraulic pressure or a mechanical system to force a sharp wedge into the wood and split it along its grain.
Wood splitters come in various sizes and types, from manual hand-held options to large industrial machines. They are commonly used for preparing firewood and for other purposes, such as making fences or furniture.
Is a Wood Splitter a Good Investment?
One of the first considerations when building a wood splitter is whether it will be a worthwhile investment. While purchasing a pre-made wood splitter can cost hundreds or even thousands of dollars, building your own can be significantly cheaper.
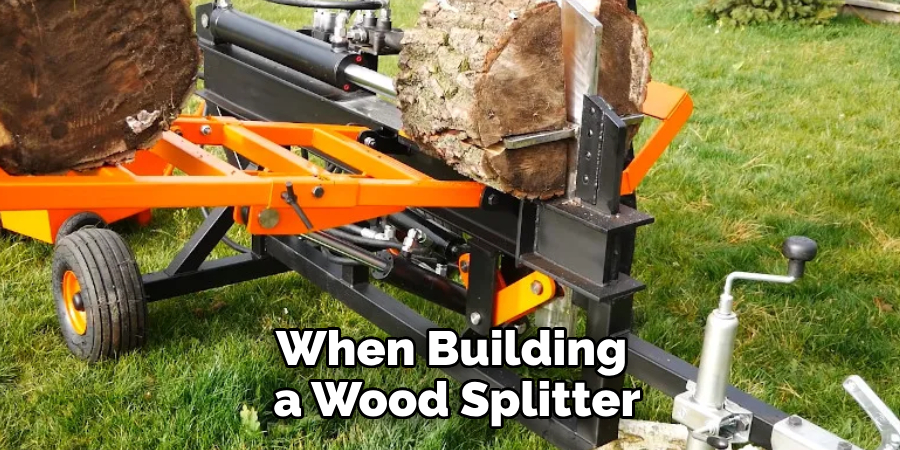
Additionally, owning your own wood splitter can save you time and effort when it comes to splitting firewood. It can also save you money in the long run, as you won’t have to constantly purchase firewood.
Of course, the cost and value of a wood splitter will ultimately depend on your individual needs and usage. However, building a wood splitter can be a great investment for many individuals who regularly use firewood.
What Will You Need?
Before diving into the building process, gathering all the necessary materials is important. The exact materials needed will depend on the type and size of wood splitter you plan to build, but here are some common ones to consider:
- Metal frame (can be made from steel or iron)
- Engine (gas-powered or electric)
- Hydraulic pump and cylinder
- Control valve
- Wedge or blade
- Filter and fluid reservoir
- Hoses and fittings
- Safety features (such as a safety shield)
Some of these materials may be found at your local hardware store, while others may need to be purchased online. Researching and planning are important to ensure you have all the necessary components before starting the build.
9 Easy Steps on How to Build a Wood Splitter Plans
Step 1. Design Your Wood Splitter:
The first step in the building process is to design your wood splitter. Determine the size and type of splitter that best fits your needs, whether it’s a small, manual model or a larger, hydraulic-powered version. Consider the size and type of wood you’ll be splitting most often, and use this to inform your design.
- Sketch out a detailed plan of your wood splitter, including dimensions and the placement of the engine, hydraulic cylinder, and wedge. This will serve as a blueprint as you construct your machine.
- Decide on the power source for your splitter. If you opt for a gas-powered engine, ensure you understand how to safely install and operate it. For an electric model, consider the power requirements and whether you can access an electrical outlet in your work area.
- Allocate space for safety features such as a safety shield or guards around moving parts. Remember, safety should always be a top priority in your design.
This initial planning stage is crucial for a successful build. Carefully designing your wood splitter will make the construction process smoother and help avoid potential issues down the line.
Step 2. Build the Frame:
The frame is the foundation for your wood splitter, so it’s important to construct it with sturdy materials. Weld or bolt together metal pieces according to your design plan.
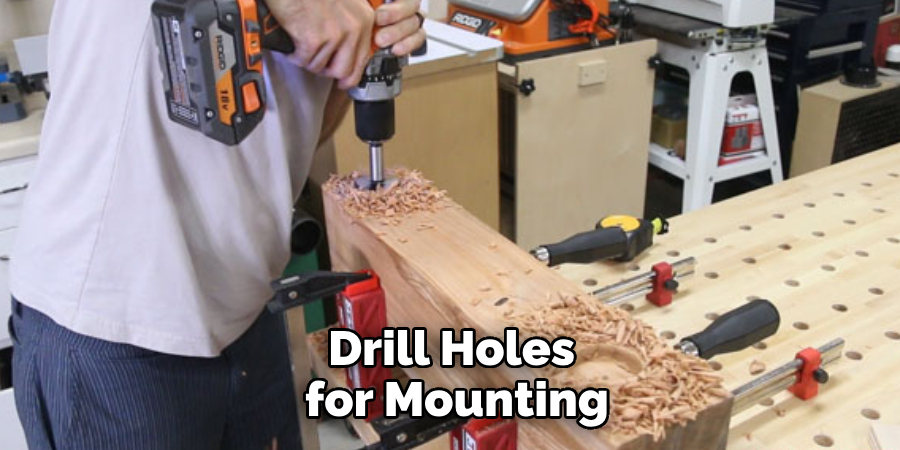
- Ensure the frame is strong enough to handle the force generated by the engine and hydraulic components.
- Drill holes for mounting the engine and other components, as well as for routing hoses and electrical wires.
It’s also a good idea to add some form of support or legs to your frame to keep it stable during operation.
Step 3. Install Engine and Hydraulic Components:
Next, installing the engine and hydraulic components onto the frame is time. Follow your design plan carefully to ensure all parts are in the correct position.
- Mount the engine on the frame according to manufacturer instructions and connect it to a drive system to power the pump.
- Attach the hydraulic pump, filter, reservoir, and control valve at appropriate points on the frame. Consult your design plan to ensure they are in the right location for optimal operation.
- To prevent accidents, install a safety shield or guard around moving parts, such as belts or pulleys.
Step 4. Connect Hoses and Electrical Wires:
With the engine and hydraulic components in place, it’s time to connect the hoses and electrical wires. These will allow the engine to power the pump and control valve, which in turn will operate the wood splitter.
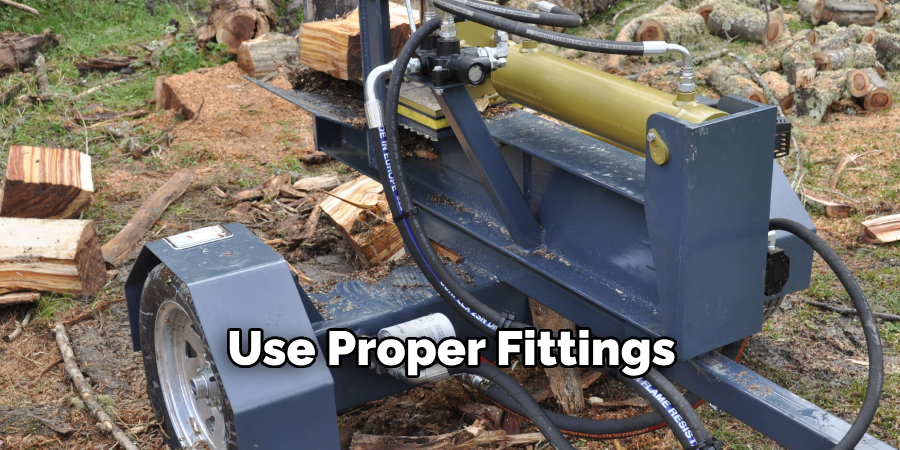
- Use proper fittings and connectors to ensure a tight seal between hoses and components.
- Route the hoses carefully to avoid kinks or tangles that could impede operation.
- Connect the electrical wires according to your design plan, ensuring all connections are secure.
Step 5. Add the Wedge or Blade:
The wedge or blade is what actually splits the wood, so it’s an important part of your wood splitter. Depending on the type of splitter you’re building, this could be a heavy-duty log-splitting wedge or a circular saw blade.
- Securely attach the wedge or blade to the hydraulic cylinder. Follow manufacturer instructions for proper installation.
- Ensure the wedge or blade is sharp and in good condition before use.
Step 6. Test and Adjust:
It’s important to test your wood splitter and make any necessary adjustments before using it on large pieces of wood.
- Start by running the engine lowly without placing any wood in the machine. This will allow you to check for any leaks or potential issues.
- Once you’re satisfied with the engine and hydraulic components, test the splitting power by placing a small piece of wood in the machine.
- Observe how the wedge or blade splits the wood and make any adjustments as needed to ensure smooth operation.
Step 7. Add Safety Features:
As mentioned earlier, safety should always be a top priority when building and using a wood splitter. Here are some additional safety features you can add to your machine:
- A safety shield or guard around the wedge or blade
- Emergency stop button
- Eye and ear protection for the operator

Take the time to carefully consider and implement any necessary safety measures to prevent accidents.
Step 8. Paint and Finish:
Once all components are in place and the wood splitter is functioning correctly, you can paint and finish it according to your personal preference.
- Sand down any rough edges or surfaces before painting.
- Apply a coat of rust-resistant paint to protect the machine from wear and tear.
- Label buttons, switches, and controls for easy operation.
Step 9. Start Splitting Wood!:
Congratulations, you have successfully built your very own wood splitter! Before using it on a regular basis, be sure to do routine maintenance checks and keep the machine clean and well-maintained.
- Always follow safety precautions when operating your wood splitter.
- Wear protective gear such as gloves and sturdy shoes while using the machine.
- Regularly check and replace any worn or damaged parts to ensure safe and efficient operation.
With your new wood splitter, you can now easily split firewood for your fireplace, camping trips, or outdoor gatherings. Enjoy the satisfaction of using a tool that you built yourself!
5 Additional Tips and Tricks on how to build a wood splitter plans
- Safety First: Always prioritize safety by incorporating guards around moving parts and designing with ergonomics in mind. Ensure your design allows the operator to stand clear of the splitting mechanism.
- Use High-Quality Materials: Opt for high-grade steel for the splitting wedge and frame to ensure durability and longevity. Skimping on materials might save costs initially but could lead to premature wear and safety hazards.
- Consider a Two-Stage Hydraulic Pump: Incorporating a two-stage hydraulic pump can speed up the splitting process for efficient operation. These pumps offer a high flow rate at lower pressures for quick movement and then switch to a high-pressure, low-flow rate for splitting.
- Design for Portability: If you plan to use your wood splitter in various locations, consider adding wheels and a handle for easy transport. Ensure the design maintains stability during operation, even when mobile.
- Test and Refine: If possible, build a prototype before finalizing your plans. Testing your design allows you to make necessary adjustments for efficiency, safety, and ease of use. Feedback from real-world usage is invaluable for creating a superior wood splitter.

With these additional tips and tricks, you can enhance your wood splitter plans and create a high-quality, efficient machine.
5 Things You Should Avoid
- Ignoring Load Capacity: Consider its load capacity before designing your wood splitter. Underestimating the amount of force needed to split different types of wood can result in a machine that’s inefficient or dangerous.
- Overcomplicating the Design: Keep the design as simple as possible. Overcomplicating it with unnecessary features can lead to increased chances of malfunction and can make the splitter difficult to maintain or repair.
- Neglecting Weather Resistance: If your wood splitter is intended for outdoor use, do not overlook the importance of weatherproofing. Failing to protect components from the elements can lead to rust, corrosion, and premature failure.
- Skipping Proper Documentation: Avoid jumping straight into the building without comprehensive plans and documentation. Detailed drawings and instructions are crucial for troubleshooting and future modifications.
- Overlooking Ergonomic Design: Do not disregard the operator’s comfort and safety. An ergonomic design minimizes strain and the risk of injury, ensuring that the wood splitter is safe and comfortable for extended periods.
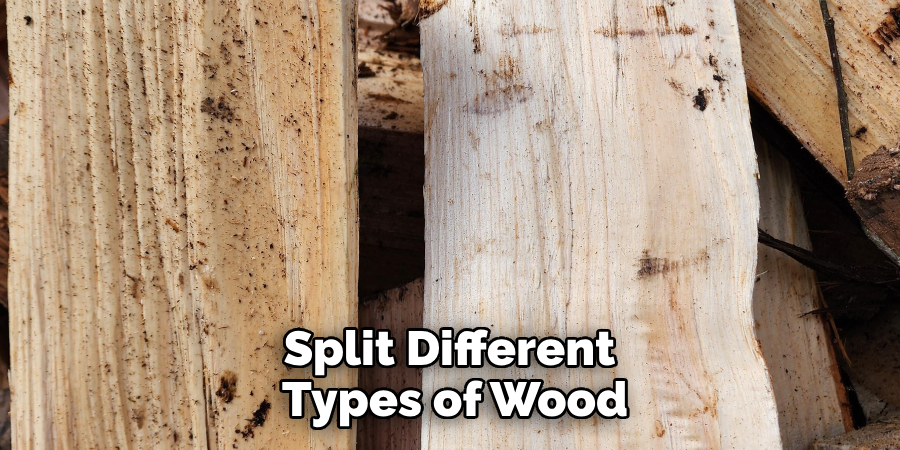
By steering clear of these common pitfalls, you can ensure that your wood splitter plans lead to a robust, efficient, and safe machine, ready to tackle any splitting task.
Some Frequently Asked Questions
1. What Are the Different Types of Wood Splitters?
Several types of wood splitters are available, each with unique features and benefits. Here are some of the most common types:
- Manual Log Splitters: These splitters rely on manual labor to operate and are suitable for light-duty splitting.
- Electric Log Splitters: Powered by electricity, these splitters offer ease of use and can handle medium-sized logs.
- Gas-Powered Log Splitters: These powerful splitters are ideal for heavy-duty splitting and can handle large logs quickly.
- Hydraulic Log Splitters: These splitters use hydraulic pressure and offer high power and precision, making them suitable for commercial or industrial use.
Each type of wood splitter has advantages and disadvantages, so it is crucial to consider your specific needs and preferences before choosing one for your wood splitter plans. It is also essential to choose the type that best fits your requirements.
2. How Do You Calculate Wood Splitter Tonnage?
Wood splitter tonnage refers to the amount of force the machine exerts to split wood. It is an essential factor to consider when designing or purchasing a wood splitter, as it determines its capability to handle different types and sizes of logs.
To calculate wood splitter tonnage, you need to know two main factors: the diameter of the log being split and the hardness of the wood. The diameter of the log is measured at its widest point, while the hardness of the wood is commonly known as its density.
Once you have these two measurements, you can use a simple formula to calculate the tonnage:
(Diameter in inches)^2 x Wood Density (lbs/in^3) = Tonnage
For example, if you are splitting a log with a diameter of 10 inches and a wood density of 0.8 lbs/in^3, the tonnage required would be:
(10)^2 x 0.8 = 80 tons
It is essential to note that this calculation is an estimate and may vary depending on other factors, such as how sharp the splitting wedge is and the efficiency of the splitter’s hydraulic system. It is always best to err on the side of caution and opt for a wood splitter with a slightly higher tonnage than necessary to ensure it can handle any splitting task effectively.
3. What are the Disadvantages of Building Your Own Wood Splitter?
While building your own wood splitter can be a rewarding project, there are some disadvantages to consider before starting. These include:
- Time and Effort: Designing, sourcing materials, and building a wood splitter can be a time-consuming and labor-intensive process.
- Lack of Expertise: If you don’t have experience in engineering or building machinery, the design is more likely to be error-prone and inefficient.
- Safety Concerns: Building your own wood splitter means taking on the responsibility for ensuring its safety. If not designed and built correctly, it can pose significant safety hazards for the operator and those around it.
- Cost Considerations: While building your own wood splitter may seem like a cost-saving option, it can be more expensive than purchasing a pre-made machine due to the cost of materials and the potential for mistakes.
Ultimately, deciding to build your own wood splitter or purchase one will depend on your skills, resources, and specific needs. It is crucial to carefully weigh the advantages and disadvantages before choosing.
4. What Makes a Wood Splitter Powerful?
Several factors contribute to the power of a wood splitter, including:
- Tonnage: As mentioned earlier, tonnage is a measure of the force exerted by the machine and is a significant factor in its power.
- Hydraulic System: The efficiency and strength of the hydraulic system can greatly impact the power of a wood splitter.
- Splitting Wedge: The design and sharpness of the splitting wedge can also affect how easily and quickly the splitter can split logs.
- Motor or Engine: The type and power of the motor or engine used to run the wood splitter are crucial in its overall strength and capability.
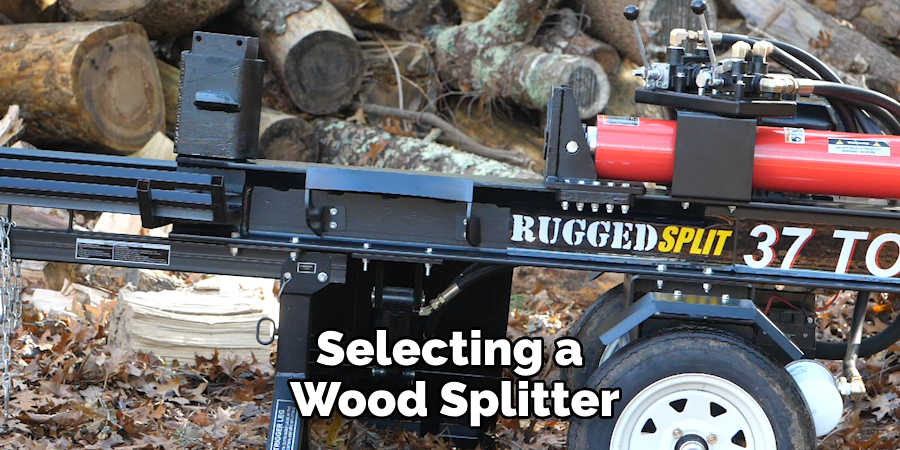
A powerful wood splitter typically combines these factors to create an efficient and effective machine. It is essential to consider all of these factors when designing or selecting a wood splitter for your needs. The key to a powerful wood splitter is the balance and optimization of all its components.
Conclusion
In conclusion, how to build a wood splitter plans involves careful planning, attention to detail, and adherence to safety standards. By prioritizing elements such as safety, material quality, efficiency, and ergonomics, you are laying the groundwork for a reliable and effective machine.
Additionally, by avoiding common pitfalls such as neglecting load capacity, overly complex designs, and improper weatherproofing, your wood splitter plans will be more likely to succeed. Remember, building a high-quality wood splitter is not just about splitting wood; it’s about creating a durable, safe, and efficient tool that serves your needs for years to come.
Whether you’re a seasoned woodworker or a DIY enthusiast, the satisfaction of building your own wood splitter from well-crafted plans is unparalleled. Armed with these tips, tricks, and cautionary tales, you’re well on your way to adding a powerful and indispensable tool to your arsenal.
About the Author
Adrian Green, a lifelong woodworking enthusiast, shares his passion for the craft through The Woodenify Blog. With a foundation built on years of hands-on experience in his father’s woodworking shop, Adrian is dedicated to helping others learn and grow in the world of DIY woodworking. His approach to woodworking combines creativity, practicality, and a deep appreciation for the art of building with your own hands. Through his blog, he inspires individuals of all skill levels to embark on their own woodworking journeys, creating beautiful, functional pieces of furniture and décor.
Professional Focus
- Specializes in DIY woodworking projects, from furniture to home décor.
- Provides step-by-step guides and practical tutorials for woodworkers of all skill levels.
- Dedicated to helping readers build confidence and skill through easy-to-follow instructions and tips.
- Passionate about fostering a community of makers who can share, learn, and grow together.
Education History
- University of Craft and Design – Bachelor of Fine Arts (BFA) in Woodworking and Furniture Design
- Woodworking Apprenticeships – Extensive hands-on training with skilled craftsmen to refine carpentry and furniture making techniques.
- Online Courses & Masterclasses – Continued education in advanced woodworking techniques, design principles, and specialized tools
Expertise:
- DIY woodworking, carpentry, furniture making, and home décor projects.
- Creating accessible tutorials and guides for beginner to advanced woodworkers.
- Sharing the joys and satisfaction of woodworking, from raw materials to finished products.
