Building a wooden step stool is a practical and rewarding project that combines functionality with craftsmanship. Whether you need a small boost to reach high shelves or a sturdy step for everyday use, a handmade wooden step stool is a versatile addition to any home.
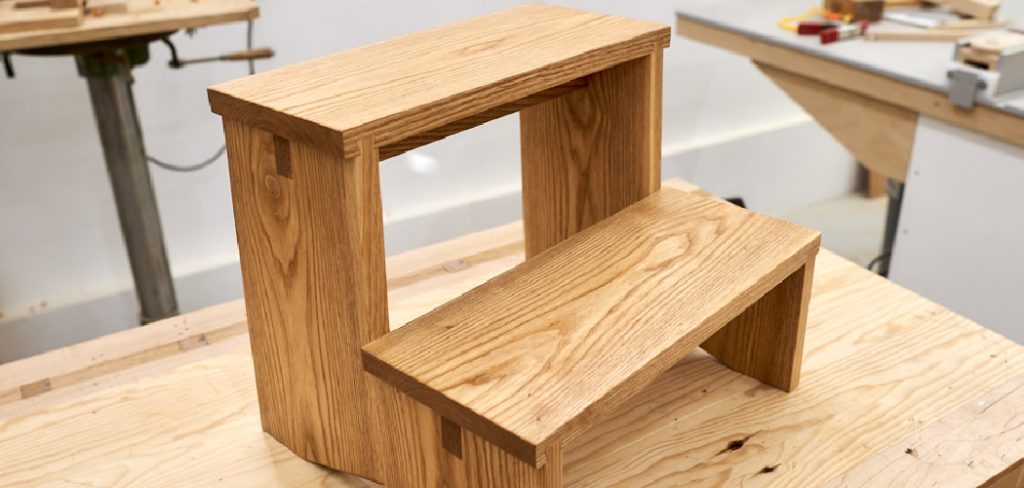
This guide on how to build a wooden step stool will walk you through the process, ensuring even beginners can create a durable and visually appealing piece. With a few basic tools, materials, and some attention to detail, you’ll soon have a step stool that is both useful and built to last.
Why Build a Step Stool?
Building a step stool is a rewarding project that combines practicality with personal craftsmanship. Unlike store-bought options, a handmade step stool allows you to choose the design, dimensions, and materials that best suit your space and needs. It’s a perfect project for beginners to hone their woodworking skills, as it requires only basic tools and techniques yet results in a functional piece.
Additionally, crafting your own step stool ensures durability and quality, giving you a sturdy, custom-made tool that can withstand years of use. Whether you’re tackling home improvement projects or simply reaching those hard-to-reach places, a step stool is an essential and versatile companion. If you’re wondering how to build a wooden step stool, this step-by-step guide will walk you through the process with simple tools and materials.
Needed Materials
To build your own step stool, you will need the following materials:
- 2×4 Lumber Boards (Approximately 8 Feet in Length)
- Screws
- Wood Glue
- Sandpaper
- Stain or Paint (Optional)
Make sure to choose high-quality lumber that is straight and free of knots for a sturdy and smooth finish. You can also opt for pressure-treated wood if you plan on using the step stool outdoors.
Tools Required
You will need the following tools to complete this project:
- Saw (Circular Saw, Jigsaw, or Handsaw)
- Drill With Drill Bits
- Screwdriver (Electric or Manual)
- Measuring Tape
- Pencil
Having these tools on hand will make the building process easier and ensure a more professional result.
7 Steps on How to Build a Wooden Step Stool
Step 1: Cut Wood to Size
Begin by measuring and marking your wood pieces according to the dimensions required for your step stool. Typically, you will need two pieces for the sides, one for the top step, and one for the lower step, if applicable. Use your measuring tape and pencil to mark precise lines for cutting.
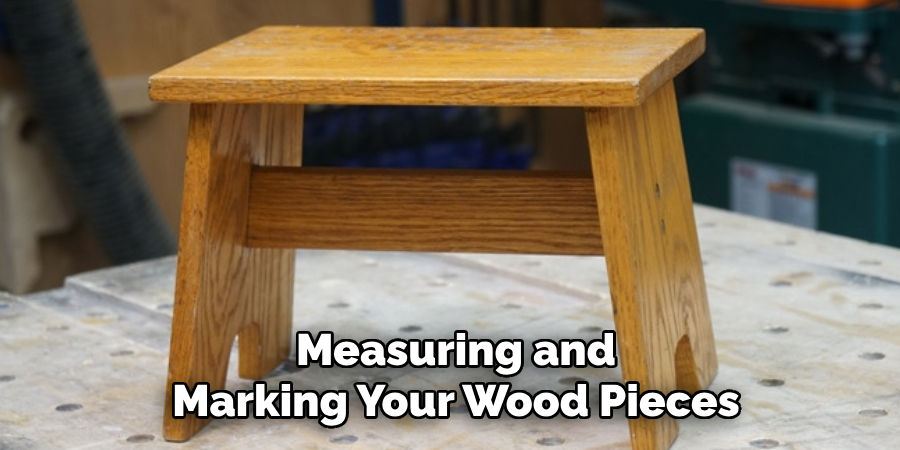
Once the measurements are complete, carefully cut the wood along the marked lines using your chosen saw. Ensure all cuts are straight and even to achieve a sturdy final product. Sand the edges of each piece to remove splinters and create a smooth finish.
Step 2: Mark and Drill Holes
After cutting the wood pieces, the next step is to mark and drill holes for assembly. Use a ruler and pencil to mark the locations where screws or dowels will connect the pieces. Ensure the marks are evenly spaced and aligned to maintain structural integrity and a balanced appearance. For added accuracy, you can use a square tool to verify the alignment of the marks.
Once the positions are marked, use a drill with the appropriately sized drill bit to create holes at each mark. Be careful to drill straight and avoid going too deep, especially if you’re using thinner wood. Drilling pilot holes will help prevent the wood from splitting during assembly and make it easier to insert screws or dowels later. After drilling, clear away any debris from the holes to prepare the pieces for the next step.
Step 3: Sand and Smooth
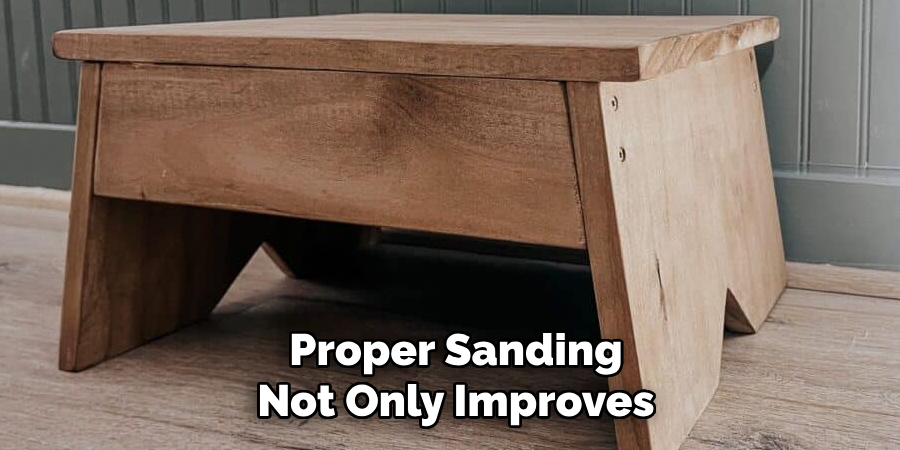
Before proceeding with assembly, it’s essential to sand and smooth all the pieces of wood. Use medium-grit sandpaper to remove any rough edges, splinters, or imperfections on the surfaces. Gradually switch to a finer grit to achieve a smooth and polished finish. Pay special attention to the edges and around the drilled holes to ensure there are no uneven spots or sharp edges.
Proper sanding not only improves the appearance of the finished project but also helps ensure a better fit between the pieces and reduces the risk of injury from handling rough wood. Wipe down each piece with a clean, damp cloth to remove any dust or debris before moving on to the next step.
Step 4: Attach Steps
Once all the pieces are sanded and cleaned, it’s time to assemble the steps. Begin by aligning the pre-cut step boards with the designated slots or markings on the frame. Use a level to ensure each step is perfectly horizontal before securing it in place. Apply wood glue to the contact points as an added measure for stability.
Then, fasten the steps using screws or nails, depending on your project design. Be sure to drive the screws or nails in evenly to avoid splits in the wood. Check each step for sturdiness as you progress, ensuring the completed structure is both safe and durable.
Step 5: Reinforce with Glue (Optional)
For added durability and long-term stability, consider reinforcing your project with wood glue at critical joints. Apply a thin, even layer of glue to the connecting surfaces before securing them with screws or nails. This step is particularly useful for projects that will experience regular wear and tear.
Once the glue is applied, wipe away any excess with a damp cloth to maintain a clean finish. Allow the glue to fully dry as per the manufacturer’s instructions to ensure maximum bond strength.
Step 6: Paint or Stain (Optional)
Once your project is assembled and the glue has dried completely, you can choose to paint or stain it to enhance its appearance and protect the surface. If you prefer a natural look, apply a wood stain in your desired shade to bring out the wood grain. For a more vibrant or uniform finish, choose a paint that complements your space.
Before applying any finish, sand the surface lightly with fine-grit sandpaper to eliminate rough edges or imperfections, ensuring better adhesion of the paint or stain. Use a clean, dry cloth to remove any dust from sanding. Apply the paint or stain using smooth, even strokes, and allow adequate drying time between coats if multiple layers are needed. A final topcoat of clear sealer or polyurethane can provide added protection, extending the lifespan of your project.
Step 7: Use Your Step Stool
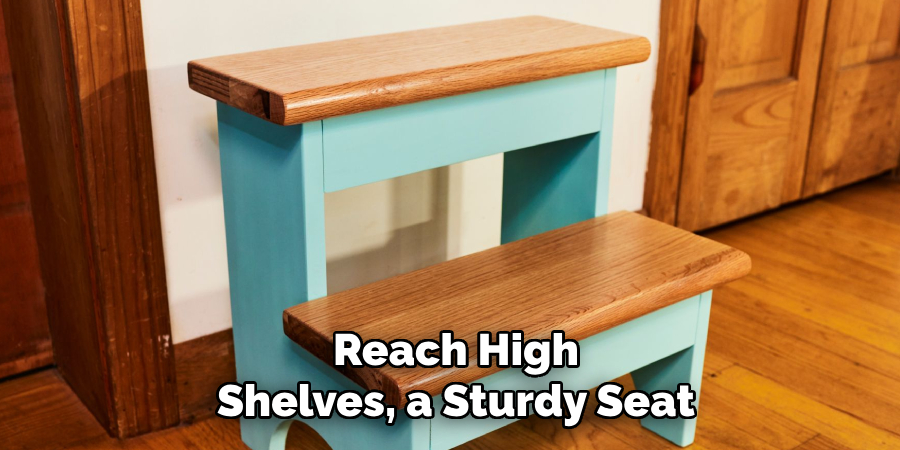
Once the finish has fully dried, your step stool is ready to use. Whether you need a safe way to reach high shelves, a sturdy seat for small tasks, or a decorative accent for your space, your finished stool combines functionality and style. Remember to inspect it periodically to ensure all joints remain secure and the surface remains in good condition. With proper care, your handcrafted step stool will serve you well for years to come.
Following these steps on how to build a wooden step stool, you can create a practical and attractive addition to your home. Not only will this project bring a sense of satisfaction in creating something with your own hands, but it also allows for customization to fit your personal style and needs.
Additional Ideas
- Consider adding non-slip padding on top of each step for added safety.
- You can customize the size and height of your step stool to fit your specific needs and preferences.
- Add a coat of waterproof sealant if your step stool will be used in an outdoor setting.
- Experiment with different types of wood for a unique look – just make sure it is sturdy enough to support weight.
- Personalize your step stool by painting or staining it in your favorite colors.
- Use recycled or reclaimed wood for an eco-friendly project.
- Create multiple step stools at once and give them as personalized gifts to friends and family members.
- Instead of using screws, try using wood glue and clamping the pieces together for a seamless finish.
Frequently Asked Questions
Q1: Is It Difficult to Build a Step Stool?
A: Building a step stool can be as easy or as challenging as you make it. With the right tools and materials, it is a relatively simple project for beginners. The difficulty level can also depend on the design and complexity of the step stool.
Q2: What Tools Do I Need to Build a Step Stool?
A: The tools you need may vary depending on the type of step stool you want to build, but some essential tools include a saw, drill, measuring tape, wood glue, clamps, and sandpaper. Depending on your design, you may also need additional tools such as a router or jigsaw.
Q3: Can I Use Reclaimed Wood for my Step Stool Project?
A: Yes! Using reclaimed or salvaged wood is an excellent way to make your project more eco-friendly and give it a unique look. Just be sure to properly clean and sand the wood before using it for your step stool. You may also need to reinforce any weak spots or remove any nails or screws from the wood.

Conclusion
Building your own step stool can be a fun and rewarding project that combines creativity and practicality. With the right tools, materials, and a bit of patience, you can craft a durable and customized step stool that serves your needs while adding a personal touch to your space.
Whether you use new lumber or reclaimed wood, the effort you put into creating your step stool will result in a unique piece that reflects your style and dedication. Happy building!
About the Author
Adrian Green, a lifelong woodworking enthusiast, shares his passion for the craft through The Woodenify Blog. With a foundation built on years of hands-on experience in his father’s woodworking shop, Adrian is dedicated to helping others learn and grow in the world of DIY woodworking. His approach to woodworking combines creativity, practicality, and a deep appreciation for the art of building with your own hands. Through his blog, he inspires individuals of all skill levels to embark on their own woodworking journeys, creating beautiful, functional pieces of furniture and décor.
Professional Focus
- Specializes in DIY woodworking projects, from furniture to home décor.
- Provides step-by-step guides and practical tutorials for woodworkers of all skill levels.
- Dedicated to helping readers build confidence and skill through easy-to-follow instructions and tips.
- Passionate about fostering a community of makers who can share, learn, and grow together.
Education History
- University of Craft and Design – Bachelor of Fine Arts (BFA) in Woodworking and Furniture Design
- Woodworking Apprenticeships – Extensive hands-on training with skilled craftsmen to refine carpentry and furniture making techniques.
- Online Courses & Masterclasses – Continued education in advanced woodworking techniques, design principles, and specialized tools
Expertise:
- DIY woodworking, carpentry, furniture making, and home décor projects.
- Creating accessible tutorials and guides for beginner to advanced woodworkers.
- Sharing the joys and satisfaction of woodworking, from raw materials to finished products.