Building a wooden toolbox is a rewarding project for DIY enthusiasts and woodworking beginners alike. Not only is it practical for storing and organizing tools, but it also showcases your craftsmanship.
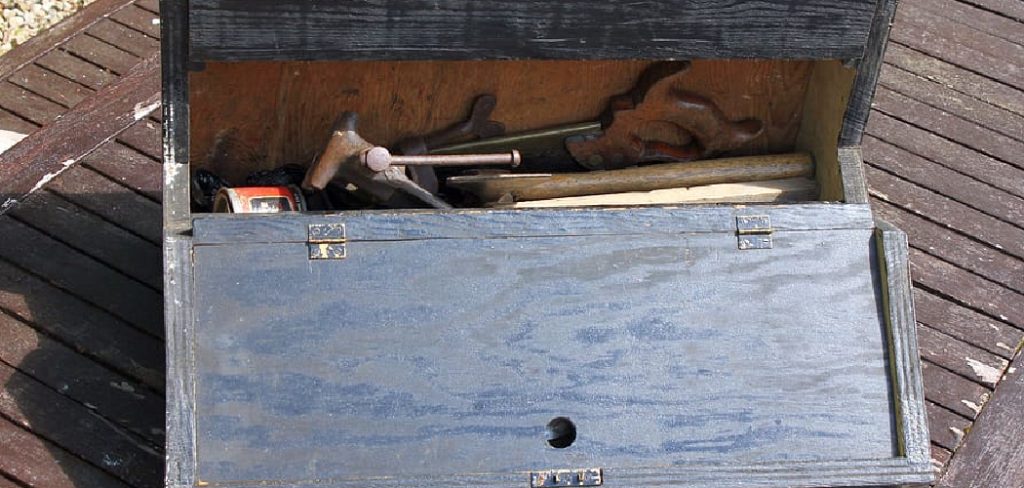
This step-by-step guide on how to build a wooden toolbox will walk you through the materials, tools, and techniques needed to create a sturdy and functional toolbox that you can proudly use for years to come. Looking for creative wooden toolbox ideas? Discover unique designs that combine functionality with classic craftsmanship.
Why Build a Wooden Toolbox?
Wooden toolboxes have been used for centuries and are still popular today. Here are some reasons why you should consider building one:
Personalization
You can customize the size, shape, and design of your toolbox to fit your specific needs and style.
Cost-Effective
Building a wooden toolbox is more economical than buying one from the store.
Learning experience: It is a great opportunity to improve your woodworking skills and learn new techniques.
Durable
A well-built wooden toolbox can last for years with proper maintenance.
Materials Needed
To build a wooden toolbox, you will need the following materials:
2×4 Lumber or Plywood Sheets
You will need 2×4 lumber or plywood sheets to construct the main body of the toolbox. Make sure to choose high-quality, sturdy wood for durability.
Screws
Screws are essential for holding the different pieces of wood together. You can use any type of screw, but it is recommended to use rust-resistant ones for longevity.
Wood Glue
Wood glue helps strengthen the joints and adds extra stability to your wooden toolbox.
Sandpaper
Sandpaper is necessary for smoothing out rough edges and creating a polished finish on your toolbox.
Wood Stain or Paint
To add a personal touch and protect your wooden toolbox from wear and tear, you can choose to stain or paint it. Wood stain enhances the natural wood grain, while paint allows you to add color and creativity.
Protective Finish
A protective finish is crucial for protecting your wooden toolbox from moisture and other elements. You can choose from a variety of finishes such as polyurethane, lacquer, or varnish.
Tools Needed
- Table Saw
- Hand Saw
- Hammer
- Measuring Tape
- Drill
- Screwdriver
- Clamps
- Sandpaper (various grits)
8 Steps on How to Build a Wooden Toolbox
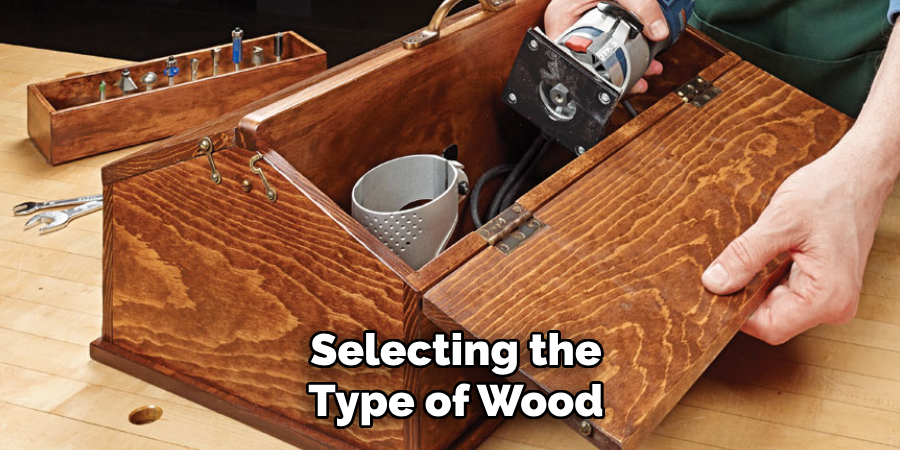
Step 1: Prepare the Wood
Begin by selecting the type of wood you want to use for your toolbox. Hardwood like oak or maple is durable, while softwood like pine is lightweight and easier to work with. Once you have your wood, measure and mark the pieces according to the dimensions of your desired toolbox.
Use a table saw or hand saw to cut the wood to size, ensuring all edges are smooth and accurate. After cutting, sand each piece thoroughly with sandpaper, starting with a coarse grit and progressing to a finer grit, to create a smooth surface free of splinters or rough spots. Properly prepared wood will make the assembly process much easier and result in a polished final product.
Step 2: Assemble the Base
Begin by assembling the base of your toolbox. Take the bottom piece of wood and attach the two side panels to its edges using wood glue for an initial hold. Ensure the edges align perfectly before securing them with screws or nails for stability. Use clamps to hold the pieces together tightly while the glue dries.
Once the base and sides are joined, attach the front and back panels to complete the rectangular shape. Check that all corners are square and make adjustments as needed to ensure the base is sturdy and well-aligned. This foundation will provide structural support for the rest of your toolbox construction.
Step 3: Add Dividers (Optional)
If you want to customize your toolbox with compartments, adding dividers is a great way to keep your tools organized. Measure the interior dimensions of your toolbox and decide how many sections you’d like to create. Cut pieces of wood or another sturdy material to fit the inside width and height of the box.
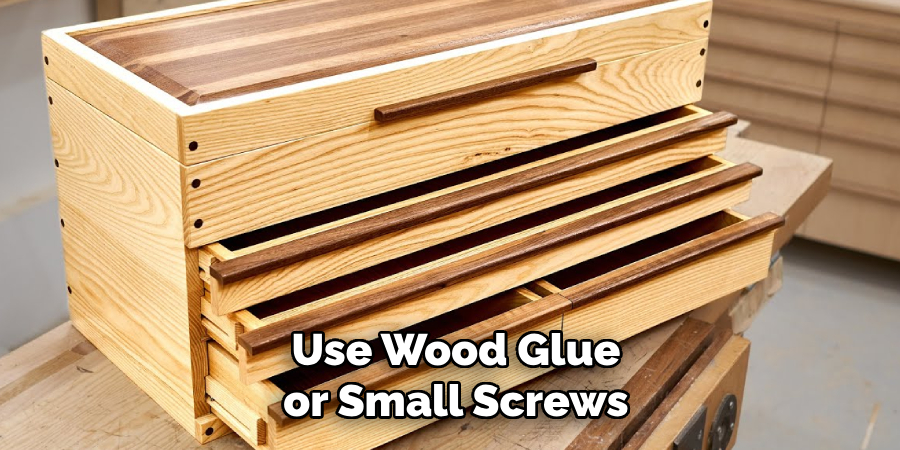
Use wood glue or small screws to secure the dividers in place, ensuring they are evenly spaced and firmly attached. For added flexibility, consider using removable dividers, which can adapt to different storage needs. Taking the time to add dividers will make your toolbox more functional and tailored to your specific requirements.
Step 4: Attach the Lid
To complete your toolbox, securely attach the lid to ensure your tools stay protected and organized. Start by aligning the lid with the top edges of the box. Depending on the design of your toolbox, you can use hinges for a functional and durable connection. Mark the positions for the hinge screws on both the box and the lid, then drill small pilot holes to prevent splitting the wood.
Attach the hinges using screws and check that the lid opens and closes smoothly. For added security, consider installing a latch or clasp to keep the lid firmly shut during transport or storage. Take care to sand any rough edges around the lid for a polished and professional finish.
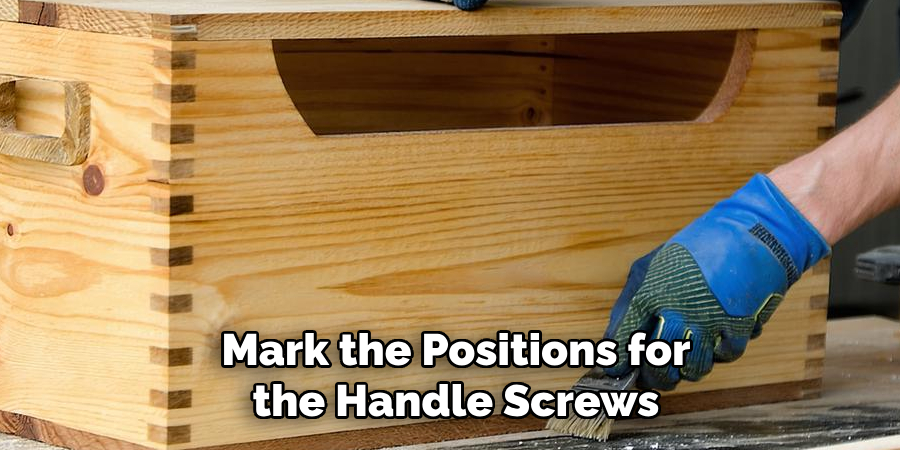
Step 5: Add a Handle (Optional)
To make your toolbox easier to carry, you can add a sturdy handle to the top of the lid. Choose a handle that complements the size and weight of your toolbox. Mark the positions for the handle screws on the lid and drill small pilot holes to ensure proper alignment. Attach the handle securely using screws, making sure it is firmly fixed and can support the weight of the loaded toolbox.
If you prefer a more traditional look, consider using a rope or leather strap as an alternative to a metal or plastic handle. This step is optional but adds a significant level of convenience, especially if your toolbox will be frequently transported.
Step 6: Sand and Finish
After assembling the toolbox and attaching the handle, the next step is to sand and finish the surface. Use sandpaper with a medium grit to smooth out any rough edges or imperfections, then follow up with a finer grit for a polished finish. Pay special attention to corners and edges to ensure they are smooth and safe to handle.
Once sanding is complete, apply a protective finish such as wood stain, paint, or varnish, depending on your desired look and the type of wood used. This not only enhances the appearance of the toolbox but also protects it from wear and environmental factors, ensuring it stands the test of time. Allow the finish to dry completely before using the toolbox.
Step 7: Personalize
Now that your toolbox is finished and protected, it’s time to make it uniquely yours! Add personal touches such as stenciled designs, engraved patterns, or your initials to give it character.
You can use paint, wood-burning tools, or stickers to achieve your desired look. Personalizing your toolbox not only makes it stand out but also adds a sense of pride and ownership to your creation. Be sure to use materials or techniques that are durable to maintain the design over time.
Step 8: Enjoy Your New Toolbox!
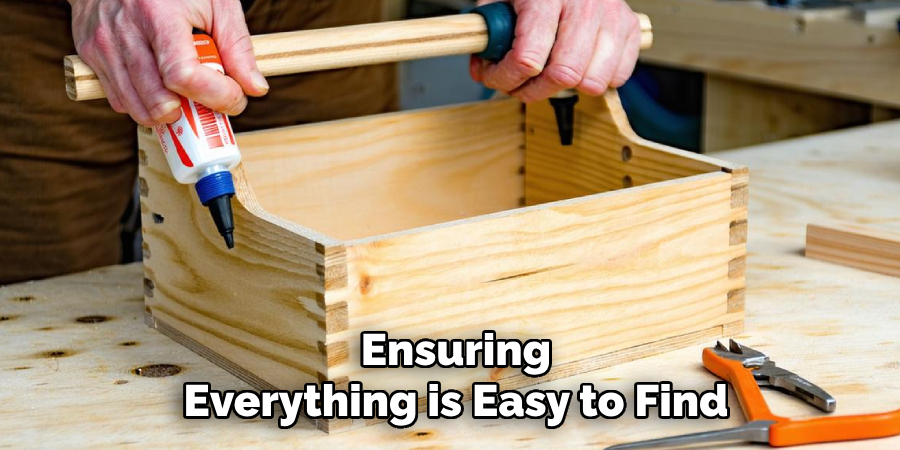
Congratulations on completing your custom toolbox! Now it’s time to put it to good use. Organize your tools in a way that works best for you, ensuring everything is easy to find and accessible. Whether you’re tackling a DIY project, repairing something around the house, or working on a creative endeavor, your personalized toolbox is ready to assist. Take pride in your work and enjoy the satisfaction of using something you built with your own hands!
Following these steps on how to build a wooden toolbox, you can create a unique and functional piece that will last for years to come. But don’t stop there – feel free to customize your toolbox even further by adding additional compartments or features. You can also paint or stain it in any color of your choice to make it truly yours.
Frequently Asked Questions
Q1: Can I Use Any Type of Wood for My Toolbox?
A: Yes, you can use any type of sturdy wood such as pine, oak, or cedar. Just make sure to choose a wood that is strong and durable enough to withstand heavy tools.
Q2: How Do I Secure the Joints Without Using Nails?
A: You can use wood glue or dowels to secure the joints instead of nails. This will create a cleaner look and also prevent any sharp edges from damaging your tools.
Q3: Can I Add Wheels to My Toolbox?
A: Yes, you can add wheels to your toolbox for easy transport. Just make sure they are sturdy enough to support the weight of your tools.
Q4: How Do I Maintain My Wooden Toolbox?
A: To keep your wooden toolbox in good condition, regularly clean it with a mild soap and water solution. Wipe it dry after cleaning and apply a coat of wood polish or wax to protect the surface. Avoid exposing it to extreme temperatures or moisture, as this can cause warping or cracking. Additionally, regularly inspect and tighten any screws or joints to prevent them from loosening over time. With proper maintenance, your wooden toolbox can last for many years to come.
Conclusion
A wooden toolbox is not only a functional storage solution but also a timeless piece that adds character to any workspace.
By following proper care and maintenance practices, you can ensure its durability and beauty for years to come. Treat your toolbox with care, and it will continue to serve as a reliable and cherished companion for all your projects. Thanks for reading this article on how to build a wooden toolbox.
About the Author
Adrian Green, a lifelong woodworking enthusiast, shares his passion for the craft through The Woodenify Blog. With a foundation built on years of hands-on experience in his father’s woodworking shop, Adrian is dedicated to helping others learn and grow in the world of DIY woodworking. His approach to woodworking combines creativity, practicality, and a deep appreciation for the art of building with your own hands. Through his blog, he inspires individuals of all skill levels to embark on their own woodworking journeys, creating beautiful, functional pieces of furniture and décor.
Professional Focus
- Specializes in DIY woodworking projects, from furniture to home décor.
- Provides step-by-step guides and practical tutorials for woodworkers of all skill levels.
- Dedicated to helping readers build confidence and skill through easy-to-follow instructions and tips.
- Passionate about fostering a community of makers who can share, learn, and grow together.
Education History
- University of Craft and Design – Bachelor of Fine Arts (BFA) in Woodworking and Furniture Design
- Woodworking Apprenticeships – Extensive hands-on training with skilled craftsmen to refine carpentry and furniture making techniques.
- Online Courses & Masterclasses – Continued education in advanced woodworking techniques, design principles, and specialized tools
Expertise:
- DIY woodworking, carpentry, furniture making, and home décor projects.
- Creating accessible tutorials and guides for beginner to advanced woodworkers.
- Sharing the joys and satisfaction of woodworking, from raw materials to finished products.