Building an armoire wardrobe can be a rewarding and practical project that enhances both your living space and your storage capabilities. This guide on how to build an armoire wardrobe will walk you through the essential steps, tools, and materials needed to create a beautiful and functional piece of furniture.
Whether you’re a seasoned DIY enthusiast or a beginner looking to take on a new challenge, this project will provide you with valuable skills and a sense of accomplishment as you construct a bespoke wardrobe tailored to your needs. Let’s dive into the world of woodworking and explore how you can create a stunning armoire that suits your style and complements your home.
Why Build an Armoire Wardrobe?
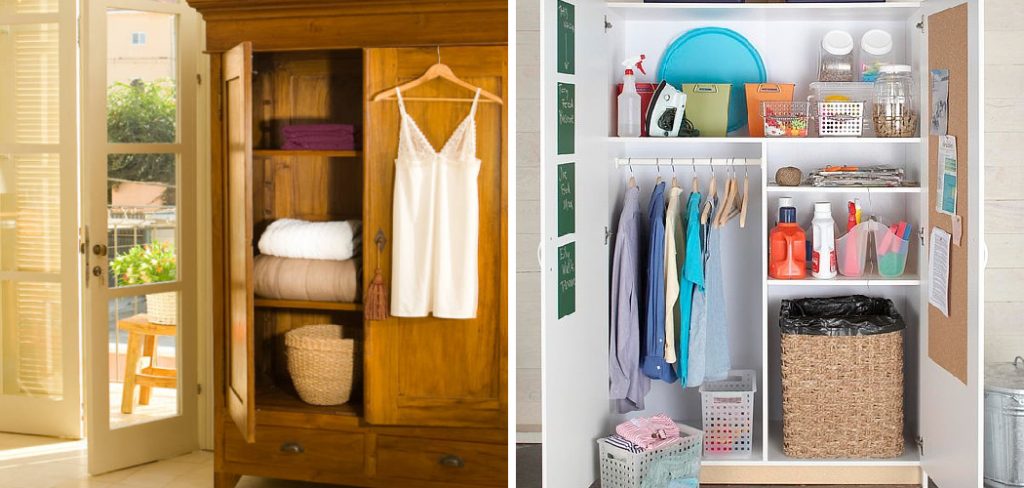
An armoire wardrobe offers many benefits that make it a worthwhile project to undertake. Firstly, it provides ample storage space for clothing, bedding, and other items, making it perfect for bedrooms with limited closet space. Additionally, an armoire wardrobe can serve as a statement piece in any room, adding character and charm to your living space.
Moreover, building your own armoire allows you to customize its size, design, and finishes to fit your specific needs and preferences. You can choose the type of wood used, the style of doors and drawers, as well as any additional features such as shelves or hanging rods. This level of personalization makes the end product truly unique and adds a personal touch to your home.
Needed Materials
To build an armoire wardrobe, you will need the following materials:
- Wood (Depending on Your Design and Size)
- Plywood Sheets for Backing and Shelves
- Screws or Nails
- Wood Glue
- Hinges for Doors
- Drawer Pulls/ Knobs
- Sandpaper
- Stain or Paint (Optional)
7 Step-by-step Guidelines on How to Build an Armoire Wardrobe
Step 1: Plan and Design
The first step in building your armoire wardrobe is to carefully plan and design your project. Begin by assessing the space where the armoire will be placed, taking measurements to ensure that it fits comfortably without overwhelming the area. Next, sketch a basic design that includes the dimensions, layout of shelves, drawer placements, and door styles.

Consider what items you will store, as this will influence the number and size of compartments and hanging space needed. Additionally, think about the overall aesthetic you wish to achieve—whether it be modern, rustic, or traditional—and choose wood types and finishes that align with your vision. Creating a detailed plan will not only guide you through the construction process but also help you gather all necessary materials efficiently.
Step 2: Cut the Wood
Once you have your design and materials ready, the next step is to cut the wood according to your specifications. Start by laying out all your wooden pieces on a flat, stable surface, and double-check your measurements against your plan. Using a circular saw or table saw, carefully cut the wood for the main structure, including the top, bottom, sides, and shelves. Ensure that you make clean, straight cuts for a precise fit.
For the doors and drawer fronts, use your design measurements to cut these panels as well. Remember to wear safety goggles and a mask to protect yourself from dust and debris while cutting. After cutting, take the time to sand the edges of each piece with sandpaper to smooth out any rough spots and prepare the surface for finishing. This preparation will make the assembly process easier and ensure a polished final product.
Step 3: Assemble the Main Structure
Now, it’s time to begin assembling the main structure of your armoire wardrobe. Begin by attaching the sides to the bottom piece using wood glue and screws or nails, depending on your preference. Then, attach the back panel to these three pieces in a similar fashion. Next, add the top piece and secure it with screws or nails.
Once you have completed this step, stand up your main structure and ensure that it is level and sturdy before proceeding. You can reinforce the corners with additional screws if necessary.
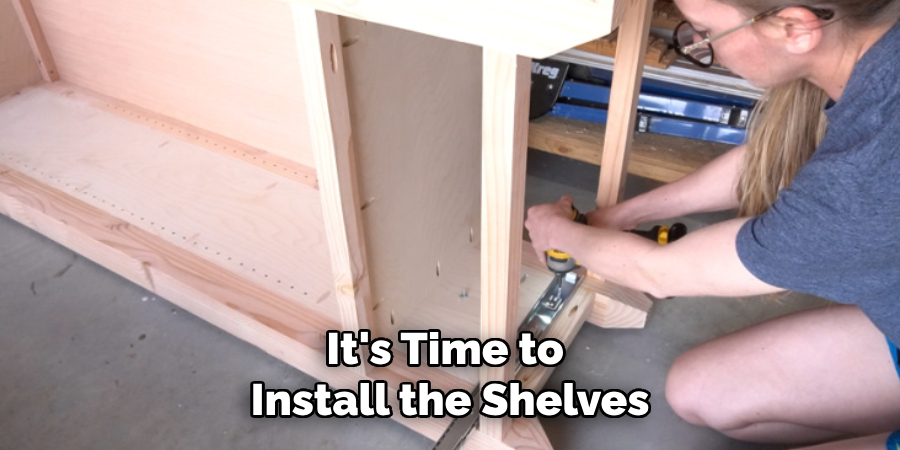
Step 4: Install Shelves
With the main structure assembled, it’s time to install the shelves. Begin by determining the desired height for each shelf based on your storage needs and the items you plan to place on them. Use a measuring tape to mark the positions on the inner sides of the wardrobe for the shelf supports. Ensure that the marks are level to avoid uneven shelves.
Next, drill holes for adjustable shelf pins or install fixed brackets, depending on your design choice. For adjustable shelves, insert the pins into the drilled holes and carefully place the shelves on top. If you opted for fixed shelves, secure them in place with screws. Make sure to check that each shelf is stable and can support the weight of the items you intend to store. Once the shelves are installed, you can proceed to the next steps of building the doors and drawers.
Step 5: Build and Install Doors
The doors of your armoire wardrobe can make a significant impact on its overall appearance. You can choose from a variety of door styles, such as panel, shaker, or mirrored doors. To build the doors, cut your pre-measured wooden panels to size and attach them using hinges to the main structure. Remember to leave enough space between the doors for them to open and close smoothly.
Suppose you are adding knobs or handles, drill holes for them according to your design. You can also add decorative moldings or trim pieces around the edges of the doors for added detail. Once the doors are assembled and installed, test their functionality before moving on to the final step of installing the drawers.
Step 6: Build and Install Drawers
To build the drawers, start by constructing a simple box with your pre-cut wooden panels using wood glue and screws or nails. Next, attach drawer slides to the inside of your armoire wardrobe at the desired height for each drawer. These slides will allow the drawers to open and close smoothly.
With the slides in place, you can now add drawer fronts by attaching them to the box using screws or gluing them on for a seamless look. Finish off by adding drawer pulls or knobs according to your design preferences.
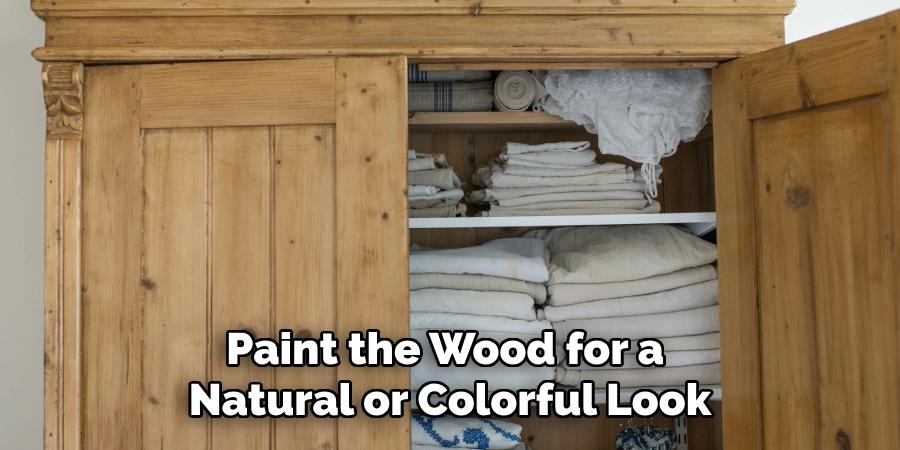
Step 7: Apply Finishing Touches
The final step is to apply any desired finishes to your armoire wardrobe. You can either choose to stain or paint the wood for a natural or colorful look, respectively. Make sure to cover the surrounding area with plastic sheets or newspapers before beginning and follow all safety precautions when handling paints and stains. Allow the finish to dry completely before moving your new armoire wardrobe into its designated space.
Following these step-by-step guidelines on how to build an armoire wardrobe will help you build a beautiful and functional armoire wardrobe that adds both style and storage to your home. With careful planning, precise cutting, and attention to detail during assembly, you can create a piece of furniture that not only meets your practical needs but also reflects your personal design aesthetic. Happy building!
Additional Tips
- It’s always helpful to have a partner assist you during construction, especially when assembling the main structure and attaching doors.
- Using clamps can help hold pieces together while gluing them in place.
- Don’t be afraid to personalize your armoire wardrobe by adding unique details, such as decorative handles and trimmings, or even adding a pop of color with paint.
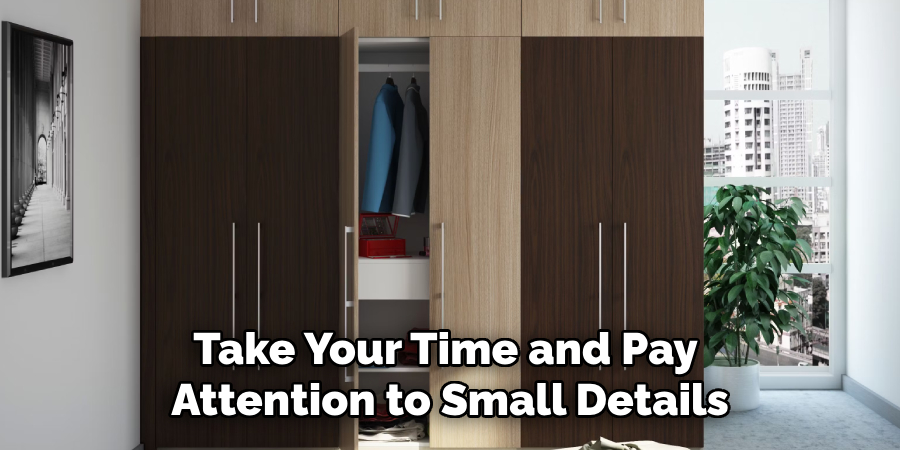
- Take your time and pay attention to small details, such as sanding and leveling, for a professional-looking finish.
- Remember to follow all safety precautions when working with power tools and chemicals, such as wearing protective gear and working in a well-ventilated area.
By following these tips and steps, you can customize your armoire wardrobe to fit your specific needs and design preferences while also building a sturdy piece of furniture that will last for years to come. Remember to have fun and enjoy the process of creating something unique for your home!
Frequently Asked Questions
Q1: How Long Does It Take to Build an Armoire Wardrobe?
A: The time frame for building an armoire wardrobe can vary depending on your skill level, the complexity of the design, and the availability of tools and materials. However, it typically takes anywhere from one to three days for an experienced DIYer.
Q2: How Much Does It Cost to Build an Armoire Wardrobe?
A: The cost of building an armoire wardrobe will depend on factors such as the type of wood used, size, and design. On average, it can cost around $200-$500 for materials. However, this can vary significantly depending on individual choices and preferences.
Q3: Can I Use Different Materials for Building an Armoire Wardrobe?
A: Yes, you can use different materials such as plywood, MDF, or solid wood, to build your armoire wardrobe. Just ensure that the materials you choose are sturdy enough to support the weight of the structure and its contents.

Conclusion
Building your own armoire wardrobe is a rewarding project that not only enhances your living space but also allows you to express your creativity and personal style. By following the steps outlined in this guide on how to build an armoire wardrobe, you can create a beautiful and functional piece of furniture tailored to your specific needs. Remember, the key to a successful build lies in careful planning, precise craftsmanship, and attention to detail.
Whether opting for a simple design or something more elaborate, the satisfaction of completing your own armoire wardrobe will undoubtedly make it a cherished addition to your home for years to come. Happy DIY-ing!
About the Author
Adrian Green, a lifelong woodworking enthusiast, shares his passion for the craft through The Woodenify Blog. With a foundation built on years of hands-on experience in his father’s woodworking shop, Adrian is dedicated to helping others learn and grow in the world of DIY woodworking. His approach to woodworking combines creativity, practicality, and a deep appreciation for the art of building with your own hands. Through his blog, he inspires individuals of all skill levels to embark on their own woodworking journeys, creating beautiful, functional pieces of furniture and décor.
Professional Focus
- Specializes in DIY woodworking projects, from furniture to home décor.
- Provides step-by-step guides and practical tutorials for woodworkers of all skill levels.
- Dedicated to helping readers build confidence and skill through easy-to-follow instructions and tips.
- Passionate about fostering a community of makers who can share, learn, and grow together.
Education History
- University of Craft and Design – Bachelor of Fine Arts (BFA) in Woodworking and Furniture Design
- Woodworking Apprenticeships – Extensive hands-on training with skilled craftsmen to refine carpentry and furniture making techniques.
- Online Courses & Masterclasses – Continued education in advanced woodworking techniques, design principles, and specialized tools
Expertise:
- DIY woodworking, carpentry, furniture making, and home décor projects.
- Creating accessible tutorials and guides for beginner to advanced woodworkers.
- Sharing the joys and satisfaction of woodworking, from raw materials to finished products.