Floating wood shelves are a stylish and functional addition to any room, offering both storage and aesthetic appeal. These shelves give the illusion of floating without visible brackets, creating a clean and modern look. Whether you’re looking to display decorative items, organize household essentials, or maximize space in smaller areas, floating wood shelves are a versatile solution.
This guide on how to build floating wood shelves will walk you through the steps to build your own, allowing you to customize the design to suit your style and needs.
What is a Floating Wood Shelf?
A floating wood shelf is a type of wall-mounted shelf designed to appear as though it is “floating” on the wall without visible supports or brackets. This is achieved through concealed mounting hardware that provides a seamless and minimalist aesthetic. Made from wood, these shelves are not only sturdy but also versatile, fitting well into a variety of design styles, from rustic to modern.
Their sleek appearance and practical functionality make them an excellent choice for showcasing decorations, organizing items, or enhancing room décor while maintaining a clean and uncluttered look.
Why Choose Floating Wood Shelves?
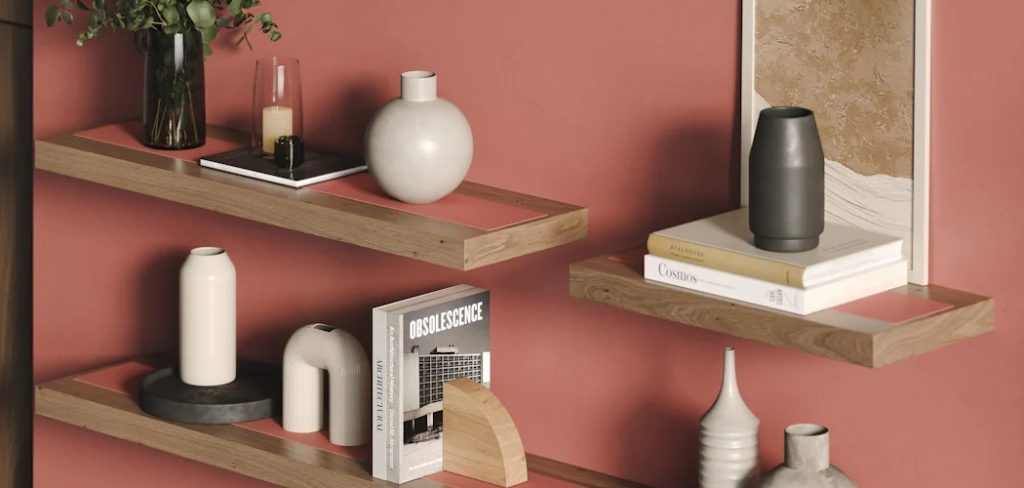
Floating wood shelves offer a perfect balance of style and practicality, making them an exceptional addition to any space. Their sleek, bracket-free design creates a clean, modern look that effortlessly enhances the aesthetics of a room. Beyond their visual appeal, these shelves are highly functional, providing sturdy storage and display options for books, plants, picture frames, or other decorative items.
The natural wood material adds warmth and texture, blending seamlessly with both contemporary and traditional interiors. Additionally, their space-saving nature makes them ideal for smaller areas, helping to maximize floor space while keeping items organized and within reach. Floating wood shelves are a timeless and versatile solution for anyone looking to elevate their home décor.
Needed Materials
Wood Planks or Pre-made Floating Shelf Kit
To create your own floating wood shelves, you will need to purchase or acquire wood planks that are cut to your desired size. Alternatively, you can also opt for a pre-made floating shelf kit that includes all the necessary materials and hardware for easy installation.
Tools
You will need basic tools such as a saw, drill, level, and measuring tape to create and install your own floating wood shelves. If using a pre-made kit, be sure to read the instructions carefully and have any additional tools needed on hand.
Mounting Hardware
The type of mounting hardware needed will depend on the weight and size of your floating wood shelves. Options include wall anchors, brackets, and invisible brackets. It is important to choose the appropriate hardware for your shelves to ensure they can support the weight of items placed on them.
6 Step-by-Step Guides on How to Build Floating Wood Shelves
Step 1: Measure the Space
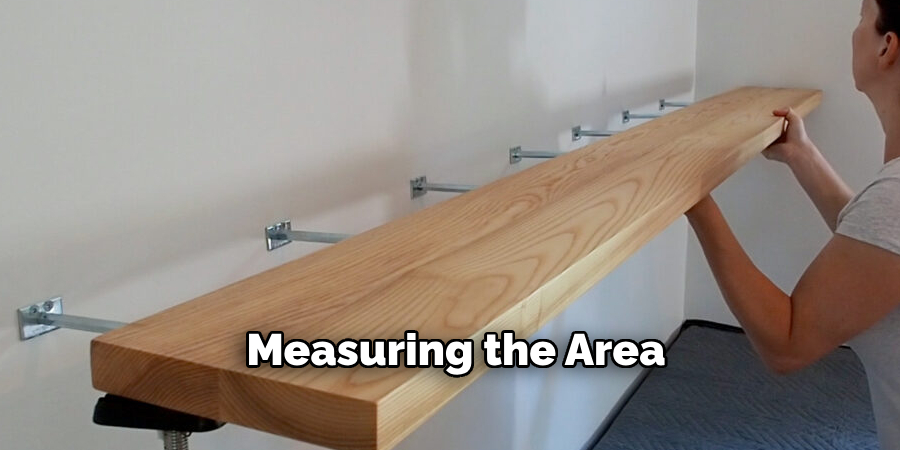
Begin by measuring the area where you plan to install the floating wood shelves. Use a tape measure to determine the width, height, and depth of the space. Ensure the dimensions will accommodate the shelves and leave enough clearance for the items you intend to store or display.
Mark the desired placement of the shelves on the wall with a pencil for reference, making sure they are level and properly aligned. Accurate measurements are crucial for a professional and secure installation.
Step 2: Preparing the Shelves
If you are using raw wood for your shelves, now is the time to sand them down for a smooth finish. You can also stain or paint them to match your overall design aesthetic.
If you are using pre-made shelves, make sure they are clean and free of any imperfections before installation.
Step 3: Installing the Brackets
Begin by attaching the brackets to the wall at the marked points you measured earlier. Use a drill to secure the brackets firmly into the wall, ensuring they align with any studs or wall anchors for added stability.
Double-check that the brackets are level before fully tightening the screws. This step is essential as sturdy and correctly positioned brackets will provide the foundation for the shelves and prevent any sagging or instability over time.
Step 4: Placing the Shelves
Once the brackets are securely in place, carefully position the shelves on top of them. Ensure each shelf is flush against the wall and evenly balanced on the brackets. If you are using screws or fasteners to secure the shelves to the brackets, align them correctly and tighten them to hold the shelves firmly in place.
Take a moment to check that the shelves are level before moving on to the next step. Proper placement ensures the shelves will remain sturdy and can safely hold the intended items.
Step 5: Finishing Touches
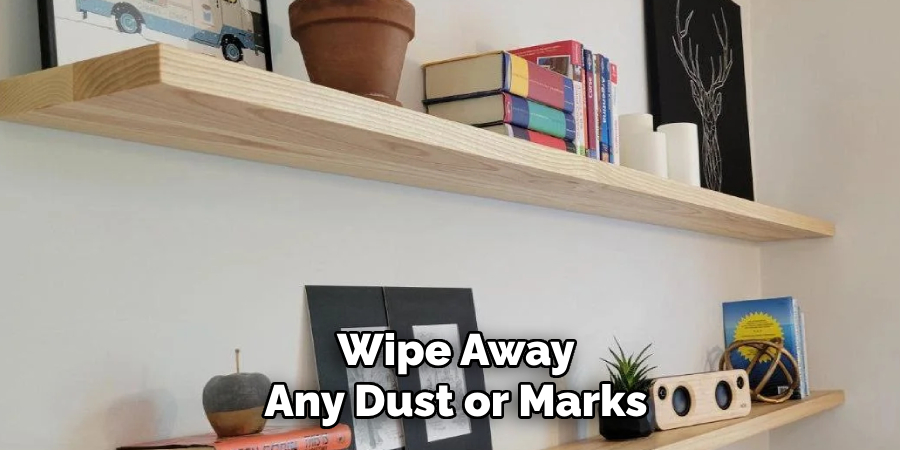
Once the shelves are securely installed and level, take some time to ensure everything looks neat and polished. Use a damp cloth to wipe away any dust or marks that may have accumulated during installation. If desired, apply adhesive caps or covers to conceal the screw heads for a cleaner appearance.
Finally, carefully arrange your items on the shelves, distributing weight evenly to prevent strain on the brackets. This final step not only enhances the shelf’s aesthetic appeal but also ensures its longevity and functionality.
Step 6: Organizing Your Shelves
Now that your shelves are installed and decorated, it’s time to start organizing! Consider grouping items together by category (e.g. books, office supplies, decorations) or by color for a visually appealing look.
You can also use storage containers or baskets to keep smaller items organized and easily accessible. Don’t be afraid to experiment with different arrangements until you find one that works best for your needs.
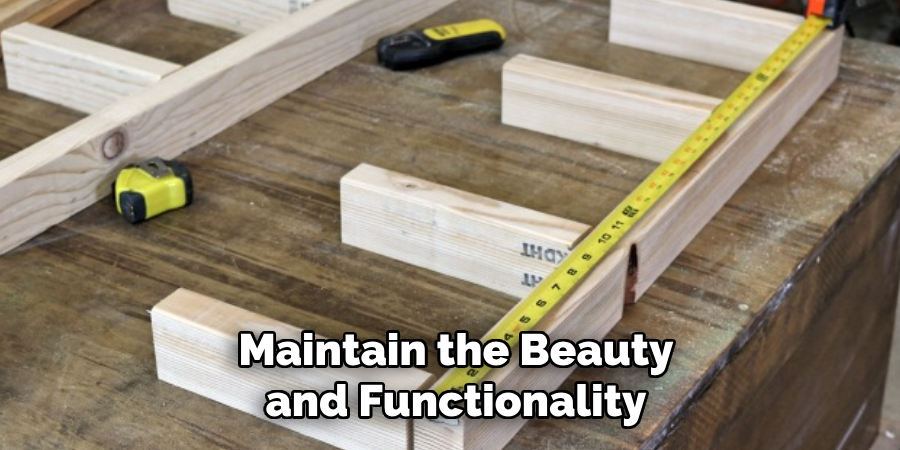
Following these steps on how to build floating wood shelves and decorate them can transform any room into a functional and stylish space. But don’t forget to regularly declutter and reorganize to maintain the beauty and functionality of your shelves.
Do You Need to Use Professionals?
Whether or not you need to hire professionals for building and installing floating wood shelves largely depends on your comfort level with DIY projects and the complexity of your desired setup. If you have the necessary tools and experience, many floating shelf projects are manageable on your own, especially if you follow step-by-step guides and take proper precautions.
However, for more intricate designs or challenging wall types, such as plaster or uneven surfaces, professional assistance might be beneficial. Professionals can ensure precise installation, maximizing both the stability and aesthetic appeal of your shelves. If you’re unsure about your capabilities or want peace of mind, consulting an expert can save time and prevent potential issues.
Frequently Asked Questions
Q: Can I Use Wall Anchors for All Types of Walls?
A: Wall anchors can be used for most types of walls, including drywall, concrete, and wood. However, it is important to choose the appropriate type of anchor for your specific wall material.
Q: How Much Weight Can Wall Anchors Hold?
A: The weight capacity of wall anchors varies depending on the type and size of the anchor. It is recommended to always check the packaging or manufacturer’s guidelines for weight limits before installation.
Q: Do I Need Special Tools to Install Wall Anchors?
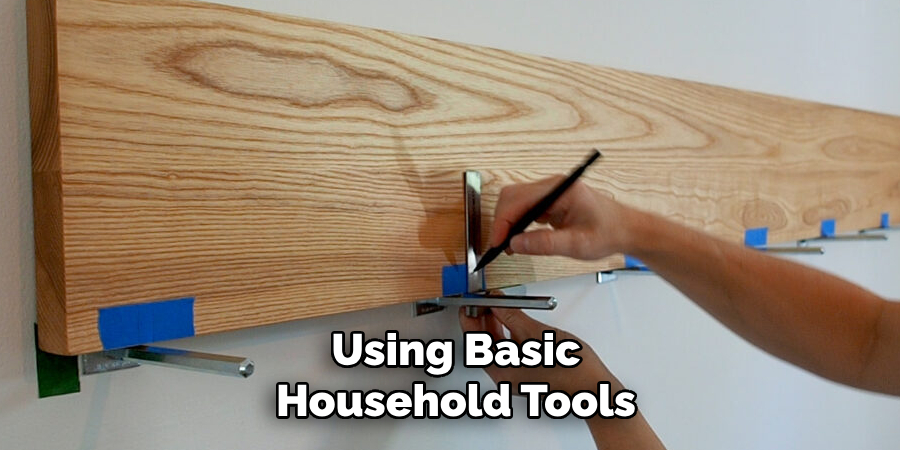
A: Most wall anchors can be installed using basic household tools such as a drill, screwdriver, and hammer. Some larger or more heavy-duty anchors may require a specific size drill bit or installation tool, which will usually be included with the anchor or sold separately.
Q: Can I Reuse Wall Anchors?
A: Reusing wall anchors once they have been installed and removed is not recommended. Repeated use can weaken the integrity of the anchor and potentially lead to failure. It is best to replace old anchors with new ones when necessary.
Q: Are There Different Types of Wall Anchors?
A: Yes, there are several different types of wall anchors designed for various materials and weight capacities. Some common types include plastic expansion anchors, toggle bolts, and molly bolts. Each type has its own unique method of installation and weight limit, so it is important to choose the right anchor for your specific needs. It is recommended to consult with a professional or do thorough research before selecting an anchor for your project.
Conclusion
Wall anchors are essential tools for securely mounting items to walls, especially in situations where studs are not available. By understanding the types of wall anchors and their respective applications, you can ensure the safety and stability of your installations.
Always consider the weight of the item, the wall material, and the anchor’s specifications to make the best choice for your project. Proper selection and installation of wall anchors can save time, prevent damage, and provide peace of mind. Thanks for reading this article on how to build floating wood shelves. Enhance your home décor with stylish wood floating shelves living room setups that offer both storage and a modern, minimalist aesthetic.
About the Author
Adrian Green, a lifelong woodworking enthusiast, shares his passion for the craft through The Woodenify Blog. With a foundation built on years of hands-on experience in his father’s woodworking shop, Adrian is dedicated to helping others learn and grow in the world of DIY woodworking. His approach to woodworking combines creativity, practicality, and a deep appreciation for the art of building with your own hands. Through his blog, he inspires individuals of all skill levels to embark on their own woodworking journeys, creating beautiful, functional pieces of furniture and décor.
Professional Focus
- Specializes in DIY woodworking projects, from furniture to home décor.
- Provides step-by-step guides and practical tutorials for woodworkers of all skill levels.
- Dedicated to helping readers build confidence and skill through easy-to-follow instructions and tips.
- Passionate about fostering a community of makers who can share, learn, and grow together.
Education History
- University of Craft and Design – Bachelor of Fine Arts (BFA) in Woodworking and Furniture Design
- Woodworking Apprenticeships – Extensive hands-on training with skilled craftsmen to refine carpentry and furniture making techniques.
- Online Courses & Masterclasses – Continued education in advanced woodworking techniques, design principles, and specialized tools
Expertise:
- DIY woodworking, carpentry, furniture making, and home décor projects.
- Creating accessible tutorials and guides for beginner to advanced woodworkers.
- Sharing the joys and satisfaction of woodworking, from raw materials to finished products.