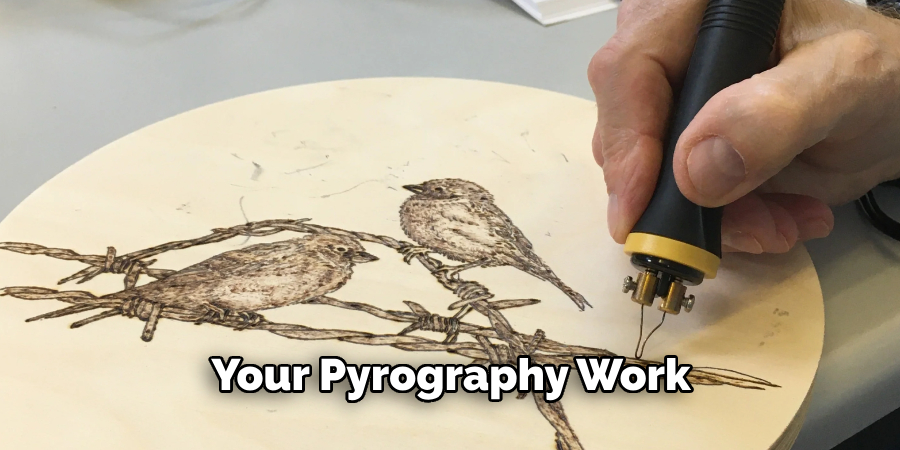
Cleaning wood burning tips is an essential maintenance task for woodworkers and hobbyists who use pyrography tools. Over time, the tips of wood burning tools can become clogged with residue from burnt wood, reducing their effectiveness and precision.
Proper cleaning not only prolongs the life of the tips but also ensures consistent and high-quality results in your pyrography projects. However, cleaning wood burning tips requires care and attention to avoid damaging the delicate metal surfaces. From selecting the right cleaning materials, such as brass brushes or sandpaper, to following the correct techniques for removing stubborn buildup, there are several key considerations to keep in mind.
In this comprehensive guide, we’ll explore step-by-step instructions and essential tips for effectively cleaning wood burning tips, providing you with the knowledge and skills needed on how to clean wood burning tips, detailed designs in your woodburning projects.
Importance of Maintaining Clean Wood Burning Tips
Maintaining clean wood burning tips is crucial for several reasons. First and foremost, clean tips ensure better heat conductivity, which allows for smoother and more precise burning. When tips are free from residue, they can achieve higher temperatures more consistently, resulting in cleaner lines and detailed designs. Additionally, clean tips reduce the risk of unintentional scorching or burning irregularities on the wood, helping you achieve professional-looking results.
Another significant benefit is the prevention of tool degradation; residue buildup can lead to corrosion and wear, ultimately shortening the lifespan of your wood burning tools. By regularly cleaning your tips, you not only enhance the effectiveness of your pyrography work but also make a wise investment in the longevity of your equipment.
The Benefits of Regular Maintenance
Regular maintenance of your wood burning tips offers numerous benefits that directly impact the quality of your pyrography projects and the longevity of your tools. One of the primary advantages is the consistency it brings to your work. By keeping your tips in optimal condition, you ensure that each burn is uniform, which is essential for creating detailed and intricate designs. This level of consistency boosts your confidence and allows you to focus on creativity rather than troubleshooting tool issues.
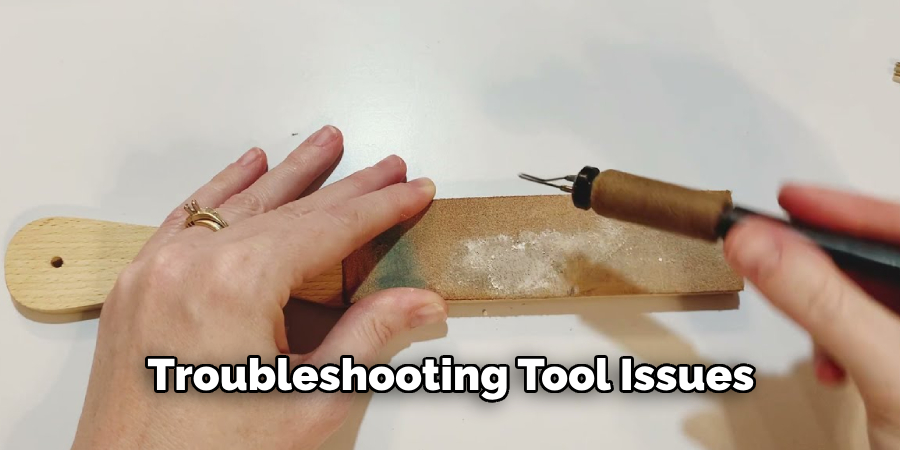
Another critical benefit is cost efficiency. Regular cleaning and maintenance prevent the buildup of residue that can lead to corrosion and wear. This proactive approach helps you avoid the frequent need to replace tips and tools, saving you money in the long run. Additionally, well-maintained tools are more reliable, reducing downtime and the frustration associated with malfunctioning equipment.
Moreover, maintaining clean tips enhances safety. Accumulated residue can sometimes cause overheating or uneven heating, which not only affects your work but can also be a safety hazard. By keeping your tips clean, you minimize these risks, creating a safer working environment.
In essence, regular maintenance is a simple yet effective practice that promises better performance, cost savings, and improved safety, making it an indispensable part of your pyrography routine.
Understanding Wood Burning Tips
Wood burning tips, or pyrography tips, are the crucial components of wood burning tools that come into direct contact with the material being burned. These tips heat up to high temperatures to burn designs and patterns onto wood surfaces. Understanding the different types of wood burning tips and their uses is essential for achieving the best results in your pyrography projects.
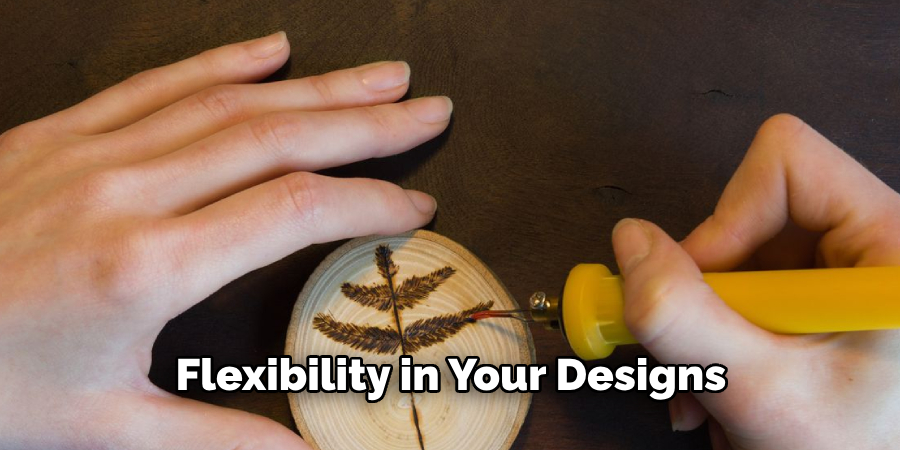
Wood burning tips are typically made from metals like nickel-chrome or brass, known for their durability and excellent heat conductive properties. There are various types of tips available, each designed for specific functions. For example, a pointed tip is perfect for detailing and fine lines, while a shading tip is ideal for filling larger areas with a gradient effect. Some tips are versatile and can be used for both outlining and shading, providing flexibility in your designs.
Choosing the right tip for your project depends on the complexity and style of the design you wish to create. Experimenting with different tips and techniques can help you understand their unique characteristics and find the best uses for each one. Proper care and maintenance of these tips, as discussed earlier, will ensure they remain in optimal condition, allowing you to explore the full potential of your wood burning artistry.
The Anatomy of Wood Burning Tips
Understanding the anatomy of wood burning tips is fundamental for both selecting the right tool for your projects and maintaining them effectively. Each tip has three primary components: the shaft, the base, and the tip itself.
Shaft
The shaft, often made from a heat-resistant material, connects the tip to the wood burning tool’s handle. It ensures that the heat is concentrated at the tip while keeping the handle cool enough for safe handling. The shaft needs to be sturdy and should provide a secure fit to prevent wobbling during use.
Base
The base of the wood burning tip is the section that screws or fits into the handle of the pyrography tool. This part is designed to hold the tip firmly in place and maintain a reliable connection for consistent heat transfer. Proper attachment at the base is crucial to prevent loose fittings, which can affect the precision of your work.
Tip
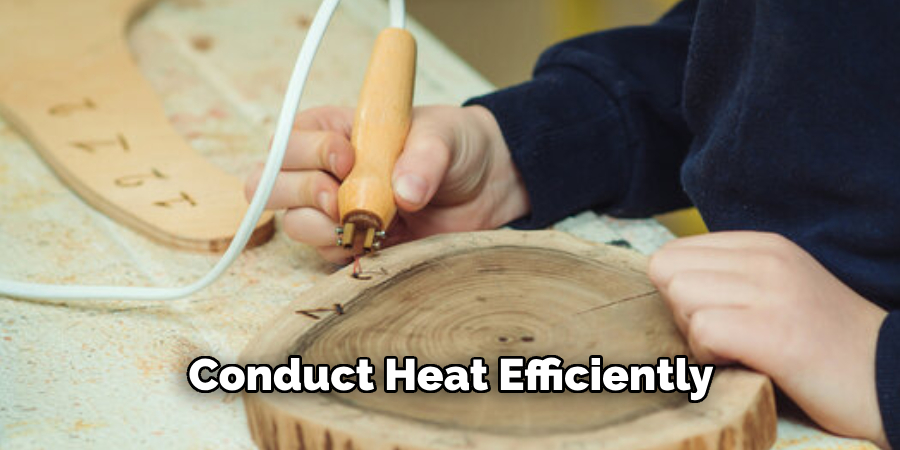
The tip is the most critical part, as it is the component that gets heated and comes into direct contact with the wood. The shape and material of the tip determine its function. Pointed tips are used for fine lines and detailing, rounded tips for general use, and flat or angled tips for shading larger areas. The types of metal used, such as nickel-chrome or brass, are chosen for their ability to conduct heat efficiently and resist wear over time.
By understanding the anatomy and functions of each component, you can make informed decisions on which tips to use for specific tasks and how to maintain them, ensuring the highest quality results in your pyrography projects.
Signs of Dirty Wood Burning Tips
Identifying when your wood burning tips need cleaning is essential to maintain the quality and precision of your pyrography projects. Here are some common signs that indicate your tips may be dirty and require maintenance:
Inconsistent Heat Distribution
One of the first signs of a dirty wood burning tip is uneven heating. If you notice that certain areas of the tip are not heating up as much as others, or if the tip heats up slowly, it is likely due to residue buildup impeding efficient heat conduction.
Burn Marks and Discoloration
Visible scorch marks or discoloration on the tip itself can be a clear indicator of residue accumulation. These marks are often caused by the carbonization of leftover wood fibers or other materials, which can affect the tip’s performance.
Difficulty in Making Fine Lines
If you are finding it progressively harder to create fine lines or detailed work, a dirty tip may be the culprit. Residue can blunt the precision of the tip, making it difficult to achieve the intricate details that pyrography often requires.
Increased Friction
A clean tip should glide smoothly across the wood surface. If you start to feel increased resistance or friction while burning, it is a good sign that residue has built up, creating a rougher, less effective burning surface.
Irregular Burn Patterns
Dirty tips often produce irregular burn patterns, with some areas appearing darker or lighter than intended. This inconsistency can ruin the uniform appearance of your design and make it challenging to achieve the desired aesthetic.
By keeping an eye out for these signs, you can ensure timely cleaning and maintenance of your wood burning tips, thus preserving the quality and longevity of your tools and enhancing your pyrography work.
10 Methods How to Clean Wood Burning Tips
Method 1: Comprehensive Cool Down
Before embarking on any cleaning endeavor, it’s imperative to allow the wood burning tool to cool down completely. After powering off the device, patience is key as you await its descent to room temperature. This cooling process is crucial for ensuring your safety, as attempting to clean a hot tip can result in burns or damage to both the tool and yourself. By allowing ample time for cooling, you lay the groundwork for a safe and effective cleaning session.
Method 2: Precise Sandpaper Treatment
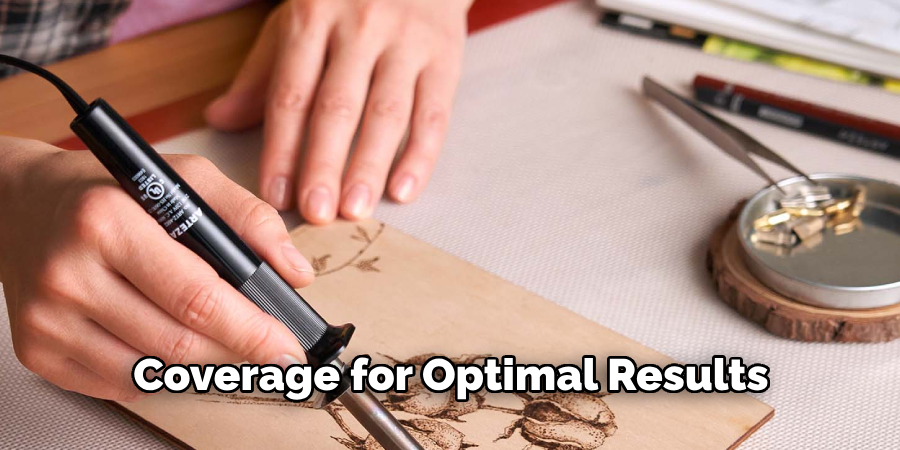
Among the simplest yet effective methods for cleaning wood burning tips is the use of fine-grit sandpaper. Employing sandpaper with a grit rating of 400 or higher, gently stroke the tip in circular motions to remove stubborn residue. The fine grit ensures that cleaning is thorough without causing undue abrasion to the tip’s surface. This method offers a delicate balance between efficacy and caution, allowing for the removal of debris while preserving the integrity of the tip.
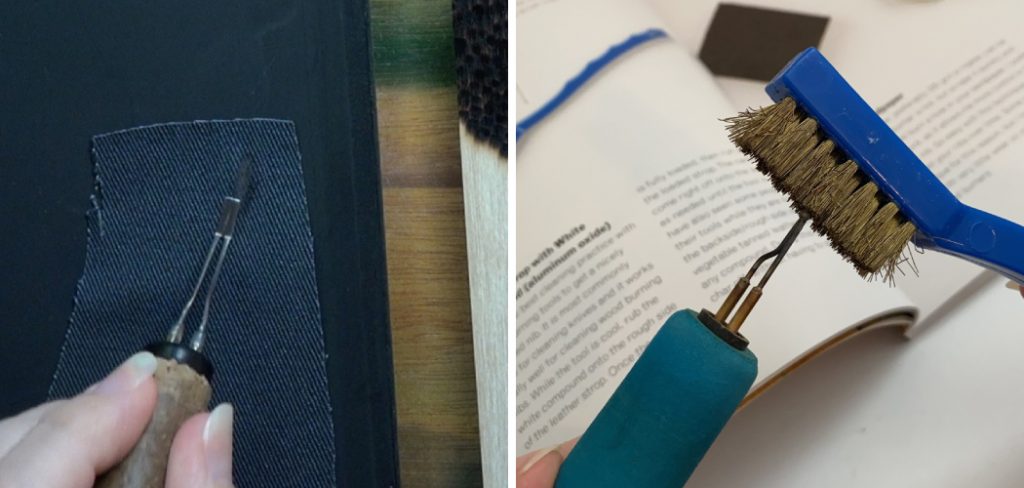
Method 3: Brass Brush Mastery
Harnessing the soft yet resilient nature of brass, a brass brush proves to be a valuable ally in the battle against stubborn residue on wood burning tips. With its fine brass bristles, this brush delicately massages the tip, dislodging buildup without inflicting harm. Employing circular motions, guide the brush across the tip’s surface and within any grooves or crevices where residue may lurk. This method epitomizes the marriage of gentleness and effectiveness, ensuring a thorough yet tender cleaning experience.
Method 4: Refined Isopropyl Alcohol Application
Isopropyl alcohol, with its potent solvent properties, emerges as a formidable contender in the realm of wood burning tip cleaning. Utilizing a cotton swab or cloth, apply a small quantity of isopropyl alcohol to the tip’s surface, targeting areas marred by persistent residue. As the alcohol infiltrates the debris, its dissolving action facilitates the removal of buildup, leaving the tip pristine and rejuvenated. This method showcases the transformative power of a meticulous solvent-driven approach to cleaning.
Method 5: Acetone Ascendancy
For cases necessitating a more robust solvent solution, acetone steps into the limelight, armed with its potent cleaning prowess. Typically found in nail polish remover, acetone possesses the strength to dissolve stubborn residue clinging to wood burning tips. Employing a cotton swab or cloth, administer a modest dose of acetone to the affected areas, allowing its penetrating action to disintegrate the buildup. With caution and precision, navigate the tip’s surface, ensuring comprehensive coverage for optimal results.
Method 6: Wire Brush Wizardry
In scenarios where residue proves particularly tenacious, a wire brush emerges as a stalwart companion, ready to confront the most stubborn of adversaries. With its fine or medium-grit bristles, the wire brush scours the tip’s surface, liberating it from encrusted debris. Employing gentle yet deliberate strokes, guide the brush across the tip, paying special attention to areas marred by persistent buildup. This method exemplifies the union of diligence and determination, promising a thorough cleansing experience.
Method 7: Vinegar Vigilance
Harnessing the mild acidity of vinegar, this method offers a natural yet effective solution for cleaning wood burning tips. Prepare a solution comprising equal parts white vinegar and water, immersing the tip in the concoction to facilitate the dissolution of stubborn residue. As the vinegar solution infiltrates the debris, its gentle yet potent action loosens the buildup, rendering it susceptible to removal. Following the soaking process, employ a soft brush or cloth to gently scrub the tip, ensuring the elimination of any remaining residue.
Method 8: Dremel Tool Dexterity
Elevating the cleaning process to new heights, a Dremel tool equipped with a polishing compound attachment introduces a dimension of precision and refinement. With a judicious application of polishing compound, guide the Dremel tool across the tip’s surface, buffing away residue with finesse. Beginning at a low speed and gradually escalating to achieve optimal results, this method showcases the transformative potential of power-driven cleaning techniques.
Method 9: Soldering Tip Sensibility
Soldering tip cleaners, crafted from brass or copper, emerge as unsung heroes in the quest for pristine wood burning tips. With their abrasive surfaces, these cleaners scour the tip’s surface, dislodging encrusted debris with precision. By inserting the tip into the cleaner and rotating it several times, you ensure thorough coverage, allowing the abrasive action to penetrate even the most tenacious buildup. This method epitomizes the marriage of simplicity and effectiveness, delivering results that exceed expectations.
Method 10: Embrace Preventive Maintenance
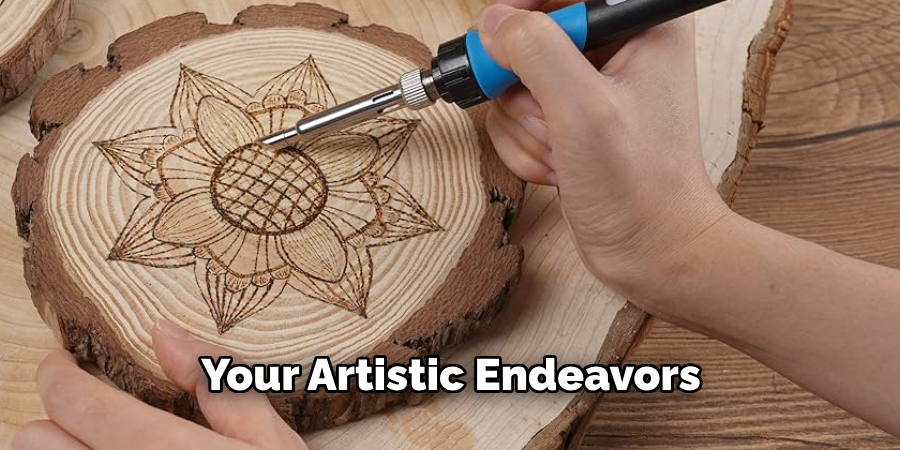
While the preceding methods offer invaluable solutions for cleaning wood burning tips, embracing preventive maintenance is equally essential for preserving their pristine condition. By exercising caution and moderation during use, you mitigate the risk of excessive residue buildup, prolonging the intervals between cleaning sessions. Furthermore, storing your wood burning tools in a clean, dry environment shields them from the detrimental effects of moisture and debris accumulation. By integrating preventive maintenance into your routine, you fortify the longevity and performance of your wood burning tips, ensuring they remain steadfast allies in your artistic endeavors.
Things to Consider When Working with Wood Burning Tips
1. Temperature Control: Maintaining an appropriate temperature is crucial for achieving precise results while avoiding damage to your wood burning tips. Excessive heat can cause tips to overheat, leading to quicker wear and potential damage. Consider investing in a temperature-controlled wood burning tool to ensure consistent and manageable heat levels.
2. Tip Selection: Different projects require different types of tips. Ensure you have a variety of tips available and choose the right one for intricate detailing, shading, or broad strokes. Using the correct tip enhances the quality of your work and reduces wear on your tools.
3. Safety Precautions: Safety is paramount when working with high temperatures and electrical equipment. Always work in a well-ventilated area to avoid inhaling fumes. Wear protective gloves to prevent burns, and ensure your work area is free from flammable materials.
4. Material Suitability: Not all wood is suitable for burning. Softwoods like pine tend to produce resin, which can gum up your tools and affect the quality of your work. Hardwoods such as birch or maple are preferable as they provide a more consistent burning surface.
5. Cleanliness: Regular cleaning of your wood burning tips, as detailed in the previous section, preserves their condition and ensures consistent performance. Accumulated residue can affect the tip’s efficiency and the quality of your work.
6. Storage: Proper storage of your wood burning tools prevents damage and extends their lifespan. Keep them in a dry, clean place, and avoid overcrowding to prevent tips from getting damaged or tangled.
Conclusion
Cleaning wood burning tips is a labor of love, requiring meticulous attention to detail and a nuanced approach. By embracing the ten elaborated methods outlined above, you equip yourself with a comprehensive toolkit for maintaining the pristine condition of your wood burning tips. From gentle abrasion with sandpaper to potent solvents like acetone and vinegar, each method offers a unique perspective on the art of wood burning tip cleaning.
By incorporating these techniques into your maintenance regimen, you ensure that your wood burning tools remain steadfast companions on your artistic journey, empowering you to realize your creative vision with clarity and precision. Hopefully, this article gave you some helpful tips about how to clean wood burning tips successfully, so now that you have the proper knowledge on how to get the job done, why not give it a try today?
About the Author
Adrian Green, a lifelong woodworking enthusiast, shares his passion for the craft through The Woodenify Blog. With a foundation built on years of hands-on experience in his father’s woodworking shop, Adrian is dedicated to helping others learn and grow in the world of DIY woodworking. His approach to woodworking combines creativity, practicality, and a deep appreciation for the art of building with your own hands. Through his blog, he inspires individuals of all skill levels to embark on their own woodworking journeys, creating beautiful, functional pieces of furniture and décor.
Professional Focus
- Specializes in DIY woodworking projects, from furniture to home décor.
- Provides step-by-step guides and practical tutorials for woodworkers of all skill levels.
- Dedicated to helping readers build confidence and skill through easy-to-follow instructions and tips.
- Passionate about fostering a community of makers who can share, learn, and grow together.
Education History
- University of Craft and Design – Bachelor of Fine Arts (BFA) in Woodworking and Furniture Design
- Woodworking Apprenticeships – Extensive hands-on training with skilled craftsmen to refine carpentry and furniture making techniques.
- Online Courses & Masterclasses – Continued education in advanced woodworking techniques, design principles, and specialized tools
Expertise:
- DIY woodworking, carpentry, furniture making, and home décor projects.
- Creating accessible tutorials and guides for beginner to advanced woodworkers.
- Sharing the joys and satisfaction of woodworking, from raw materials to finished products.