Understanding how to calculate board feet is essential for anyone working with lumber, whether you’re a seasoned carpenter or a DIY enthusiast. Board feet are a unit of measurement that quantifies the volume of lumber, allowing for precise planning and cost estimation for projects. By mastering this calculation, you can ensure you purchase the right amount of wood, minimize wastage, and manage your budget more effectively.
This guide on how to figure board feet of lumber will walk you through the steps to accurately determine the board feet of lumber, making your woodworking projects more efficient and cost-effective.
Understanding Board Feet
Before delving into the calculation process, it’s crucial to understand what exactly board feet represent. A board foot is a volume measurement of lumber, which equates to a piece of wood that is one inch thick, twelve inches wide, and twelve inches long. This standard unit simplifies the process of pricing and purchasing lumber, as it provides a consistent method to quantify various dimensions of wood.
By using board feet as a unit, you can easily compare and determine the amount of wood needed for different parts of your project, regardless of the lumber’s length, width, or thickness variations. Having a solid grasp of what a board foot entails is the foundation for accurate lumber calculations.
You can also use board feet to determine the cost of a specific piece of lumber accurately. By multiplying the number of board feet by the cost per board foot, you can calculate the total cost for that particular piece of wood.
Why is This Important?
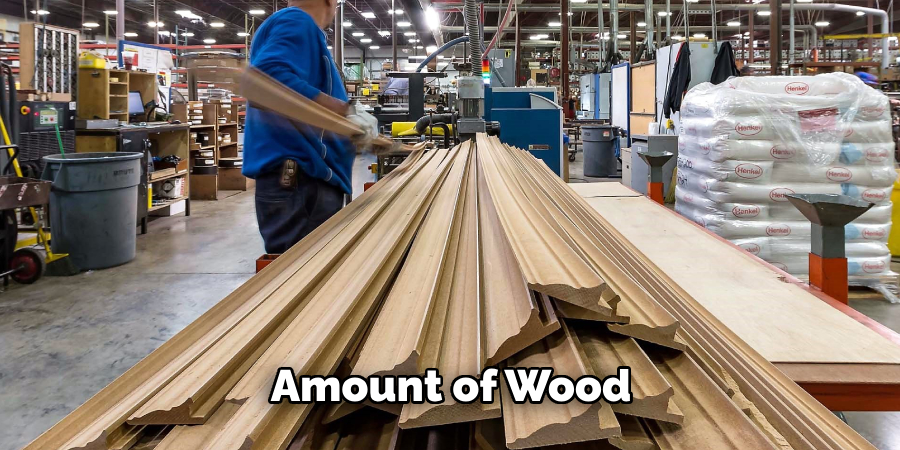
Understanding how to calculate board feet is crucial for several reasons. First and foremost, it allows you to make informed purchasing decisions. Lumber can be an expensive material, and buying too much or too little can affect your project’s scope and budget.
Accurate calculations prevent wastage and ensure you purchase the exact amount of wood required, saving both money and resources. Additionally, knowing how to figure out board feet is essential for clear communication with suppliers and other professionals in the woodworking industry.

It standardizes measurements, reducing misunderstandings and errors in ordering materials. Ultimately, mastering this skill enhances your efficiency and effectiveness in project planning, leading to smoother project execution and higher-quality results.
Needed Materials
To accurately calculate board feet, you will need the following materials and tools:
Measuring Tape or Ruler:
Essential for measuring the dimensions of the lumber (length, width, and thickness).
Calculator:
Useful for performing the necessary calculations quickly and accurately.
Pen and Paper:
Handy for jotting down measurements and notes as you work through the calculation process.
Conversion Chart:
Helpful if you need to convert between different units of measurement, such as inches to feet or centimeters to inches. This chart can be found online or in reference books related to woodworking.
8 Steps on How to Figure Board Feet of Lumber
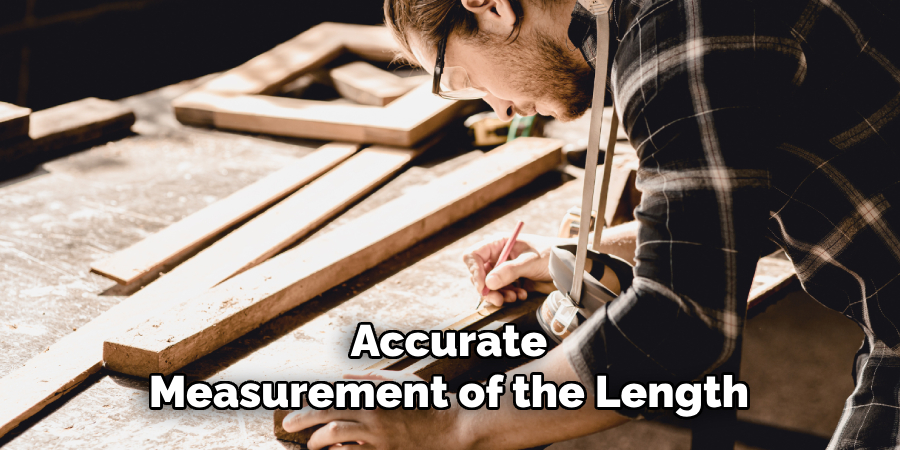
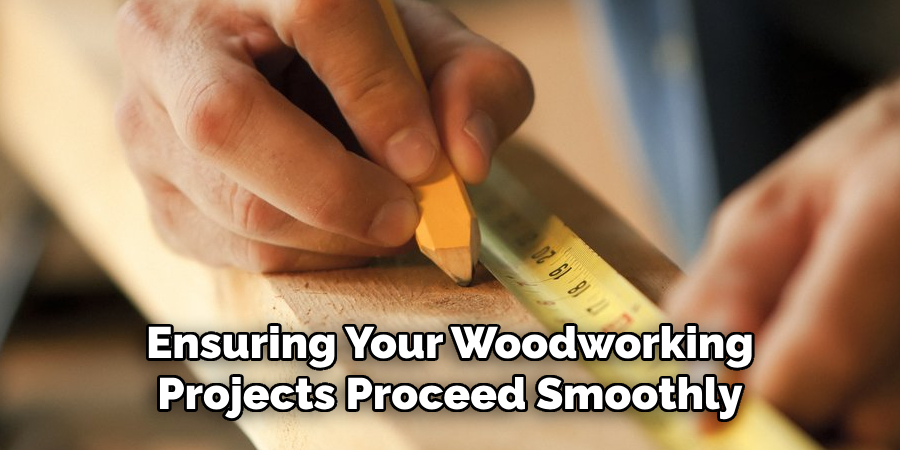
Step 1: Measure the Length of the Lumber
First, you need to measure the length of the lumber you are planning to use. Use a measuring tape or ruler for this task. Carefully extend the measuring tape along the length of the wood from one end to the other, ensuring that it is straight to get an accurate measurement.
Record the length in inches, as this will be necessary for the calculations in subsequent steps. Accurate measurement of the length is crucial as it directly impacts the overall board feet calculation. Make sure to write down this measurement for later use.
Step 2: Measure the Width of the Lumber
Next, you need to measure the width of the lumber. Using the same measuring tape or ruler, measure across the face of the board at its widest point. Ensure that the tape or ruler is perpendicular to the edges of the board to obtain an accurate measurement.
Record the width in inches, as this measurement will be used in combination with the length and thickness to calculate the board feet. Precise measurement of the width is vital because any discrepancy can lead to inaccurate calculations, affecting your project’s material requirements. Write down this measurement for later use.
Step 3: Measure the Thickness of the Lumber
The final dimension you need to measure is the thickness of the lumber. Using a measuring tape or ruler, measure from one side edge to the other side edge of your board. Make sure to position the measuring tool perpendicular to the width and length for an accurate measurement.
Record this measurement in inches, as it will be used along with length and width for calculating board feet. Any differences in thickness can significantly impact the overall calculation, so ensure precision when recording this measurement.
Step 4: Convert Measurements to Feet
To standardize your measurements for the board feet calculation, you need to convert the length, width, and thickness of the lumber from inches to feet. This conversion simplifies the calculation process and ensures consistency.
For each dimension, divide the measurement in inches by 12, as there are 12 inches in a foot. For example, if the length of your lumber is 48 inches, divide by 12 to convert it to 4 feet. Similarly, if the width is 6 inches, converting would result in 0.5 feet (6 ÷ 12). The same approach applies to the thickness. If the thickness is 1 inch, it converts to 0.0833 feet (1 ÷ 12).
Record the converted values for length, width, and thickness in feet, as these will be used in the final board feet calculation. Accurate conversion at this stage is pivotal for ensuring that your board feet calculation accurately reflects the true volume of the lumber.
Step 5: Multiply Length, Width, and Thickness in Feet
Next, multiply the length, width, and thickness values in feet to get the volume of the lumber in cubic feet. This value represents the total amount of wood your piece of lumber contains.
For example, if your length is 4 feet, width is 0.5 feet, and thickness is 0.0833 feet, multiplying them together results in a volume of 0.1666 cubic feet (4 x 0.5 x 0.0833 = 0.1666). Record this value for later use.
Step 6: Convert Volume to Board Feet
To convert the volume from cubic feet to board feet, you need to multiply the cubic feet value by a conversion factor of 12. This conversion factor is necessary because one board foot equals one square foot with a thickness of 1 inch. Therefore, your volume in cubic feet needs to be divided by 12 to get the equivalent value in board feet.
For example, if your volume in cubic feet is 0.1666, multiplying it by the conversion factor of 12 results in 2 board feet (0.1666 x 12 = 2). Record this value for later use.
Step 7: Adjust for Waste
Waste is an inevitable part of any woodworking project, and it is essential to account for it when calculating board feet. Depending on your project’s complexity and design, you may need to add a percentage of waste to your final board feet calculation. This additional amount will ensure that you have enough lumber to complete your project, even if there is some wood left over after cutting and shaping.
Commonly used waste percentages range from 5% to 20%, depending on the project’s intricacy. Add this percentage of waste to the total board feet calculated in the previous step.
Step 8: Round Up the Final Calculation
After adjusting for waste, it is essential to round up the final board feet calculation to ensure you have a sufficient buffer of material for your project. Rounding up helps to accommodate any minor errors in measurement or unexpected material requirements that may arise during the construction process.

For example, if your adjusted total board feet is 10.75, rounding up would result in 11 board feet. This ensures that you have enough lumber without having to make multiple trips to the supplier. Always aim to purchase a little more than what is calculated to account for possible imperfections in the wood. Write down this final rounded value, as it represents the total amount of lumber you need to acquire for your project.
Advanced Board Foot Calculation Techniques
Accounting for Irregular Shapes and Curves
Standard board foot calculations assume that the lumber is rectangular. However, when working with irregular-shaped pieces or curved edges, you need a more sophisticated approach for accuracy.
One technique involves breaking down the irregular shapes into smaller, manageable sections that can be approximated as rectangles or triangles. Measure each segment individually and calculate the board feet separately, then sum these values to find the total board feet.
Using Software for Precision
With advancements in technology, various software tools are available for precise board foot calculations. These tools allow you to input detailed dimensions, and some even offer 3D modeling capabilities to visualize the lumber. Utilizing such software can help eliminate human error and provide a highly accurate measurement, which is especially beneficial for complex projects.
Calculating Lumber for Veneers and Thin Sheets
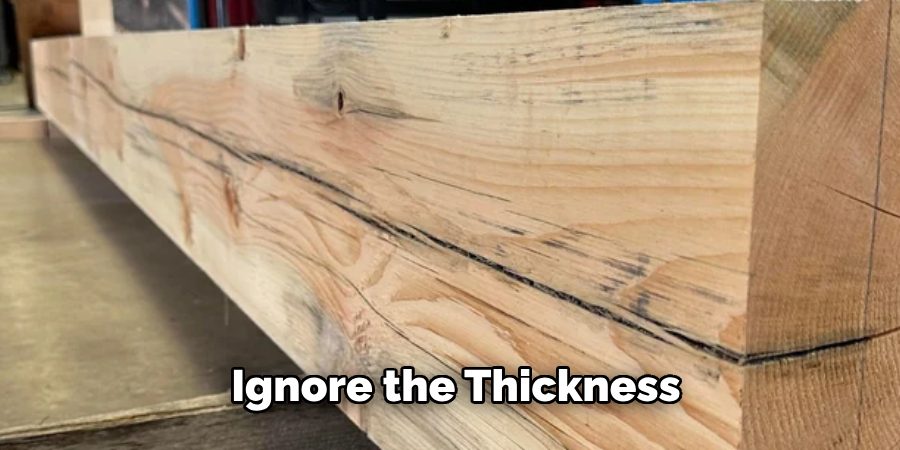
When it comes to veneers or thin sheets of wood, a different approach is required since these are often sold by square feet rather than board feet. To calculate the required amount of veneer, measure the length and width in feet and ignore the thickness, as it’s typically very uniform. Multiply the length by the width to get the square footage.
Adjusting for Moisture Content
Moisture content in lumber can significantly impact its dimensions. As wood dries, it shrinks, potentially altering the initial measurements. For precision, it is crucial to measure lumber at the same moisture content it will have when used in a project. Lumber calculators often include adjustments for moisture content to provide a more accurate board foot measurement.
Incorporating Wood Type and Density
Different types of wood have varying densities and can impact the total weight and structural properties of your project. High-density woods require more precise calculations to ensure structural integrity and load-bearing capabilities. When calculating board feet for dense hardwoods, consider consulting density-specific adjustment tables to refine your calculations further.
Utilizing Advanced Measuring Tools
Precision measuring tools such as laser distance measurers and calipers provide higher accuracy than traditional tape measures. These tools can measure minute variations in thickness and width, ensuring a more accurate board foot calculation. Employ these tools for high-stakes projects where material precision is critical.
Adding these advanced techniques to your toolbox will enhance the accuracy and reliability of your board foot calculations, making you better prepared for any woodworking project.

Tips for Efficient Board Foot Calculation
Plan Ahead
Before beginning your project, carefully plan and finalize your design. Understanding the complete scope of your project, including all the cut-outs and intricate details, can minimize material wastage and improve the accuracy of your board foot calculations.
Use Detailed Sketches
Create detailed sketches or diagrams of your project. Mark the dimensions clearly and label each part. Visualizing your project on paper or using computer software can help identify potential measurement errors and ensure you have accounted for all components.
Double-Check Measurements
Always double-check your measurements. Minor errors in measurement can lead to significant discrepancies in your calculations. Use reliable and accurate measuring tools, and consider re-measuring critical dimensions at different stages to ensure consistency.
Automate Calculations with Tools
Take advantage of digital tools and calculators designed specifically for board foot calculations. These tools can quickly convert dimensions and adjust for variables like waste and moisture content. They also reduce the risk of human error and streamline the calculation process.
Keep a Buffer
Always add a buffer to your calculated board feet. This buffer can account for unexpected errors, wood defects, or changes in project dimensions. Having a little extra material on hand ensures your project won’t be derailed by minor setbacks.
Understand Your Materials
Familiarize yourself with the types of wood you’ll be using. Different wood species have varying characteristics, such as density and grain pattern, which can affect your measurements and the amount of material needed. Adjust your calculations accordingly to compensate for these differences.
Stay Organized
Keep your work area organized and label all your pieces clearly. An organized workspace helps you stay focused and makes it easier to track your materials and measurements. Keeping a log of your calculations and material usage can also help in future projects.
By incorporating these tips on how to figure board feet of lumber into your workflow, you’ll be able to calculate board feet more efficiently and accurately, ensuring your woodworking projects proceed smoothly.
Frequently Asked Questions
Q: Can I Use Any Measuring Tool to Calculate Board Feet, or is a Specific Type of Ruler Required?
A: While you can use various measuring tools to calculate board feet, it’s essential to ensure that your tools provide precise and accurate measurements. Common measuring tools like a standard measuring tape, a ruler, or a caliper can all be used effectively. The critical factor is ensuring that the measurements are recorded in inches, as the calculations for board feet typically start with inches before converting to feet.
Digital calipers offer high precision and can be beneficial for detailed measurements, especially for smaller dimensions like thickness. No matter which tool you opt for, accuracy is paramount to achieving the correct board feet calculation.
Q: Do I Need to Adjust for Waste When Calculating Board Feet?
A: Yes, it is highly recommended to account for waste when calculating board feet. As mentioned in step 7, waste is an inevitable part of any woodworking project, and it’s essential to have a buffer of extra material. This ensures that you have enough wood to complete your project, even if there are unexpected errors or issues during the construction process. Moreover, having some leftover material can come in handy for future projects as well.
Q: Can I Use Board Feet Calculation for Any Type of Lumber?
A: Yes, the board feet calculation can be used for any type of lumber. However, it is crucial to take into account the specific characteristics and properties of different types of wood when determining waste percentages and rounding up final calculations.
For example, some types of wood may have more natural defects or knots than others, which could affect how much waste needs to be accounted for. It’s always best to consult with an experienced woodworker or refer to reliable sources when working with unfamiliar types of lumber.
Q: Is There a Standard Waste Percentage I Should Use for My Woodworking Projects?
A: No, there is no one-size-fits-all waste percentage for woodworking projects. The amount of waste added in the final board feet calculation will depend on various factors, including the project’s complexity, design, and your personal preference.
As a general rule of thumb, starting with a waste percentage of 5% to 10% should be sufficient for most projects. However, it’s always best to consult with an experienced woodworker or refer to reliable sources when determining the appropriate amount of waste for your specific project.
Conclusion
Accurately calculating the board feet for your lumber is an essential step in ensuring that your woodworking projects run smoothly and efficiently. By following the eight detailed steps outlined above, you can achieve precise measurements and appropriate adjustments, which include accounting for waste and rounding up final calculations.
These practices not only help manage resources effectively but also reduce the likelihood of project delays due to material shortages. Proper planning and measurement techniques will enable you to make informed decisions, minimize waste, and ultimately achieve better results in your woodworking endeavors.
With these calculations on how to figure board feet of lumber in hand, you can approach your project with confidence, knowing that you have all the necessary materials to create a masterpiece.
About the Author
Adrian Green, a lifelong woodworking enthusiast, shares his passion for the craft through The Woodenify Blog. With a foundation built on years of hands-on experience in his father’s woodworking shop, Adrian is dedicated to helping others learn and grow in the world of DIY woodworking. His approach to woodworking combines creativity, practicality, and a deep appreciation for the art of building with your own hands. Through his blog, he inspires individuals of all skill levels to embark on their own woodworking journeys, creating beautiful, functional pieces of furniture and décor.
Professional Focus
- Specializes in DIY woodworking projects, from furniture to home décor.
- Provides step-by-step guides and practical tutorials for woodworkers of all skill levels.
- Dedicated to helping readers build confidence and skill through easy-to-follow instructions and tips.
- Passionate about fostering a community of makers who can share, learn, and grow together.
Education History
- University of Craft and Design – Bachelor of Fine Arts (BFA) in Woodworking and Furniture Design
- Woodworking Apprenticeships – Extensive hands-on training with skilled craftsmen to refine carpentry and furniture making techniques.
- Online Courses & Masterclasses – Continued education in advanced woodworking techniques, design principles, and specialized tools
Expertise:
- DIY woodworking, carpentry, furniture making, and home décor projects.
- Creating accessible tutorials and guides for beginner to advanced woodworkers.
- Sharing the joys and satisfaction of woodworking, from raw materials to finished products.