Wood floor cracks are a common issue that can arise due to several factors, including seasonal changes, natural settling of the house, and fluctuations in humidity levels. These environmental conditions can cause wood to expand and contract, leading to unsightly gaps and cracks over time.

Addressing these cracks is crucial not only for maintaining the aesthetic appeal of your flooring but also for preventing further damage that could compromise the structural integrity of the wood. Filling cracks effectively can help safeguard your investment, ensuring your floors remain functional and beautiful for years to come.
The purpose of this article is to serve as a practical, step-by-step guide on how to fill cracks in wood floor, providing you with the knowledge to identify, prepare, and repair cracks with confidence.
Understanding the Types and Causes of Cracks
Cracks in wood floors can vary in size and form, each requiring a specific approach to repair. Identifying the type of crack is crucial to determine the best course of action.
Types of Cracks
- Hairline Cracks – These small, fine cracks are often superficial and may not immediately compromise the floor’s structural integrity but can detract from its appearance.
- Separation Between Planks – Gaps that develop between floorboards are more noticeable and can create an uneven surface.
- Deep Gaps – Larger, more significant cracks or gaps can signal deeper issues and may require immediate attention to prevent further damage.
Common Causes
- Expansion and Contraction – Changes in humidity levels cause wood to expand during moist conditions and contract in dry climates, leading to cracks over time.
- Improper Installation – Flooring that hasn’t been installed correctly can develop gaps and cracks as it settles.
- Age-Related Shrinkage – Natural wear and tear over the years can lead to wood shrinkage and crack formation.
When to Repair
It’s essential to address cracks when signs such as movement, dirt collection, or splintering are evident. Prompt repairs will prevent further deterioration and help maintain the beauty and functionality of your wood floors.
Choosing the Right Filler Material
Selecting the proper filler material is crucial for effective and lasting wood floor crack repairs. Here are key considerations to guide your choice:
Types of Fillers
There are several types of fillers available, each suited to different needs:

- Wood Putty – Ideal for small gaps and cracks, wood putty is flexible and works well on finished floors.
- Wood Filler – Often used for unfinished wood, it hardens fully and can be sanded for a smooth finish.
- Latex Filler – Easy to apply and clean, latex filler is a versatile option for minor repairs and can be painted over.
- Epoxy – A durable solution for larger cracks, epoxy fillers dry hard and offer long-term stability.
Color Matching
To maintain your floors’ aesthetic appeal, selecting a filler that matches their tone is essential. Many fillers come in a range of colors, and utilizing stainable or paintable options can help achieve a seamless finish.
Temporary vs. Permanent Fixes
Flexible fillers like latex or wood putty provide a temporary solution for minor or seasonal cracks while accommodating wood movement. For more significant, permanent repairs, opt for hard-drying compounds like epoxy or wood filler that will not shrink or shift over time.
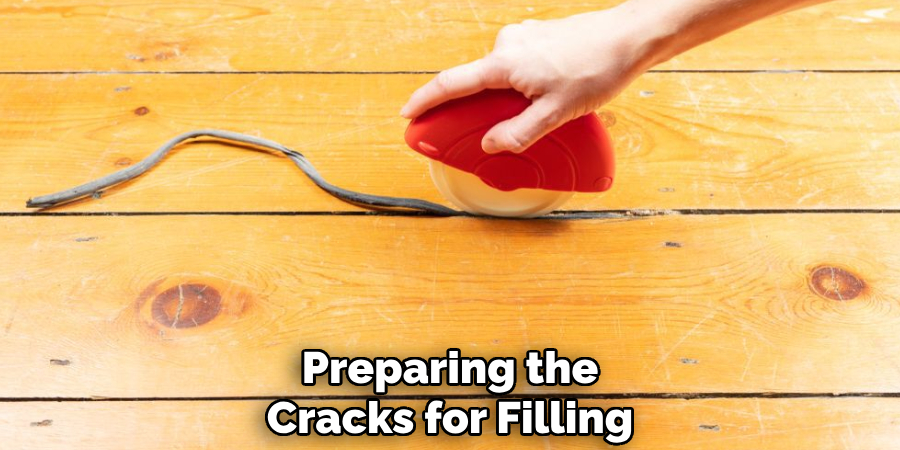
Preparing the Cracks for Filling
Proper preparation is crucial for ensuring durable and seamless repairs when filling cracks in wood surfaces. Following these steps will help achieve the best results:
Cleaning the Area
Before applying any filler, the affected area must be thoroughly cleaned. Use a soft brush or a vacuum to remove all dirt, dust, and debris from inside and around the crack. This step ensures a clean surface for proper adhesion and prevents impurities from compromising the filler.
Widening or Shaping the Crack (if necessary)
You may need to widen or shape the crack for better filler adherence. Carefully create a cleaner, more defined edge using a utility knife or fine-grit sandpaper. This step is especially important for irregular or splintered cracks, allowing the filler to bond securely and evenly.
Testing the Filler First
Before filling the entire crack, test the filler on a small, inconspicuous area. This helps determine if the color and finish match the surrounding wood and ensures compatibility with any stains or finishes you plan to apply later. Adjust as necessary to minimize noticeable differences.
Gathering Supplies
Having the right tools and materials on hand will simplify the process significantly. Essential tools include a putty knife for applying the filler, sandpaper for smoothing the surface, and a tack cloth for cleaning. Optional items like wood stain or finish can help blend the repair with the rest of the surface. Make sure to choose a filler designed for wood and appropriate for your specific repair needs.
How to Fill Cracks in Wood Floor: Step-by-Step
Applying the Filler
Begin by pressing the wood filler into the crack using a putty knife. Work the filler deep into the crevice to ensure a solid, durable repair. It’s important to slightly overfill the crack, as most fillers shrink a bit as they dry. Overfilling allows you to achieve a flush surface after sanding.
Smoothing and Leveling
Once the filler is applied, use the flat edge of the putty knife to smooth and level the surface. Glide the knife along the filled area, removing any obvious excess while evenly distributing the filler. This step helps minimize the need for significant sanding later.
Drying Time
Allow the filler ample time to cure as specified on the product label. Drying times can vary depending on the type of filler and environmental conditions. Be patient during this stage, as rushing the process may compromise the durability of the repair.
Sanding the Area
After fully dries the filler, lightly sand the repaired spot using fine-grit sandpaper. Focus on blending the filled area with the surrounding wood surface to achieve a smooth and level finish. Don’t sand too aggressively, as this could damage the surrounding wood.
Cleaning Up
Finish by removing dust and debris from the area. Use a tack cloth to pick up fine particles or a vacuum for larger areas. Ensuring the surface is clean will prepare it for any additional treatments, such as staining or sealing, and leave the workspace tidy.
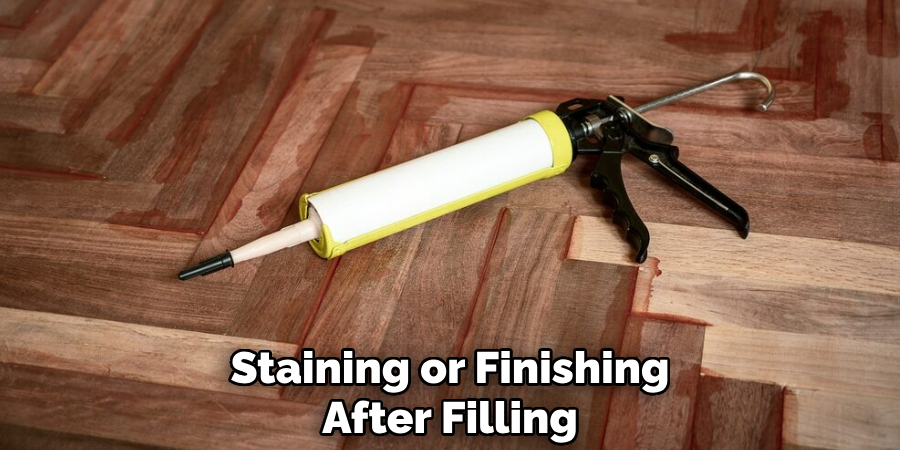
Staining or Finishing After Filling
Blending the Repair
Once the wood filler has dried and the surface has been sanded smoothly, it’s time to blend the repair with the surrounding wood. If the filler is sustainable, choose a wood stain that matches the existing color as closely as possible. Apply the stain using a clean rag or a brush, carefully working it into the filled area.
Allow the stain to sit for the recommended time, then wipe away any excess to ensure an even finish. If needed, apply multiple coats to achieve the desired color intensity, letting each coat dry completely before adding the next.
Sealing the Area
After staining, protect the repair and ensure it matches the floor’s sheen by applying a polyurethane finish. Select the appropriate finish—whether matte, satin, or glossy—to match the surrounding wood surface.
Using a foam brush or applicator, evenly apply a thin coat of polyurethane over the filled and stained area, blending slightly into the surrounding wood. Allow it to dry thoroughly according to the product instructions, and add additional coats if necessary for durability and uniformity.
Polishing and Buffing (Optional)
Consider lightly polishing or buffing the area once the finish has cured for a seamless, professional look. This step helps enhance the repair’s appearance and ensures it blends seamlessly with the rest of the wood surface. Use a fine polishing cloth or a finishing buffer for the best result.
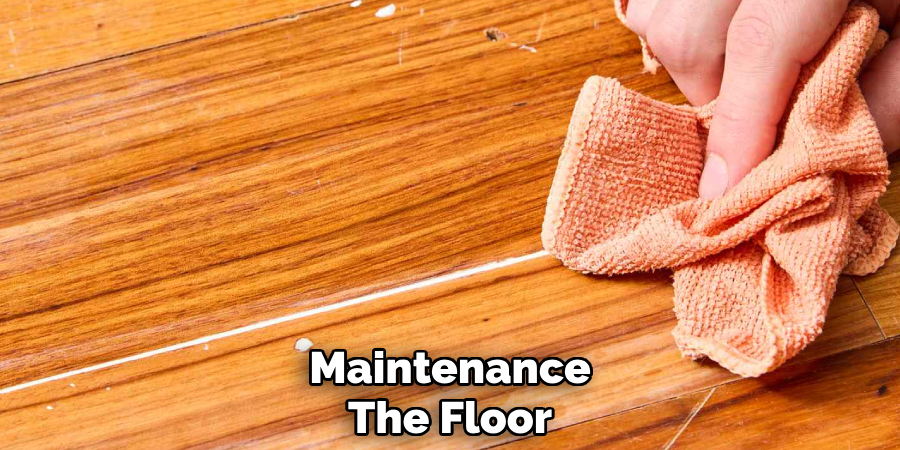
Maintenance Tips to Prevent Future Cracks
Humidity Control
Maintaining consistent indoor humidity levels is critical for preserving the integrity of wooden surfaces. Wood naturally expands and contracts based on moisture in the air, which can lead to cracking over time. Using a humidifier during dry seasons and a dehumidifier during humid periods helps stabilize conditions and minimize stress on the wood.
Routine Cleaning
Proper cleaning techniques are essential for preventing damage. Avoid excessive moisture when mopping floors, and always use wood-safe cleaners that are gentle and non-abrasive. This reduces the likelihood of water seeping into the wood and causing swelling or warping.
Regular Inspections
Make it a habit to regularly inspect wood surfaces for early signs of cracking, separation, or other damage. Addressing minor issues promptly, such as filling in small cracks or scratches, prevents them from worsening and extends the lifespan of the wood.
Common Mistakes to Avoid
Skipping Cleaning or Prep Work
One of the most common mistakes when repairing wood is not cleaning the damaged area properly. Dirt, dust, and debris can interfere with the adhesion of wood fillers, leading to repairs that may chip or fail over time. Always ensure the crack or damaged surface is clean and smooth before applying any filler to achieve the best results.
Using the Wrong Filler
Using the wrong type of filler, such as caulk or a non-wood-specific product, is another frequent error. These materials may not bond properly with wood, compromising the repair’s durability and appearance. Always opt for a high-quality wood filler that matches the type and texture of the wood surface for seamless results.
Improper Drying or Sanding
Rushing the drying or sanding process can lead to uneven or rough finishes. Allow ample time for the filler to dry completely and sand it carefully to ensure it blends with the surrounding surface, creating a smooth, professional look. Patience is key to successful wood repairs.
Conclusion
Knowing how to fill cracks in wood floor effectively begins with identifying the type of crack you are dealing with. This helps select the right filler that suits the wood’s texture and type. Proper application and finishing techniques, including adequate drying time and sanding with care, are essential for achieving a smooth, polished result.
Regular maintenance of your wood floor enhances its appearance and extends its lifespan. By addressing minor cracks early, you can prevent them from escalating into larger, more costly problems, ensuring your wood floors remain beautiful and durable for years to come.
About the Author
Adrian Green, a lifelong woodworking enthusiast, shares his passion for the craft through The Woodenify Blog. With a foundation built on years of hands-on experience in his father’s woodworking shop, Adrian is dedicated to helping others learn and grow in the world of DIY woodworking. His approach to woodworking combines creativity, practicality, and a deep appreciation for the art of building with your own hands. Through his blog, he inspires individuals of all skill levels to embark on their own woodworking journeys, creating beautiful, functional pieces of furniture and décor.
Professional Focus
- Specializes in DIY woodworking projects, from furniture to home décor.
- Provides step-by-step guides and practical tutorials for woodworkers of all skill levels.
- Dedicated to helping readers build confidence and skill through easy-to-follow instructions and tips.
- Passionate about fostering a community of makers who can share, learn, and grow together.
Education History
- University of Craft and Design – Bachelor of Fine Arts (BFA) in Woodworking and Furniture Design
- Woodworking Apprenticeships – Extensive hands-on training with skilled craftsmen to refine carpentry and furniture making techniques.
- Online Courses & Masterclasses – Continued education in advanced woodworking techniques, design principles, and specialized tools
Expertise:
- DIY woodworking, carpentry, furniture making, and home décor projects.
- Creating accessible tutorials and guides for beginner to advanced woodworkers.
- Sharing the joys and satisfaction of woodworking, from raw materials to finished products.