Maintaining your composite decking is like going to the dentist for a regular check-up; it might not be the most thrilling part of homeownership, but it sure beats the heck out of dealing with a decking disaster down the line. A well-maintained deck not only looks fabulous but also lasts longer, ensuring your outdoor shindigs don’t unexpectedly turn into a game of ‘avoid the wobbly board’.
Common issues with composite deck boards can range from the mildly annoying to the kind of problems that make you wonder why you didn’t just lay down a nice patch of astro-turf. We’re talking about boards that decide to warp like they’re auditioning for a twist contest, fading colors that looked great when you first laid them down but now seem determined to achieve a new shade of ‘blah’, and, of course, the infamous loose boards that trip up your guests.
In this chuckle-worthy guide, we’re going deep into the trenches to tackle the bane of backyard lounges everywhere: how to fix loose composite deck boards. We will arm you with the know-how to combat the wobbles and ensure your deck stays as sturdy and reliable as your favorite old pair of jeans. Get ready to transform your deck from a cautionary tale into the envy of the neighborhood.
Assessing the Situation
A. Identifying Loose or Raised Deck Boards
Picture this: you’re moseying across your deck, iced tea in hand when suddenly you’re doing the hokey pokey thanks to a rogue deck board. Identifying loose or raised boards is step numero uno. Keep an eye out for the obvious—boards that look like they’re trying to wave at you. And don’t forget the sneakier culprits, the ones that only reveal themselves when you step on them. While pretending you’re on a trampoline, a simple walkover test should do the trick.
B. Determining the Cause of the Problem (e.g., Warping, Expansion)
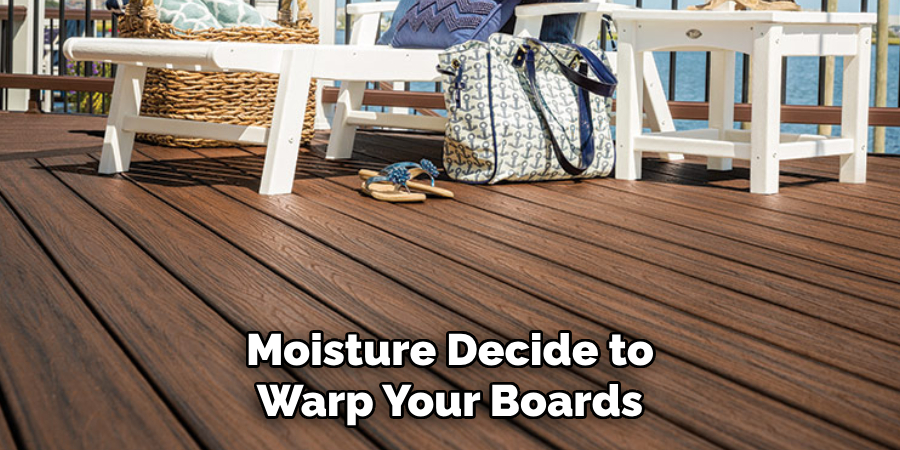
Once you’ve pinpointed which boards are throwing a party, it’s time to play detective. Was it Colonel Mustard in the library with the candlestick, or did sun exposure and moisture decide to warp your boards out of spite? Composite deck boards can expand because they get too excited or warp if they’ve been binging on too much water. It’s crucial to figure out the why—whether it’s from temperature tantrums or because they just felt like taking on a new shape.
C. Checking for Structural Damage or Loose Fasteners
Now, don’t get too distracted by those topside tantrums; it’s time to check what’s going on underneath. Give your deck’s underbelly a good inspection for any signs of structural damage or loose fasteners. Sometimes, the problem’s as simple as a few screws that decided to take a vacation. Grab your flashlight and maybe a magnifying glass (for effect, of course) and start your investigation. Look for anything out of the ordinary, and remember, if in doubt, tighten it out—or something like that.
Tools and Materials Needed
Ah, the stage is set, and now it’s time to gather your arsenal for this deck-saving mission. Think of yourself as gearing up for a DIY adventure where the treasure is a pristine, wobble-free deck. Here’s what you’ll need:
A. List of Necessary Tools
First off, you’re going to need some basic yet indispensable tools. Make sure you have a drill – this isn’t just a drill (pun totally intended), but your main weapon against those rebellious deck boards. You’ll also need screws specifically designed for composite decking; no ordinary screws here; we’re going premium. And don’t forget a pry bar; it’s perfect for gently convincing those loose boards to come up without turning into a Hulk smash moment.
B. Selecting Appropriate Fasteners for Composite Decking
Choosing the right fasteners is like selecting the perfect topping for your pizza—it has to complement the base! For composite decking, you want fasteners that are as durable and resilient as the boards themselves. Look for stainless steel or coated composite deck screws. These bad boys are designed not to rust or corrode, keeping your deck snug and secure without any unsightly stains.
C. Gathering Safety Equipment
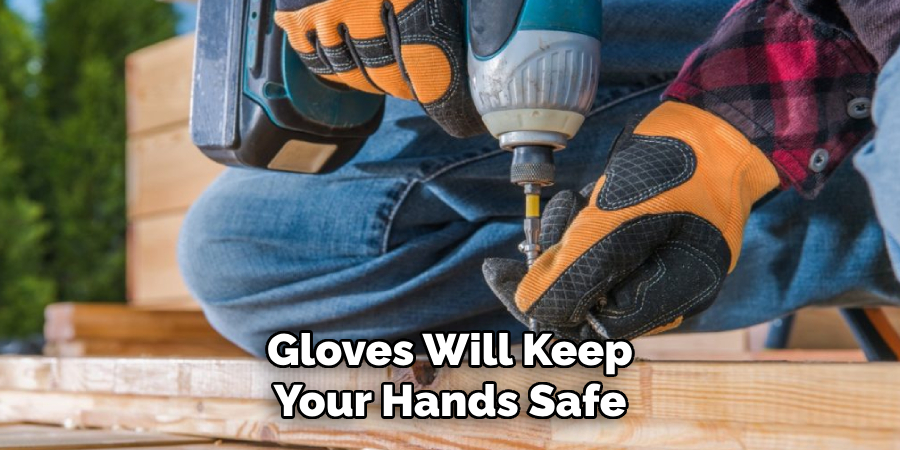
Safety first, DIY second. Before you jump into action, make sure you’re dressed for the occasion. Gloves will keep your hands safe from splinters and blisters, while safety glasses are essential to protect your peepers from flying debris (because who wants a wood chip for an eye patch?). Consider this your DIY suit of armor.
Armed with the right tools and materials, you’re now ready to face those deck boards head-on. Remember, with great power tools comes great responsibility. Happy fixing!
How to Fix Loose Composite Deck Boards: Securing Loose Deck Boards
Alright, folks. You’ve identified the rebellious planks and picked your tools, and now it’s time to show those deck boards who’s boss. Strap on your DIY suit of armor, and let’s get to it.
A. Removing Obstructions and Clearing the Area
First thing’s first: You gotta clear the deck—literally. Move your grill, chairs, rubber duckies—whatever you keep out there—off to the side. You need room to work your magic. And by “magic,” I mean the no-nonsense kind involving drills and sweat. Make sure the area around the loose board is as clear as a sunny day because tripping over a garden gnome while wielding a pry bar is not how we do DIY.
B. Using a Pry Bar to Lift the Loose Board
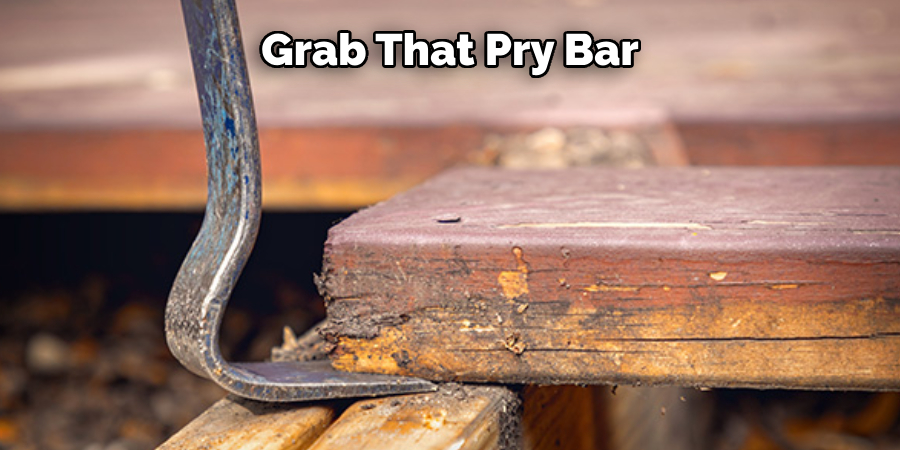
Now, grab that pry bar—it’s time to shine. Gently slide the pry bar under the offending board, applying just enough pressure to lift it without turning it into a see-saw for squirrels. You’re not trying to launch it into space; lift it enough to see what’s going on underneath. Think of it as opening the lid on a jar of pickles but with less vinegar and more satisfying creaking sounds.
C. Adding Screws or Fasteners to Reattach the Board
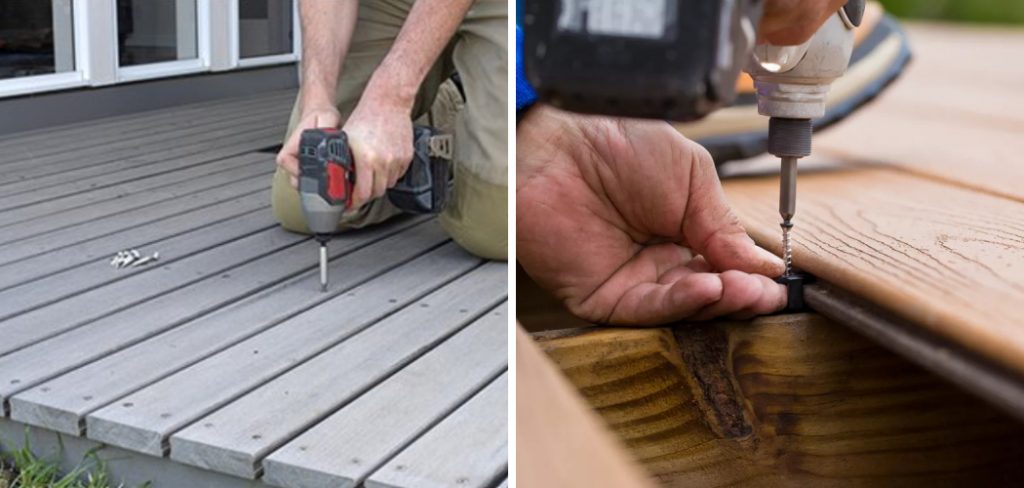
With the board lifted, it’s time to bring out the big guns (or, in this case, the drill). Grab those fancy composite deck screws you picked out—yeah, the ones that cost more than your lunch. Place them at strategic points along the board to ensure even distribution of your deck’s new-found solidarity.
Drill them in with the grace of a ballet dancer and the precision of a surgeon. When tightening the screws, go for “snug” rather than “I’m trying to drill to the center of the Earth.” We want the board secured, not crushed under the pressure of over-enthusiasm.
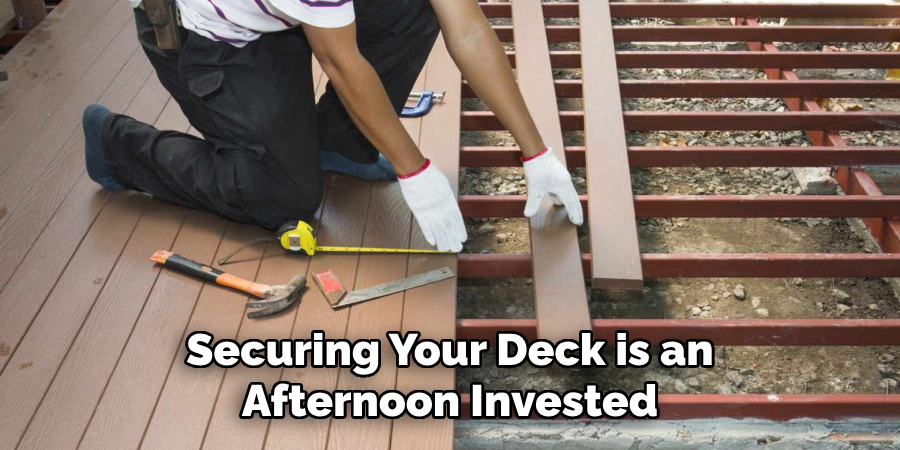
There you have it, your deck is now on its way from wobble city to stability central. Remember, an afternoon spent securing your deck is an afternoon invested in countless future BBQs, sunsets, and lounging sessions. Plus, you’ve probably worked up an appetite, so go ahead and reclaim your grill from the sidelines. Happy DIYing!
How to Fix Loose Composite Deck Boards: Ensuring Proper Spacing and Alignment
Alrighty, DIY deck doctors—now that you’ve nailed (or rather, screwed) down those adventurous planks, it’s time to turn our attention to spacing and alignment. Because nobody likes a crooked deck, it’s like having a Picasso in your backyard, but not in a good way.
A. Checking for Even Spacing Between Boards
First up, we’re playing the role of the spacing police. Grab a measuring tape, or if you’re feeling particularly inventive, an old deck of cards can work as a makeshift gauge for spacing. What you’re aiming for is consistency, my friends. You want your deck boards to be as evenly spaced as a disciplined marching band. This isn’t just for looks (though it’ll make your deck runway-ready); it’s crucial for drainage and ensuring it doesn’t turn into a miniature water park after a rainstorm.
B. Adjusting Boards to Ensure Proper Alignment
Now, if you find your boards are more out of line than unruly teenagers, it’s time for a little tough love. Gently coax them back into proper alignment using your pry bar with the finesse of a deck whisperer. Think of it as nudging your boards back into their best selves. You might need to loosen the screws a bit, adjust, and then tighten them back down. This step ensures your deck looks sharp and avoids any unsightly tripping hazards because the only thing we want tripping is your guests’ admiration levels.
C. Using Spacers or Shims if Necessary
If your boards are particularly stubborn and you’re seeing gaps wider than your last diet attempt, it might be time to introduce spacers or shims into the equation. These little helpers can be your best friends for achieving that chef’s kiss of perfect spacing. Slip them in between the boards as needed, adjusting as you go to keep everything on the straight and narrow. Remember, we’re going for uniformity, not a Morse code pattern across your deck.

By ensuring proper spacing and alignment, you’re not just making your deck look terrific; you’re also extending its lifespan and usability. Think of it as giving your deck a little TLC—it’ll thank you with years of service, holding up everything from your morning coffee sessions to those starlit soirees. And there you have it, deck aficionados; with your boards beautifully aligned and spaced, you’re officially a notch above the standard backyard handyman. Take a bow (or a well-deserved break), and enjoy the pristine view of your handiwork.
Addressing Warping or Bowing
Now, gather round, DIY dynamos as we tackle the deck’s version of a mid-life crisis: warping or bowing. You know, when your once straight and narrow boards start making their best impressions of a rollercoaster track, Not what you signed up for, right? Fear not; we’ve got some tricks up our sleeves.
A. Applying Weight or Pressure to Straighten Warped Boards
First up, dealing with these thrill-seeking boards. If your deck board’s decided to go on an adventure, it’s time to gently persuade it back to reality. Applying weight or pressure can work wonders. Think of it as a deep-tissue massage for your deck. You can use heavy objects (those unused gym weights, perhaps?) or even apply gentle but firm pressure over time. It’s all about convincing the board that flat is where it’s at. Remember, patience is key – you’re more likely to win the battle with steady persistence rather than brute force.
B. Using Heat to Soften and Mold Boards Back into Shape
Feeling a bit like a mad scientist? Great, because now we’re going to apply heat. Using a heat gun (borrowed from your pal or picked up from your local hardware haven), you can soften the board enough to encourage it back into its original form. Imagine you’re straightening a giant linguini – but, y’know, don’t actually cook it. With safety goggles on, focus the heat evenly and gently bend the board back. It’s like yoga for your deck. And yes, talking to it encouragingly is allowed.
C. Installing Support Blocks or Braces for Additional Stability
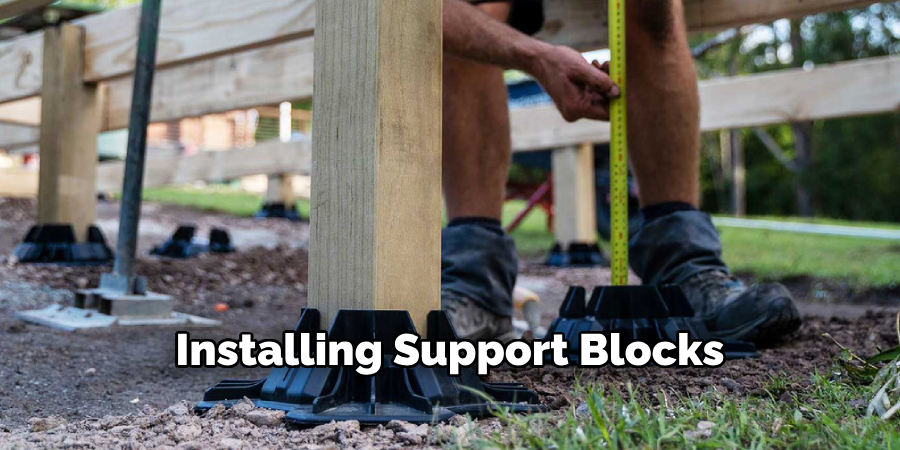
Last but not least, if your boards are being downright rebellious, it’s time to call in reinforcements. Installing support blocks or braces underneath can provide the tough love needed. Think of these as the stern, no-nonsense mentors for your wavy boards, guiding them back to the straight and narrow.
You’ll want to measure carefully and secure them firmly, ensuring they offer support without becoming new tripping hazards. Because the only surprise we want on our decks is an unexpected complement to our handiwork.
And there you have it, my handy friends, your step-by-step guide to dealing with the deck’s equivalent of a teenage rebellion. You’ll have those boards back in line quickly with a little patience, some heat, and a few strategic supports. Now step back, admire your work, and prepare for the envious glances of every neighbor within a three-block radius. Happy DIYing!
Concealing Fasteners
Alright, visionaries of the veranda, it’s time to chat about the unsung heroes of deck aesthetic: concealing those pesky fasteners. Because nothing says “I’ve got my life together” like a deck without visible screws.
A. Using Hidden Fastening Systems for Aesthetic Appeal
First on the agenda is opting for a hidden fastening system. This is essentially the deck equivalent of invisible ink—there, but not there. These nifty little devices allow you to install your planks with the stealth of a ninja, ensuring the screws are out of sight and out of mind. It’s like magic for your deck, giving it that clean, seamless look while still holding everything together snugly. Plus, it’s a surefire way to impress your neighbor, who’s probably still trying to figure out how you did it.
B. Installing Plugs or Caps to Cover Screw Heads
No worries if you’re not ready to go full Houdini with hidden fasteners! There’s a simpler trick up the sleeve: plugs or caps designed to cover those screw heads. These are the deck’s answer to concealer, blending in so well that you’ll forget the screws are even there. Choose caps that match the color of your decking for that flawless finish, or go wild with contrasting colors for a bit of deck drama—your call!
C. Ensuring a Smooth and Seamless Finish
The pièce de résistance of concealing fasteners is ensuring everything looks smooth and seamless, akin to frosting a perfect cake. This might mean taking an extra moment to ensure each plug or cap is flush with the deck surface, using a bit of sandpaper for the final touch-ups. The goal is to pass the “barefoot test”—walking across your deck without a single poke or snag.
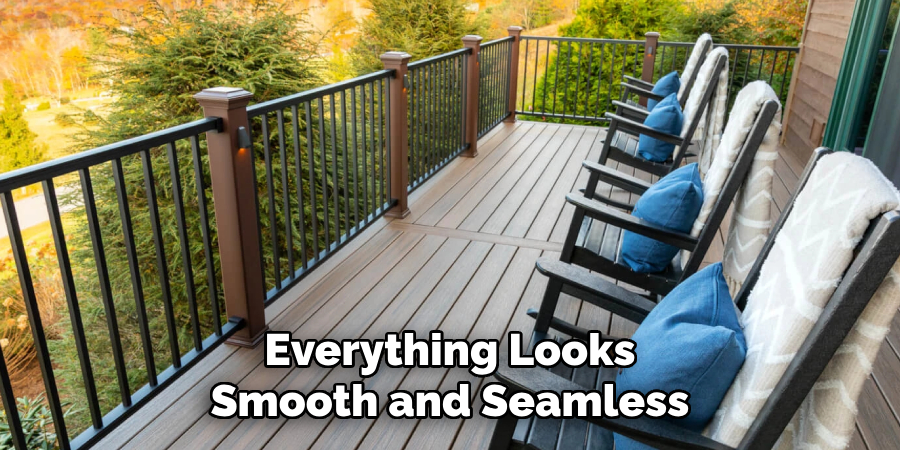
And just like that, you’ve elevated your deck from merely great to downright enviable. With hidden fasteners, plugs, or caps, those boards are not only secure but also breathtakingly seamless. Here’s to stepping onto your deck and feeling like you’re floating above a carpentry masterpiece. Cheers to that, and happy DIYing!
Preventative Maintenance Tips
Alright, deck defenders and plank protectors, gather ‘round for the not-so-secret sauce to keeping your wooden wonderland in tip-top shape: Preventative Maintenance. Nothing dampens the mood at a BBQ faster than a guest falling through a rogue hole in your deck. And trust me, “Watch your step!” isn’t the party game anyone signed up for.
A. Regularly Inspecting Deck Boards for Signs of Wear or Damage
First up, put on your detective hat and do a regular Sherlock Holmes on your deck. You’re looking for any signs of wear, tear, or damage. Splits, cracks, or boards that sound hollow when tapped are not part of the deck’s natural charm. Think of this as your deck whispering, “Help me,” before it starts screaming in the form of an unexpected renovation project.
B. Cleaning and Treating Decking Material to Prevent Future Issues
Next, the spa day! Much like any of us, your deck appreciates a good pampering session. Give it a thorough cleaning to remove dirt, leaves, and other party souvenirs. Then, treat it with a protective sealant or stain. It’s like sunscreen for your deck, protecting it from the harsh realities of UV rays and torrential downpours. This should be on your annual to-do list, right between “Start going to the gym” and “Learn to cook something new.”
C. Addressing Problems Promptly to Avoid Further Damage
Last but definitely not least, when you spot trouble, act like you’re in a superhero movie—swift and decisive. That small crack isn’t going to repair itself, and the longer you wait, the more likely it is to invite its friends over for a deck-destroying party. Fix issues as soon as they pop up to avoid the domino effect of damage, sparing you the drama and expense of major repairs later on.
And there you have it, the holy trinity of preventative maintenance for your outdoor oasis. By being a vigilant guardian, indulgent caregiver, and swift healer, you’ll ensure your deck stays solid, stunning, and party-ready for years to come. Plus, you’ll be the envy of the block, and who doesn’t love a bit of neighborhood fame? Happy decking!
Testing and Inspection
Gather round, DIY dynamos and construction wizards because it’s time to turn our decks into the testing grounds. We’ve patched, planked, and pampered our decks back into shape, but how do we know our handiwork holds up? Time for the grand finale: Testing and Inspection. No cape is required, but hey, if it makes you feel more heroic, I’m not stopping you.
A. Conducting a Thorough Inspection of Repaired Areas
First off, we’re going Sherlock with a magnifying glass on those repaired areas. Look for any signs that your repair might be throwing a fit or pretending to be something it’s not. It’s like catching your deck trying to sneak out at night—make sure everything is tight, right, and out of sight. Uneven surfaces, visible gaps, or the mere hint of a wobble are all cries for help. Address them before they become full-blown tantrums.
B. Testing Stability and Integrity of Reattached Boards
Next up, it’s time to get physical. And I’m not talking about a workout (though feel free to count it as one). Apply gentle pressure to reattached boards to ensure they’re as stable as your love for weekend DIY projects. This isn’t a step to skip or do half-heartedly. Pretend you’re pressing grapes for wine—not too hard, but with enough enthusiasm to test that stability. If anything moves, it’s time to redo or reinforce.
C. Making Any Necessary Adjustments or Replacements
Last call, folks. If your deck’s still acting like a drama queen—demanding attention with every creak and groan—it’s adjustment time. Whether it’s a simple tightening of screws or a full-on board replacement ceremony, do what must be done. Remember, a well-maintained deck is like a well-oiled machine, minus the oil and with significantly more wood.
By following these inspection and testing steps, your deck will not only look picture-perfect but also be as sturdy as your resolve to never hire out for something you can DIY. Cheers to that, and here’s to many more sunsets enjoyed on your masterpiece—may your deck live long and prosper.
Conclusion
And there we have it, folks—the rollercoaster ride of decking maintenance. We started with the gripping tale of how to fix loose composite deck boards, making sure each step was as thrilling as finding an extra fry in your fast-food order. Remember, it’s all about spotting the drama (loose boards), planning the intervention (choosing the right fasteners), and executing with flair (securing everything down).
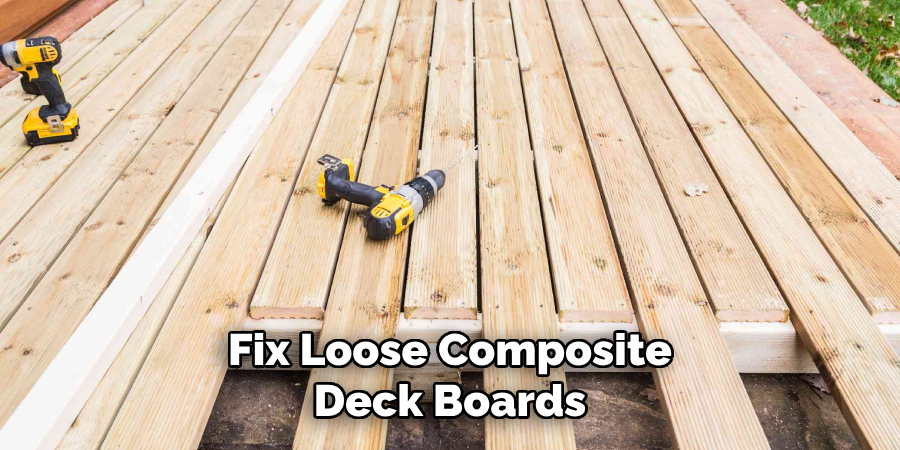
Timely maintenance isn’t just a good habit; your deck screams, “Love me, and I’ll love you back.” Keeping up with regular checks and balances ensures your deck doesn’t turn into a high-stakes obstacle course. It’s different between snoozing in your lounger and frantically googling repair tutorials under the scorching sun.
After the sawdust settles and the last screw is turned, what’s left is not just a deck but a sturdy stage for life’s best moments. By mastering how to fix loose composite deck boards and pampering your deck with timely care, you’re not just maintaining a structure; you’re crafting the backdrop for countless sunsets, BBQs, and chill-out sessions. Now go forth and enjoy your composite castle, safe in the knowledge that it’s as solid and dependable as your passion for DIY.
About the Author
Adrian Green, a lifelong woodworking enthusiast, shares his passion for the craft through The Woodenify Blog. With a foundation built on years of hands-on experience in his father’s woodworking shop, Adrian is dedicated to helping others learn and grow in the world of DIY woodworking. His approach to woodworking combines creativity, practicality, and a deep appreciation for the art of building with your own hands. Through his blog, he inspires individuals of all skill levels to embark on their own woodworking journeys, creating beautiful, functional pieces of furniture and décor.
Professional Focus
- Specializes in DIY woodworking projects, from furniture to home décor.
- Provides step-by-step guides and practical tutorials for woodworkers of all skill levels.
- Dedicated to helping readers build confidence and skill through easy-to-follow instructions and tips.
- Passionate about fostering a community of makers who can share, learn, and grow together.
Education History
- University of Craft and Design – Bachelor of Fine Arts (BFA) in Woodworking and Furniture Design
- Woodworking Apprenticeships – Extensive hands-on training with skilled craftsmen to refine carpentry and furniture making techniques.
- Online Courses & Masterclasses – Continued education in advanced woodworking techniques, design principles, and specialized tools
Expertise:
- DIY woodworking, carpentry, furniture making, and home décor projects.
- Creating accessible tutorials and guides for beginner to advanced woodworkers.
- Sharing the joys and satisfaction of woodworking, from raw materials to finished products.
