Are you tired of your bathroom mirror’s boring and basic look? Do you want to add some personality and charm to your space? Framing a mirror with wood is an easy and cost-effective way to elevate the look of any bathroom.
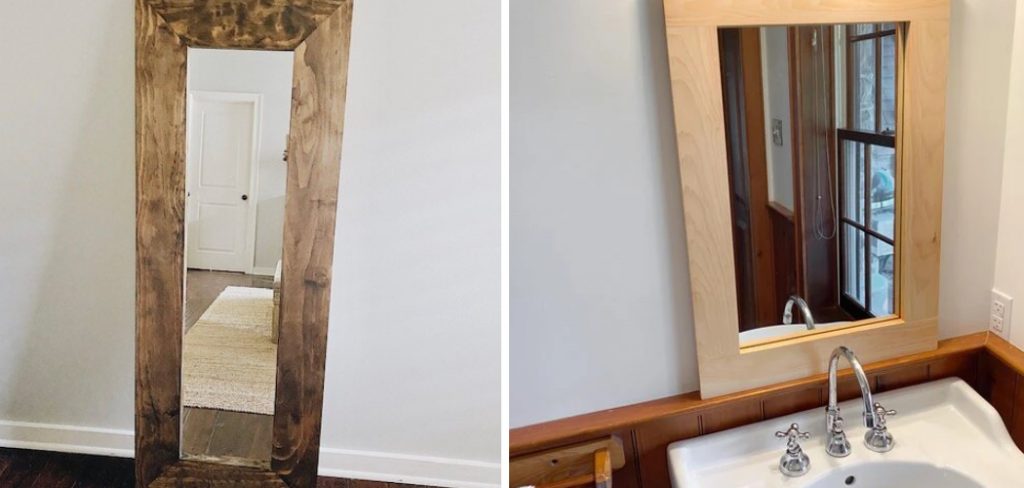
Adding a wooden frame to a mirror can transform it from a simple reflective surface into a statement decor piece. This upgrade can add warmth, style, and a sense of craftsmanship to any room in your home, whether it be the bathroom, living room, or bedroom.
Not only is framing a mirror with wood a relatively easy DIY project that can be completed over a weekend, but it also offers an opportunity to customize the look to match your home’s interior design. In this guide, we’ll walk you through the steps on how to frame a mirror with wood.
What are the Benefits of Framing a Mirror with Wood?
Framing a mirror with wood offers several benefits, making it a popular DIY project for homeowners. Here are some reasons why you should consider framing your mirror with wood:
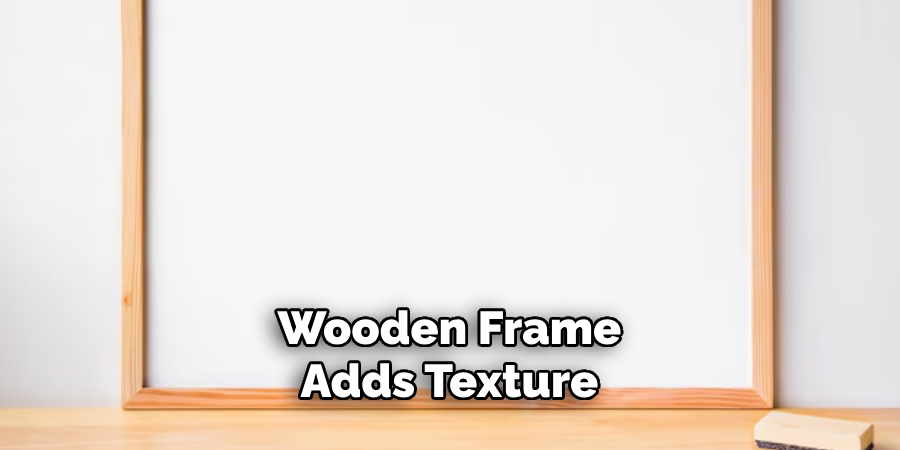
- Adds Visual Interest: A wooden frame adds texture, depth, and visual interest to an otherwise plain mirror.
- Increases Home Value: Adding custom touches like a wood frame can increase the value of your home by making it more attractive to potential buyers.
- Budget-Friendly: Framing a mirror with wood is an affordable way to update and upgrade a room’s decor without breaking the bank.
- Easy DIY Project: With the right tools and materials, framing a mirror with wood is simple enough for even novice DIYers to accomplish.
- Customizable: From the type of wood, stain, or paint color to the design and size of the frame, framing a mirror with wood allows for customization to match your personal style and home decor.
These are just a few reasons why framing a mirror with wood is a great idea. Now, let’s explore the steps for framing a mirror with wood.
What Will You Need?
Before beginning, gather all the materials and tools you’ll need to complete this project. Here’s what you’ll need:
- Wood trim or molding (amount will vary depending on the size of your mirror)
- Measuring tape
- Saw (hand or miter saw)
- Sandpaper
- Wood glue
- Nail gun or hammer and nails
- Stain or paint (optional)
Once you have all your materials, it’s time to get started!
10 Easy Steps on How to Frame a Mirror With Wood
Step 1: Measure Your Mirror
The first step is to measure the mirror you want to frame. Use measuring tape to determine its length and width. Ensure to account for any beveled edges or decorative details on the mirror. Additionally, consider the desired width and height of the frame. You want to ensure that your wood trim or molding is slightly longer than the mirror’s measurements.
Step 2: Choose Your Wood Trim or Molding

Choosing the right wood trim or molding for your mirror frame is crucial, as it will greatly influence your project’s overall look and feel. When selecting your wood, consider the room style where the mirror will be placed. For a more rustic or farmhouse look, opt for reclaimed wood or wood with a pronounced grain pattern.
A smoother, more refined wood may be more appropriate for a contemporary or modern space. Additionally, think about the finish you desire. If you plan on painting the frame, a basic pine trim could be sufficient. However, if you aim to stain the wood to highlight its natural beauty, choose a wood type that stains well, such as oak, walnut, or mahogany.
Step 3: Cut Your Wood to Size
After you’ve selected the perfect wood trim or molding for your project, it’s time to cut the wood to fit the dimensions of your mirror. Using a saw – either a hand saw or a miter saw for more precision – cut the wood according to the measurements taken in Step 1. If you’re aiming for a classic framed look, cut the ends of each piece at a 45-degree angle so they fit together neatly at the corners.
Double-check the length of each piece by holding it up to the corresponding side of the mirror before making the final cuts. This step requires attention to detail and accuracy to ensure a perfect fit.
Step 4: Sand the Edges of the Wood
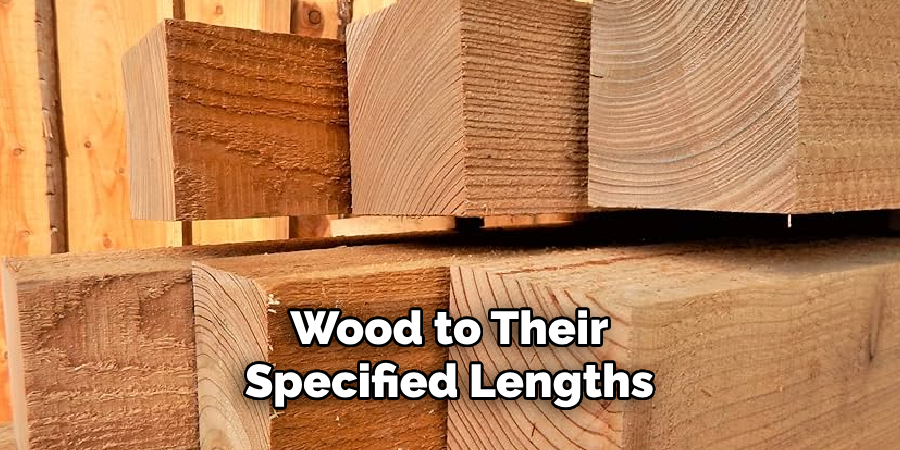
Once you have cut all the pieces of wood to their specified lengths, the next step is to sand the edges to ensure a smooth finish. Use sandpaper to gently sand down any rough or splintered edges.
This is particularly important for the ends that were cut at an angle, as they tend to be sharper and more prone to splintering. Sanding will not only help to protect you from splinters but will also prepare the wood for painting or staining, ensuring the finish adheres properly and looks even. Take your time during this step to achieve the best results.
Step 5: Test Fit the Frame Around the Mirror
Before permanently attaching the wood to the mirror, it’s crucial to do a test fit to ensure everything aligns correctly. Lay out the cut and sanded pieces around the mirror to ensure the corners match up evenly and the edges flush against the mirror’s surface.
This step will allow you to see the overall look of the frame and make any necessary adjustments before the final assembly. It’s easier to trim or re-sand the pieces at this point rather than after they’ve been attached.
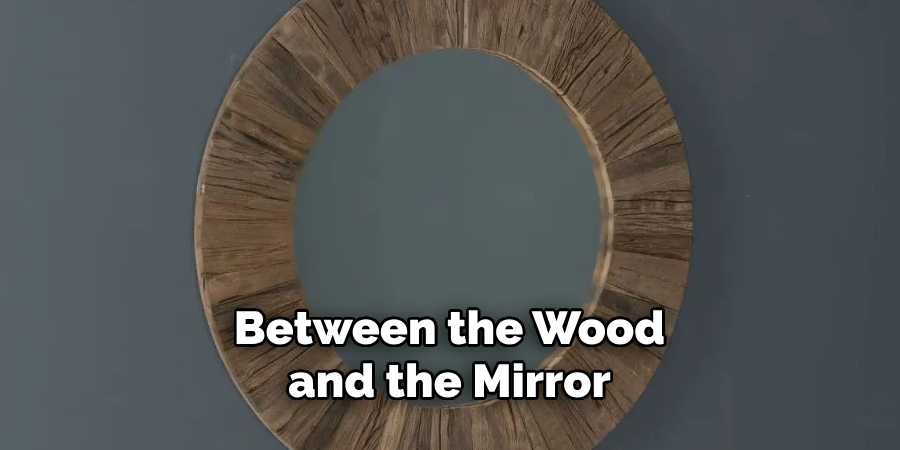
Step 6: Attach the Wood to the Mirror
With the test fit successful and any adjustments made, the next step is to attach the wood to the mirror. Apply a bead of wood glue along the backside of each piece of wood, focusing on the areas that will directly contact the mirror’s surface. Carefully place each piece around the mirror, pressing firmly to ensure a good bond.
For additional security, you can use a nail gun or hammer and small finishing nails to secure the wood to the wall around the mirror, ensuring the frame is firmly affixed. Allow adequate time for the glue to dry according to the manufacturer’s instructions before moving on to the next step.
Step 7: Fill in the Gaps
Once the frame is securely attached and the glue has dried, inspect the frame for any gaps or seams at the corners or between the wood and the mirror. Use wood filler to fill in these gaps, applying it with a putty knife or your finger to ensure it’s well-seated.
Choose a wood filler that closely matches the color of your frame if you’re leaving it natural or one that can be easily painted over. After application, give the filler enough time to dry completely. Once dry, sand the filled areas until they’re smooth and flush with the frame’s surface, ensuring a seamless look.
Step 8: Apply Stain or Paint
After filling in the gaps and ensuring a smooth surface, it’s time to apply stain or paint to your wood frame. If you’re going for a natural wood look, choose a stain that complements the wood’s grain and the room’s decor. Apply the stain with a brush or rag, following the grain of the wood, and wipe away any excess. If you prefer a painted look, apply a primer first, then paint the frame in your desired color.
For staining and painting, applying multiple coats to achieve the desired finish may be necessary. Allow ample drying time between coats as recommended by the product manufacturer. This step not only enhances the appearance of your frame but also provides a layer of protection against wear and tear.
Step 9: Add Hanging Hardware
The final step in creating your framed mirror is to attach hanging hardware to the back of the frame. Depending on the size and weight of your mirror, choose a suitable hanging mechanism, such as a D-ring hanger or a wire system. Measure and mark the placement of the hardware to ensure it is centered and level.
Then, securely attach the hardware to the frame, following the manufacturer’s instructions. Before hanging your mirror, ensure the wall and chosen support can safely hold the mirror’s weight. Once your hanging hardware is installed, your custom-framed mirror will be displayed and enjoyed.
Step 10. Maintenance
After successfully creating and hanging your custom-framed mirror, it’s important to know how to maintain its beauty and ensure its longevity. Regular cleaning of the mirror with a gentle, non-abrasive cleaner will keep it looking clear and reflective. Avoid spraying cleaner directly on the mirror; spray it on a soft, lint-free cloth and then wipe the mirror.

Dust the wood frame regularly with a soft cloth to prevent dirt build-up. If the frame is stained or painted, occasional touch-ups may be necessary to address any chips or scratches that occur over time.
By following these steps and with proper maintenance, your custom-framed mirror will add a stylish touch to your space and provide functionality for years to come.
5 Additional Tips and Tricks
- Choose the Right Type of Wood: Opt for wood that complements the interior of your space and is durable enough to withstand the environment it will be placed in. Hardwoods like oak, maple, or walnut are great for their longevity and aesthetic appeal.
- Measure Twice, Cut Once: Before making any cuts, ensure your measurements are precise. The old adage “measure twice, cut once” holds true, especially when framing a mirror with wood. This will prevent unnecessary wastage and save you time.
- Don’t Be Afraid to Get Creative: Framing a mirror with wood doesn’t have to be limited to traditional rectangular frames. Explore different shapes, sizes, and patterns to give your space a unique touch.
- Sand and Finish Before Assembly: Don’t wait until after your frame is assembled to sand and finish it. Getting into all the nooks and crannies will be much easier before the pieces are put together.
- Use Wood Glue for Added Stability: In addition to screws or nails, use wood glue to secure the joints of your frame. This will provide added stability and prevent your frame from falling apart over time.
With these additional tips and tricks, framing a mirror with wood can be a fun and rewarding DIY project for any homeowner.
5 Things You Should Avoid
- Avoid Using Inadequate Tools: Employing tools unsuited for woodworking can lead to unsatisfactory cuts and damage to both the wood and the tools. Ensure you have the right saws, drills, and sanding tools for the job.
- Not Accounting for the Weight of the Mirror: Underestimating the mirror’s weight can result in insufficient support, leading to a potential fall and breakage. Always ensure the frame and its fixtures can comfortably support the mirror’s weight.
- Skipping the Sealer or Finish: Exposing the wood to moisture, especially in bathrooms, without a proper seal or finish can cause it to warp or rot. Apply a suitable sealer or finish to protect the wood and ensure longevity.
- Ignoring Wood Movement: Wood expands and contracts with changes in humidity. Failing to allow for this natural movement in the design of your frame can lead to cracks or warping. Leave slight gaps or use joinery that accommodates wood movement.
- While wood glue is helpful for additional stability, using too much can make clean-up a hassle and cause glue to squeeze out, contaminating the finished surface. Apply glue sparingly and clean up any excess immediately.
By avoiding these common mistakes, you can ensure a successful and long-lasting frame for your mirror.
5 Different Design Ideas

- Geometric Patterns: Instead of a traditional rectangular frame, create a unique design using geometric shapes like triangles, hexagons, or circles. This adds a modern and artistic touch to your mirror.
- Mixed Materials: Combine wood with other materials, such as metal or rope, for an eclectic vibe. For example, you could use metal brackets at the corners or wrap the frame with rope for a nautical feel.
- Painted Finish: Instead of leaving the wood in its natural state, paint it with a bold color or pattern to make a statement. This is also a great way to add color and personality to your space.
- Reclaimed Wood: Use reclaimed or salvaged wood for an eco-friendly and rustic look. This is a great option for those who want to add character and history to their space.
- Mirror Mosaic: Create a mosaic-style frame using small pieces of mirror, wood, or other materials. This adds texture and visual interest to your mirror and is also a fun project to work on.
Take the time to brainstorm and develop your unique design ideas to make your framed mirror truly one-of-a-kind.
What Kind of Wood is Used for Mirror Frames?
As mentioned earlier, hardwoods like oak, maple, and walnut are popular choices for mirror frames due to their durability and aesthetic appeal. However, other types of wood can also be used depending on personal preference and the space’s overall design.
Other commonly used woods for mirror frames include cherry, mahogany, pine, and ash. Although these woods may not be as durable as hardwoods, they can still provide a beautiful finish and add character to the frame.
In addition, reclaimed or salvaged wood from old furniture or buildings can also be used for a unique and eco-friendly mirror frame.
Ultimately, the type of wood used for a mirror frame will depend on factors such as budget, design preferences, and the environment in which it will be placed. It’s important to choose a wood that looks good and suits your frame’s purpose and longevity. So, carefully consider all these factors before making a final decision.
Which is Better, Framed or Frameless Mirror?
Deciding between a framed or frameless mirror is largely a matter of personal preference and the design aesthetic you aim to achieve in your space. Framed mirrors add character and style, serving not just as functional pieces but also as decorative elements. They can complement a room’s decor, acting as a focal point or tying together various design elements.
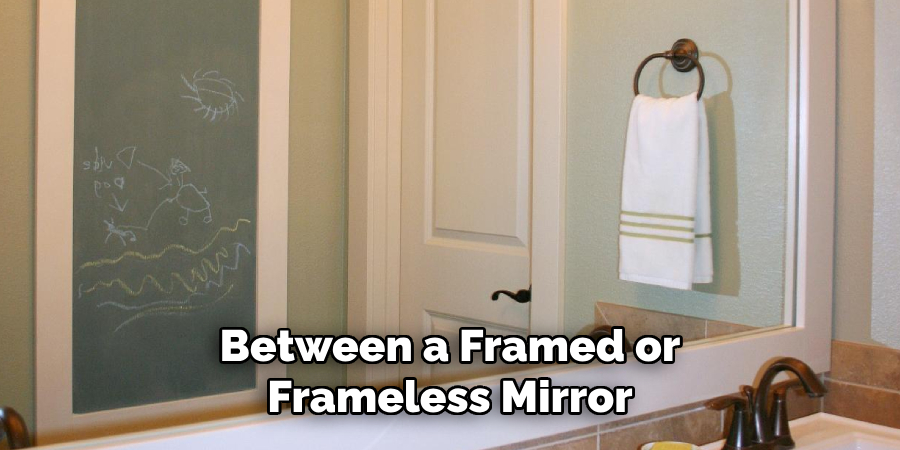
On the other hand, frameless mirrors have a sleek, modern look that can make a space appear more open and less cluttered. They are often chosen for minimalistic or contemporary interiors where the simplicity of design is key.
Ultimately, the choice between a framed or frameless mirror should consider the room’s overall design scheme, the mirror’s intended purpose, and personal taste.
Conclusion
How to frame a mirror with wood is a creative and cost-effective way to enhance the aesthetic appeal of any space.
Whether you’re aiming for a classic, rustic, or contemporary design, the right wood frame can transform a simple mirror into an artistic statement piece. Through carefully selecting wood, attention to preparation and assembly, and customization with personal design touches, you can create a mirror frame that reflects your style and complements your home’s decor.
By avoiding common pitfalls and incorporating unique design elements, you will ensure your framed mirror is both functional and visually striking. Remember, the process of framing a mirror is not just about the end product but also about the satisfaction and sense of accomplishment that comes from DIY crafting.
About the Author
Adrian Green, a lifelong woodworking enthusiast, shares his passion for the craft through The Woodenify Blog. With a foundation built on years of hands-on experience in his father’s woodworking shop, Adrian is dedicated to helping others learn and grow in the world of DIY woodworking. His approach to woodworking combines creativity, practicality, and a deep appreciation for the art of building with your own hands. Through his blog, he inspires individuals of all skill levels to embark on their own woodworking journeys, creating beautiful, functional pieces of furniture and décor.
Professional Focus
- Specializes in DIY woodworking projects, from furniture to home décor.
- Provides step-by-step guides and practical tutorials for woodworkers of all skill levels.
- Dedicated to helping readers build confidence and skill through easy-to-follow instructions and tips.
- Passionate about fostering a community of makers who can share, learn, and grow together.
Education History
- University of Craft and Design – Bachelor of Fine Arts (BFA) in Woodworking and Furniture Design
- Woodworking Apprenticeships – Extensive hands-on training with skilled craftsmen to refine carpentry and furniture making techniques.
- Online Courses & Masterclasses – Continued education in advanced woodworking techniques, design principles, and specialized tools
Expertise:
- DIY woodworking, carpentry, furniture making, and home décor projects.
- Creating accessible tutorials and guides for beginner to advanced woodworkers.
- Sharing the joys and satisfaction of woodworking, from raw materials to finished products.