When it comes to DIY projects or home repairs, knowing how to properly glue materials together can be a useful skill. Whether you are looking to affix metal hardware onto wooden surfaces for practical purposes or just want to add some decorative elements, gluing metal on wood is a relatively simple process that can yield strong and long-lasting results.
In this guide on how to glue metal on wood, we will discuss the different types of adhesives that are suitable for this task and provide step-by-step instructions on how to successfully bond metal onto wood.
Necessary Items
To successfully glue metal onto wood, you will need the following items:
- Metal pieces or hardware (e.g., hinges, brackets, knobs)
- Wood surface
- Sandpaper
- Adhesive glue suitable for metal and wood (epoxy, polyurethane, cyanoacrylate)
- Clamps or weights
- Protective gloves
- Clean cloth or paper towels
12 Steps on How to Glue Metal on Wood
Step 1: Prepare the Wood Surface
Before beginning the gluing process, it is important to properly prepare the wood surface. Use sandpaper to smooth out any rough edges or imperfections on the wood. This will create a clean and even surface for the metal pieces to adhere to.
Step 2: Clean Both Surfaces
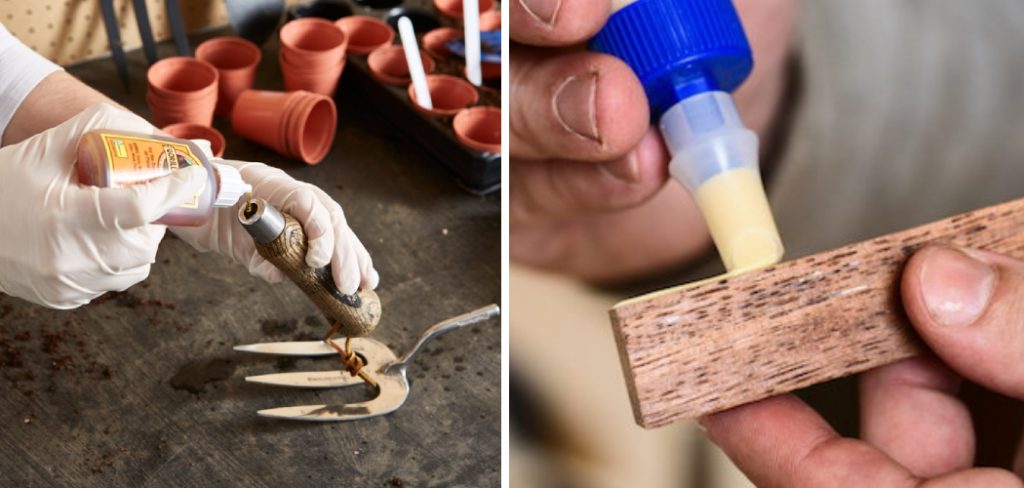
Wipe down both the metal and wood surfaces with a clean cloth or paper towel. This will remove any dust, dirt, or oils that may prevent the glue from properly bonding. And remember to always wear protective gloves when handling the metal and glue.
Step 3: Select the Right Glue
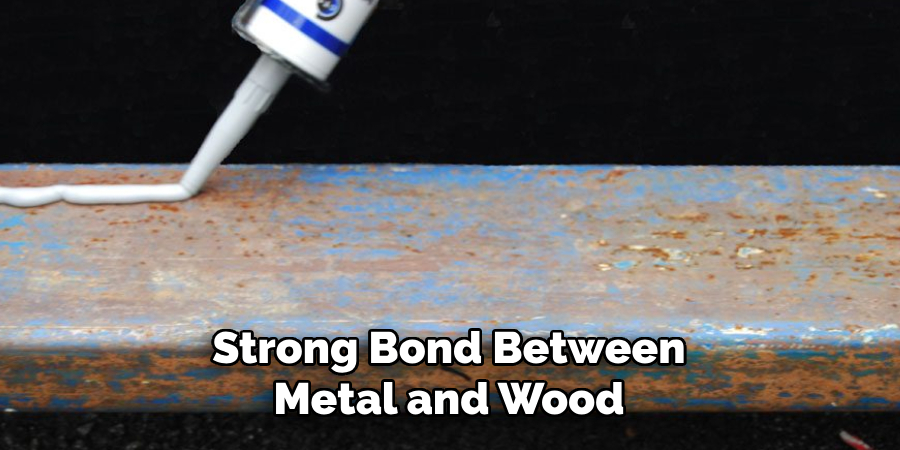
Choosing the right type of adhesive is crucial for a strong bond between metal and wood. Epoxy, polyurethane, and cyanoacrylate (also known as super glue) are all suitable options for gluing metal onto wood as they can handle weight and vibrations.
Step 4: Mix Epoxy (if using)
If you have chosen to use epoxy as your adhesive, follow the manufacturer’s instructions on how to properly mix it. Typically, this involves combining equal parts of resin and hardener until fully blended.
Step 5: Apply Glue to Metal
Using a small brush or applicator, apply a thin layer of glue onto the metal surface. Be sure to cover the entire area that will be in contact with the wood. Soaking the metal in the glue is not necessary. As a general rule, less is more when it comes to adhesive.
Step 6: Apply Glue to Wood
Apply a thin layer of glue onto the wood surface in the same manner as you did for the metal. Again, it is important to cover the entire area that will be in contact with the metal. While some glues may have a faster drying time, it is best to work quickly to ensure the glue does not dry before bonding.
Step 7: Position Metal onto Wood
Carefully place the metal piece onto the wood surface in the desired position. Press down firmly to create a strong bond between the two surfaces. Softer woods, such as pine, may require more pressure to ensure a secure bond.
Step 8: Use Clamps or Weights (optional)
If you are gluing larger or heavier metal pieces onto wood, it may be beneficial to use clamps or weights to hold them in place. This will allow the glue to dry and cure without any movement or shifting of the metal.
Step 9: Clean Up Excess Glue
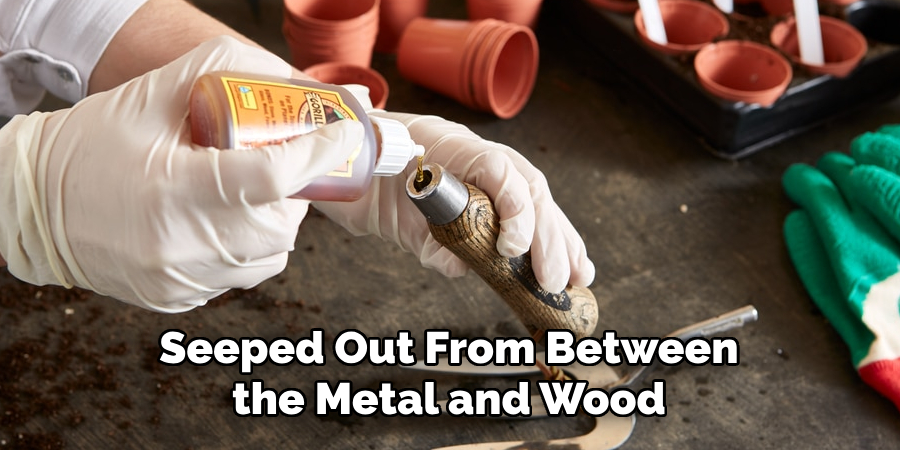
Use a clean cloth or paper towel to wipe away any excess glue that may have seeped out from between the metal and wood. This will prevent it from drying and creating an unsightly mess. While some glues may dry clear, it is best to clean up any excess immediately.
Step 10: Let Glue Dry and Cure
Follow the manufacturer’s instructions on how long the glue needs to dry and cure. This can range from a few minutes to several hours, depending on the type of adhesive used. It is important not to disturb or move the metal pieces during this time.
Step 11: Test the Bond
After the recommended drying and curing time, gently test the bond between the metal and wood by applying light pressure or tapping on it. It should feel sturdy and secure without any movement or shifting.
Step 12: Enjoy Your Newly Glued Metal on Wood
Once you are confident in the bond between the metal and wood, you can now enjoy your newly glued pieces! Whether it is a functional addition or a decorative touch, the bond created by properly gluing metal onto wood can last for years to come. And remember, always exercise caution when handling and using any tools or materials.
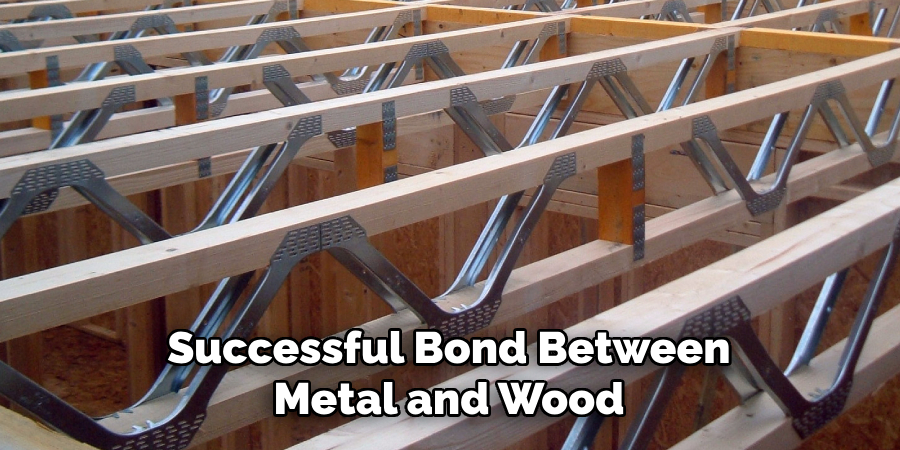
Gluing metal onto wood may seem like a daunting task, but with the right tools and steps on how to glue metal on wood, it can be a simple and successful process. By properly preparing the surfaces, selecting the right adhesive, and ensuring a strong bond, you can confidently tackle any DIY project or home repair that involves gluing metal on wood.
9 Safety Measures
1) Wear Appropriate Protective Gear
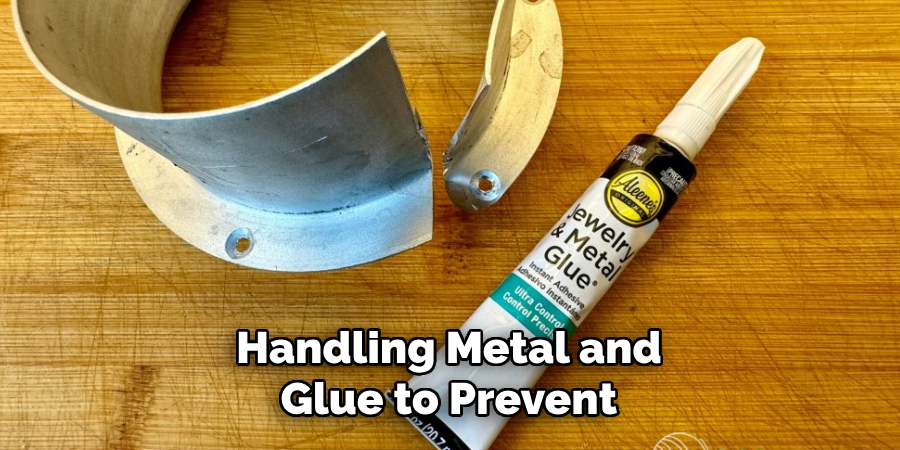
As mentioned earlier, always wear protective gloves when handling metal and glue to prevent any accidents or skin irritations. And if you are working with power tools, be sure to wear safety glasses and other necessary protective gear.
2) Work in a Well-Ventilated Area
Some adhesives may emit strong fumes, so it is important to work in an area with good ventilation. If possible, open windows or doors to allow fresh air flow. But if you are working indoors, consider using a fan or wearing a mask to avoid inhaling any fumes.
3) Read and Follow the Manufacturer’s Instructions
Different types of adhesives may have varying instructions for use. It is important to carefully read and follow the manufacturer’s instructions on how to properly mix, apply, and clean up the glue. While some may have a shorter drying time, others may require longer curing times.
4) Keep Glue Away from Children and Pets
Some adhesives can be harmful if ingested or come into contact with the skin. Always keep glue and other tools and materials out of reach of children and pets to prevent any accidents. But if it does happen, seek medical attention immediately.
5) Use Glue in a Safe and Stable Manner
When working with glue, make sure to keep it away from any open flames or heat sources. If you are using clamps or weights to hold the metal pieces together, ensure they are stable and secure to avoid any accidents.
6) Clean Up Spills and Excess Glue Immediately
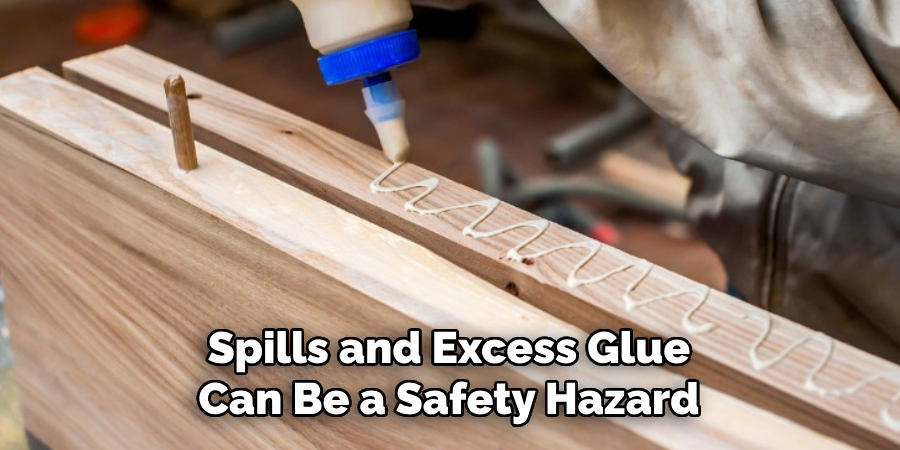
Spills and excess glue can be a safety hazard, especially if they are not cleaned up right away. Be sure to wipe away any spills or excess glue with a clean cloth or paper towel immediately after they occur.
7) Dispose of Used Glue Properly
Once you have completed your project, dispose of any used glue and other materials properly. Some adhesives can be harmful to the environment, so it is important to follow proper disposal methods to prevent any pollution or harm.
8) Store Glue in a Cool, Dry Place
To prolong the shelf life of your adhesive, store it in a cool and dry place away from direct sunlight. This will help maintain the quality and effectiveness of the glue for future projects.
9) Seek Professional Help if Needed
If you are unsure about which adhesive to use or how to properly bond metal onto wood, it is always best to seek professional help. This can prevent any accidents and ensure a successful project. Additionally, professionals may have access to stronger adhesives that may be better suited for your specific project.
Remember, safety should always be a top priority when working with any materials and tools, including adhesives. By following these safety measures, you can confidently and safely complete any project involving gluing metal onto wood.
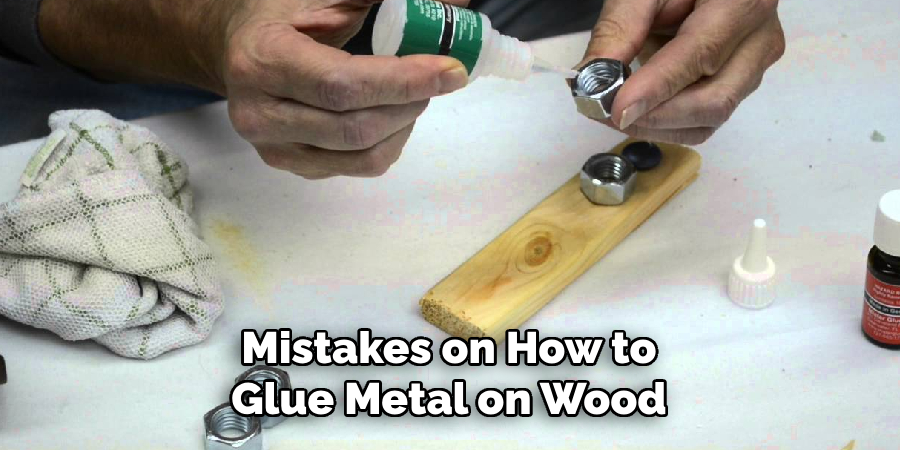
8 Things to Avoid
While there are certain steps and safety measures to follow when gluing metal onto wood, there are also some things you should avoid to ensure a successful bond. Here are 8 things to avoid when gluing metal onto wood:
1) Using the Wrong Type of Adhesive
Using the wrong type of adhesive can lead to an unsuccessful bond or damage to the materials. Avoid using adhesives that are not specifically designed for metal and wood bonding.
2) Not Preparing the Surfaces Properly

As mentioned earlier, proper surface preparation is crucial in creating a strong bond between metal and wood. Skipping this step or not preparing the surfaces correctly may result in a weak or ineffective bond.
3) Applying Too Much Glue
Using too much glue can create a messy and uneven bond, as well as prolong the drying and curing time. Be sure to follow the manufacturer’s instructions for the recommended amount of adhesive.
4) Moving or Disturbing the Pieces During Drying Time
It is important not to disturb or move the metal pieces during the recommended drying time. This can disrupt the bond and result in a weak or failed bond. As tempting as it may be to check on the bond, it is best to avoid any movement until the recommended time has passed.
5) Not Using Proper Clamping Techniques
Using improper clamping techniques or not using enough pressure can result in a weak bond. Make sure to use appropriate clamps and weights that are evenly distributed for a strong and secure bond.
6) Applying Adhesive in Direct Sunlight
Direct sunlight can affect the bonding process and weaken the bond between metal and wood. It is best to work in a shaded or indoor area when applying adhesive. To speed up the drying process, you can use a fan or other methods recommended by the manufacturer.
7) Not Testing the Adhesive First
If you are using a new adhesive for the first time, it is important to test it on a small piece of metal and wood before starting your project. This will help ensure that the adhesive works well with your specific materials and that you are comfortable using it.
8) Rushing the Process
Finally, rushing the process may lead to a weak or failed bond. Take your time and follow all of the necessary steps and recommended drying times to achieve a successful bond between metal and wood.
By avoiding these mistakes and following proper safety measures on how to glue metal on wood, you can confidently tackle any DIY project or home repair involving gluing metal onto wood.
Remember to always prioritize safety and follow the manufacturer’s instructions for the best results. The possibilities are endless when it comes to using adhesives to bond different materials, so don’t be afraid to get creative and experiment with different techniques and types of adhesives!
8 Additional Tips and Tricks
While knowing how to safely and effectively bond metal onto wood is important, there are also some additional tips and tricks that can make the process easier and more successful. Here are 8 helpful tips for working with adhesives:
1) Use a Primer for Better Adhesion
If you are working with particularly difficult surfaces or materials, using a primer before applying the adhesive can help improve adhesion and create a stronger bond.
2) Mix Adhesives for Better Results
If you are working with materials that require a strong bond but your current adhesive is not strong enough, try mixing different types of adhesives to achieve a better result. Just make sure to test the mixture on a small piece first.
3) Use a Brush for Even Application
Instead of applying adhesive directly from the bottle, using a brush can help evenly distribute the adhesive and prevent any excess or uneven application. While a paintbrush can work, it is best to use a brush specifically designed for adhesives.
4) Clean Up Any Excess Adhesive with Rubbing Alcohol
If you accidentally apply too much adhesive or get some on surfaces other than the ones you are bonding, rubbing alcohol can help remove and clean up any excess glue. As a bonus, it also helps with cleaning tools and surfaces after use.
5) Store Adhesive Upside Down
To prevent air bubbles from forming and to keep the adhesive from drying out, store your adhesive upside down when not in use. This will help maintain its effectiveness for future projects. As always, make sure to securely close the cap or lid to prevent any spills.
6) Use Sandpaper for Better Adhesive Bonding
For smooth and non-porous surfaces, lightly sanding the surface before applying adhesive can create a better bond. This is especially helpful when bonding metal onto wood, as it can provide a rougher surface for the adhesive to grip onto.
7) Heat Can Help Speed Up Drying Time
In some cases, using heat can help speed up the drying and curing time of adhesives. Just make sure to follow the manufacturer’s recommendations for safe heating methods. While a hair dryer can work, a heat gun is recommended for larger and more delicate projects.
8) Master the Art of Mixing Ratios
If you are working with an adhesive that requires mixing two or more components, it is important to accurately measure and mix the ratios specified by the manufacturer. Using too much or too little of either component can result in a weak bond. Utilizing a digital scale for precise measurements can be helpful in these situations.
By following these tips and avoiding common mistakes on how to glue metal on wood, you can confidently bond metal onto wood and tackle any DIY project or repair with ease. Remember to always prioritize safety and follow the manufacturer’s instructions for the best results.
Frequently Asked Questions
Can I Bond Any Metal Onto Wood?
While adhesives can bond a wide variety of materials, it is important to check with the manufacturer’s recommendations for specific types of metal and wood. Some metals may require specialized adhesives for a successful bond.
What Should I Do If My Bonding Fails?
If your bonding fails, it is important to assess and identify the problem. This could be due to improper surface preparation, not following recommended drying times, or using an incompatible adhesive. Make sure to clean off any remaining adhesive and start over with proper techniques and materials.
How Long Does It Take for Metal and Wood to Bond?
The time it takes for metal and wood to bond depends on the type of adhesive being used, as well as the environment and materials. Some adhesives may require several hours or even days to fully cure and achieve maximum strength. Always refer to the manufacturer’s recommendations for specific drying times.
Can I Disassemble a Bonded Metal and Wood Project?
Some adhesives may allow for disassembly of bonded materials, while others provide a permanent bond. It is important to check with the manufacturer’s recommendations and choose an adhesive that suits your specific needs for the project.
Is There an Alternative to Using Adhesives for Bonding Metal to Wood?
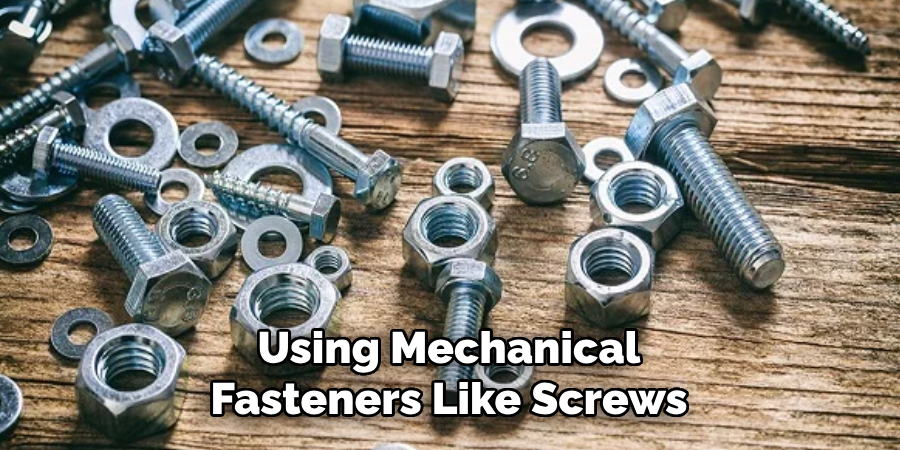
While adhesives are typically the most common and effective method for bonding metal to wood, there are also other options, such as using mechanical fasteners like screws or nails. However, these alternatives may provide less strong of a bond and can be more time-consuming. Overall, adhesives are often the best choice for their ease of use and versatility in bonding various materials.
Conclusion
Bonding metal onto wood may seem daunting, but with the right techniques and adhesives, it can be a simple and successful process. By understanding the different types of adhesives available and following safety precautions on how to glue metal on wood, you can confidently tackle any DIY project or home repair involving gluing metal onto wood.
Remember to always prioritize safety and follow the manufacturer’s instructions for the best results. The possibilities are endless when it comes to bonding metal to wood, so let your creativity and skills shine. So, next time you’re faced with a project involving metal and wood, don’t be afraid to try out some of these tips for a secure and long-lasting bond.
About the Author
Adrian Green, a lifelong woodworking enthusiast, shares his passion for the craft through The Woodenify Blog. With a foundation built on years of hands-on experience in his father’s woodworking shop, Adrian is dedicated to helping others learn and grow in the world of DIY woodworking. His approach to woodworking combines creativity, practicality, and a deep appreciation for the art of building with your own hands. Through his blog, he inspires individuals of all skill levels to embark on their own woodworking journeys, creating beautiful, functional pieces of furniture and décor.
Professional Focus
- Specializes in DIY woodworking projects, from furniture to home décor.
- Provides step-by-step guides and practical tutorials for woodworkers of all skill levels.
- Dedicated to helping readers build confidence and skill through easy-to-follow instructions and tips.
- Passionate about fostering a community of makers who can share, learn, and grow together.
Education History
- University of Craft and Design – Bachelor of Fine Arts (BFA) in Woodworking and Furniture Design
- Woodworking Apprenticeships – Extensive hands-on training with skilled craftsmen to refine carpentry and furniture making techniques.
- Online Courses & Masterclasses – Continued education in advanced woodworking techniques, design principles, and specialized tools
Expertise:
- DIY woodworking, carpentry, furniture making, and home décor projects.
- Creating accessible tutorials and guides for beginner to advanced woodworkers.
- Sharing the joys and satisfaction of woodworking, from raw materials to finished products.