Are you looking to give your home a rustic touch? Want to save space on traditional swing doors? Consider installing a barn door! Barn doors add character and functionality to any room, and they’re surprisingly easy to install.
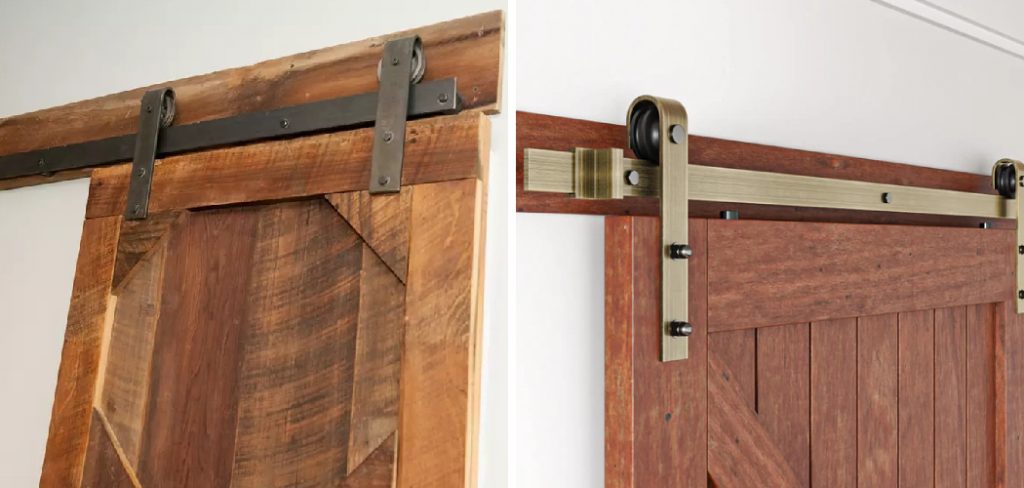
Installing a diy barn door header is a crucial step in ensuring your barn door operates smoothly and securely. The header provides the necessary structural support to distribute the door’s weight and creates a stable mounting surface for the track hardware. Whether you’re upgrading your space with a rustic touch or a modern sliding door, proper installation of the header is essential for both functionality and aesthetic appeal.
This guide on how to install a barn door header will walk you through the tools, materials, and steps needed to successfully install a barn door header, ensuring a professional and durable finish.
What Are the Benefits of Installing a Barn Door Header?
Before we dive into the installation process, let’s first discuss why it’s important to install a barn door header.
- Stability: The main function of a barn door header is to provide stability and support for the track hardware and the weight of the sliding door. Without a properly installed header, the track may become unstable or sag over time.
- Aesthetic Appeal: In addition to its functional purpose, a barn door header can also enhance the overall look of your space. It adds a rustic or modern touch depending on the style you choose and creates a finished look for your sliding door.
- Noise Reduction: A well-installed barn door header can help reduce noise transfer between rooms. This is especially beneficial for homes with open floor plans or shared living spaces.
- Concealed Hardware: With a barn door header, the track and hardware are concealed within the structure, giving your sliding door a clean and sleek appearance. This eliminates any unsightly exposed hardware that traditional swinging doors may have.
What Will You Need?
To install a barn door header, you will need the following materials:
- A barn door header kit
- Power drill and screws
- Stud finder
- Level
- Measuring tape
- Pencil
Once you have gathered all the necessary materials, you can begin installing your barn door header.
10 Easy Steps on How to Install a Barn Door Header
Step 1: Locate and Mark the Studs
Using a stud finder, locate the studs along the wall where you intend to install the barn door header. Mark the position of each stud clearly with a pencil to ensure accuracy during installation. It’s important to identify the studs because they provide the necessary support and stability for the header and the barn door.
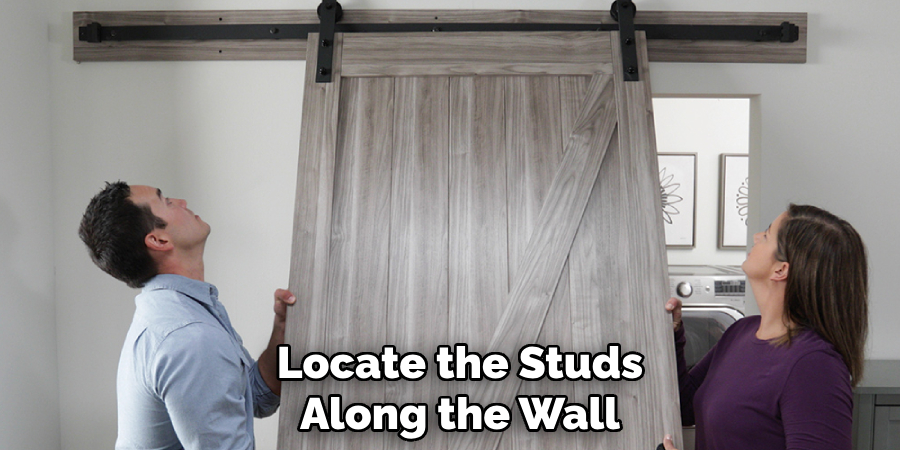
Without proper attachment to studs, the header could become unstable or fail to support the weight of the door. Be thorough during this step, as accurate placement will make the following steps much simpler and ensure a secure installation.
Step 2: Measure and Mark the Header Placement
Use a tape measure to determine the height at which the header will be installed, ensuring it aligns with the height requirements for your barn door. Typically, the header should be placed so that the barn door, once hung, has adequate clearance from the floor and frame.
Mark the desired height on the wall with a pencil on both ends of the installation area. Use a level to draw a straight line connecting these marks, which will act as a guide for mounting the header. Double-check your measurements and ensure the line is level, as this step is critical for achieving a balanced and functional installation.
Step 3: Pre-Drill Holes in the Header
Use a measuring tape to evenly space the holes along the length of the header, keeping in mind the mounting points for the barn door hardware. Typically, these should align with the studs in the wall for maximum stability. Mark the spots for the holes with a pencil, ensuring the marks are level and accurately placed.
Then, using a drill and an appropriately sized drill bit, create pilot holes at each marked spot. These pre-drilled holes will make it easier to securely attach the header to the wall and prevent the wood from splitting during installation.
Step 4: Align the Header with the Wall
Carefully position the header board against the wall, ensuring that the pre-drilled holes align perfectly with the marks and pilot holes you created earlier. Use a spirit level to double-check that the header is straight and level. This step is crucial for ensuring the smooth operation of the barn door once installed.
If adjustments are needed, make them now before securing the header. Once you are satisfied with the alignment, hold the header firmly in place in preparation for attaching it to the wall.

Step 5: Secure the Header to the Wall
Secure the header to the wall by driving screws through the pre-drilled holes into the wall studs or anchors. Start with the screws on one end of the header, ensuring it stays level as you work your way along the length. Use a power drill to tighten the screws, but avoid overtightening, as this could damage the header or the wall.
Check the alignment one final time with a spirit level before fully securing all screws. Once the header is firmly attached, gently tug on it to confirm it is stable and securely in place. This will provide a sturdy foundation for the barn door hardware.
Step 6: Prep the Door Mounting Surface
Ensure the door you plan to hang is properly prepared for mounting. Start by inspecting the door for any imperfections, such as uneven edges or cracks, and sand it down if necessary to ensure a smooth surface. Measure and mark the points where the hardware will be installed, using a tape measure and pencil to ensure precision.
If the door does not have pre-drilled holes for the hardware, use a drill to carefully create them based on the specifications provided by the hardware manufacturer. Additionally, clean the entire surface of the door to remove dust and debris, which could interfere with the installation process.
Step 7: Position the Door Hardware
Carefully align the door hardware with the pre-drilled holes or marked locations on the door. Ensure that each component is properly positioned according to the manufacturer’s instructions, as misalignment could lead to functionality issues. For handles or knobs, verify that they are level and centered for a polished look. Temporarily hold the hardware in place to confirm that the fit is accurate and that no adjustments are needed before securing it permanently.
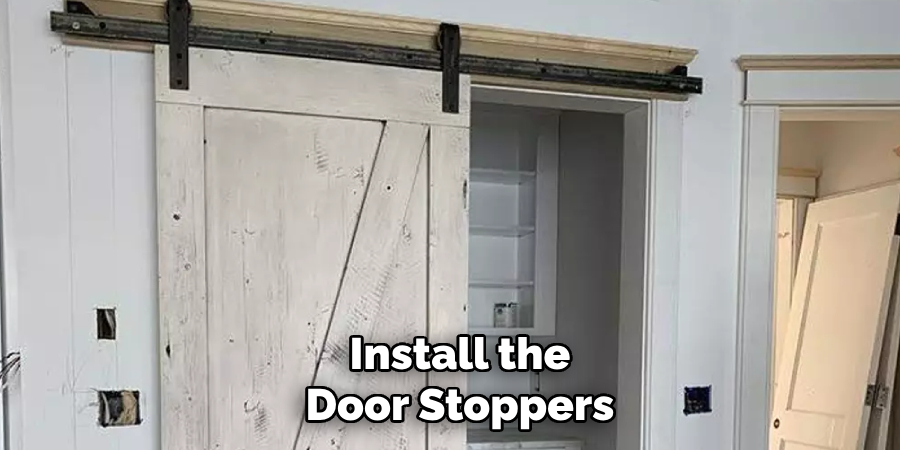
Step 8: Install the Door Stoppers
To install the door stoppers, begin by selecting the appropriate type of stopper based on your door and floor type, such as wall-mounted, floor-mounted, or hinge-based stoppers. Position the stopper at a location that will effectively prevent the door from hitting the wall or nearby furniture when fully opened.
Use a pencil to mark the installation points for screws or adhesive, ensuring that the stopper aligns properly with the door’s swing path. For screw-mounted stoppers, drill pilot holes if necessary, and then secure the stopper firmly with screws. If you’re using adhesive-backed stoppers, clean the surface thoroughly before attaching to ensure a strong bond.
Step 9: Mount the Door onto the Track
Carefully lift the door and align it with the track system installed earlier. Enlist the help of another person if necessary to ensure safety and precision. Gently place the rollers or hangers into the track, making sure they fit securely and glide smoothly.
Adjust any alignment screws or mechanisms to ensure the door hangs straight and operates without any obstruction. Test the door by sliding it back and forth to verify smooth movement and proper functionality. If anything feels uneven or stiff, make minor adjustments until the door operates effortlessly.
Step 10: Test the Door
Once the door is securely in place, begin testing its movement carefully. Slide the door open and closed several times to ensure it operates smoothly without sticking or hesitation. Pay attention to the alignment along the track and listen for any unusual sounds that might indicate an issue. Confirm that the lock or latch mechanism functions as intended, and make adjustments if needed. Finally, double-check that all screws, rollers, and brackets are securely fastened and the door feels sturdy during use.
By following these steps and regularly performing maintenance, your sliding door will continue to operate smoothly and efficiently for years to come.

Conclusion
How to install a barn door header is a crucial step in ensuring the stability and functionality of your barn door.
Begin by accurately measuring and marking the placement of the header above the doorway. Securely attach the header to the wall studs, ensuring it can support the weight of the track and door. Use a level to confirm the header is straight before installing the mounting hardware. Taking the time to properly install the header will provide a solid foundation for your barn door, ensuring smooth operation and long-lasting durability.
With careful planning and attention to detail, the installation process can be completed efficiently and with professional-looking results.
About the Author
Adrian Green, a lifelong woodworking enthusiast, shares his passion for the craft through The Woodenify Blog. With a foundation built on years of hands-on experience in his father’s woodworking shop, Adrian is dedicated to helping others learn and grow in the world of DIY woodworking. His approach to woodworking combines creativity, practicality, and a deep appreciation for the art of building with your own hands. Through his blog, he inspires individuals of all skill levels to embark on their own woodworking journeys, creating beautiful, functional pieces of furniture and décor.
Professional Focus
- Specializes in DIY woodworking projects, from furniture to home décor.
- Provides step-by-step guides and practical tutorials for woodworkers of all skill levels.
- Dedicated to helping readers build confidence and skill through easy-to-follow instructions and tips.
- Passionate about fostering a community of makers who can share, learn, and grow together.
Education History
- University of Craft and Design – Bachelor of Fine Arts (BFA) in Woodworking and Furniture Design
- Woodworking Apprenticeships – Extensive hands-on training with skilled craftsmen to refine carpentry and furniture making techniques.
- Online Courses & Masterclasses – Continued education in advanced woodworking techniques, design principles, and specialized tools
Expertise:
- DIY woodworking, carpentry, furniture making, and home décor projects.
- Creating accessible tutorials and guides for beginner to advanced woodworkers.
- Sharing the joys and satisfaction of woodworking, from raw materials to finished products.