Cedar lap siding is an esteemed choice for homeowners aspiring to enhance their home’s exterior with warmth, beauty, and a timeless appeal. This popular siding material is renowned for its aesthetic charm, natural durability, and resistance to the elements. Cedar wood’s aromatic and visually pleasing qualities make it a favorite among various siding options available in the market today.
Cedar lap siding, characterized by its overlapping planks, offers a classic design that complements various architectural styles. The natural tones and textures of cedar wood bring a unique warmth and elegance to homes, making it a sought-after material for those looking to achieve a distinctive look.
Among its many advantages, cedar lap siding stands out for its natural resistance to moisture, decay, and insect damage. This resilience and the material’s insulating properties contribute to a more energy-efficient home. Compared to other materials like vinyl or fiber cement, cedar siding offers superior aesthetics with its natural variations in grain and color.
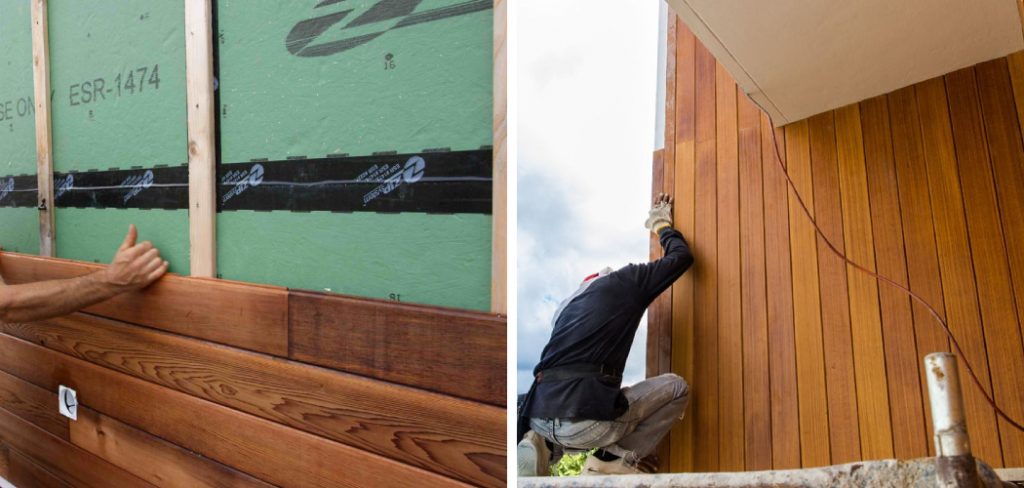
Understanding how to install cedar lap siding correctly is crucial for maximizing its lifespan and maintaining its visual appeal. Proper installation techniques ensure that the siding effectively withstands weather elements and remains beautiful for years. From choosing the right nails and sealants to understanding the intricacies of overlapping each plank, the installation process demands attention to detail to achieve the desired outcome.
How to Install Cedar Lap Siding: Step-by-Step Guide
The actual installation of cedar lap siding unfolds through a detailed and systematic process, ensuring every piece aligns perfectly to grant your home’s exterior a seamless, picturesque look. Here’s how you can install cedar lap siding, broken down into manageable steps:
Step 1: Installing Starter Strips and Corner Boards
Begin by installing starter strips along the bottom edge of the wall to ensure the first course of siding is level. Corner boards should be installed next, providing a neat and professional finish at the corners of the house. Proper alignment of these foundational pieces is critical for a successful installation.
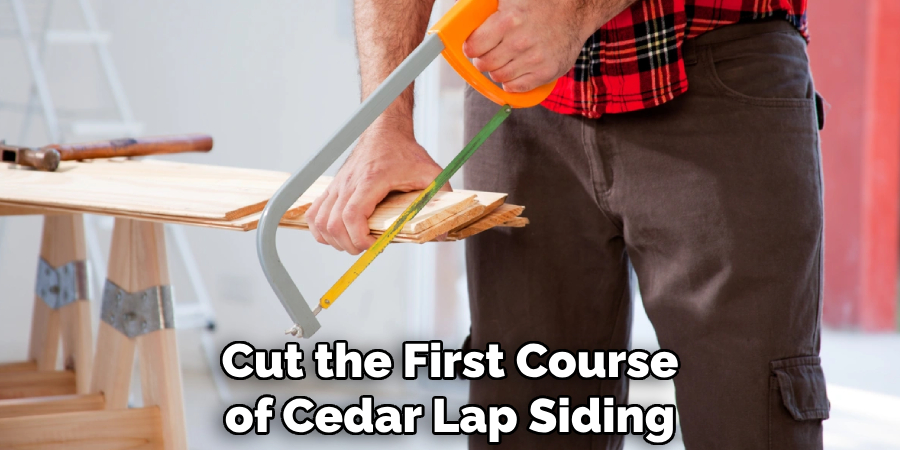
Step 2: Cutting and Fitting the First Course of Siding
Measure and cut the first course of cedar lap siding precisely, ensuring it fits snugly against the starter strips. This initial course sets the tone for the rest of the installation, so ensuring it’s level and properly positioned is essential.
Step 3: Nailing or Fastening the Siding to The Wall Studs
Fasten the siding to the wall, targeting the underlying studs for maximum stability. Nails or screws should be driven in at a slight upward angle to secure the siding effectively without compromising its integrity or causing splintering.
Step 4: Overlapping Subsequent Courses of Siding
Each subsequent course of siding should overlap the one below by at least one inch to ensure proper water runoff. Maintain consistent overlap across the wall to keep the aesthetic uniform and prevent moisture penetration.
Step 5: Cutting and Fitting Siding Around Windows, Doors, and Other Obstacles
Precise cuts are necessary when fitting siding around windows, doors, and other architectural features. Measure and cut each piece to fit snugly around these obstacles, not compromising the siding’s ability to expand and contract with temperature changes.
Step 6: Ensuring Proper Alignment and Spacing Between Courses
Pay careful attention to the alignment and spacing between each course of siding. Uniform spacing is vital for aesthetic consistency and to allow for natural wood movement. Use spacers if necessary to achieve even gaps and ensure that each course parallels the others, enhancing the overall appearance of your home’s exterior.
That’s it! You’ve now learned how to install cedar lap siding like a pro. While it may seem daunting, following these steps and taking your time to ensure precision will result in a beautiful and long-lasting cedar lap-siding installation for your home. Remember to follow manufacturer guidelines and recommendations for maintenance to keep your cedar siding looking its best for many years to come. Keep your home’s exterior warm, elegant, and timeless with the unmatched beauty of cedar lap siding.
Techniques for Handling Corners, Joints, and Trim
Proper treatment of corners, joints, and trim is essential in achieving a polished look with cedar lap siding. These elements enhance the siding’s aesthetic appeal and play a crucial role in protecting the structure from water infiltration and weather damage. Here’s how to handle these components for a professional finish:
A. Installing Corner Boards and Trim Pieces for A Professional Finish
Corner boards and trim pieces should be chosen to complement the look and thickness of your cedar lap siding. Installing these elements before the siding ensures a clean and precise framework. For corner boards, use a high-quality, weather-resistant material to frame the outer corners of your house. This adds to the visual appeal and provides an extra layer of protection against the elements. The trim pieces around windows, doors, and other openings should match the corner boards to maintain a cohesive look.
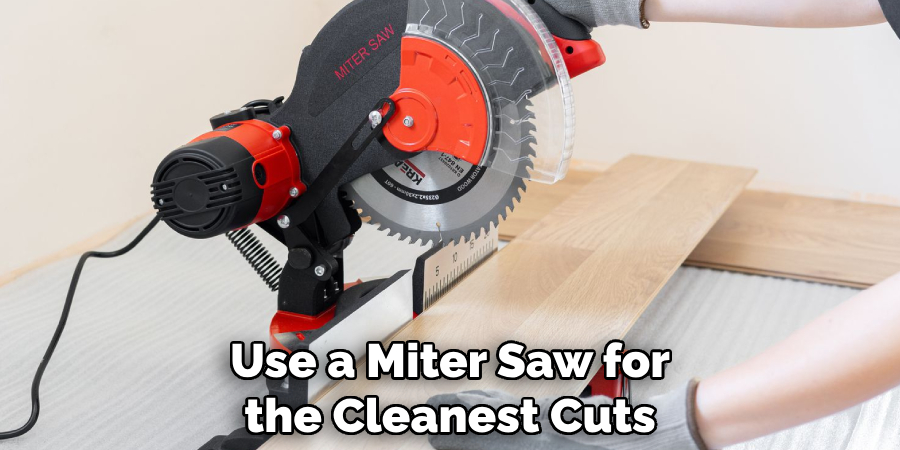
B. Techniques for Mitering Corners and Creating Tight Joints
Mitered corners can give your siding project a more refined and custom appearance. To achieve tight miter joints, measure and cut the siding and trim pieces accurately, ensuring that angles are precisely 45 degrees. Use a miter saw for the cleanest cuts. Leaving a small space at each joint is crucial to accommodate wood expansion and contraction due to temperature changes. Apply a suitable sealant in these gaps to prevent moisture penetration, allowing the cedar to move naturally.
C. Tips for Integrating Trim Elements Seamlessly with Lap Siding
Integrating trim elements with lap siding requires attention to detail. For proper water runoff, ensure that trim pieces around windows and doors protrude slightly beyond the face of the siding. Also, consider using backer rods and sealants at the interfaces between trim and siding to create a weather-tight seal. For a balanced look, the width of trim around doors and windows should be proportional to their size and the overall scale of the house.
By following these techniques for corners, joints, and trim, you can enhance both the functionality and curb appeal of your cedar lap siding. Proper execution of these details protects your home from the elements and contributes to its aesthetic harmony and longevity.
Addressing Potential Challenges and Solutions
While cedar lap siding offers aesthetic appeal and durability, certain challenges can arise during installation. Understanding how to address these issues can ensure a smooth process and an impeccable finish.
A. Dealing with Warped or Bowed Siding Boards
Warped or bowed siding boards can hinder the uniform appearance of your home’s exterior. To address this, inspect each board before installation and set aside any that show significant warping. Mildly warped boards can sometimes be straightened during the nailing process by starting from one end and gradually working your way to the other, applying pressure to flatten the board. For boards that cannot be corrected, consider using them in less visible areas or cutting them into smaller pieces for use around windows or doors where full lengths are not required.
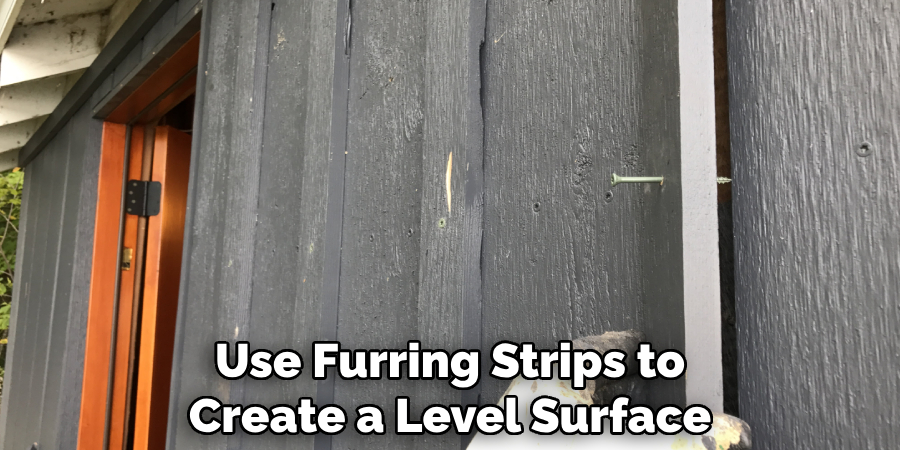
B. Strategies for Working Around Irregularities in the Wall Surface
Irregularities in the wall surface can lead to gaps behind the siding, affecting its stability and appearance. Use furring strips to create a level surface before installing the siding. Furring strips are thin strips of wood nailed to the studs or existing wall, providing a flat, uniform surface to attach the siding. Ensure the wall is fully prepped and smooth before beginning installation to prevent future issues.
C. Troubleshooting Common Issues Such as Loose or Damaged Siding
Loose or damaged siding detracts from your home’s appearance and can lead to moisture infiltration and structural damage. For loose siding, check the nails or fasteners and replace any that are missing or corrupted, ensuring the siding is securely attached to the wall studs. Damaged siding should be promptly replaced to prevent moisture from entering the wall structure.
When replacing a section of siding, carefully remove the damaged piece to avoid disturbing the surrounding areas. Measure and cut the new piece to fit, and install it following the proper nailing pattern to ensure it blends seamlessly with the existing siding.
By anticipating and effectively addressing these potential challenges, you can maintain the beauty and durability of your cedar lapsiding for years to come.
Finishing Touches and Maintenance
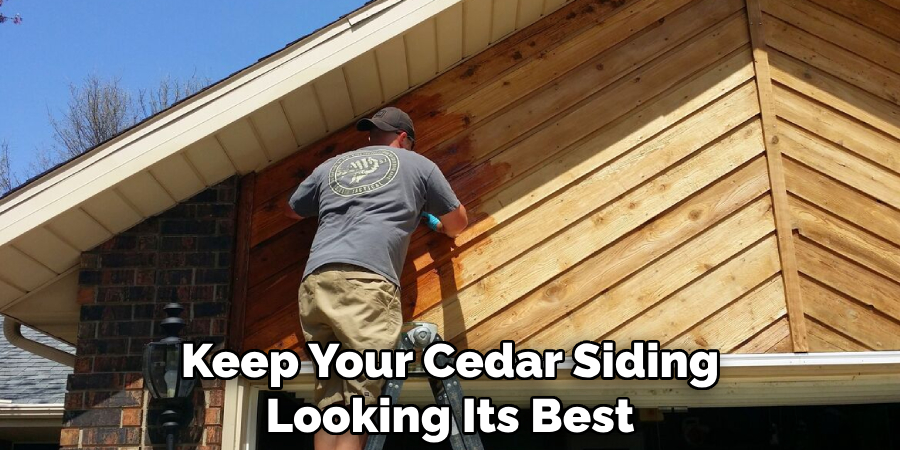
Finishing your cedar lap siding project with protective measures and establishing a maintenance routine are crucial steps to ensure its beauty and longevity. With its natural beauty and resistance to decay, Cedar benefits significantly from appropriate finishes and care.
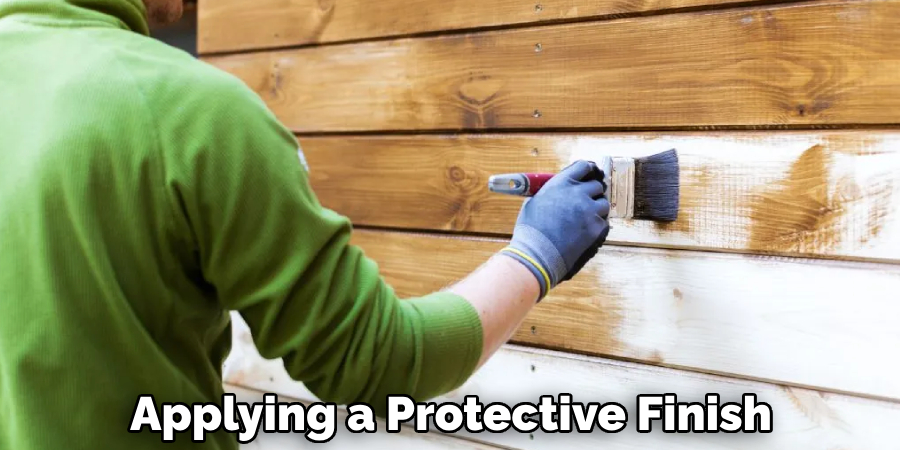
A. Applying Protective Finishes Such as Stains or Paint
Applying a stain or paint is recommended to protect cedar lap siding from the elements and enhance its natural beauty. Stain offers a way to preserve the natural look of the wood while providing protection against moisture and UV damage. It’s important to choose a stain that is specifically designed for outdoor use and has properties to inhibit fungal growth and wood-destroying insects.
On the other hand, paint offers a solid layer of protection and can dramatically change the appearance of your home to match your aesthetic desires. Whichever choice you make, ensure the cedar surface is clean and dry before application, and follow the manufacturer’s instructions for the best results.
B. Tips for Maintaining Cedar Lap Siding to Preserve Its Beauty and Longevity
Regular maintenance is essential to maintaining the beauty and integrity of your cedar lap siding. This includes cleaning the siding annually with a mild soap and water solution to remove dirt and grime, inspecting for signs of wear or damage, and reapplying protective finishes as needed. It’s also important to keep shrubs and trees trimmed back from the siding to prevent moisture retention and ensure good air circulation.
C. Recommendations for Periodic Inspection and Maintenance Routines
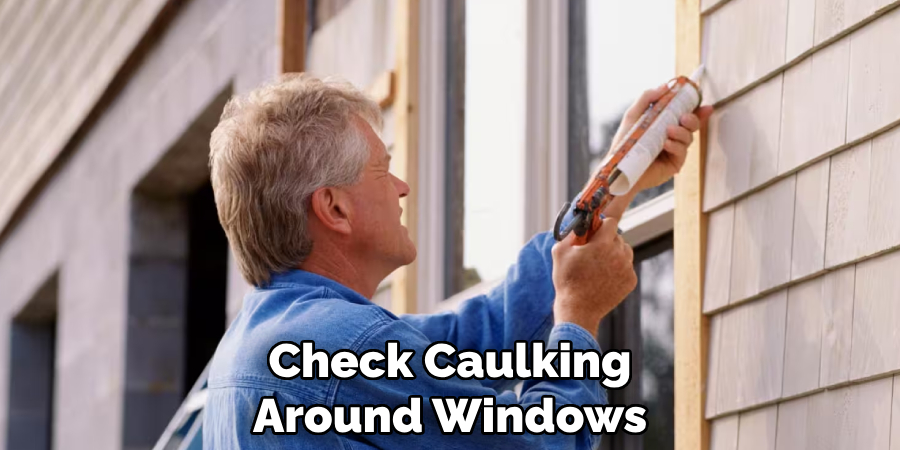
Periodic inspection of your cedar lap siding should be part of your home maintenance routine. Look for signs of peeling paint or stain, moisture infiltration, or damage caused by insects or wildlife. Addressing these issues promptly can prevent more significant problems down the road. Additionally, check caulking around windows, doors, and corner boards annually and repair any gaps to keep your home weather-tight. By being proactive with maintenance and inspection, you can enjoy the natural beauty of cedar lap siding for many years to come.
Enhancing Curb Appeal with Cedar Lap Siding
Enhancing your home’s curb appeal with cedar lap siding not only increases its aesthetic appeal but can also boost the overall value of your property. Cedar’s natural beauty, rich texture, and warm colors are a perfect canvas for creative exterior designs.
A. Creative Design Ideas for Incorporating Cedar Lap Siding Into Exterior Aesthetics
Experiment with various cedar lap siding orientations to create visual interest. While traditional horizontal placement is common, considering vertical or diagonal installations can lend a unique and modern touch to your home’s exterior. Mixing widths of the siding boards adds another layer of texture and depth, making the façade more engaging. Incorporating areas with cedar shakes or shingles can also break up long expanses of lap siding, offering a varied look that captures attention.
B. Using Contrasting Colors and Textures to Highlight Architectural Features
Use contrasting colors and textures alongside cedar lap siding to highlight your home’s architectural features. Choose trim, door, and window colors that either complement or boldly contrast with the natural cedar to outline and enhance these elements. Integrating stone or brick veneers as accent materials can further enhance the visual appeal, adding a layer of richness and depth to the overall aesthetic.
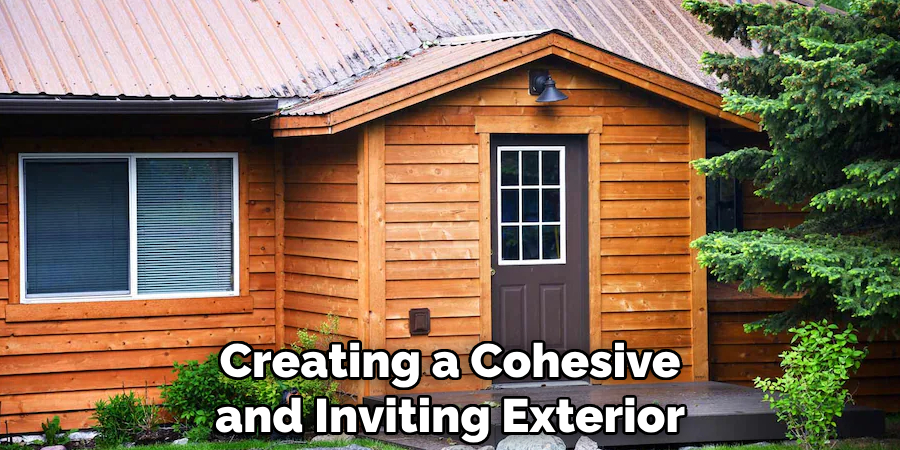
C. Inspiration for Achieving a Cohesive Look with Landscaping and Outdoor Décor
Landscaping and outdoor décor should harmonize with the natural appeal of cedar siding, creating a cohesive and inviting exterior. Consider planting native shrubs, trees, and flowering plants that mirror the cedar’s organic tones, while outdoor lighting can highlight the siding’s texture and the property’s architectural features after sunset. Incorporate natural materials such as wood or stone in your outdoor furniture and decorations to complement the cedar’s natural essence, seamlessly blending the home into its surrounding environment.
Frequently Asked Questions (FAQs) About Cedar Lap Siding
Q1: How Often Should Cedar Lap Siding Be Repainted or Restained?
A1: The frequency of repainting or restaining cedar lap siding depends on various factors, including the climate, the quality of the previous paint or stain, and the siding’s exposure to direct sunlight. Generally, inspecting your siding annually is advised, with a typical repaint or restain cycle of 5-7 years.
Q2: Can Cedar Lap Siding Be Installed Over Existing Siding?
A2: It’s possible to install cedar lap siding over existing siding, provided the underlying surface is in good condition, stable, and flat. It’s important to check for any signs of moisture or damage in the old siding and address these issues before installation. Adding a vapor barrier between the old and new siding is also recommended.
Q3: What Maintenance Activities Can I Perform to Extend the Lifespan of My Cedar Lap Siding?
A3: Regular maintenance activities include cleaning the siding annually with a soft brush and mild detergent, checking for and promptly repairing damage or wear, trimming nearby vegetation to ensure good air circulation, and reapplying protective finishes as needed.
Q4: Is Cedar Lap Siding Environmentally Friendly?
A4: Yes, cedar lap siding is an environmentally friendly option. Cedar wood is a renewable resource, and its production has a lower environmental impact than non-renewable siding materials like vinyl or aluminum. Additionally, cedar’s natural insulating properties can contribute to home energy efficiency.
Q5: How Does Cedar Lap Siding Handle Moisture and Potential Rot?
A5: Cedar is naturally resistant to moisture, decay, and insect damage. However, without proper maintenance, cedar siding can be vulnerable to moisture infiltration and rot over time. Applying a protective finish, ensuring proper siding installation, and addressing any moisture issues promptly can help mitigate these risks.
Q6: Can I Install Cedar Lap Siding Myself, or Should I Hire a Professional?
A6: While individuals with good DIY skills can install cedar lap siding, hiring a professional is recommended. Professional installers have the experience, tools, and knowledge to ensure the siding is installed correctly, adhering to local building codes and manufacturer guidelines.
Conclusion
In conclusion, the benefits of choosing cedar lap siding for your home are manifold, encompassing aesthetic appeal, durability, and natural resistance to the elements. Throughout this guide, we’ve explored the crucial steps involved in how to install cedar lap siding, from preparation and installation to applying protective finishes and conducting regular maintenance. The importance of meticulous planning, adherence to best practices in installation, and commitment to ongoing care cannot be overstated in preserving the siding’s beauty and functionality over time.
I encourage homeowners to approach their siding projects with enthusiasm and confidence. Armed with the knowledge of proper installation techniques and maintenance tips, you’re well-equipped to enhance your home’s exterior with the timeless elegance of cedar lap siding. Remember, though the process may seem daunting at first, the rewards of undertaking this project are substantial—not only in terms of curb appeal but also in the increased value and protection of your home.
Cedar lap siding offers a unique blend of timeless appeal and robust durability that few other materials can match. Its natural textures and colors can transform the exterior of any home into a visually stunning masterpiece, while its endurance against weather and pests ensures that your home remains well-protected for years. Whether you’re planning a renovation or building a new home, the charm, and reliability of cedar lap siding make it an excellent choice for creating a warm and inviting exterior that stands the test of time.
About the Author
Adrian Green, a lifelong woodworking enthusiast, shares his passion for the craft through The Woodenify Blog. With a foundation built on years of hands-on experience in his father’s woodworking shop, Adrian is dedicated to helping others learn and grow in the world of DIY woodworking. His approach to woodworking combines creativity, practicality, and a deep appreciation for the art of building with your own hands. Through his blog, he inspires individuals of all skill levels to embark on their own woodworking journeys, creating beautiful, functional pieces of furniture and décor.
Professional Focus
- Specializes in DIY woodworking projects, from furniture to home décor.
- Provides step-by-step guides and practical tutorials for woodworkers of all skill levels.
- Dedicated to helping readers build confidence and skill through easy-to-follow instructions and tips.
- Passionate about fostering a community of makers who can share, learn, and grow together.
Education History
- University of Craft and Design – Bachelor of Fine Arts (BFA) in Woodworking and Furniture Design
- Woodworking Apprenticeships – Extensive hands-on training with skilled craftsmen to refine carpentry and furniture making techniques.
- Online Courses & Masterclasses – Continued education in advanced woodworking techniques, design principles, and specialized tools
Expertise:
- DIY woodworking, carpentry, furniture making, and home décor projects.
- Creating accessible tutorials and guides for beginner to advanced woodworkers.
- Sharing the joys and satisfaction of woodworking, from raw materials to finished products.