Lighting a fire is an essential skill for outdoor enthusiasts, survivalists, and anyone who enjoys a cozy fire at home or in the wilderness. Understanding the proper techniques for igniting wood can ensure a successful fire, whether for warmth, cooking, or ambiance.
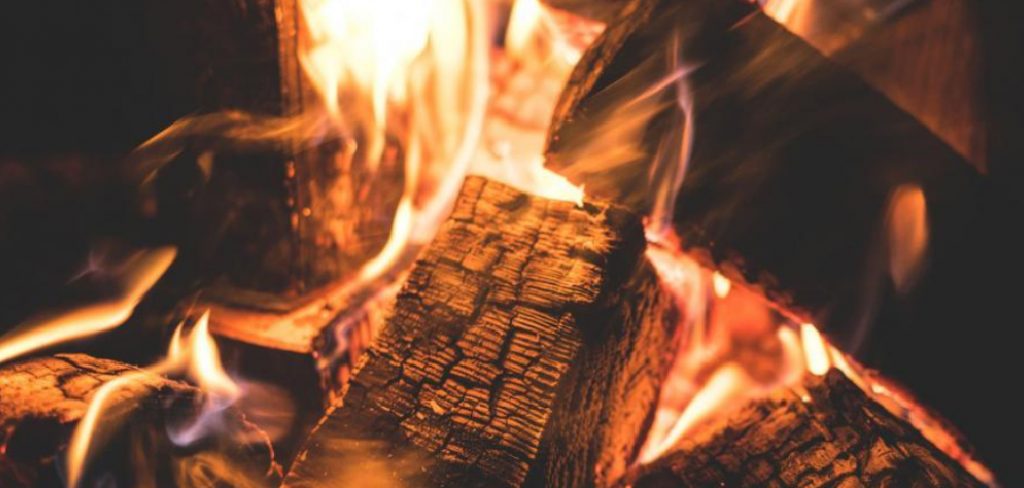
In this guide on how to light wood on fire, we will explore the steps to effectively and safely light wood on fire, covering everything from selecting the right materials to maintaining a strong, consistent flame.
What is Wood?
Wood is a natural, organic material that comes from trees and other woody plants. It is composed mainly of cellulose fibers, which are long chains of molecules that give wood its strength and durability.
Different types of wood have different characteristics, such as density, grain pattern, and burning properties. Some woods burn hotter and more efficiently than others, while some produce a pleasant aroma when burned.
You can find wood in various forms, including logs, sticks, and chips. For the purpose of this guide, we will focus on lighting a fire using wood logs.
Selecting the Right Wood
The first step to successfully light wood on fire is choosing the right type of wood. When selecting wood for burning, keep these three factors in mind:
Dryness:
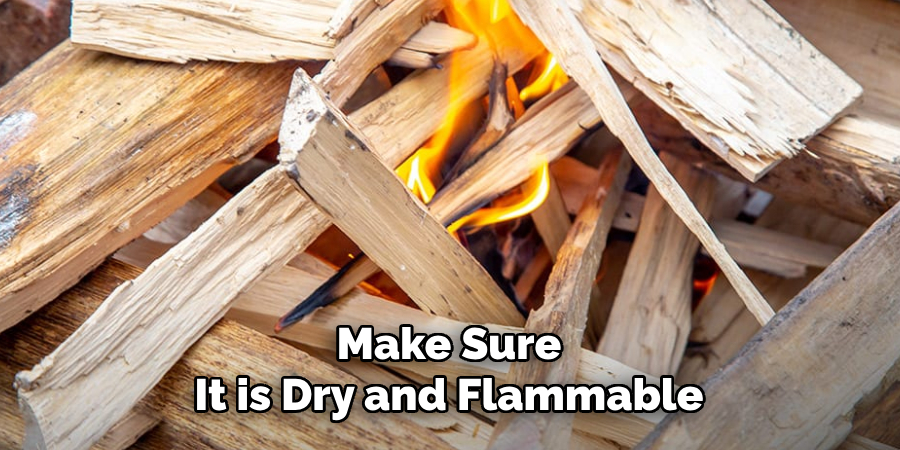
Dry wood burns more efficiently and produces less smoke than wet wood. Look for dry, seasoned wood that has been cut and stored for at least 6-12 months. The drier the wood, the easier it will be to light and maintain a fire.
Size:
Choose logs that are approximately 2-3 inches in diameter. Larger logs may take longer to ignite, while smaller ones may burn too quickly and require constant replenishing.
Type:
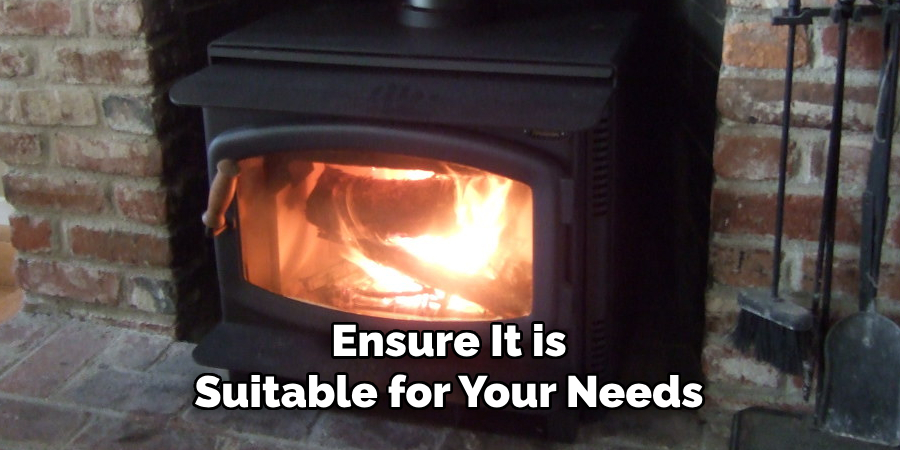
Different types of wood have varying burning properties and produce different levels of heat. Some popular choices for firewood include oak, pine, birch, and maple. Do some research on the type of wood you plan to use to ensure it is suitable for your needs.
7 Step-by-step Guidelines on How to Light Wood on Fire
Step 1: Prepare the Area
Before you start lighting wood on fire, it’s crucial to prepare the area where you plan to build your fire. Choose a safe, open space that is free from any overhanging branches, dry grass, or other flammable materials. If you are outdoors, use a fire pit or build a ring of rocks around the fire area to contain it. Clear any debris, such as leaves or twigs, from the ground within a three-meter radius to prevent accidental spreading.
If you are indoors, ensure your fireplace or wood stove is clean and free of any obstructions. Proper ventilation is also essential to avoid smoke buildup and ensure a steady supply of oxygen to keep the fire burning. Taking these precautions will help you maintain control over the fire and ensure safety for yourself and those around you.
Step 2: Arrange Kindling
Kindling is a small, dry material that ignites easily and helps to start the fire before the larger logs catch. Arrange kindling in a criss-cross or teepee pattern in the center of your prepared fire area. Suitable kindling materials include small sticks, twigs, or even paper and cardboard.
To create an optimal structure, start with the smallest pieces at the bottom and progressively layer larger pieces on top. Ensure there is enough space between the kindling for air to circulate, as oxygen is crucial for combustion. Proper arrangement of kindling ensures a steady, sustainable flame that can ignite the larger logs.
Step 3: Gather Tinder
Tinder consists of highly flammable materials that ignite quickly and easily from a small spark or flame, serving as the initial ignition source for your fire. Gather a sufficient amount of tinder and place it beneath or amidst your kindling arrangement. Common types of tinder include dry leaves, grass, bark, and wood shavings.
Additionally, commercially available fire starters or natural materials like cotton balls soaked in petroleum jelly can also serve as effective tinder. Ensure your tinder is completely dry, as any moisture can hinder its ability to catch fire. Properly prepared tinder will create the initial burst of flame needed to ignite the kindling and, subsequently, the firewood logs.
Step 4: Use a Fire Starter
Using a fire starter helps ensure a more reliable and efficient ignition of your fire. There are several options available, including matches, lighters, or specialized fire-starting tools like ferrocerium rods. When using matches or a lighter, carefully ignite the tinder by holding the flame to it until it catches fire. If using a ferrocerium rod, create sparks by striking the rod with a metal striker or knife, aiming the sparks directly onto the tinder.
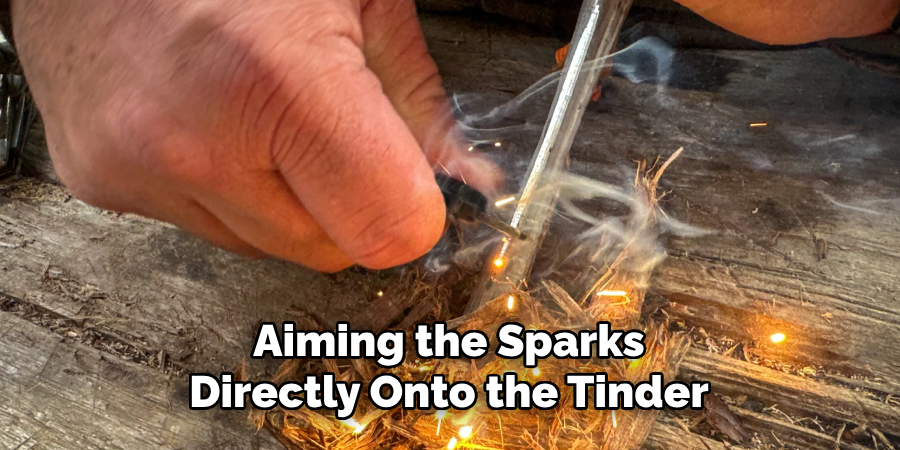
Ensure that the tinder is in direct contact with your kindling ignites first. Once the tinder is ablaze, the kindling will gradually catch fire, creating a robust base for the larger logs. Maintain a close watch during this process to ensure that the flame doesn’t extinguish.
Gentle blowing can help to nurture the flame and provide the necessary oxygen to sustain it. Properly using a fire starter is crucial for transitioning the initial sparks into a steady and strong flame that will ignite the larger wood logs.
Step 5: Add the Firewood Logs
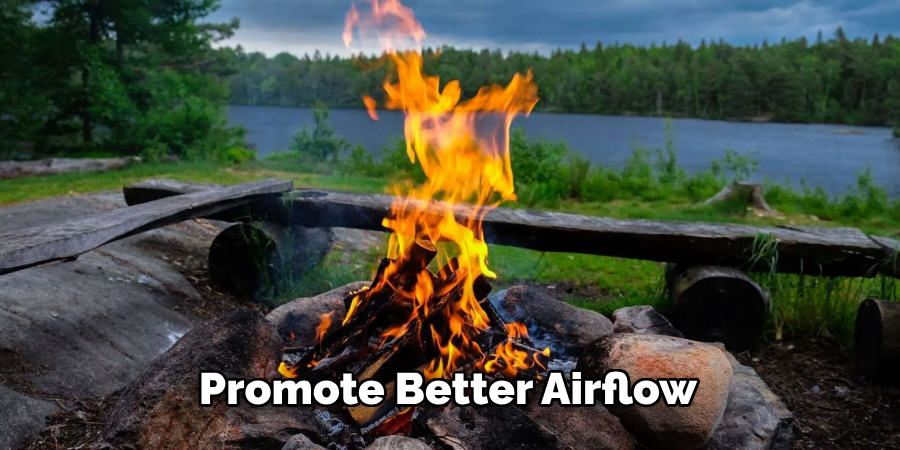
Once your kindling is burning strongly, it’s time to add the firewood logs. Start with a few smaller logs, placing them gently on top of the burning kindling. Arrange the logs in a way that allows ample airflow between them, such as a criss-cross or square pattern. This ensures that oxygen can reach the flames, which is essential for maintaining combustion.
As the smaller logs catch fire and the blaze becomes more established, larger logs are gradually added to the fire. Be cautious not to overload the fire with too many logs at once, as this can smother the flames and reduce the fire’s intensity. By adding the logs gradually and maintaining proper airflow, you’ll build a strong, sustainable fire that generates consistent heat.
Step 6: Tend to the Fire
Once your fire is established, it is important to tend to it regularly to ensure it continues to burn efficiently and safely. Periodically check the fire to make sure it has adequate fuel and airflow. Add more logs as needed, but remember to place them in a manner that maintains good ventilation. Avoid adding too many logs at once, as this can cause the fire to smother.
Use a poker or a fireproof tool to occasionally stir the fire and reposition the logs. This helps to prevent ash buildup and promotes a more even burn. Be attentive to the fire’s surroundings, making sure no embers or sparks escape, which can cause unintended fires. Additionally, always keep a source of water or an extinguisher nearby as a precautionary measure.
Step 7: Keep the Fire Going
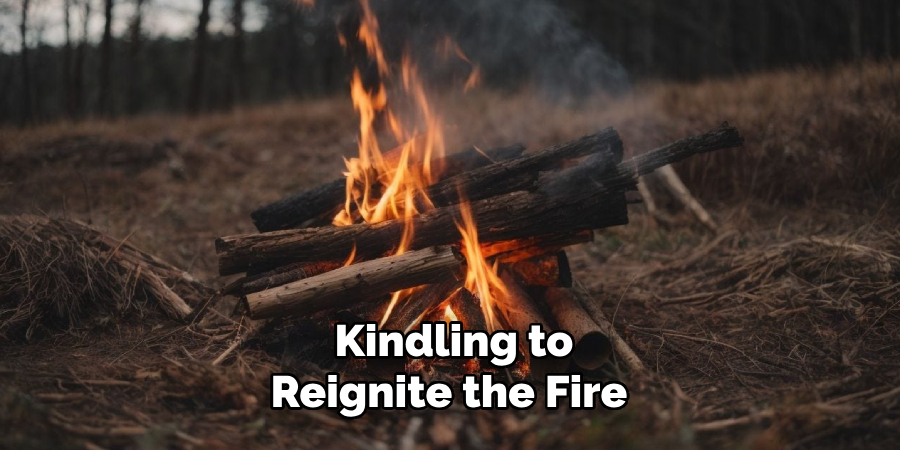
Maintaining a fire requires continuous attention and proper technique. As the fire burns, the logs will gradually turn into embers. It’s essential to keep these embers alive as they are the core source of heat. Occasionally, stir the fire using a poker or other fireproof tool, redistributing the embers and ensuring even burning. Add more small logs or kindling to reignite the fire if it starts to wane.
To sustain the fire, ensure there is a balance between oxygen supply and fuel. Avoid smothering the fire with too much wood at once, and ensure air can circulate freely through the structure. Keep an eye on any shifts in wind if you’re outdoors, as this can affect the fire’s strength. By consistently adding fuel, stirring the embers, and monitoring airflow, you can keep the fire burning steadily throughout your activity.
Following these steps on how to light wood on fire can help you build and maintain a strong, sustainable fire for various activities and purposes. Remember to always prioritize safety, properly dispose of the remains, and follow any local rules or regulations when building fires. With proper preparation and execution, you can enjoy the warmth, light, and comfort of a well-built fire in any setting. Happy burning!
Maintaining and Managing the Fire
Proper maintenance and management of a fire are essential for ensuring safety, efficiency, and longevity. One of the key aspects of fire management is consistent monitoring. Regularly check the fire to confirm that it has sufficient fuel and adequate ventilation. Avoid complacency, as an unattended fire can easily become uncontrollable. Always keep a fireproof tool at hand to adjust logs, stir the embers, and manage the airflow within the fire pit.
Regulating the Fire’s Intensity
Control the intensity of the fire by adjusting the amount and size of the logs you add. If the fire is too high or too hot, add smaller pieces of wood or reduce the fuel supply. Conversely, if the fire is waning, add slightly larger logs to sustain and build up the flames. Ensuring that the wood is dry and properly aged will contribute to a more efficient and stable burn.
Maintaining Airflow
Airflow is another crucial element in fire maintenance. Ensure that there is enough space between logs for air to circulate, providing the necessary oxygen for combustion. Periodically rearrange the logs to promote better airflow, but do so carefully to avoid causing sparks or flames to spread beyond the designated area.
Safety Precautions
Always practice safety when managing a fire. Keep a bucket of water, sand, or a fire extinguisher nearby to quickly address any unexpected flare-ups or escaping embers. Avoid wearing loose clothing, and ensure that long hair is tied back to prevent accidental ignition. Be mindful of your surroundings, particularly in windy conditions, which can cause sparks to travel.
Extinguishing the Fire
When it’s time to extinguish the fire, do so thoroughly to prevent any chance of re-ignition. Spread out the remaining logs and embers to allow them to cool faster. Pour water over the embers, stirring them with a stick or poker to ensure every part is soaked.
Continue to add water until the hissing sound stops and the embers appear completely extinguished. Alternatively, you can use sand or dirt to smother the fire, ensuring that all embers are covered and deprived of oxygen.
By adhering to these maintenance and management tips, you can ensure a safe and enjoyable fire experience. Whether for warmth, cooking, or ambiance, a well-tended fire can be a source of comfort and utility.
Fire Safety and Risk Management
Effective fire safety and risk management practices are crucial when handling open fires. Begin by selecting an appropriate location for your fire. Ensure the area is free from overhanging branches, dry vegetation, and other flammable materials. A designated fire pit or a cleared patch of ground with a border of stones can help contain the fire and prevent it from spreading.
Risk Assessment
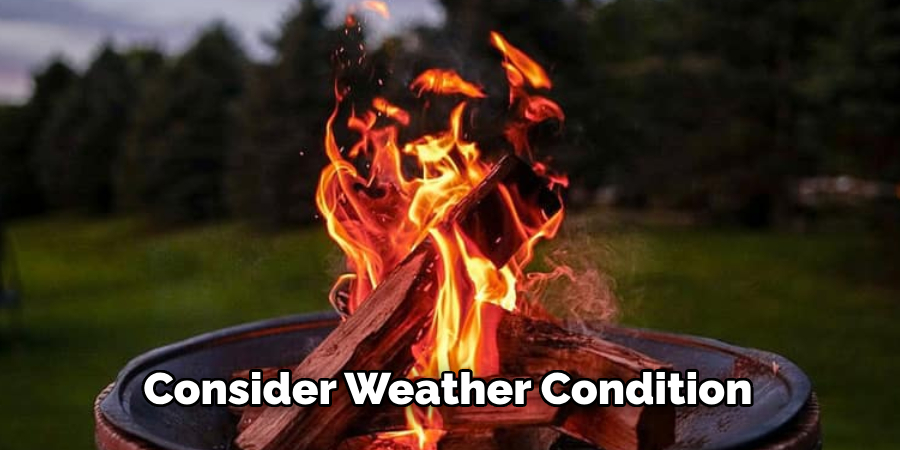
Before lighting a fire, conduct a thorough risk assessment. Consider weather conditions, as high winds can carry embers and ignite surrounding areas. It’s also important to comply with any local fire regulations or restrictions, which may vary based on the season, environmental conditions, or specific local ordinances.
Safe Practices
- Supervision: Never leave a fire unattended. Always have someone responsible nearby to monitor and manage the fire.
- Designated Fire Area: Use a fire ring or pit to confine the fire and reduce the risk of spreading.
- Proper Ventilation: Maintain adequate airflow to the fire to ensure complete combustion and reduce excess smoke, which can be a health hazard.
- Clear Perimeter: Keep the area around the fire clear of debris and flammable materials.
Emergency Preparedness
Always be prepared for emergencies. Keep a bucket of water, a shovel, and either a sand bucket or a fire extinguisher within easy reach. Knowing how to use these tools efficiently can make a substantial difference in preventing a small fire from becoming a major incident.
Post-Fire Protocol
After extinguishing the fire, continue to monitor the site. Leftover embers can remain hot for hours and reignite if not properly extinguished. Double-check the area to ensure that everything is fully cooled and safe before leaving.
By implementing these fire safety and risk management strategies, you can significantly reduce the likelihood of an accident occurring, ensuring a safe and controlled fire experience.
Frequently Asked Questions
Q: What Should I Do if My Fire Keeps Going Out?
A: If your fire keeps going out, several factors might be contributing to the problem. Firstly, ensure that your tinder, kindling, and firewood are completely dry. Even a small amount of moisture can hinder combustion.

Secondly, check that there is sufficient airflow through the fire structure. Fires need oxygen to burn, so make sure there is enough space between the logs and kindling for air to circulate. Avoid piling too much wood at once, as this can smother the flames.
Thirdly, consider the placement of your fire. If you are outdoors, strong winds can extinguish the flames, so try to find a sheltered spot. Lastly, regularly tending to the fire by adding fuel and stirring the embers is vital. If the fire shows signs of dying down, add smaller kindling before larger logs and gently blow on the base to provide extra oxygen. By addressing these factors, you can increase the chances of keeping your fire burning steadily.
Q: How Can I Extinguish a Fire Safely?
A: When you are ready to extinguish your fire, it is essential to do so safely and responsibly. Begin by removing any burning wood from the structure and dispersing it across the fire pit or designated area. Allow the fire to die down until only embers remain.
Then, use a source of water (such as a bucket or hose) to douse the embers, stirring them with a poker or other tool as needed to ensure all heat sources are extinguished. Alternatively, you can bury the remains in dirt or sand if water isn’t available. Always make sure that the fire is entirely out before leaving the area unattended.
Q: Is There Any Other Material I Can Use to Start a Fire Besides Wood?
A: Yes, there are various alternative materials that you can use to start a fire. Some examples include paper or cardboard, wax-coated fire starters, dry leaves or grass, and lint from a dryer. Additionally, you can purchase specific fire starter products from outdoor or camping stores. Whichever material you choose, make sure it is dry and flammable for the best results.
You can also consider using a fire starter kit, which typically includes various tools and materials to help you start and maintain a fire. These kits are convenient for outdoor adventures or camping trips when traditional methods might not be feasible or practical. Be sure to research the proper use of any alternative materials or kits before attempting to light a fire with them. Safety is always the top priority when dealing with fire.
Conclusion
Building and maintaining a fire is both an art and a science that, when done correctly, can provide warmth, comfort, and enjoyment in various settings. From the initial steps of gathering the right materials and constructing the perfect fire structure to the continuous attention required for tending and sustaining the flames, each phase is crucial.
Remember, safety is paramount—always take necessary precautions to prevent accidental fires and ensure the fire is completely extinguished before leaving it unattended. With practice and mindfulness on how to light wood on fire, you can master the skills required to create and nurture a fire, enriching your experiences in the great outdoors or enhancing the ambiance of your indoor space.
About the Author
Adrian Green, a lifelong woodworking enthusiast, shares his passion for the craft through The Woodenify Blog. With a foundation built on years of hands-on experience in his father’s woodworking shop, Adrian is dedicated to helping others learn and grow in the world of DIY woodworking. His approach to woodworking combines creativity, practicality, and a deep appreciation for the art of building with your own hands. Through his blog, he inspires individuals of all skill levels to embark on their own woodworking journeys, creating beautiful, functional pieces of furniture and décor.
Professional Focus
- Specializes in DIY woodworking projects, from furniture to home décor.
- Provides step-by-step guides and practical tutorials for woodworkers of all skill levels.
- Dedicated to helping readers build confidence and skill through easy-to-follow instructions and tips.
- Passionate about fostering a community of makers who can share, learn, and grow together.
Education History
- University of Craft and Design – Bachelor of Fine Arts (BFA) in Woodworking and Furniture Design
- Woodworking Apprenticeships – Extensive hands-on training with skilled craftsmen to refine carpentry and furniture making techniques.
- Online Courses & Masterclasses – Continued education in advanced woodworking techniques, design principles, and specialized tools
Expertise:
- DIY woodworking, carpentry, furniture making, and home décor projects.
- Creating accessible tutorials and guides for beginner to advanced woodworkers.
- Sharing the joys and satisfaction of woodworking, from raw materials to finished products.